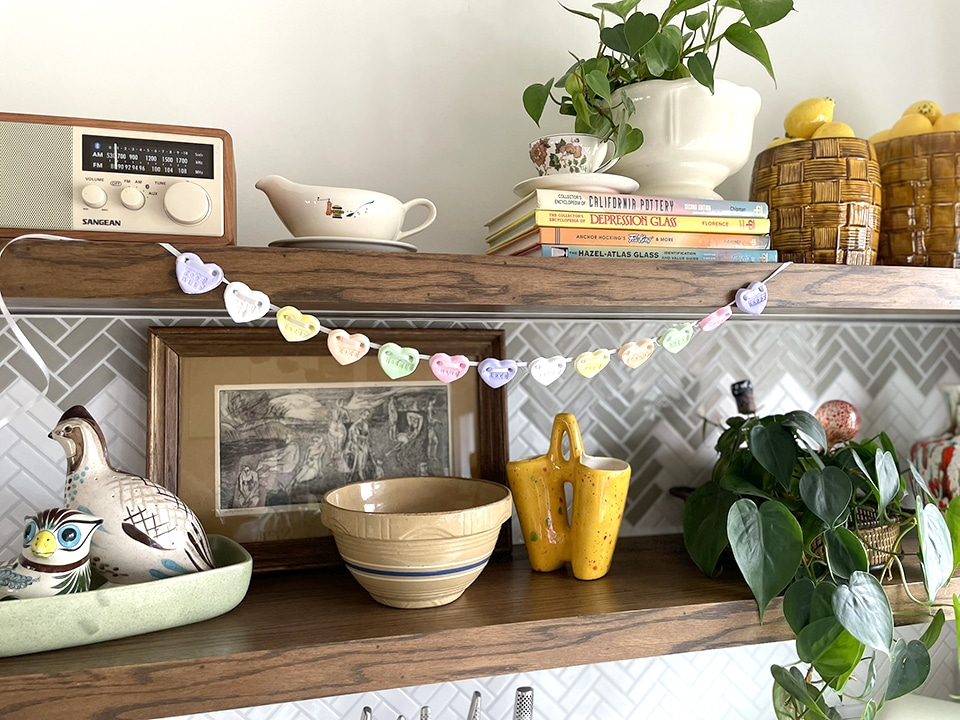
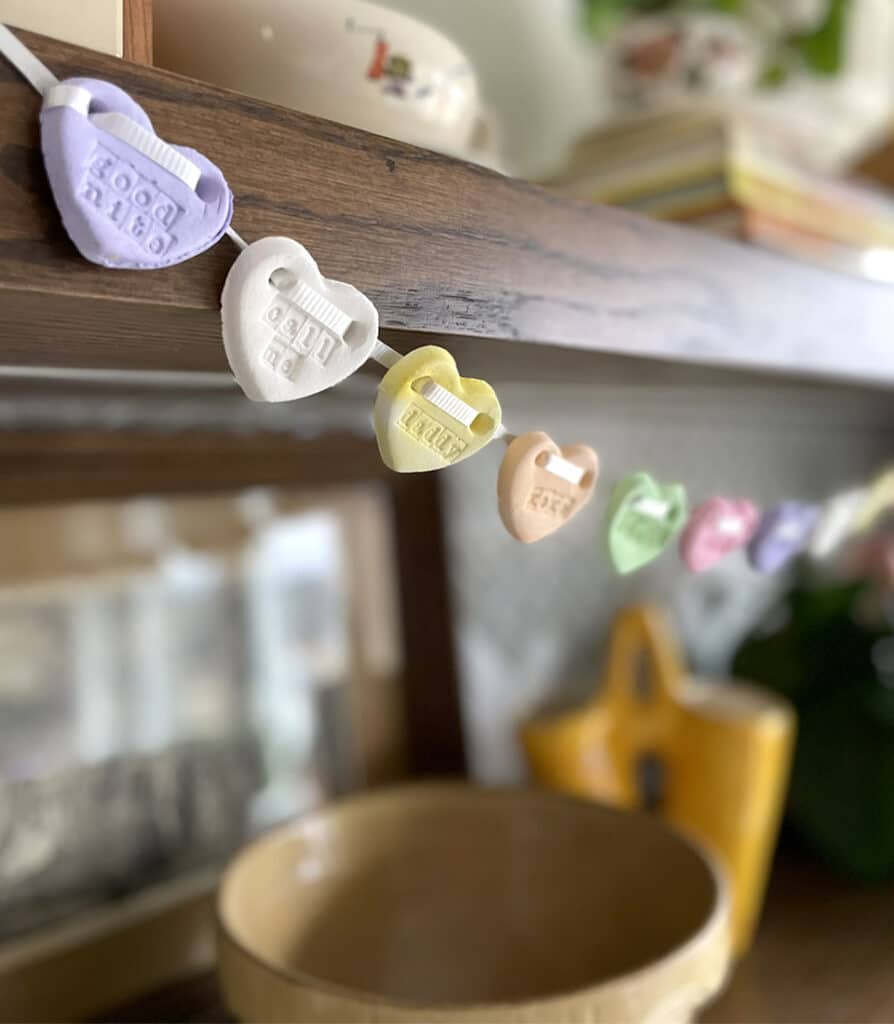
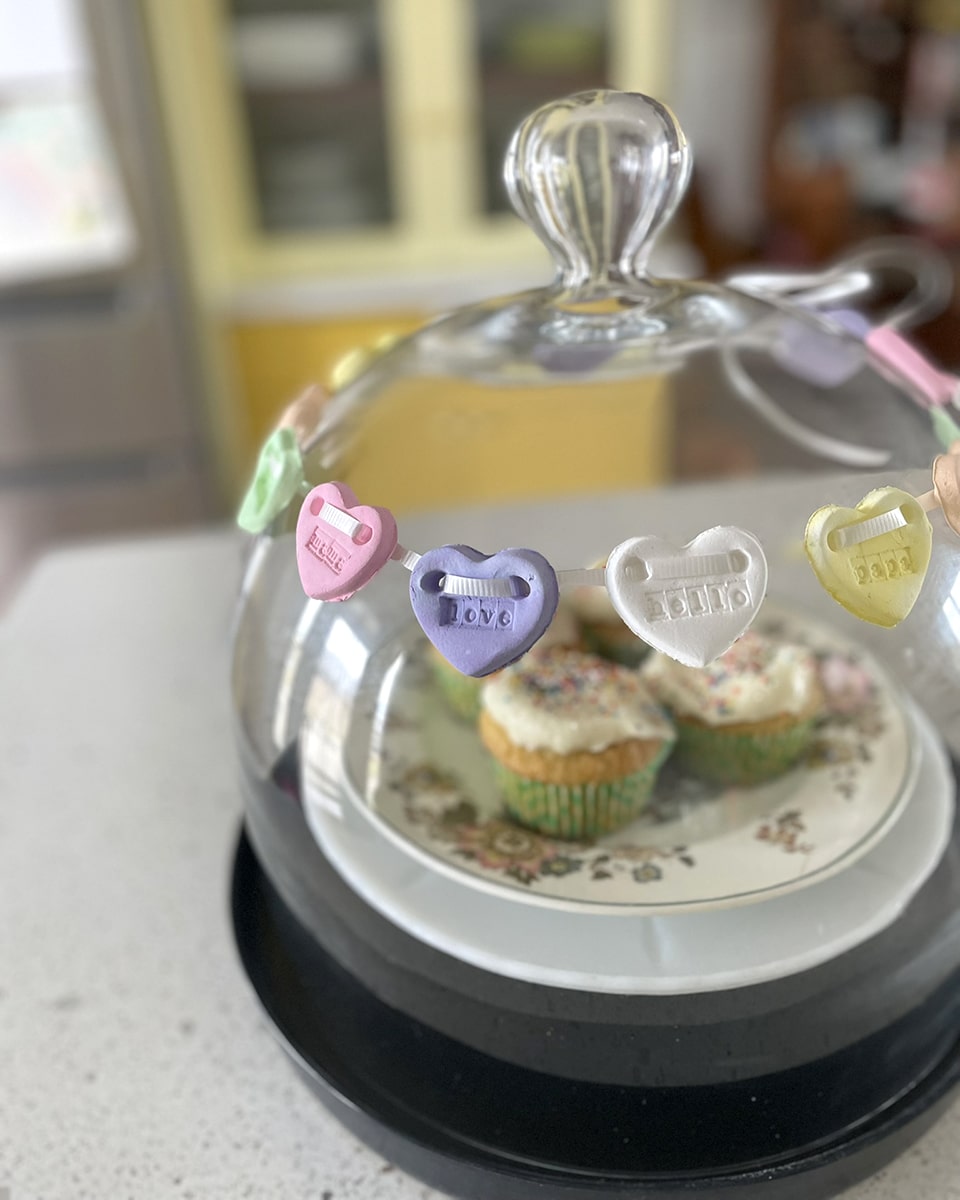
This simple craft creates a sweet Clay Valentine Conversation Heart Garland, which can be used to wrap a flower vase or adorn a bookshelf (for a few ideas). I was inspired to make this craft by this salt dough post and this garland post. Follow along below to learn how to make this easy, and kid-friendly, Valentine craft.
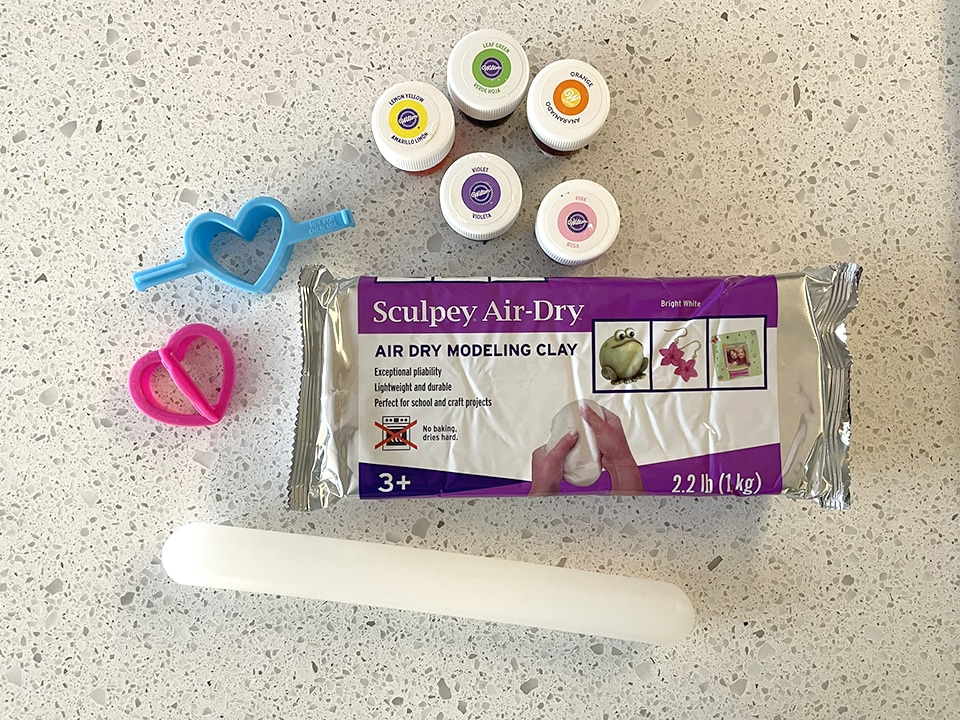
Gather the following materials:
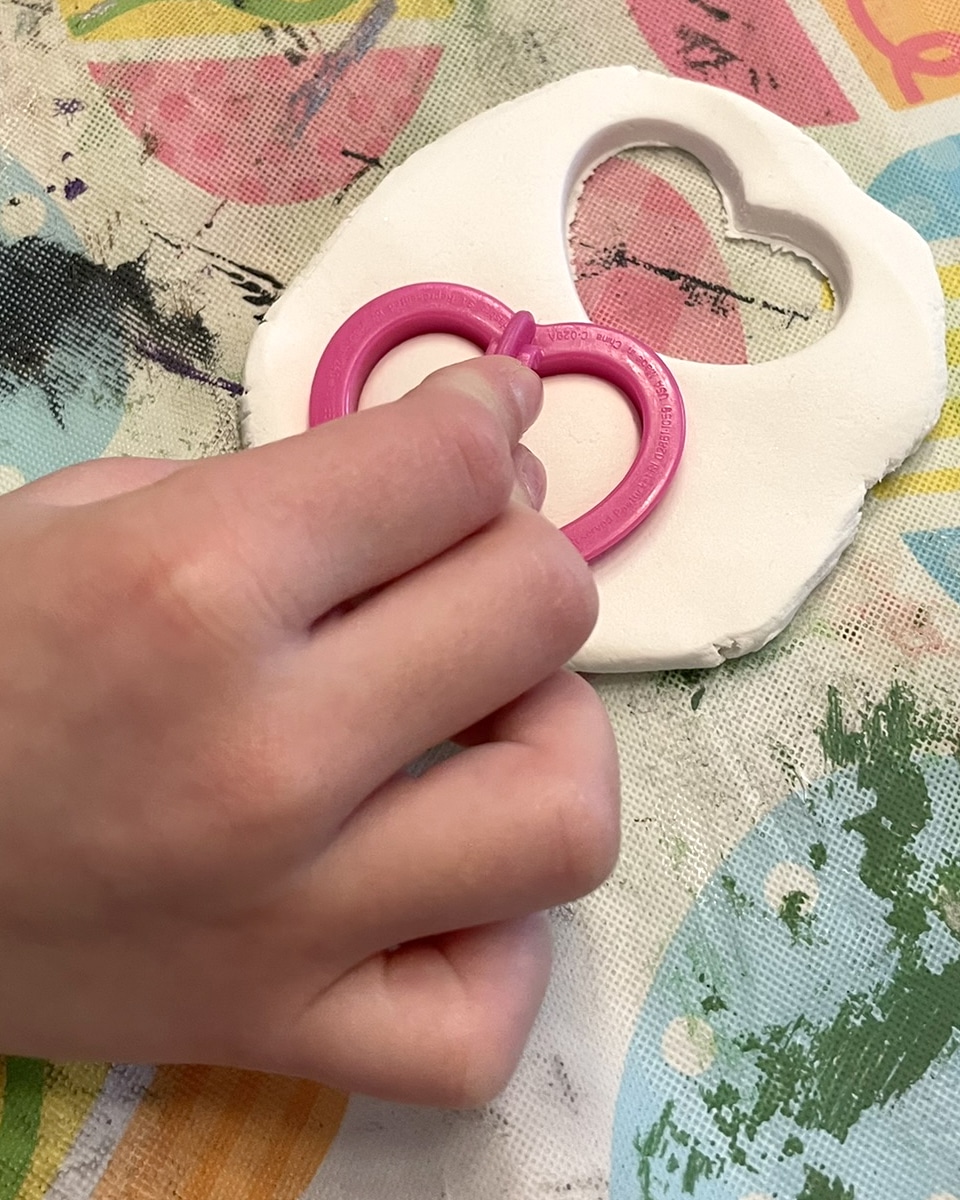
First, lay down an old vinyl tablecloth (or newspaper) to protect your worksurface. Pull off a hunk of modeling clay, and roll to 1/4 inch thickness. To make the white Conversation Hearts, cut out a heart shape and carefully remove the uncolored clay from the cookie cutter.
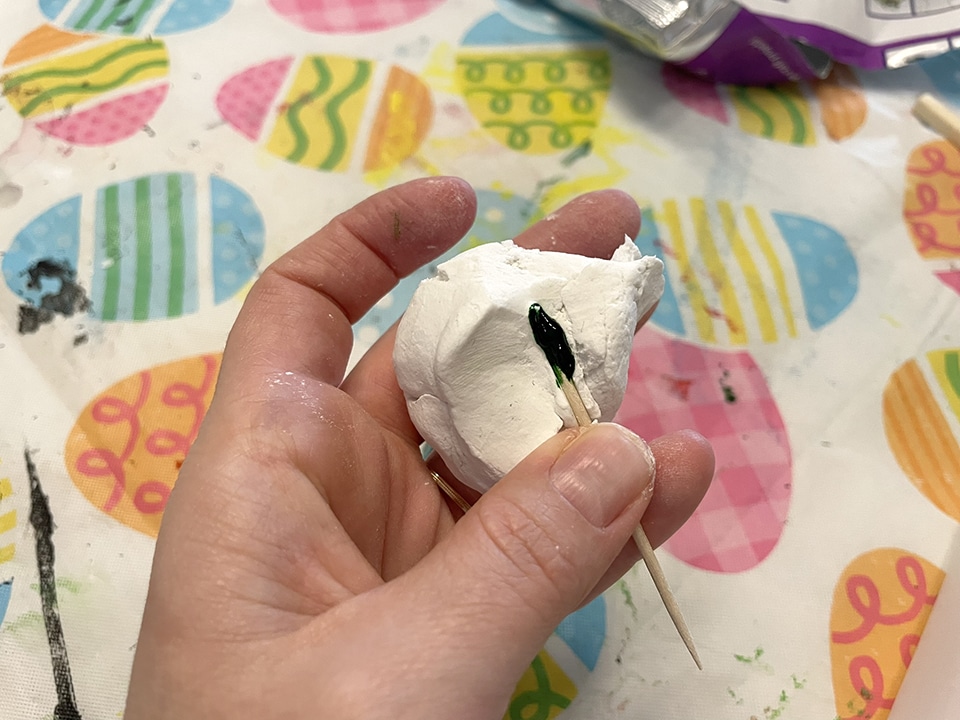
Next, move on to making the colorful Conversation Hearts. Dip a toothpick in the food coloring and dab that gel into the center of the clay. You may want to wear disposable gloves for this part of the craft; I opted to not wear them, and have multi-color palms and fingers as a result!
Now this is where it gets messy – roll the clay between your fingers, or knead on your worksurface, until the food color has spread uniformly through the clay.
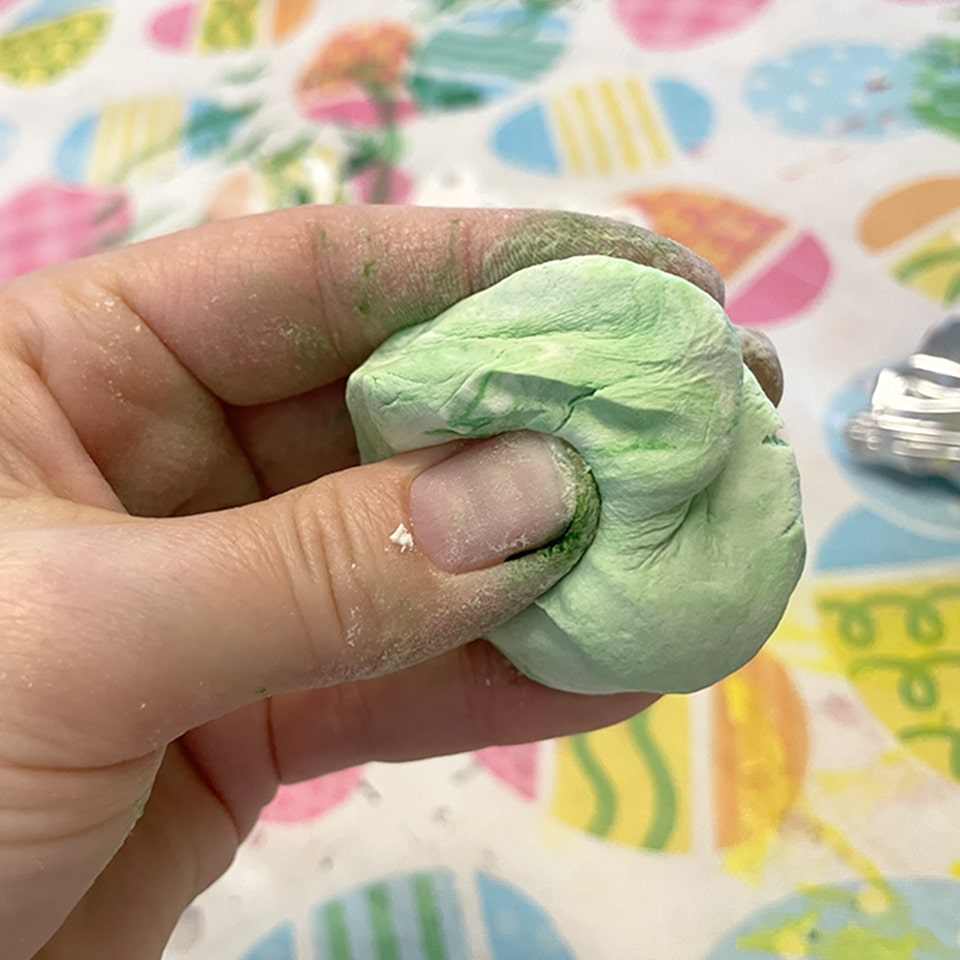
Then, roll out the clay and cut out the heart shapes. I made at least two of each color, and created white, green, yellow, orange, purple and pink Conversation Hearts.
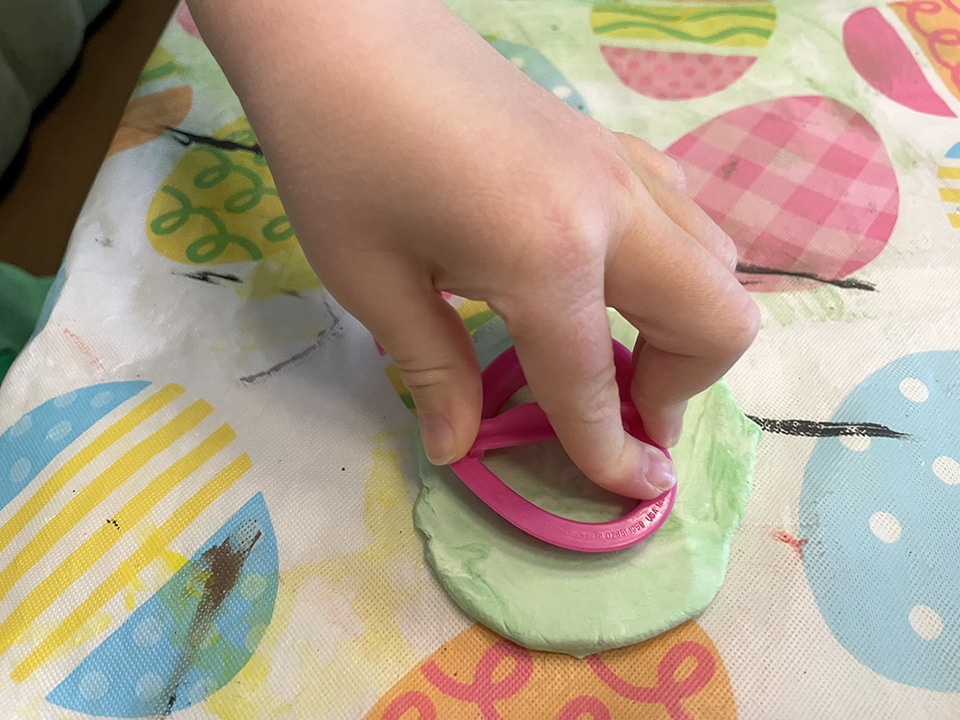
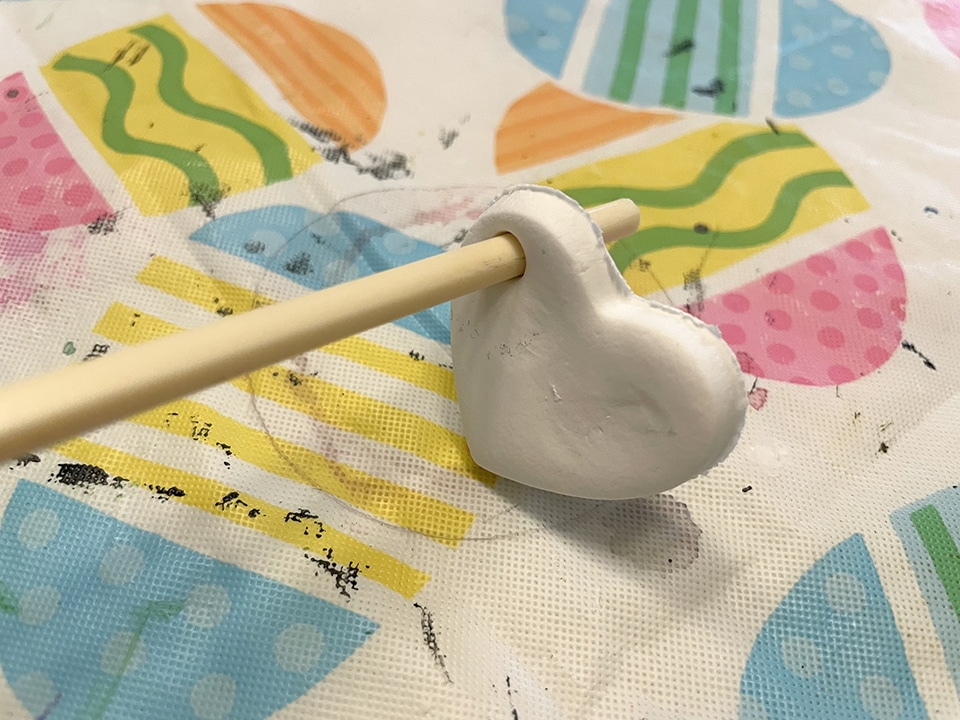
Next, use the chopstick to carefully poke two holes in each heart. Place the hole at the top of each heart “lobe.”
For the next step, I asked my kids what “love” means to them. After naming off the members of our family (including their grandparents), they also added in the ideas of hugs and kisses, happy and good nite. So, gather your letter stamps and create the words that mean “love” to your family. Press these lightly into each clay heart.
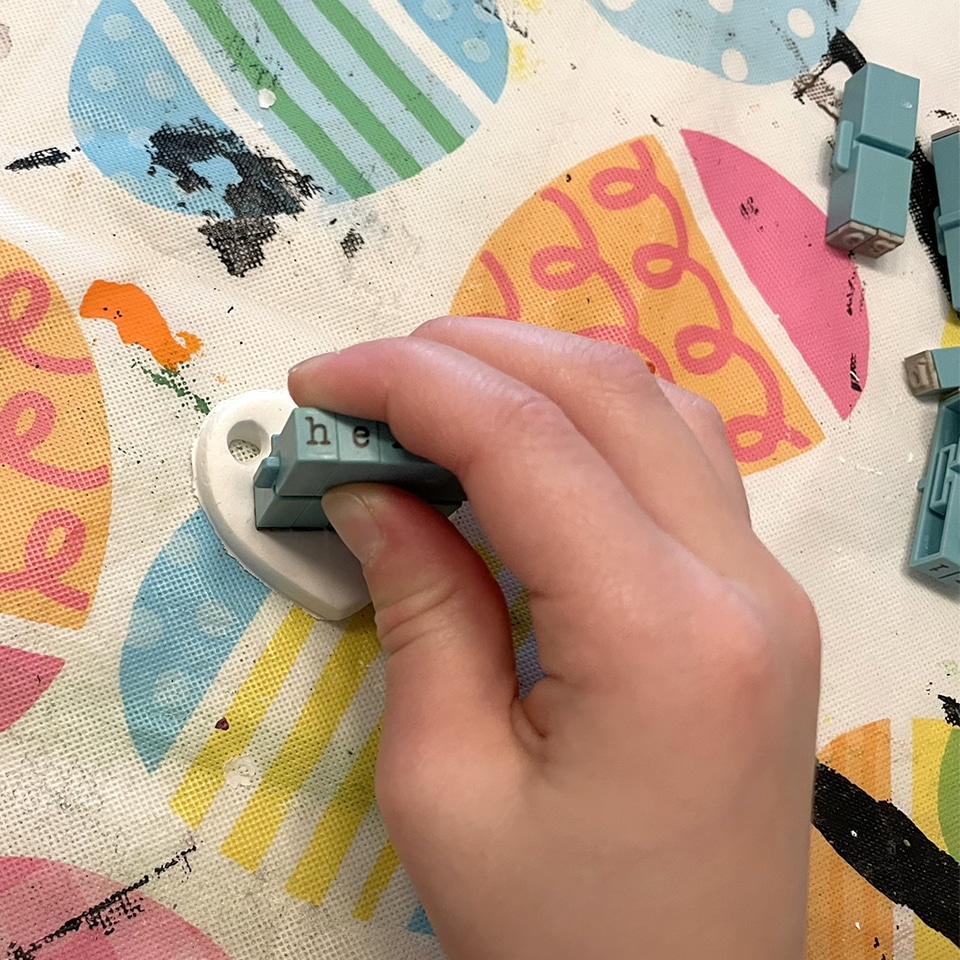
Or, use the classic Conversation Heart sayings of: Be Mine, Kiss Me, Call Me, Miss You, I’m Yours, XOXO, Email Me, Marry Me and Luv U.
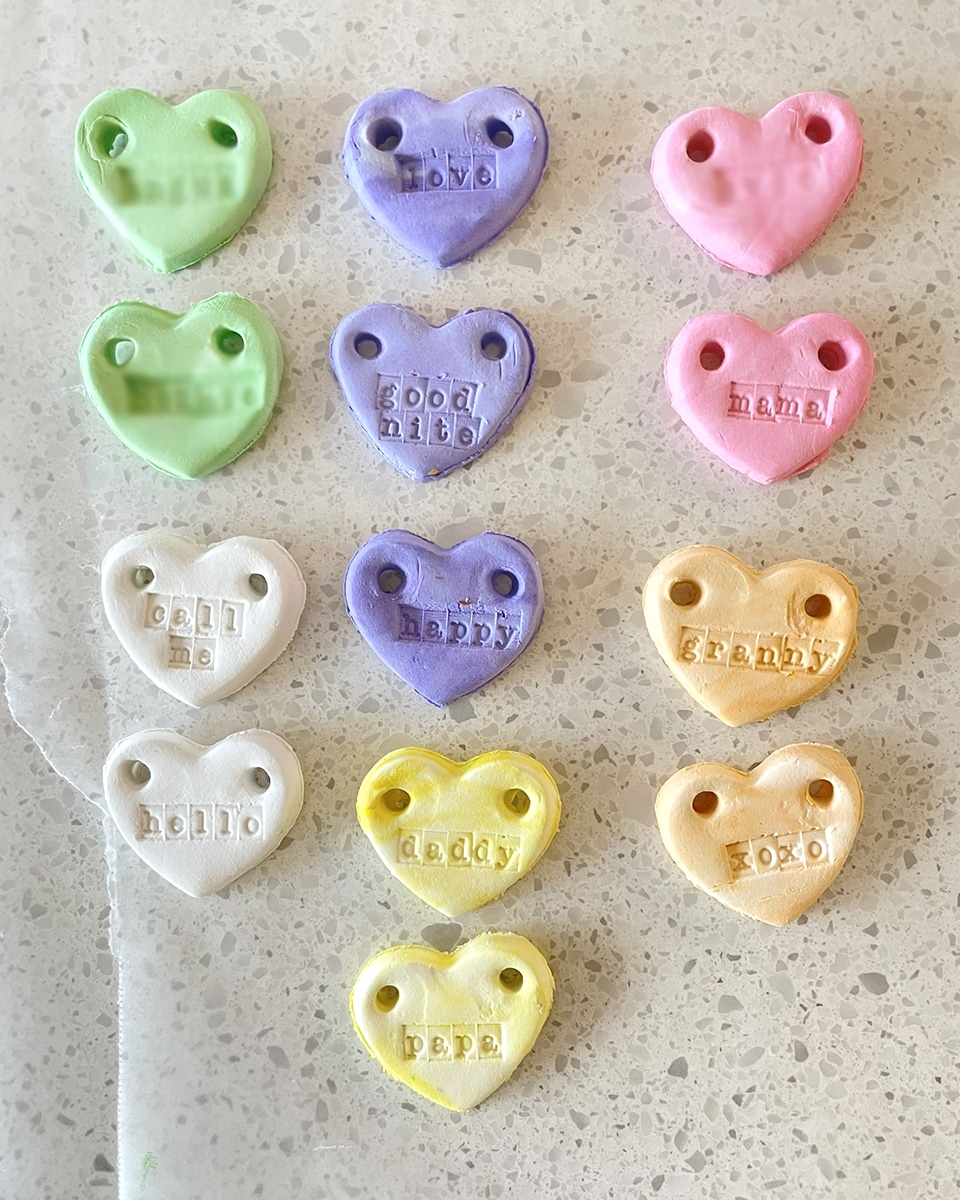
Now, place the clay hearts on a sheet or two of waxed paper and allow them to dry. We left ours on the counter overnight before continuing the craft.
When the clay hearts are fully dried, cut a length of yarn, ribbon or twine longer than all of your hearts lined up. Be sure to leave extra length for tying-off at the ends and knotting between the hearts (if necessary).
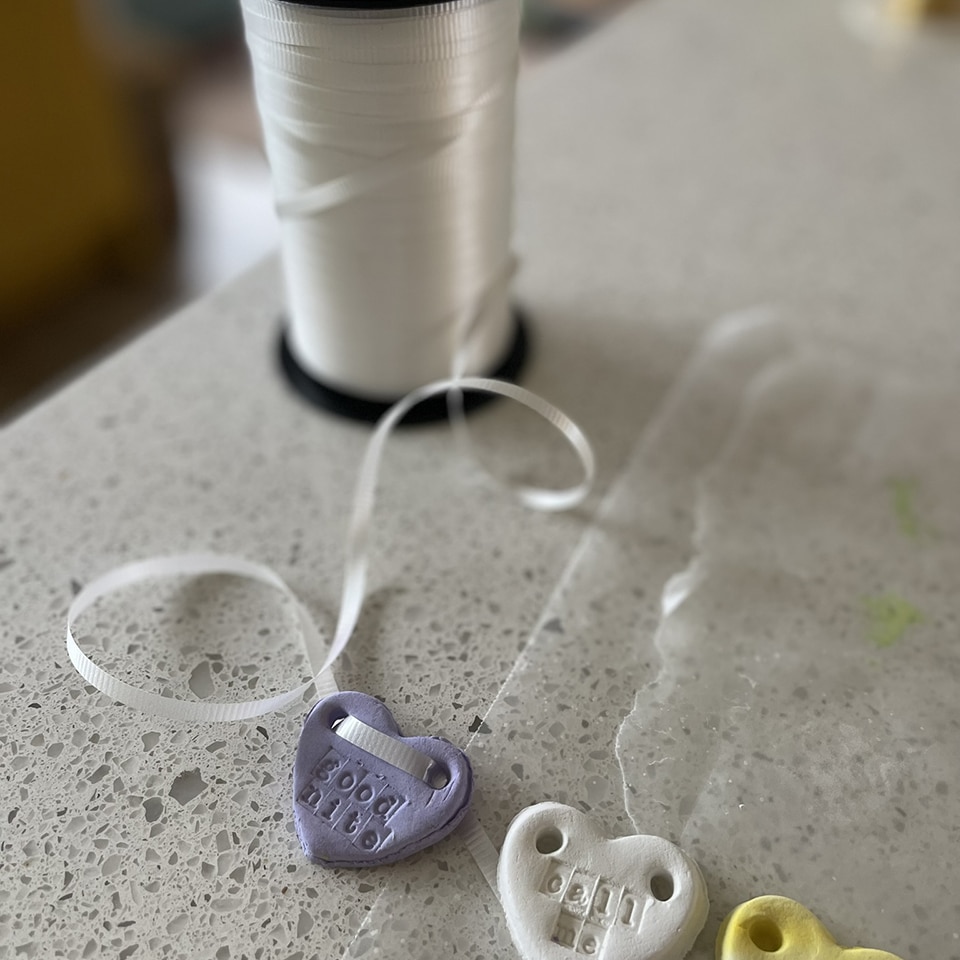
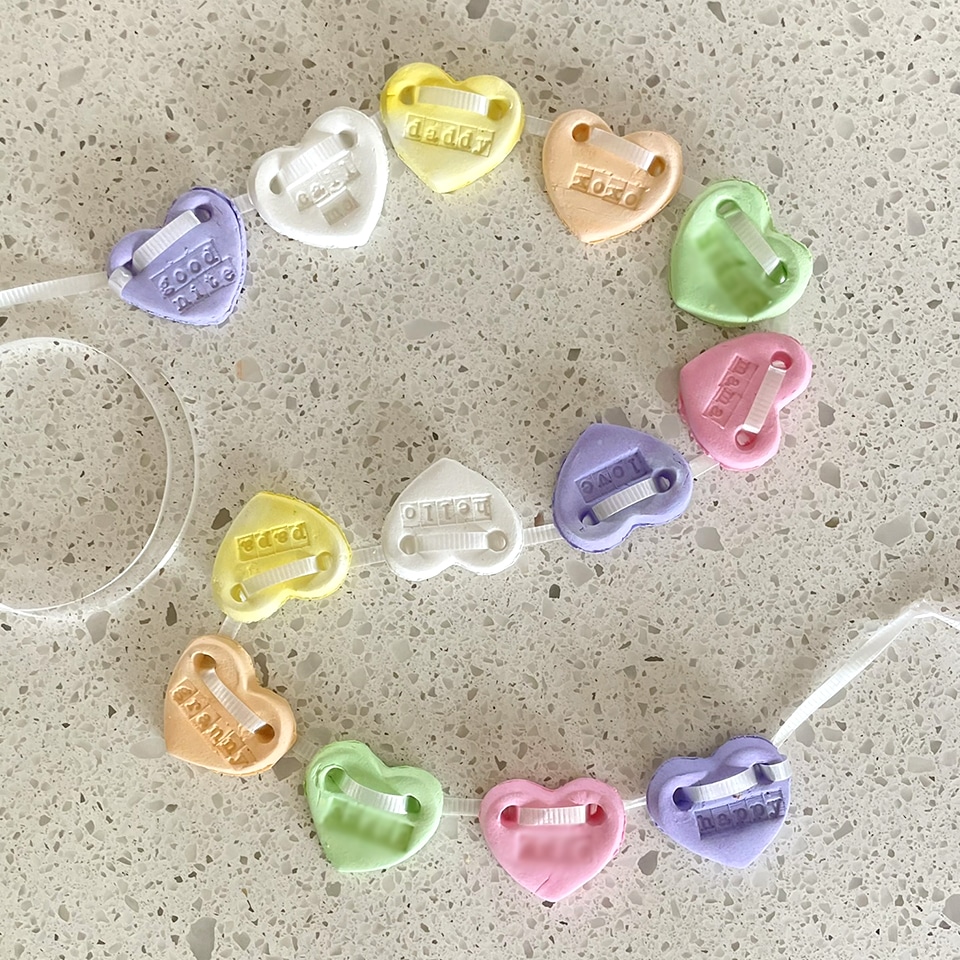
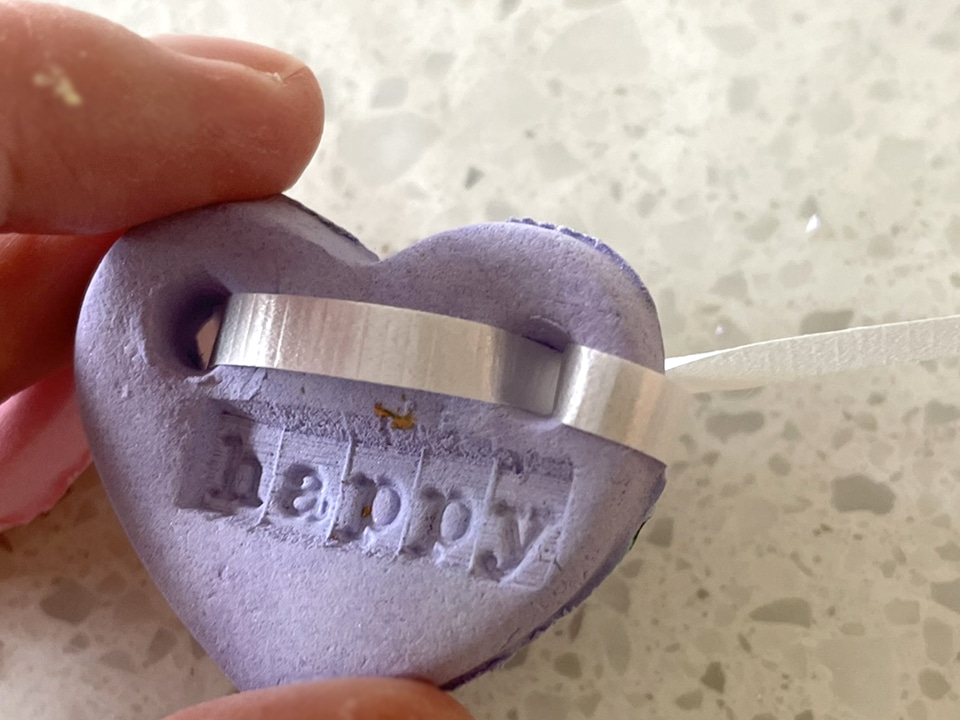
Last, decorate with your heart garland. This sweet and simple craft is a huge hit with my crew! As my daughter says: “this is just beautiful.”
Jackie Baird Richardson is an interior designer, editor at The WON and avid junker. Watch for her design tips and occasional crafting ideas, bringing the outdoors indoors. View all posts by Jackie Richardson