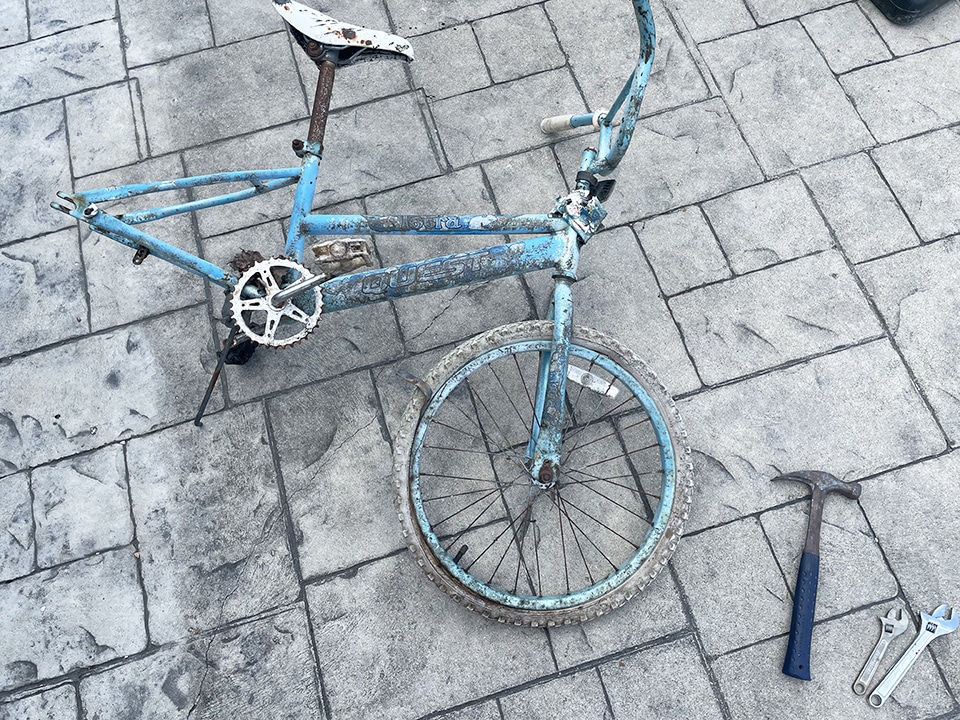
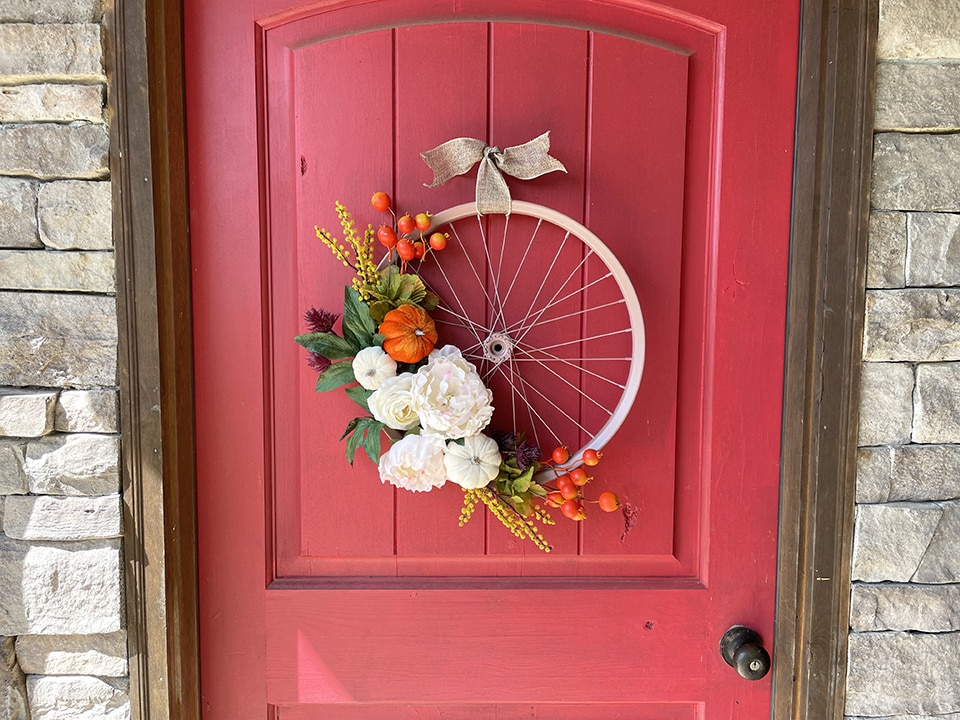
Recently I dug an old bike out of the family dump, cleaned it up and made one wheel into a summer sunflower wreath. You can read about that project here. I saved the other bike wheel to use later for a fall wreath. Now that the leaves are starting to turn and the scorching summer days are beginning to mellow, I dug out the remainder of the bike and started on the next wreath.
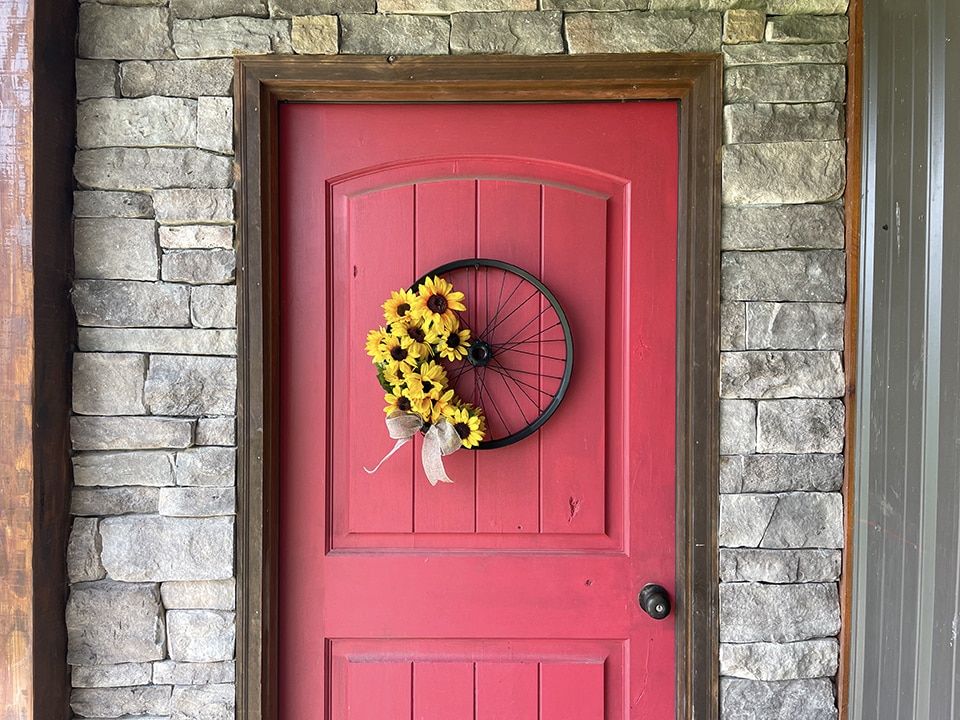
I love that this craft is so versatile – the style or season options are limited only by your imagination. My fall wreath uses material found at the local Dollar Tree and Hobby Lobby. Follow along to see the steps I took to create this colorful autumn wreath upcycled from an old, discarded bike wheel.
I employed the same techniques for removing and cleaning the bike wheel as the first version. See those steps here.
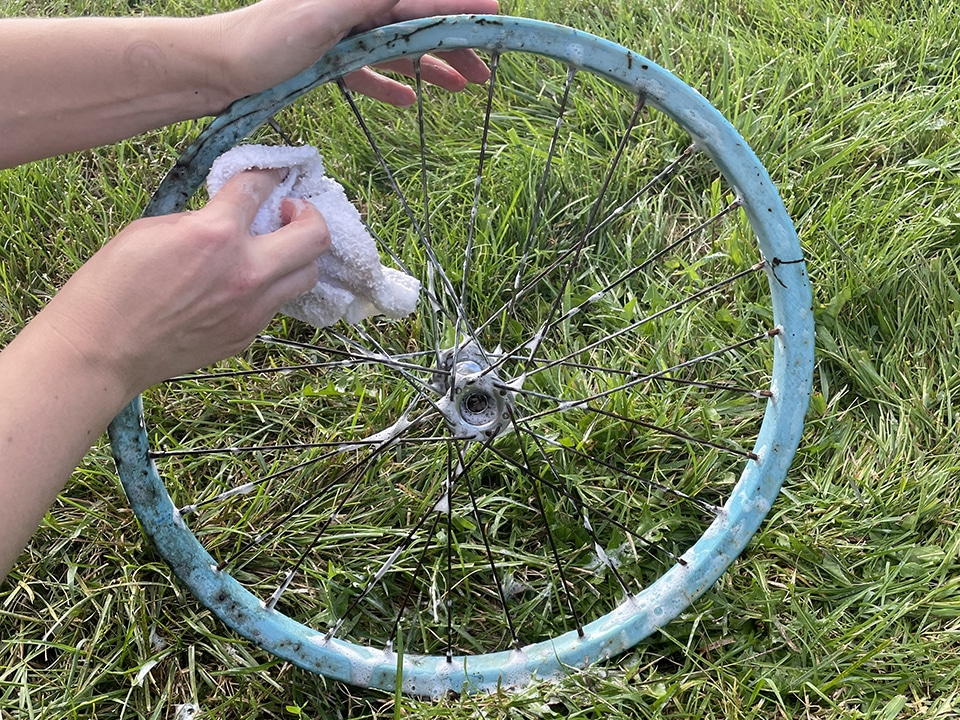
Be sure to give your bike wheel a good scrub and let dry thoroughly.
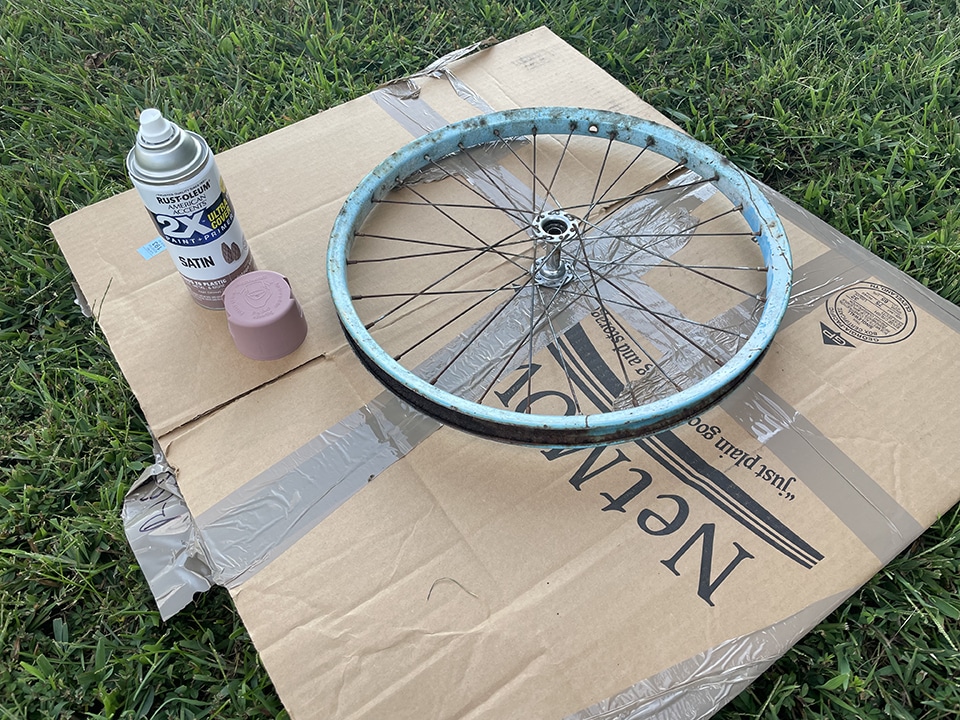
Spray paint the wheel in a well-ventilated area. Make sure to cover all surfaces, back and front, as best as possible. I used Rust-Oleum’s “Vintage Blush” in satin finish.
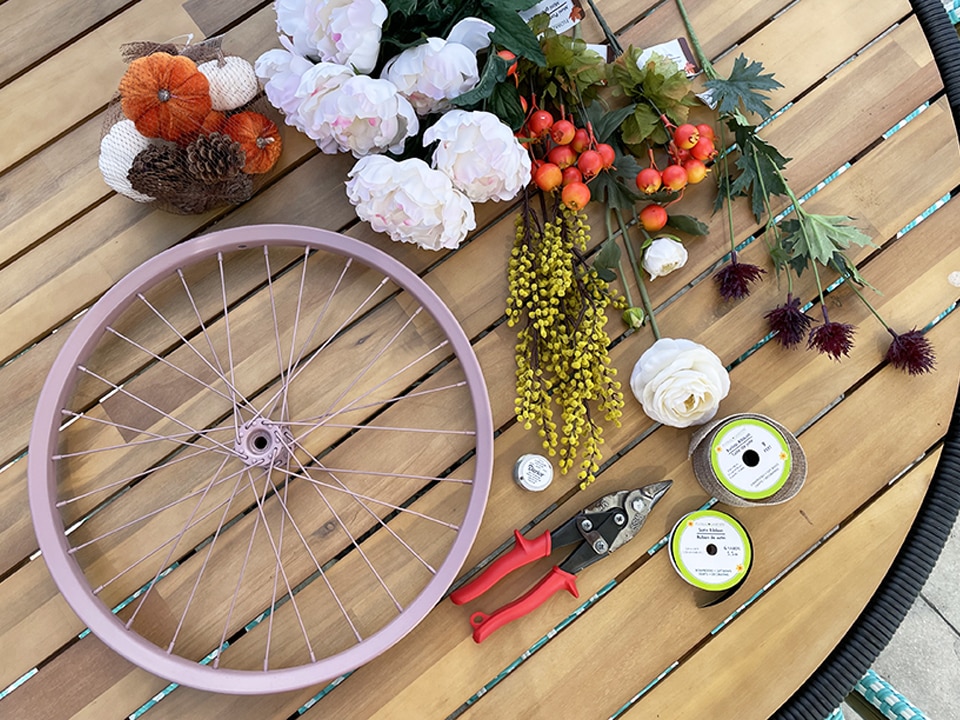
Materials
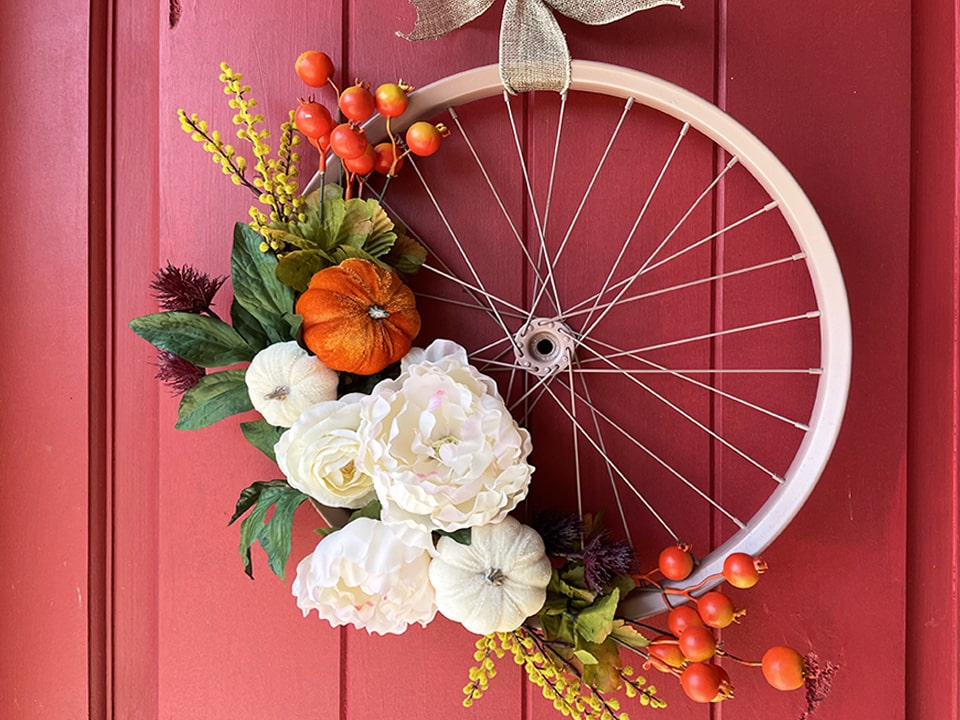
I used a variety of flowers, pumpkins and even a few pomegranate sprigs to decorate this blush wheel.
First, do a dry layout of your materials on the bike wheel. This gave me a good road map for the layers of items.
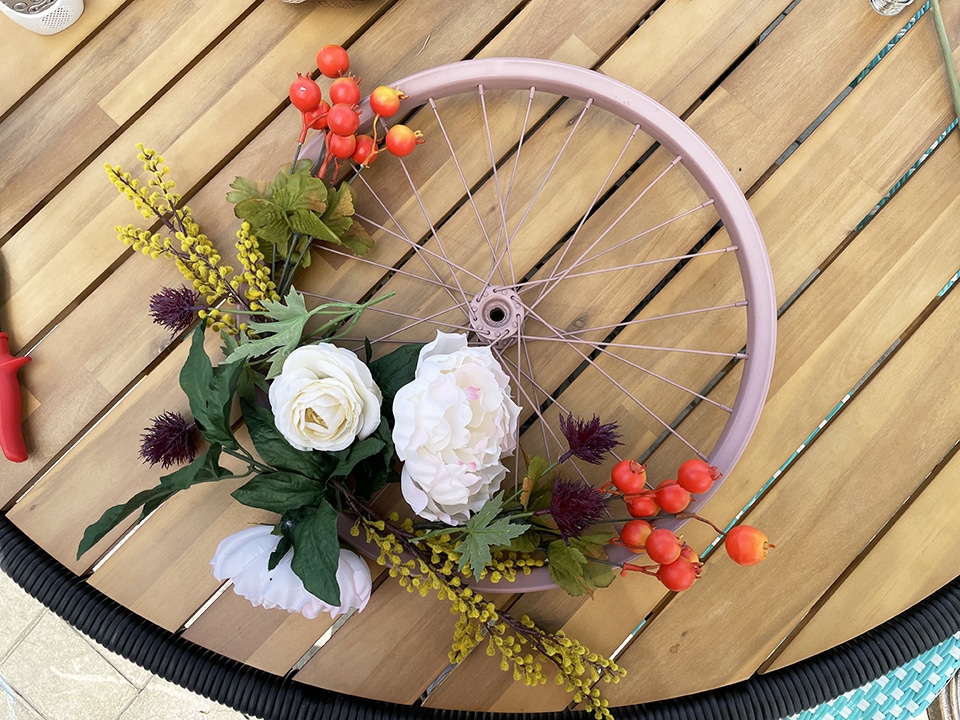
When you are happy with the overall rough layout, trim your stems. I cut off as much of the bare stem and leaves as possible, so that the wreath wouldn’t be too “bushy.”
Carefully place all materials around your wreath. Beginning tying the bottom layer to the wheel, using thin craft wire. I found that it was easiest and looked the cleanest to tie off the wire at the back of the wheel spokes.
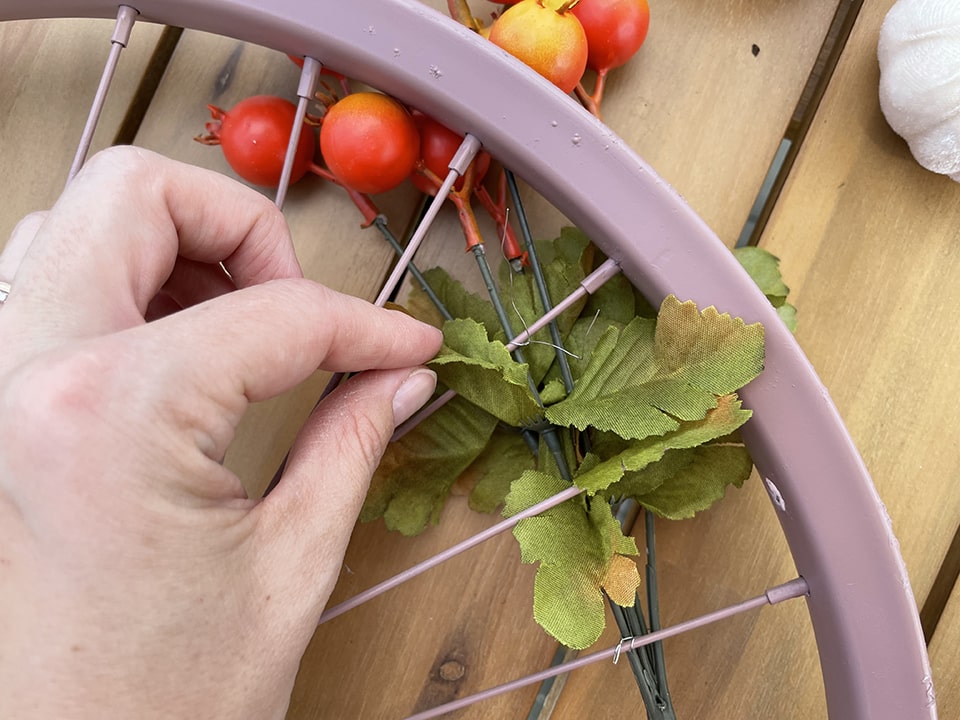
Flip over your wheel and check the first layer. If you are pleased with the start and stop points of your decorations, move on to adding the next layer. For this round I added citron greenery.
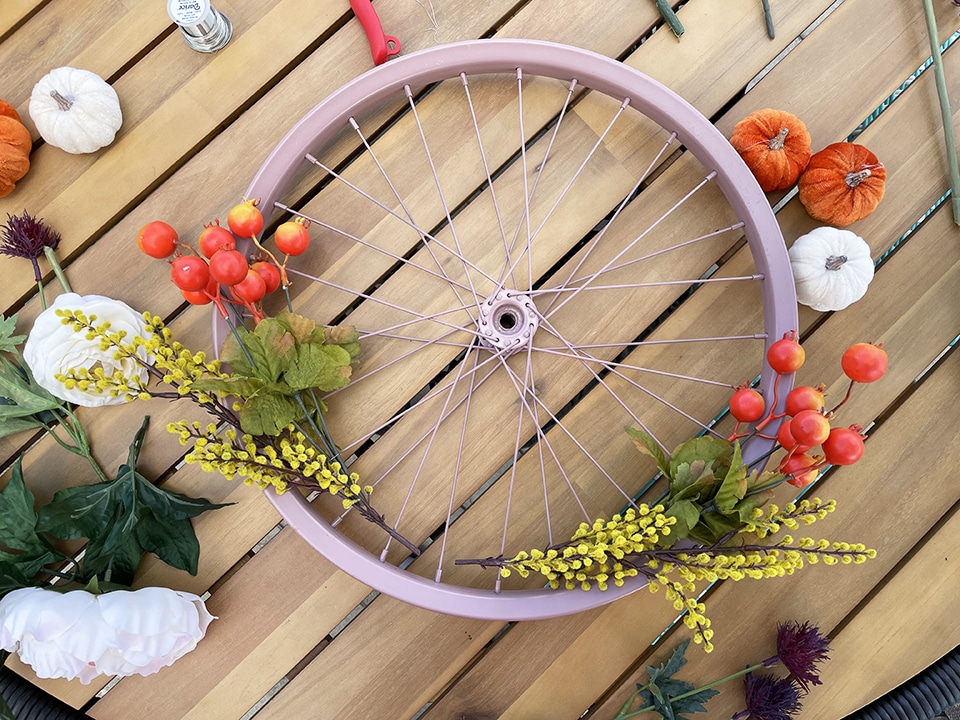
Continue adding layers of materials, making sure to check, rearrange and fluff the items as you go.
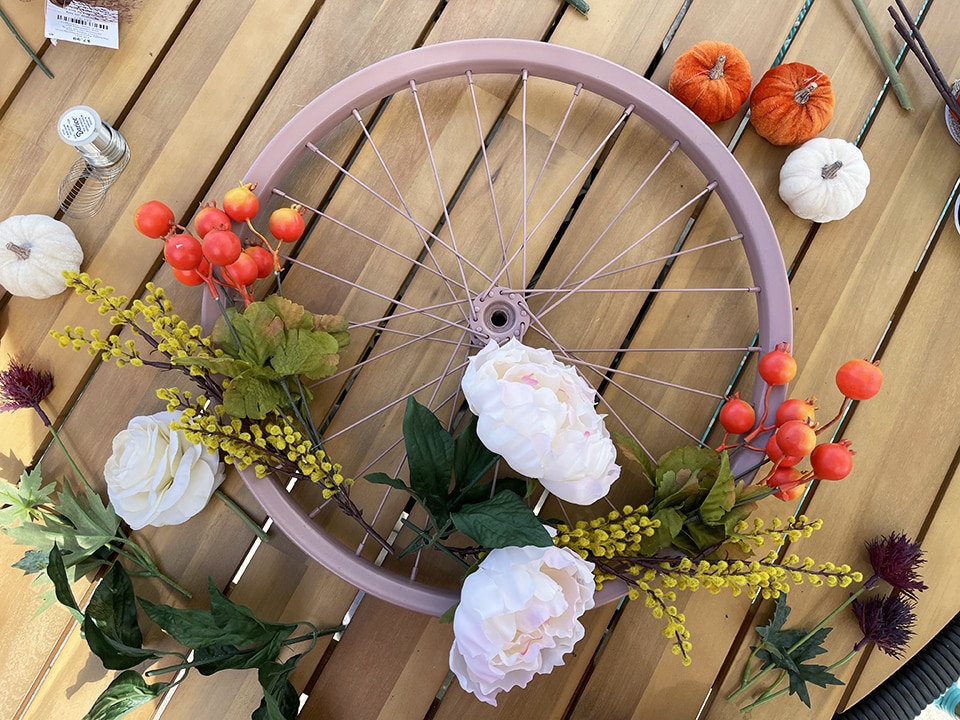
Pay attention to the cut-off portions of any stems. I found the leaves from the largest flower, the peonies, worked well as filler.
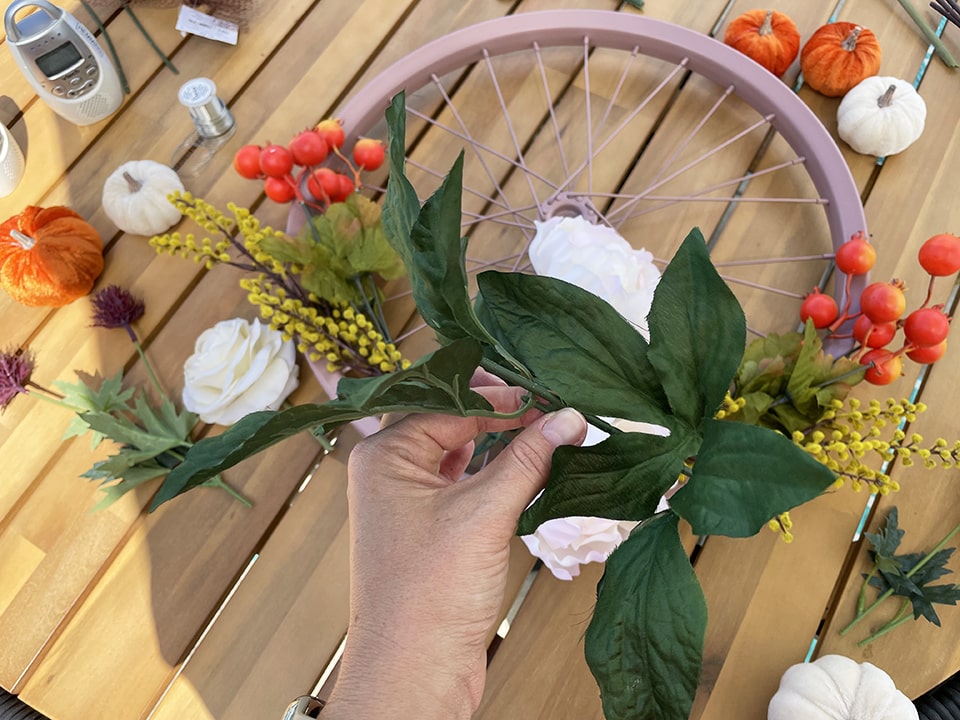
Add a little filler.
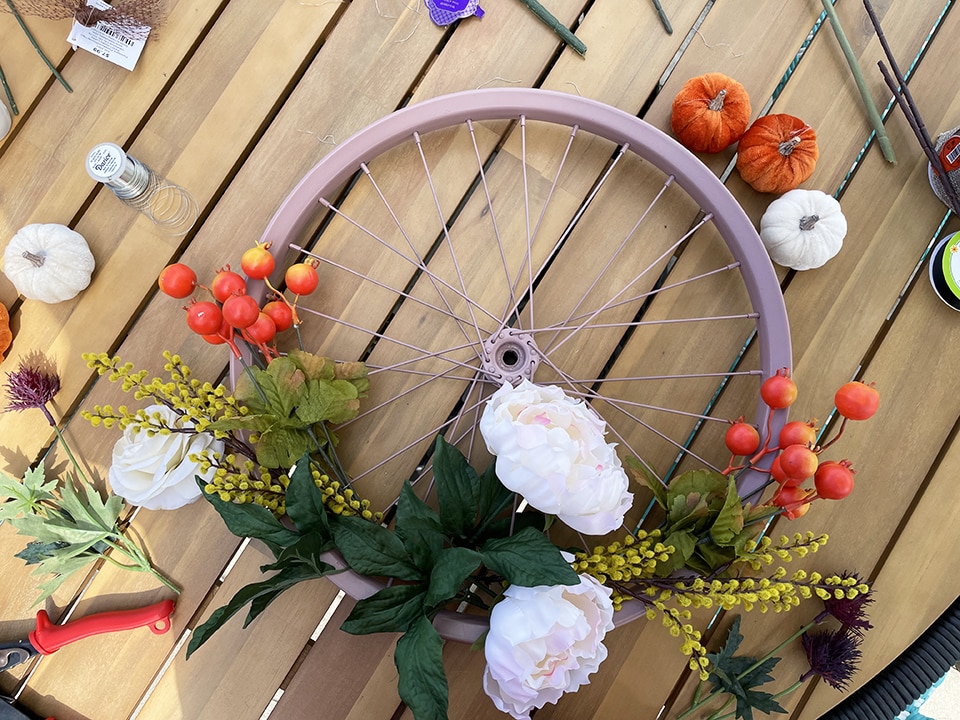
Next I added a rose and some thistles.
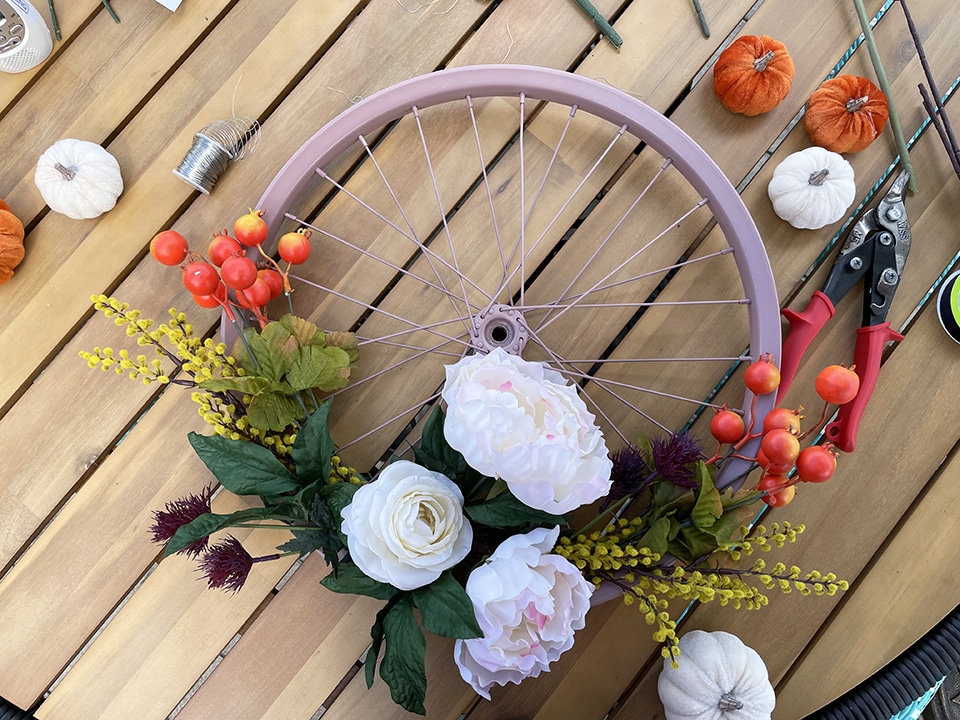
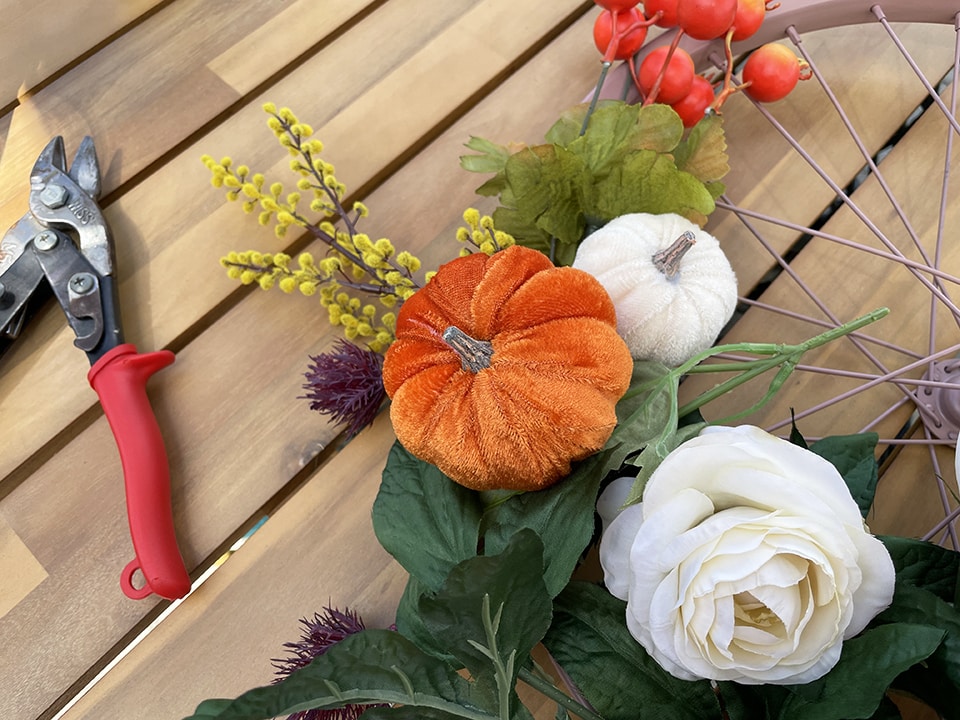
Now, to really punch up the fall feel, I added a few pumpkins. These punkins didn’t come with a way to easily attach them to the wreath, so I improvised. They are made of floral foam that’s wrapped in a stretchy material. So, I cut little holes in the back and wove some of my craft wire through to create a loop.
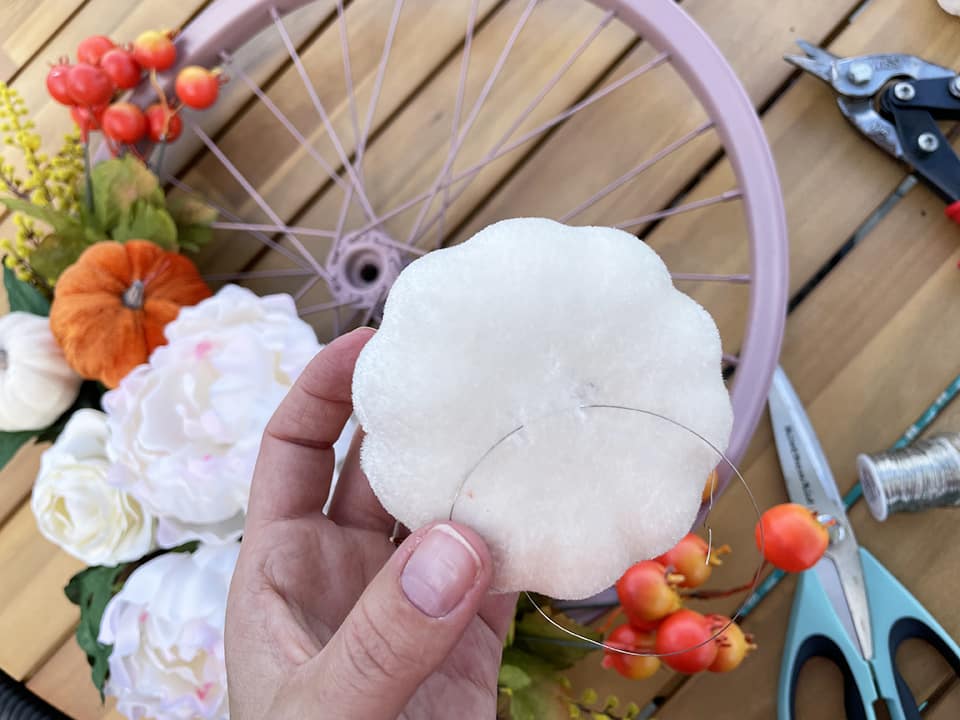
Easy peasy. The wire loop easily attaches the pumpkins to the spokes, in the same fashion as the other floral stems.
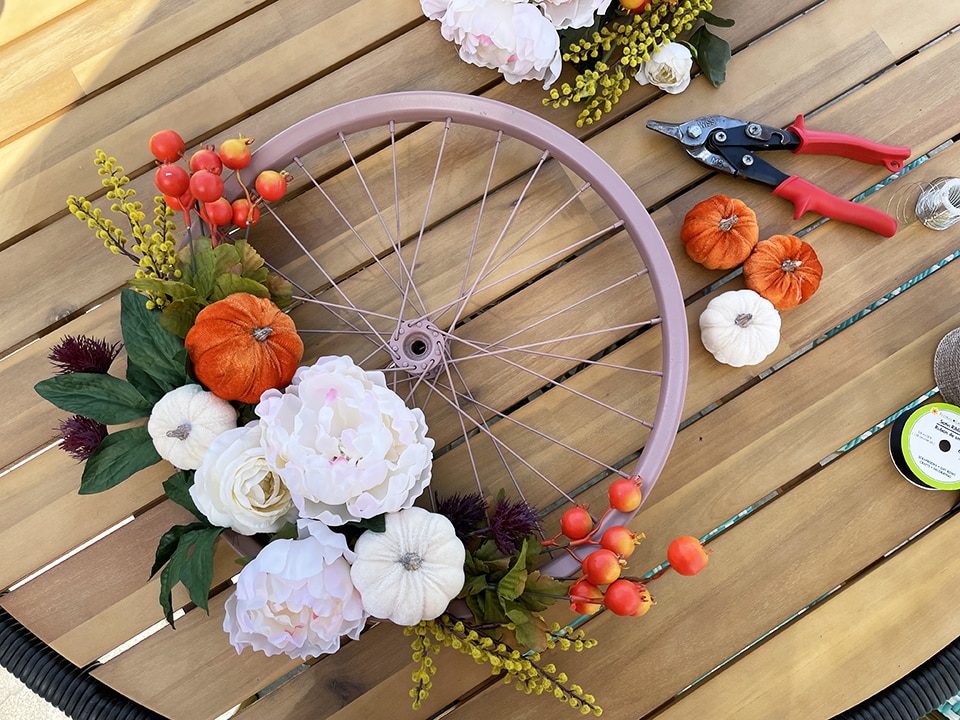
Give your wreath a final once-over, add a bow and hang!
Jackie Baird Richardson is an interior designer, editor at The WON and avid junker. Watch for her design tips and occasional crafting ideas, bringing the outdoors indoors. View all posts by Jackie Richardson
Love this! A family member needs to replace a wheel due to a bent rim – definitely upcycling it into a wreath. Thanks for the great tutorial!