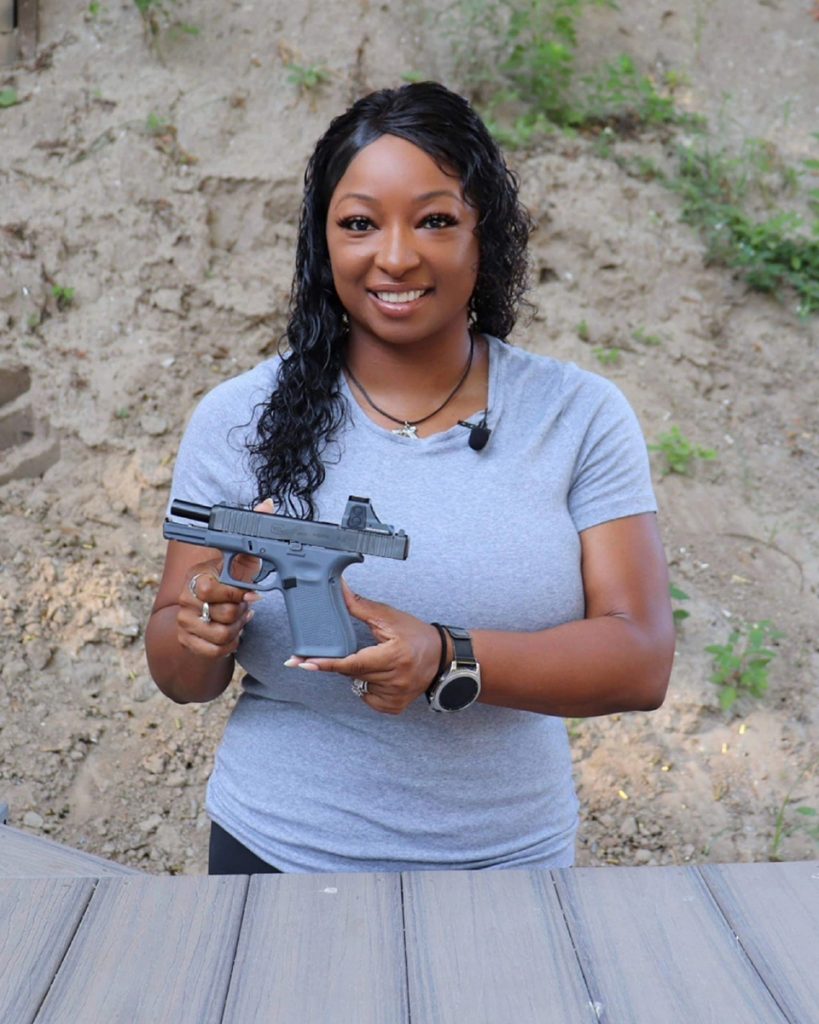
Women’s Outdoor News and Avery Skipalis bring you a video about zeroing a pistol red dot. The last video in this series covered how to mount your red dot to your pistol. This video covers things to consider when zeroing your red dot. It’s extremely important to ensure that you zero your pistol red dot before carrying it mounted on a firearm for defensive purposes.
Sponsored by GLOCK

Zeroing a Pistol Red Dot
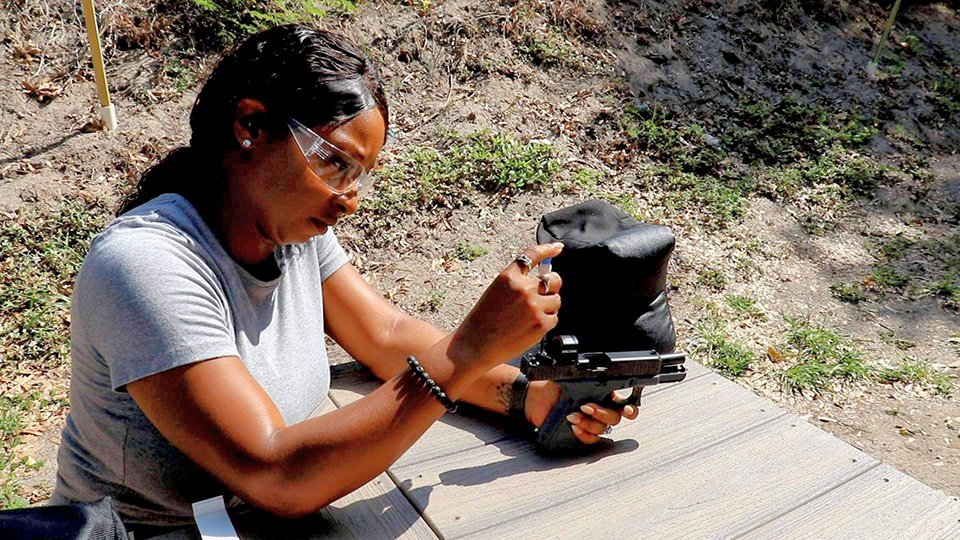
Zeroing a pistol red dot is a task that should not require much ammunition or time at the range. The items you will need include a bench with rest, small screw driver (to make adjustments on your optic), marker or pen (to mark your hits on target), zero target (I used the Arma Dynamics free RMR target), target and defensive ammunition, eye and ear protection and a laser bore sight (if you have one).
If you have a laser bore sight, you can start your zero process while in the comfort of your own home. First, be certain to perform a safety check on your pistol to ensure that it is properly cleared out. Also confirm that there is no live ammunition in the immediate area. Once your firearm is cleared, you can now utilize your laser bore sight to bore sight your pistol.

If you do not have a laser bore sight, that’s okay. You can still adjust your optic before you head out to the range, to get you at least hitting paper. To accomplish this, line up the front and rear sights on your firearm. Once your sights are aligned, you can adjust your red dot. These adjustments should move your red dot so that the dot is sitting directly on top of the front sight. Regardless of the method you use, you will still need to live fire at the range to confirm your zero.
Confirming Your Pistol Red Dot Zero
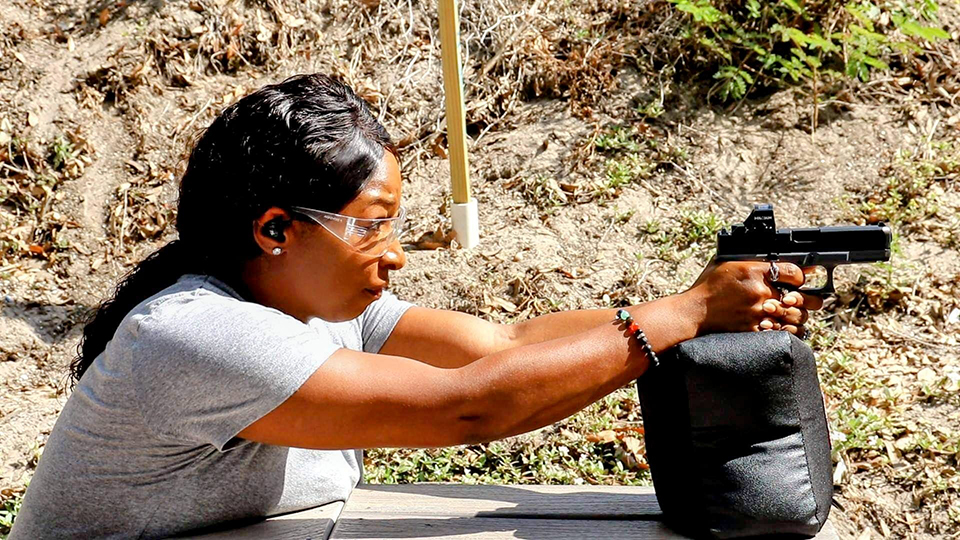
When you arrive at the range, verify that you have all of your supplies. Zeroing should be accomplished while in a comfortable, supported position. The distance that you will zero from depends on the firearm, and the intended use of this firearm. My firearm is for defense purposes; therefore, I will be zeroing from the 10-yard line. I’ll shoot five shot groups, taking slow and steady shots.

Be sure to focus on using your fundamentals. Once you shoot a group, mark your hits on the target and make the appropriate corrections. The corrections will be made utilizing the windage or elevation adjustments. Adjusting the windage will move the point of impact left and right. Adjusting the elevation will move the point of impact up and down.
Next, adjust your point of impact to the exact point of aim. When making corrections, make moderate corrections and walk-in your point of impact. Continue making adjustments as needed. Once you’re comfortable with the point of impact, confirm the zero with your carry or duty ammunition. These same steps can be used to re-check your zero, which I recommend to do periodically.
Avery Skipalis is the owner of Skip’s Tactical Solutions, an organization that focuses on empowering women, men and children to make sure that no one else becomes a victim. She gained her firearms experience from the military where she’s been a military firearms instructor for 10.5 years. She’s also a certified NRA rifle and pistol instructor and Glock Advanced Armorer since 2015. She’s attended Sig Sauer Academy, FNH, Special Operations Command Armorers courses as well as multiple Advanced Shooting Schools across the United States. She resides in Florida with her husband and 2 kids. She’s currently serving in the United States Air Force and loves sharing her passion with others. She thinks it’s important that women also feel like they’re in control of their own safety. View all posts by Avery Skipalis