While many people keep a handgun for personal defense, a rifle is a more versatile tool to have in your home. The options to use it for hunting, recreational shooting and personal defense are all there in one platform. Here are a few tips if you are a novice rifle shooter and want to get started off learning what you need to shoot a rifle well.
The first thing to learn is how you manipulate the rifle. How do the controls work? How do you best hold it? What is proper form?
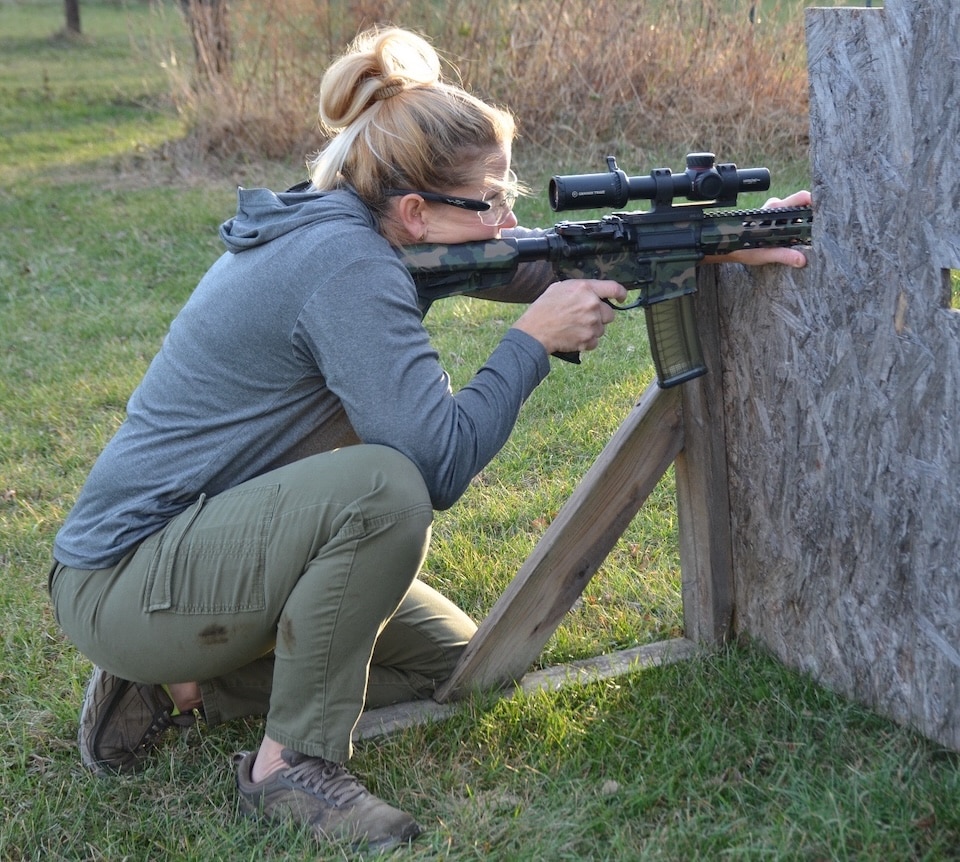
Some online tutorials in rifle manipulation and form for holding and shooting it are a great place to start. Consider that you want to be able to reach the controls and have the ability to load, unload, change a magazine and shoot the rifle from standard positions, such as prone or supported standing or kneeling.
One of the first steps to take when you purchase or work with a rifle is whether it fits you. Ask yourself these questions:
It’s worth knowing that there are brands with left-handed controls, like the Stag Arms Lefty offerings, for those who are left-handed. And if you are the primary user of that rifle, it’s worth buying a rifle made for you!
Here are three manipulations to practice with dry-fire:
A lot of what feels awkward about rifle shooting starts in your head. If your head is tilted to the side and not upright behind the optic, you will have an awkward cheek-weld and poor balance. A tilted head also opens the door to having improper alignment and parallax in your optic. Parallax is essentially improperly aligned sight picture, but with an optic. What parallax looks like is shadows on the edges of your field of view through your scope. The shadows appear if you are not aligned properly behind the optic.
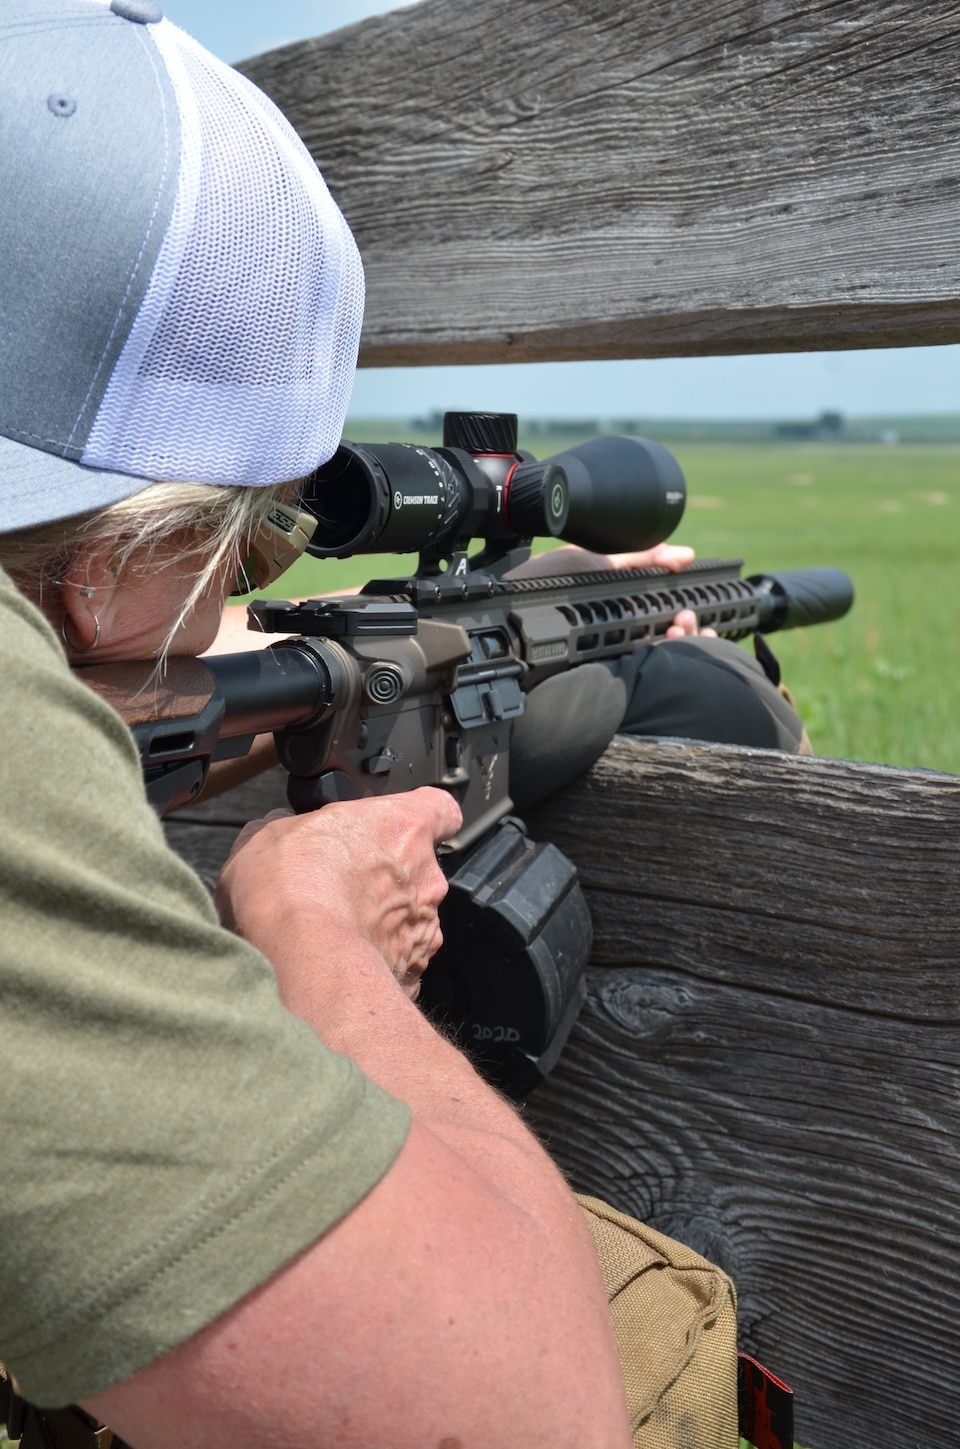
One way to address your head position on a rifle is to ensure that the optic is mounted properly for you. You want correct eye relief – the distance from your eye to the optic – that allows for you to see without shadows (parallax), and without tilting your head or stretching/compressing your neck. If you borrow a rifle from a person of drastically different size (think 6-foot-tall guy versus a 5-foot-2 teenager), then your eye relief might be a concern. Once you look through a few optics, you will understand eye relief and be able to tell if an optic needs to be moved. But generally, you should bring the rifle up to your shoulder and put your face firmly on the stock and be able to look straight through the optic.
Two Things to Look for on a Mounted Optic
Regarding a mounted optic, once you decide on the type to attach, make sure it gets affixed properly and check for these two things:
Once your gun is set up (stock is adjusted to your length of pull, controls modified as you like them, the optic set with appropriate eye relief) and you have used dry fire to learn the basic manipulations, get to the range and master some shooting tasks. But first, make sure you are zeroed properly!
There are arguments for zeroing at 100 yards and 50/200 yards. For a novice shooter, 100 yards can be the simplest. If you zero at 100, you only have to hold higher as you shoot at farther targets. Usually this “holdover” is accounted for in modern scope reticles; the technical term is BDC (Ballistic Drop Compensating). Think of a reticle as having a pre-programmed set of marks to aim with at different distances. If you are using a red-dot, you will simply hold over the target higher and higher as you get farther away.
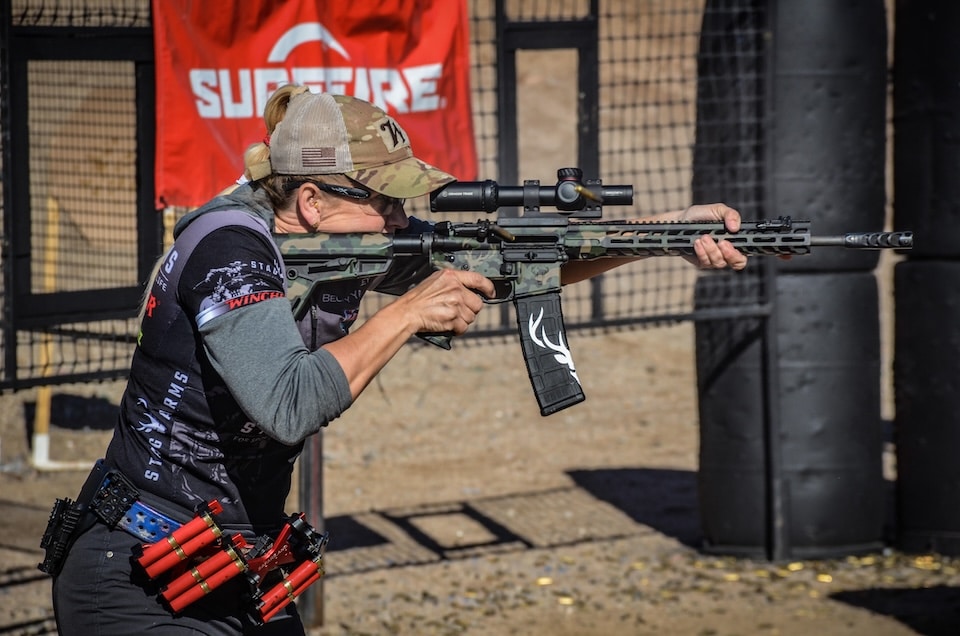
Your adjustment for shooting close targets with a 100-yard zero is small. Close targets (say 5-to-15 yards), you take into account the height over bore (like you would with any gun and any zero distance). The height over bore refers to how high your optic or red dot sits over the barrel or bore of the rifle. If it’s 2.5-inches over your bore, then you’d hold about 2.5-inches high to keep your hits where you want them on a close target. This is helpful for us in competition when we don’t want to hit the “no-shoot” targets.
For close paper with generous scoring zones, just notice where your bullet impacts and adjust your aim higher until you understand where you need to hold in order to get hits in the center of where you are aiming.
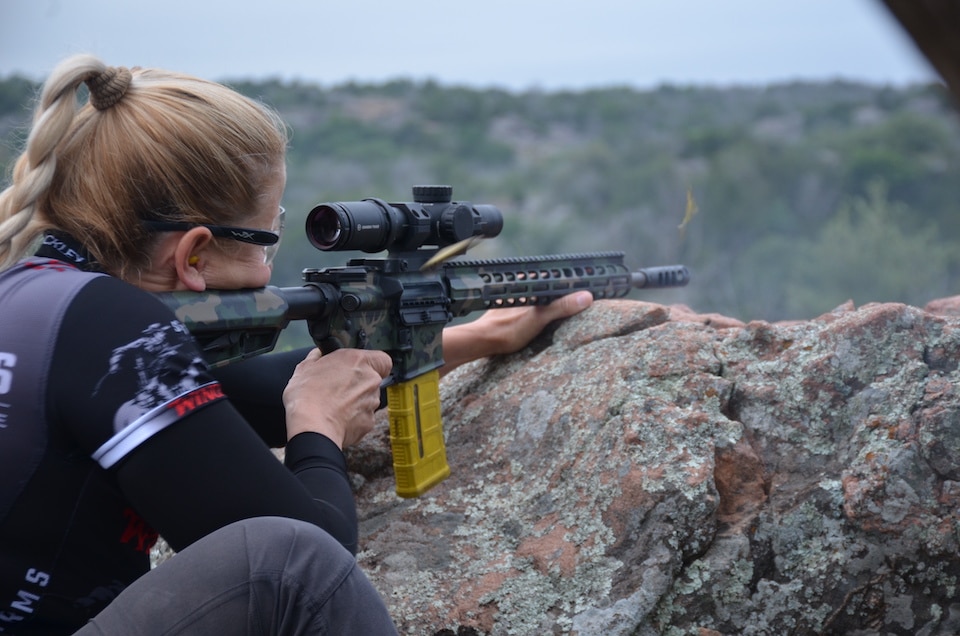
When you get to about 50 yards, your hits might be slightly low, as the bullet is still on the rising part of its arc. But then at 100 yards, you are on, and after 100 the bullet is dropping and so you just hold higher.
This is a great tool to warm up. Repeat this for an entire magazine. Load one, drop the mag, shoot a round, dry-fire a round, etc. You will see if you are “snatching” the trigger or flinching when you dry-fire. Even experienced shooters can benefit from this drill. Add a transition to a new target for the dry-fire trigger pull if you want. But stay on the rifle and treat it as if you were going to fire two rounds.
After you master these tasks, you can move on to other tasks, such as shooting and then moving to a new position and shooting again. But start with a rifle that is set up for you, properly zeroed and learn how to manipulate it with confidence so you can spend your time on the range safely enjoying the satisfaction you will find in learning new skills.
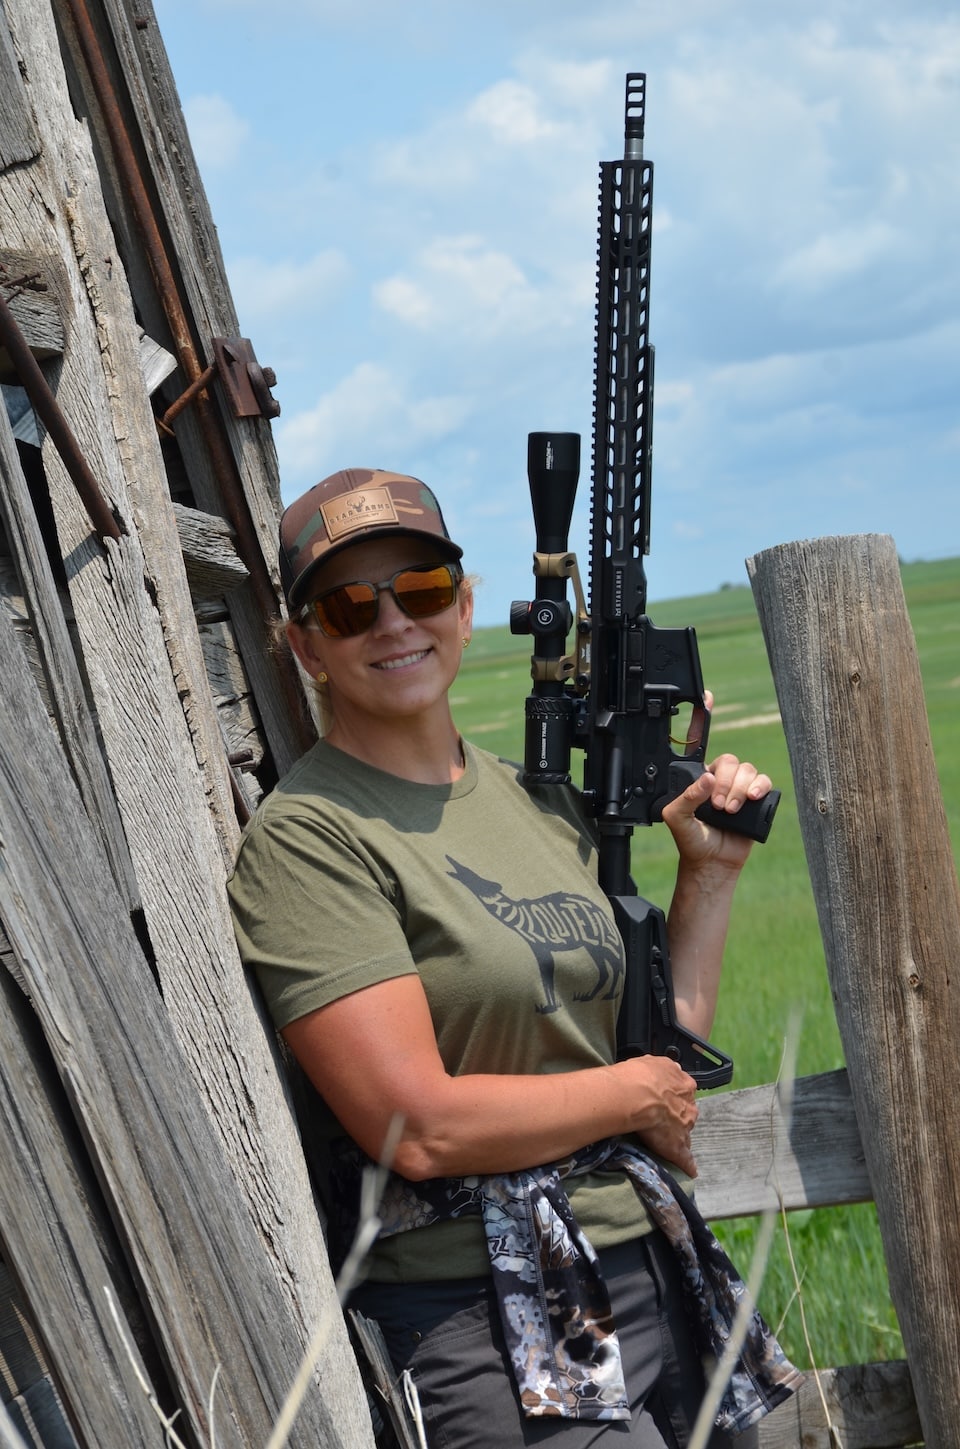
Whether you are a novice or experienced shooter check Stag Arms and AERO Precision for all your rifle shooting needs.
Becky Yackley primarily competes in 3 Gun, USPSA, Bianchi pistol, but has competed in shooting since 1989 in disciplines from service-rifle, to NCAA Air Rifle and Smallbore, air pistol and a little bit of long range rifle. She shoots guns and cameras at competitions around the country, and writes in her fictional spare time. View all posts by Becky Yackley