A few weeks ago, my husband and I tried the viral Halloween ghost painting trend, as seen on TikTok and other social media platforms. I picked up two framed pieces of “art” at my local thrift store, and we used paints that we already had at home. All-in-all, this was a cheap and entertaining date night activity. We added snacks and a couple of adult beverages to round out the evening. If you would like to create your own versions, keep reading to find the steps we used to make Halloween ghost paintings.
What is Halloween ghost painting? This trend centers around finding a vintage, framed piece of art and adding spooky elements to it, giving it new life and adding a unique item to your Halloween decor repertoire.
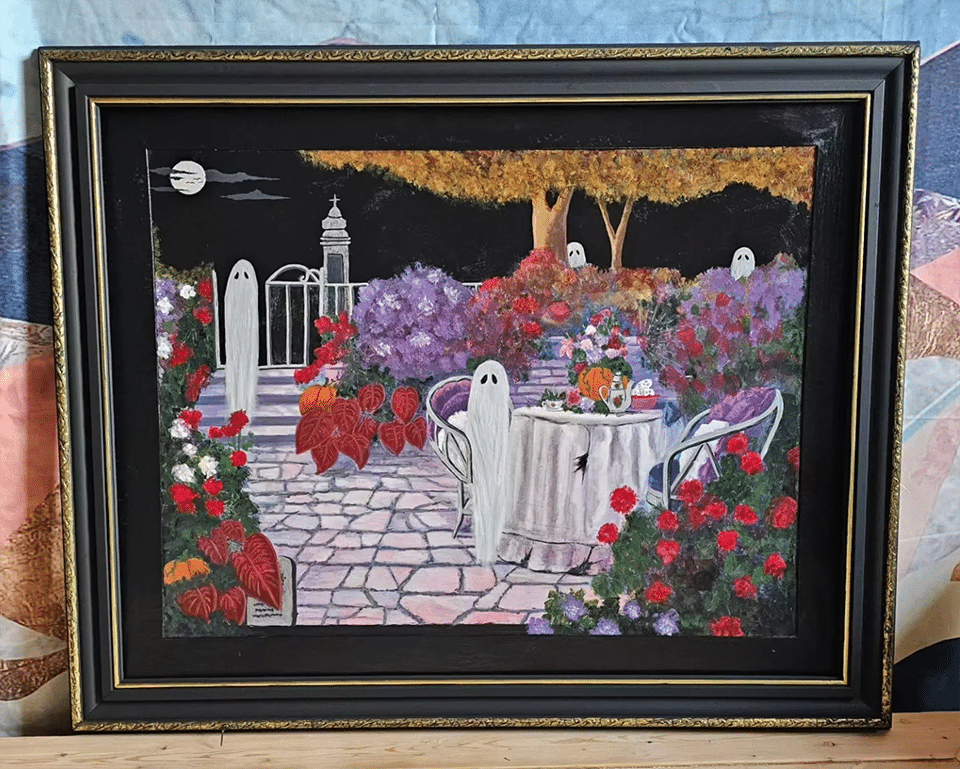
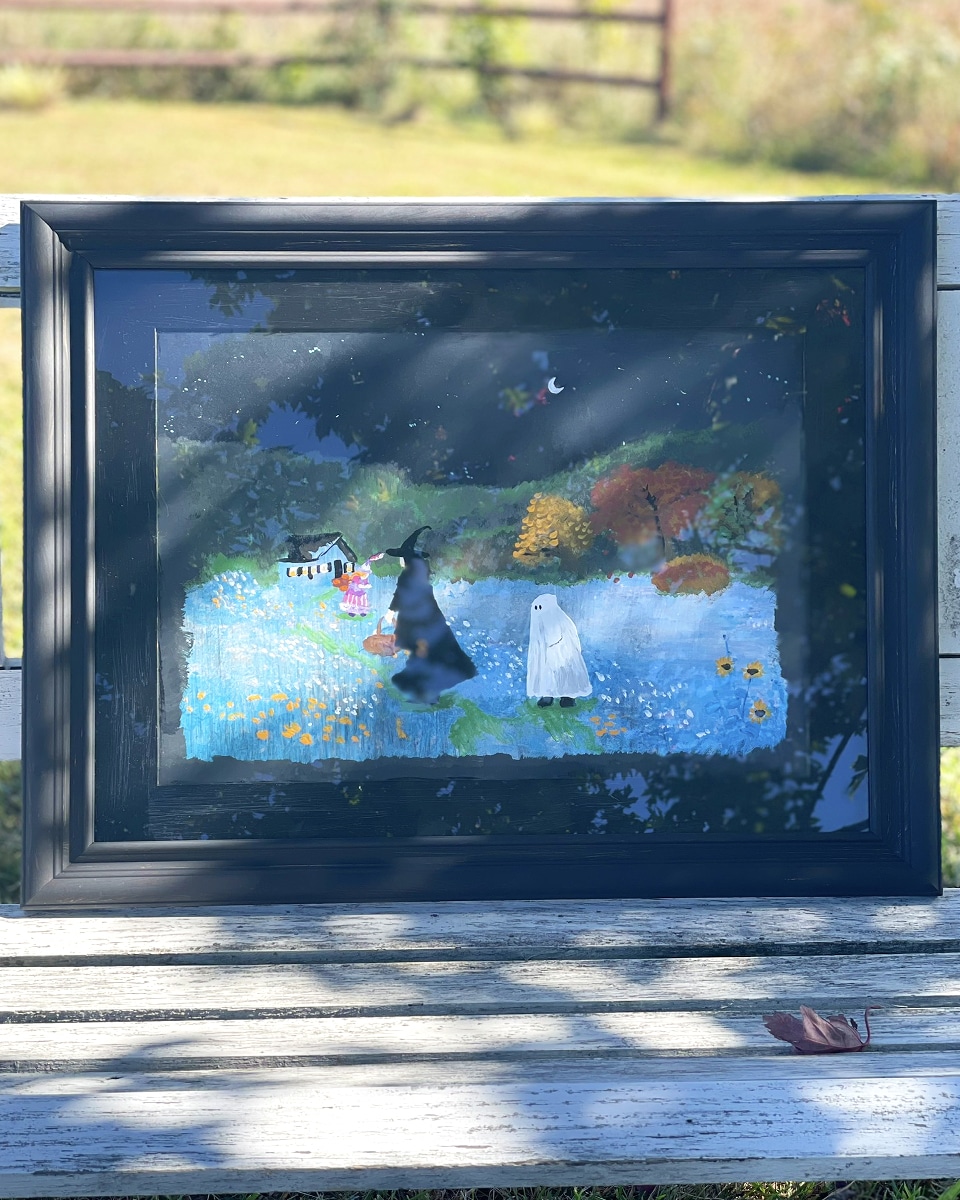
Some finished pieces of this art are available for-sale online. The above example is available for purchase at $150.00 plus shipping cost. We made our art for much less!
Gather up vintage, framed art (one per artist), acrylic paints, brushes, cup for water, paper towel and something to protect your worksurface (I always use an old vinyl tablecloth). You may need a common screwdriver to help remove the art from the frame.
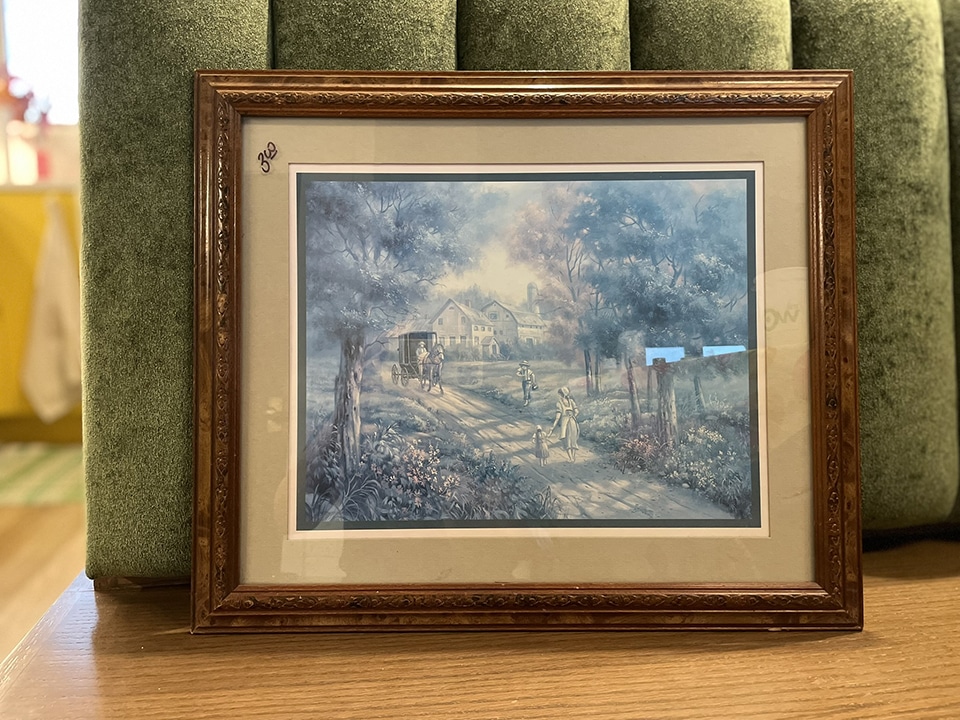
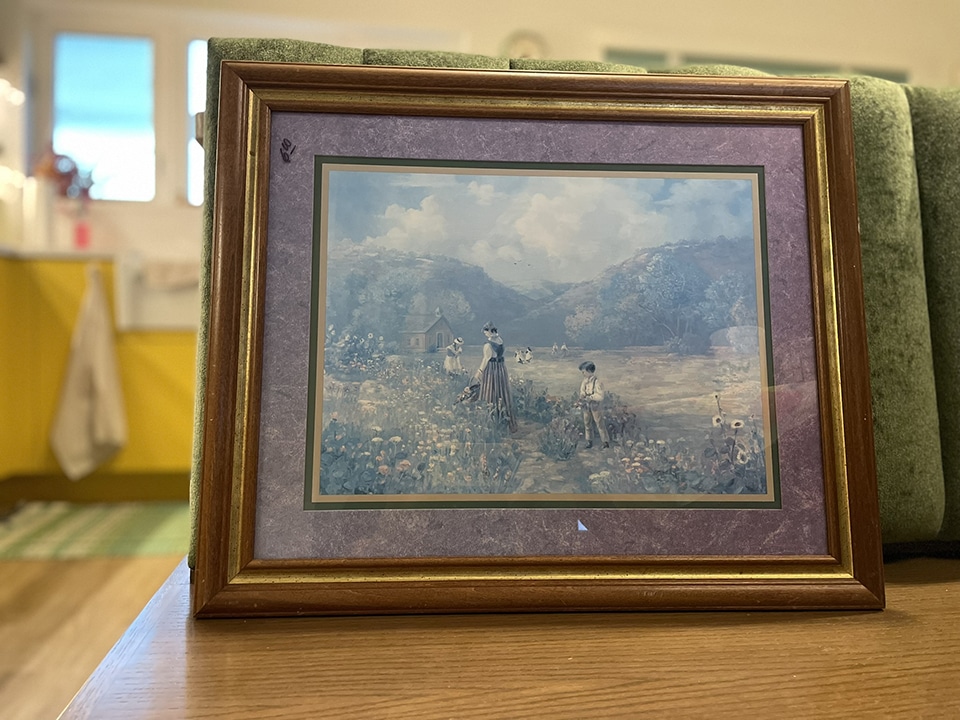
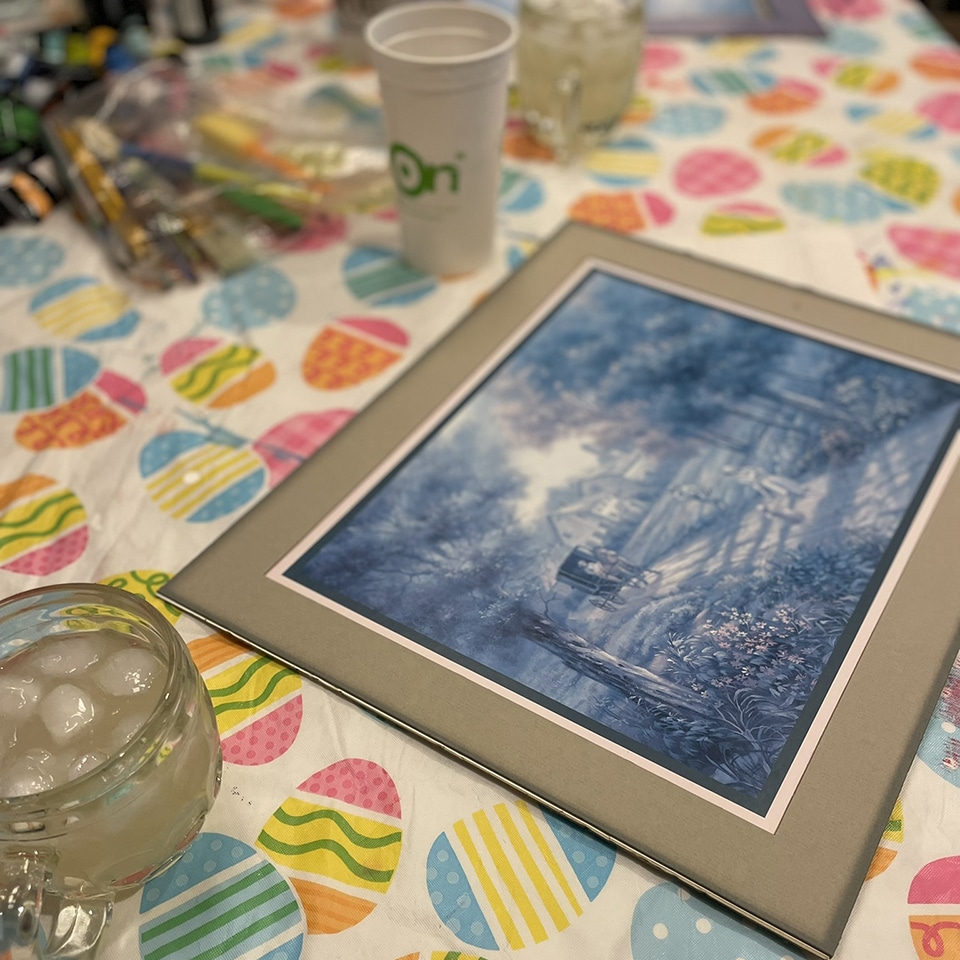
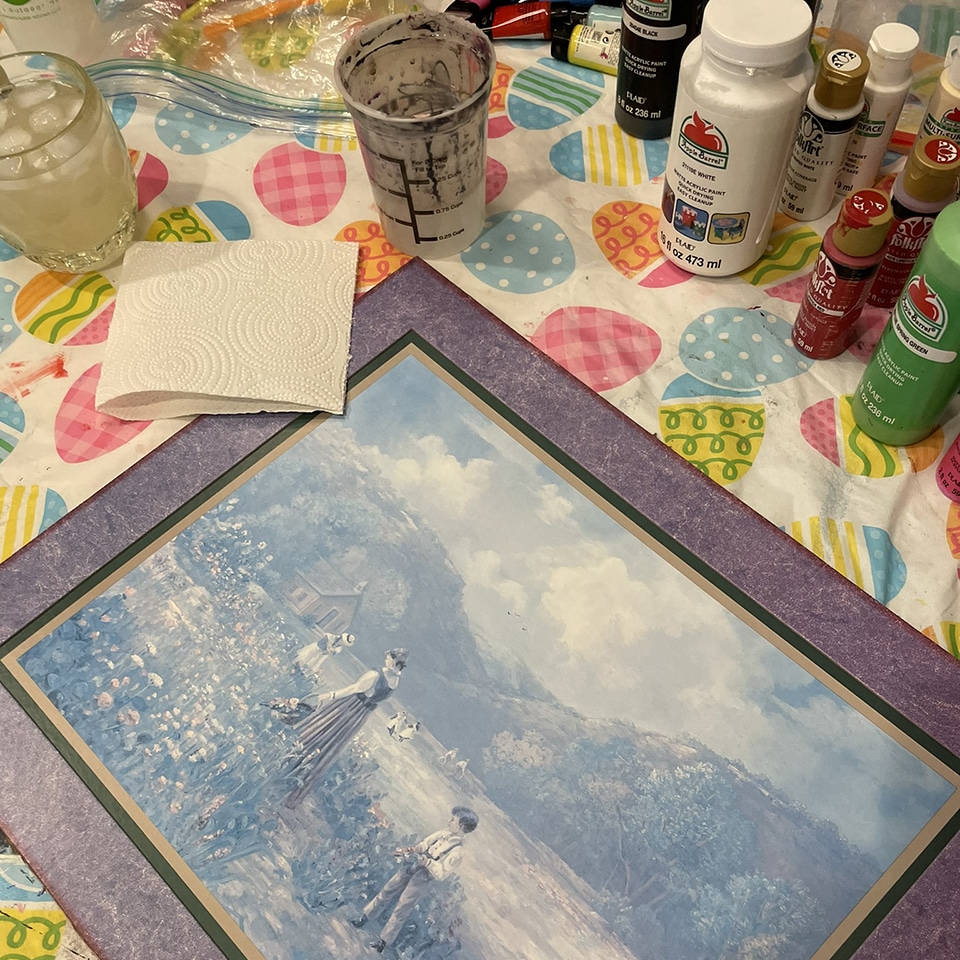
First, gently clean the piece of art. Depending on the medium used as a base for your artwork, you may be able to just use a little Lysol or glass cleaner on a paper towel to wipe any old dust and grime off the art’s surface.
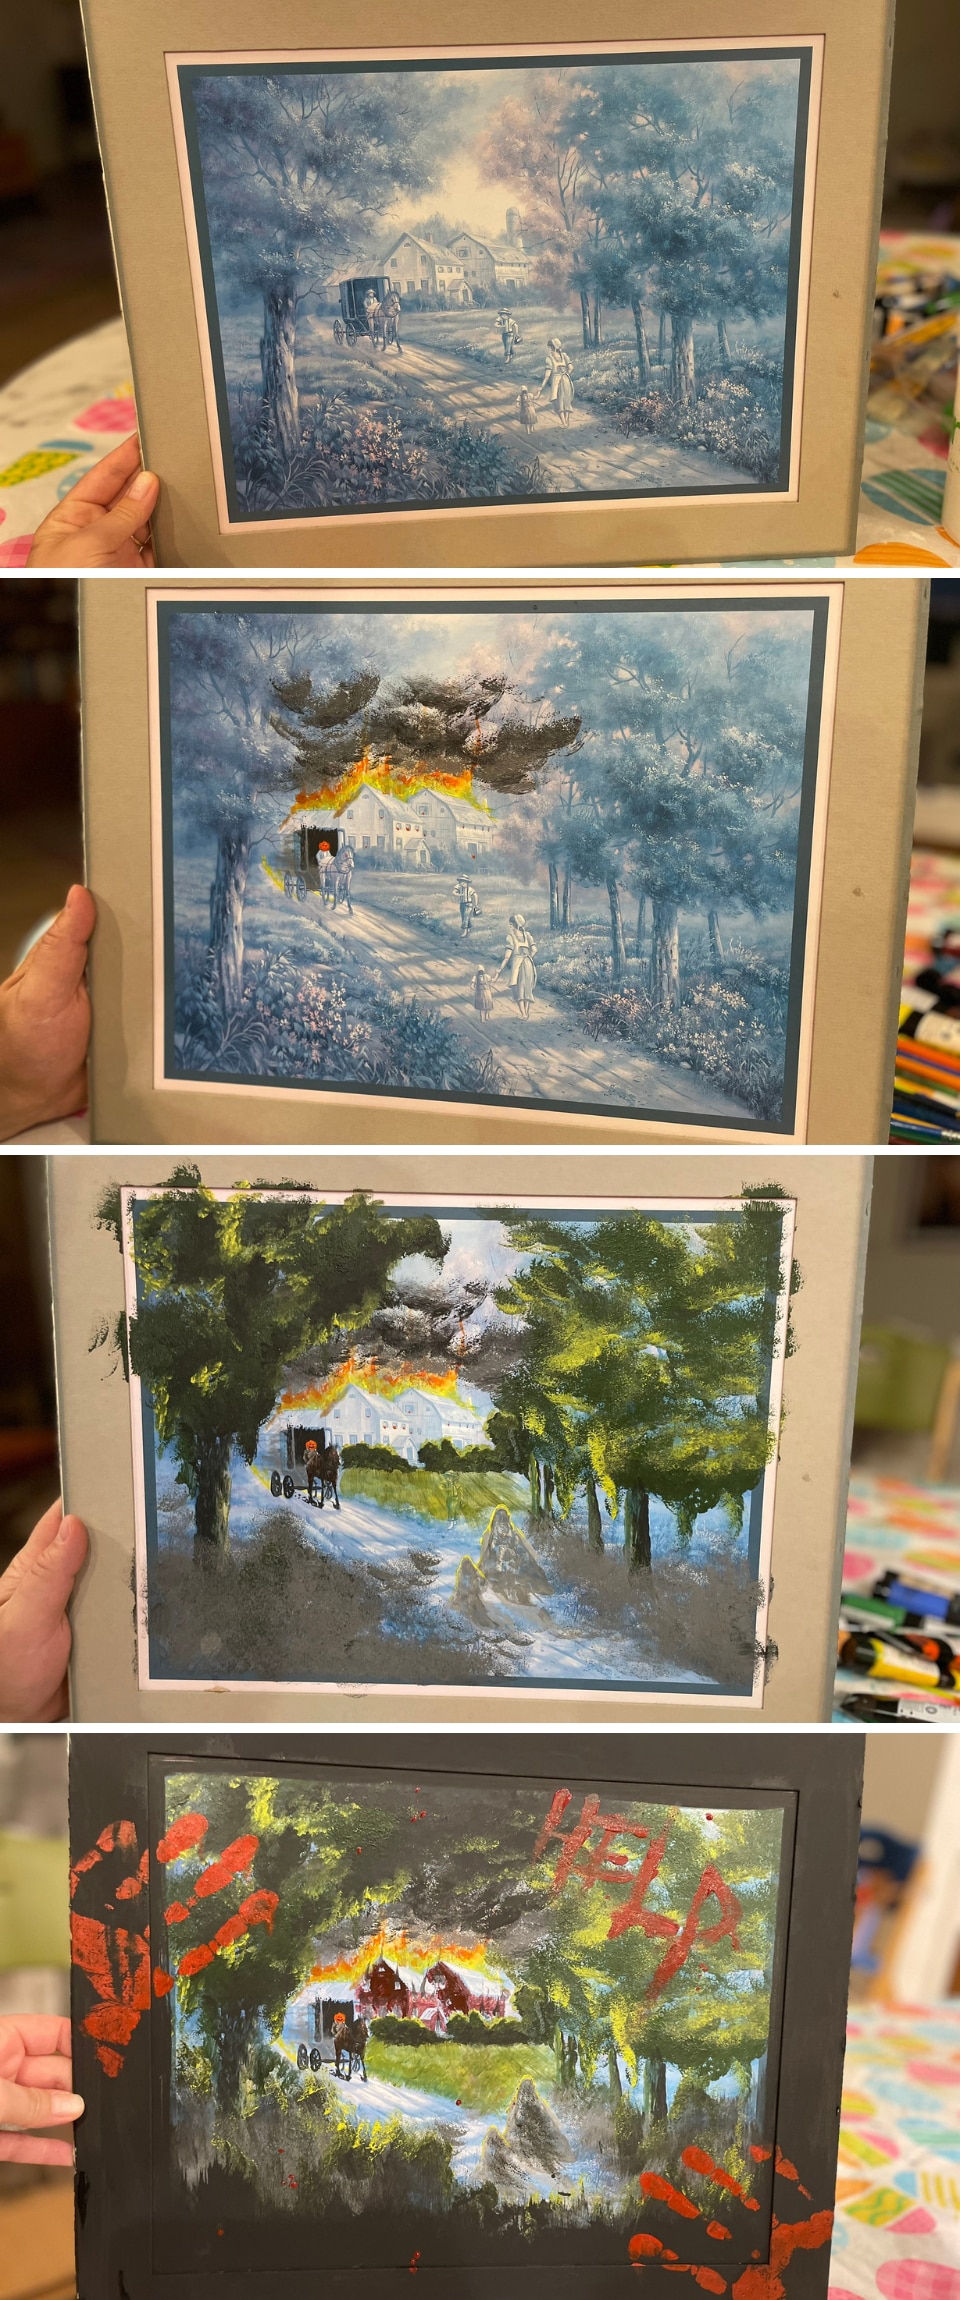
We both chose to add a light layer of paint wash over the entire canvas before starting. This gave the overall painting a washed out and “spooky” effect. After this layer dried, we added in all the haunted elements to make these Halloween pieces of art.
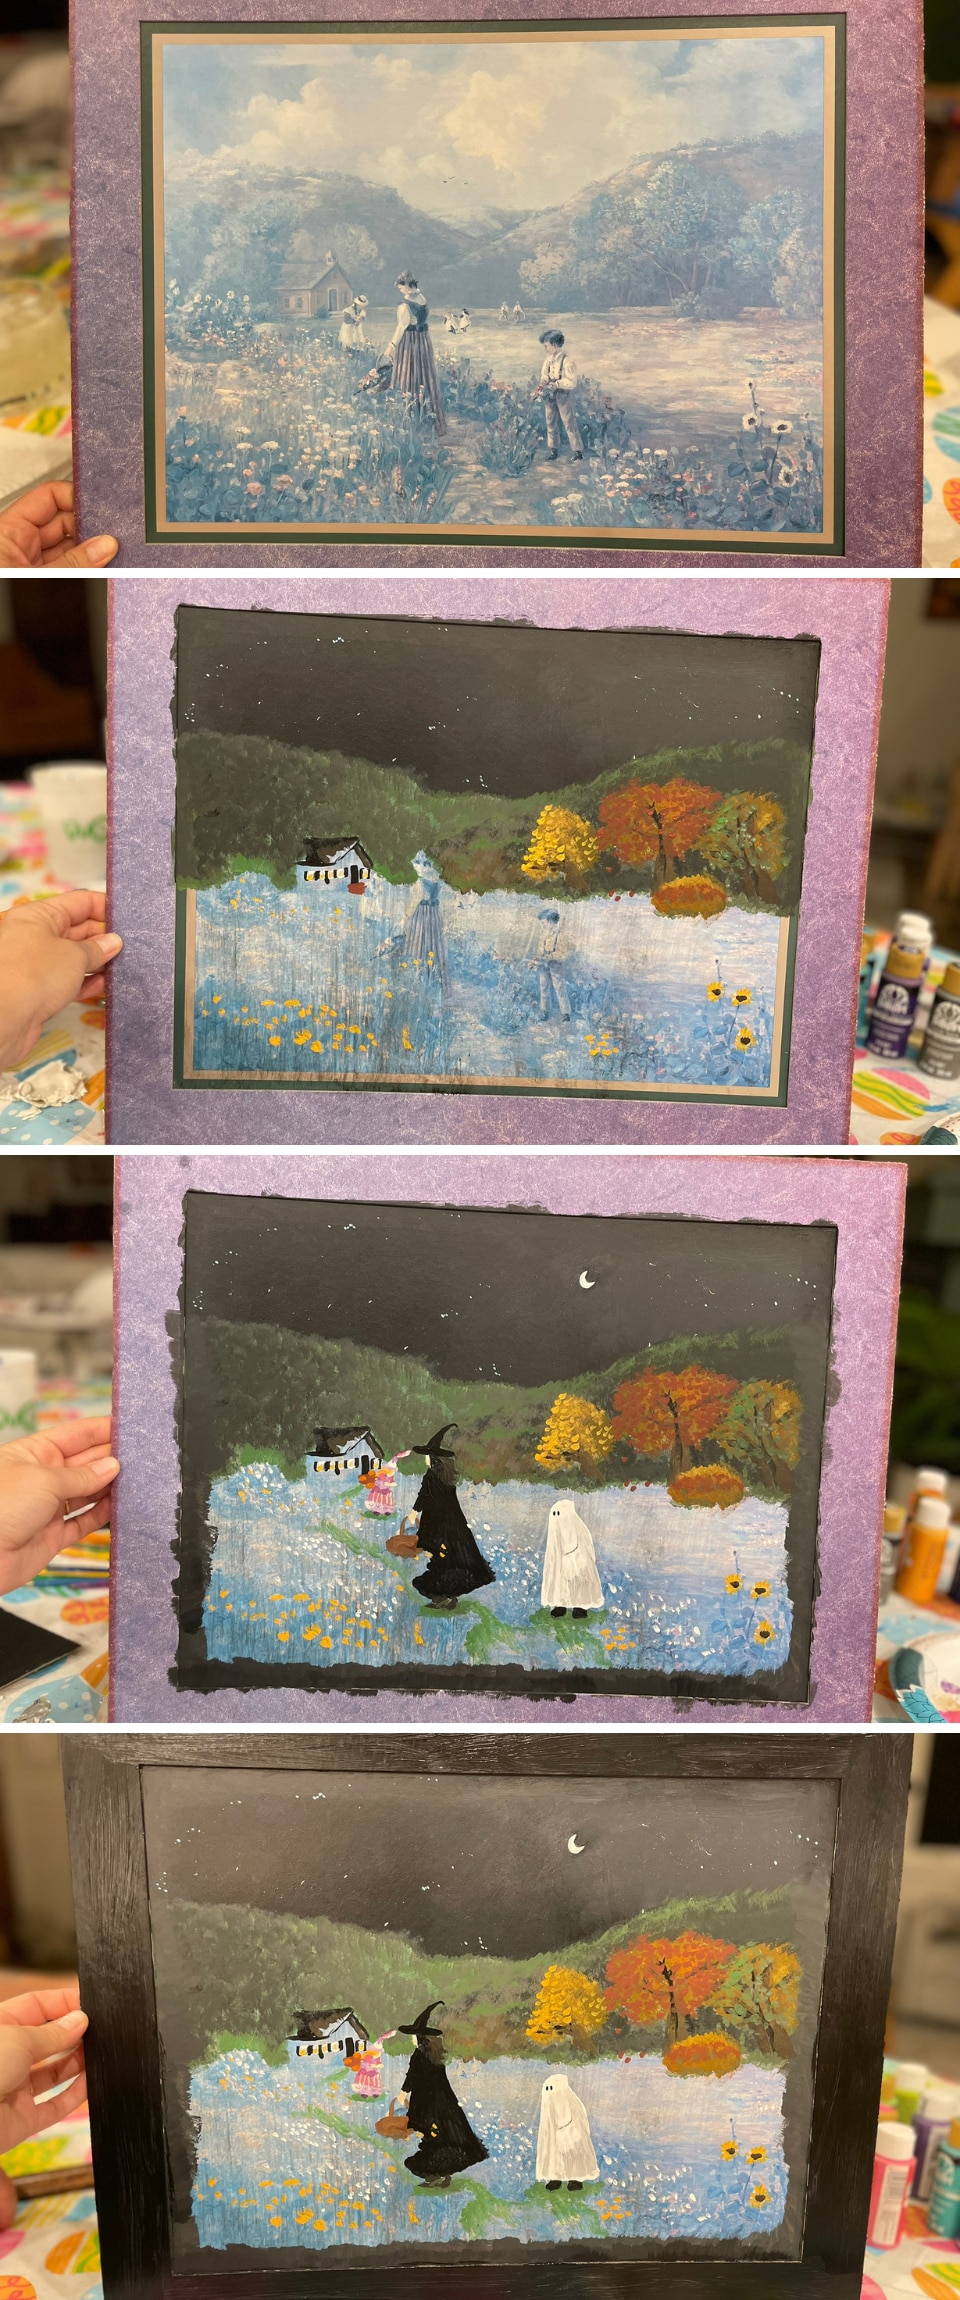
Last, we used black paint to recolor the original mats and frames. After letting everything dry, we reassembled the spooky art and decorated for Halloween.
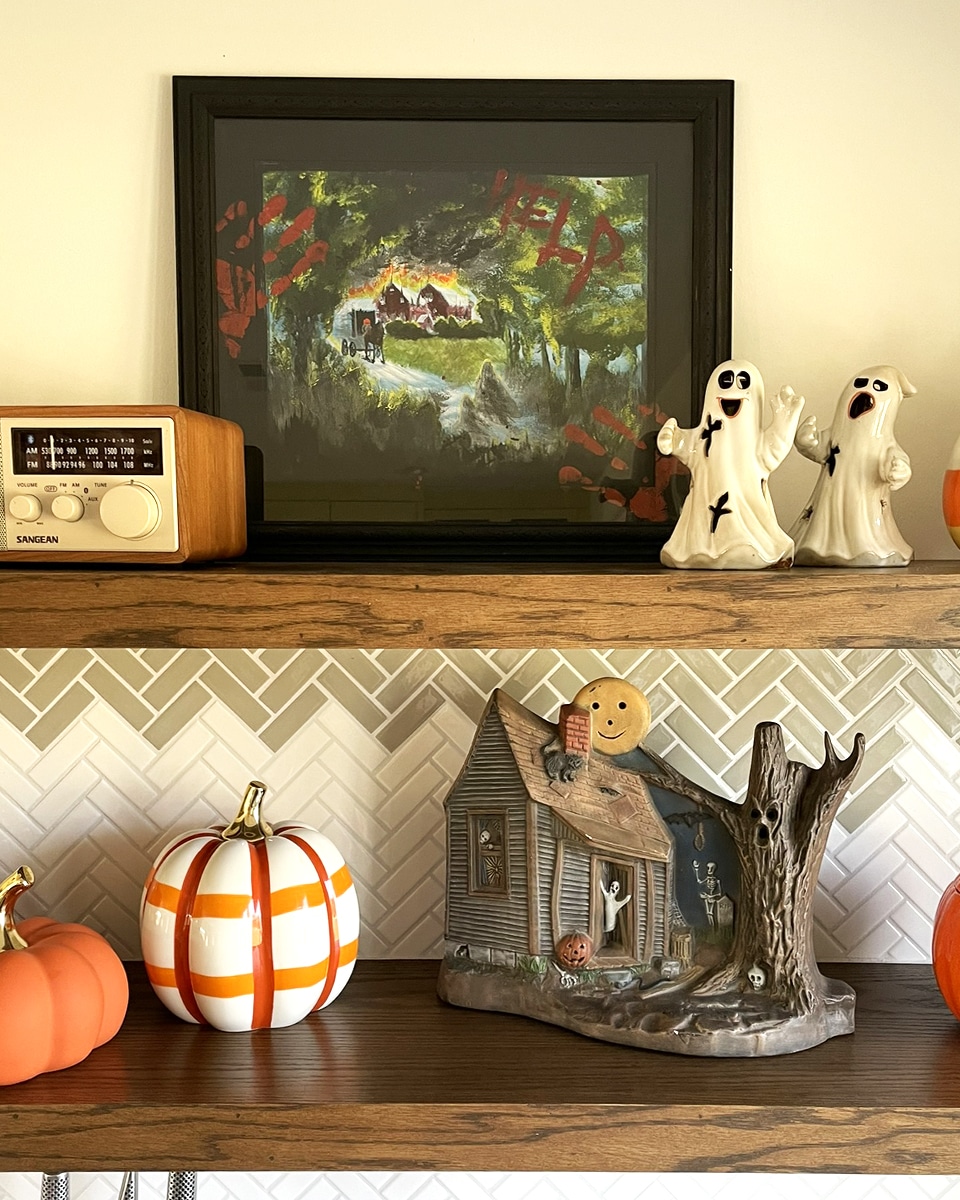
Creating these Halloween Ghost Paintings was a super fun, cost effective date night activity. We’re even considering making other versions for different holidays, too.
Jackie Baird Richardson is an interior designer, editor at The WON and avid junker. Watch for her design tips and occasional crafting ideas, bringing the outdoors indoors. View all posts by Jackie Richardson