Need help getting out there? Click here for the Women's Outdoor News list for shooting, hunting, fishing and adventure organizations for girls and women.

Air Dry Clay Flowery Ghosts(es)

I’m always looking for fun crafts to do with my little grands, ages 5 and 3. I noticed, on Instagram and then, on Pinterest, a project that used air dry clay and dried flowers, turning the clay into ghosts – or ghosts(es) – as my grands call them.

I like the feminine touch that the flowers add to these miniature ghosts, and they will look sweet on a table runner, or mantle or display cabinet or even Granny’s dresser. 
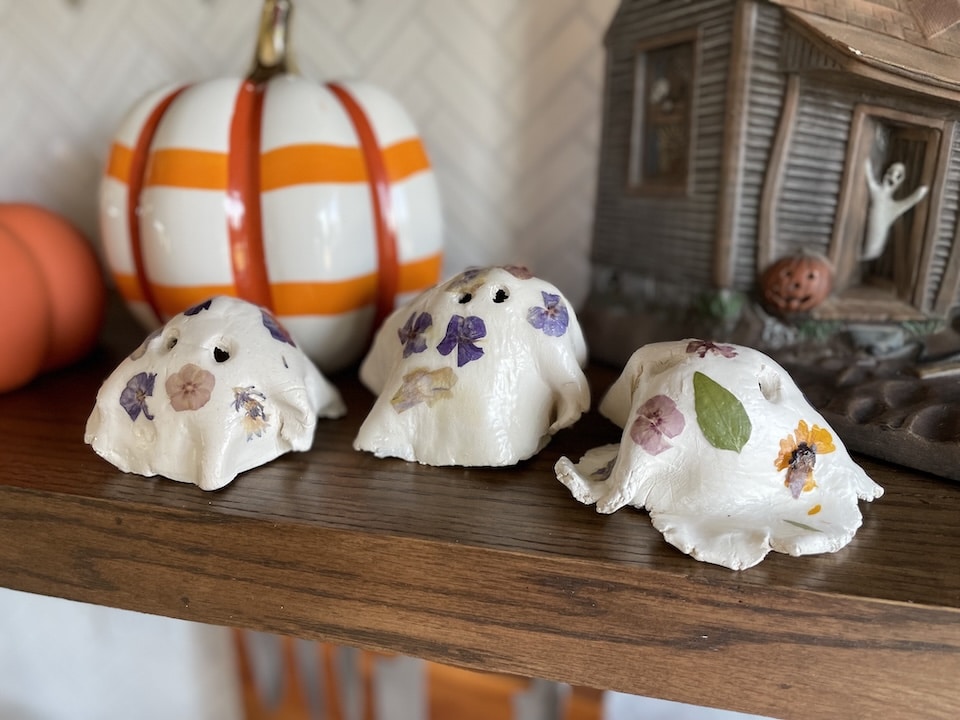
clay ghosts on shelf

Before heading over to their little picnic table to do this craft, I found a bunch of dried flowers that I had picked (and dried) earlier this summer and stored in a plastic container. You can find about how to dry flowers (and leaves) from this post, courtesy of Fix.com. It describes the old-fashioned (big book) method of drying flowers. I, however, like the speedier method, thanks to the Microfleur microwave flower press contraption that I have now purchased four times from Amazon. I bought them for friends and family, after seeing how well this little gadget works. You can see where I’ve used it to make dried flower bookmarks. My sister and I got into the dried flowers and Mod Podge for this pretty pumpkin craft in 2022. Seems I’m forever eyeing Pinterest for another dried flower craft.
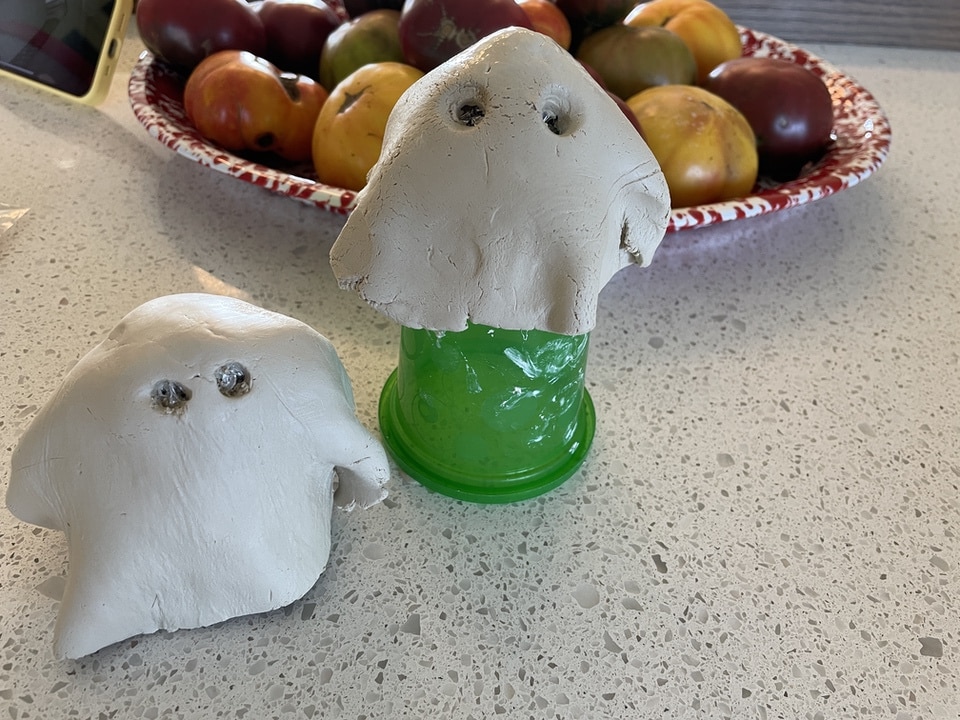
Two air dry clay ghosts on cups

Air Dry Clay Flowery Ghosts(es)

Here’s what you’ll need to make these ghosts, and make sure you plan for a few days so that the clay can thoroughly dry out:

Day 1 Materials:
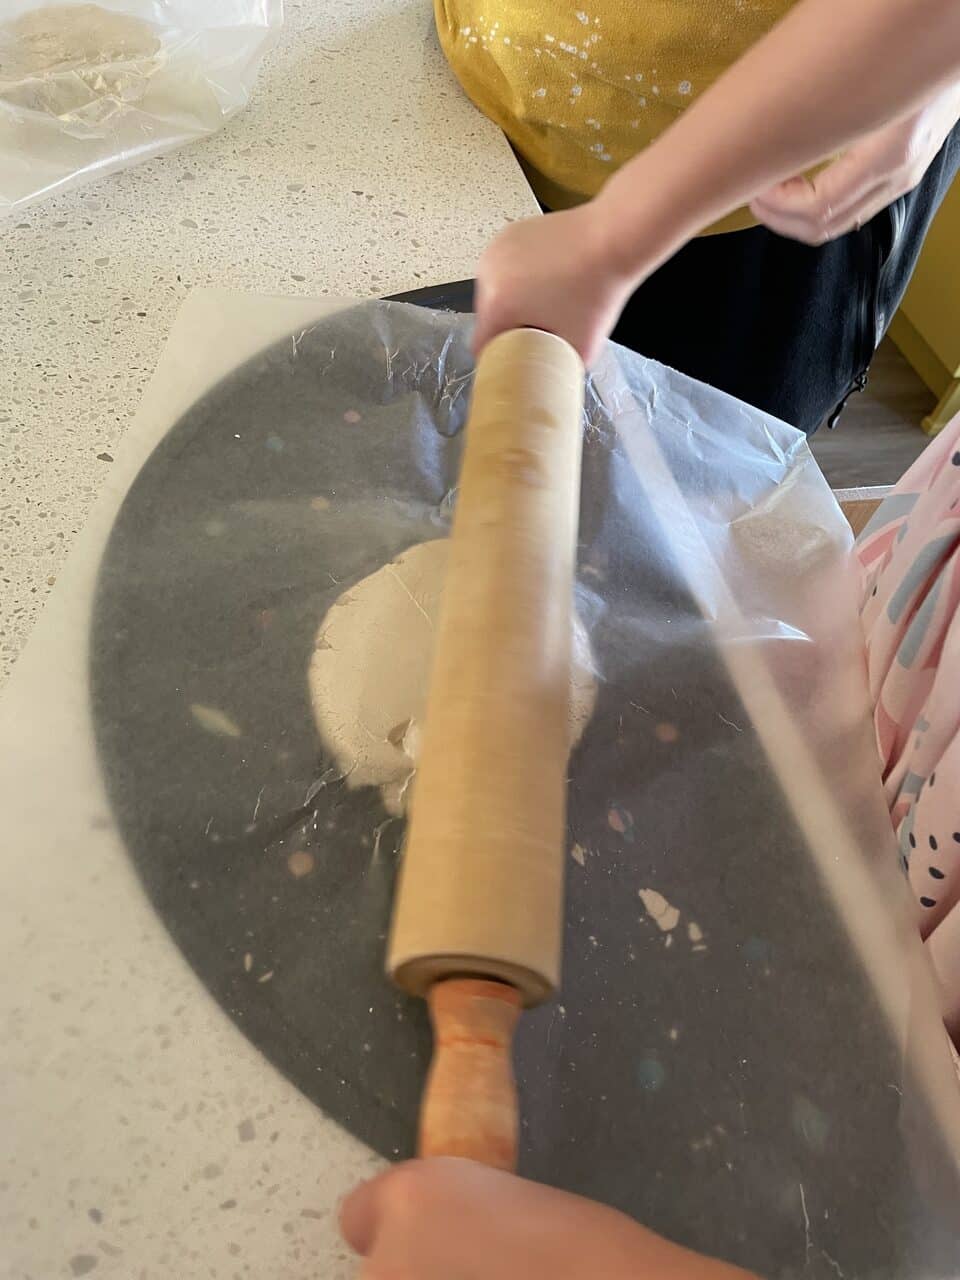
  • Air dry clay (white)
  • Rolling pin
  • Waxed paper 
  • Spatula 
  • Small jar or cup
  • Aluminum foil
  • Bowl with water
Rolling out

Directions for Day 1:

  • Turn a small cup or jar upside down. 
  • Roll a piece of foil into a ball and place it on top of the cup. (This will be your stand for your ghost.)
  • Take a fist-sized ball of clay (your size, not your grand’s) and flatten it out. Then roll it into about a 6-to-8-inch circle, about ¼-to-1/2-inch thick, with a rolling pin. You may want to put waxed paper on top of the clay, so that the rolling pin doesn’t stick to it.
  • Lift from the surface of the table of cutting board. 
  • Shape the clay over the foil ball and down the sides of the cup. Don’t let the clay touch the cup and don’t squeeze the ghost’s head too tightly around the foil.
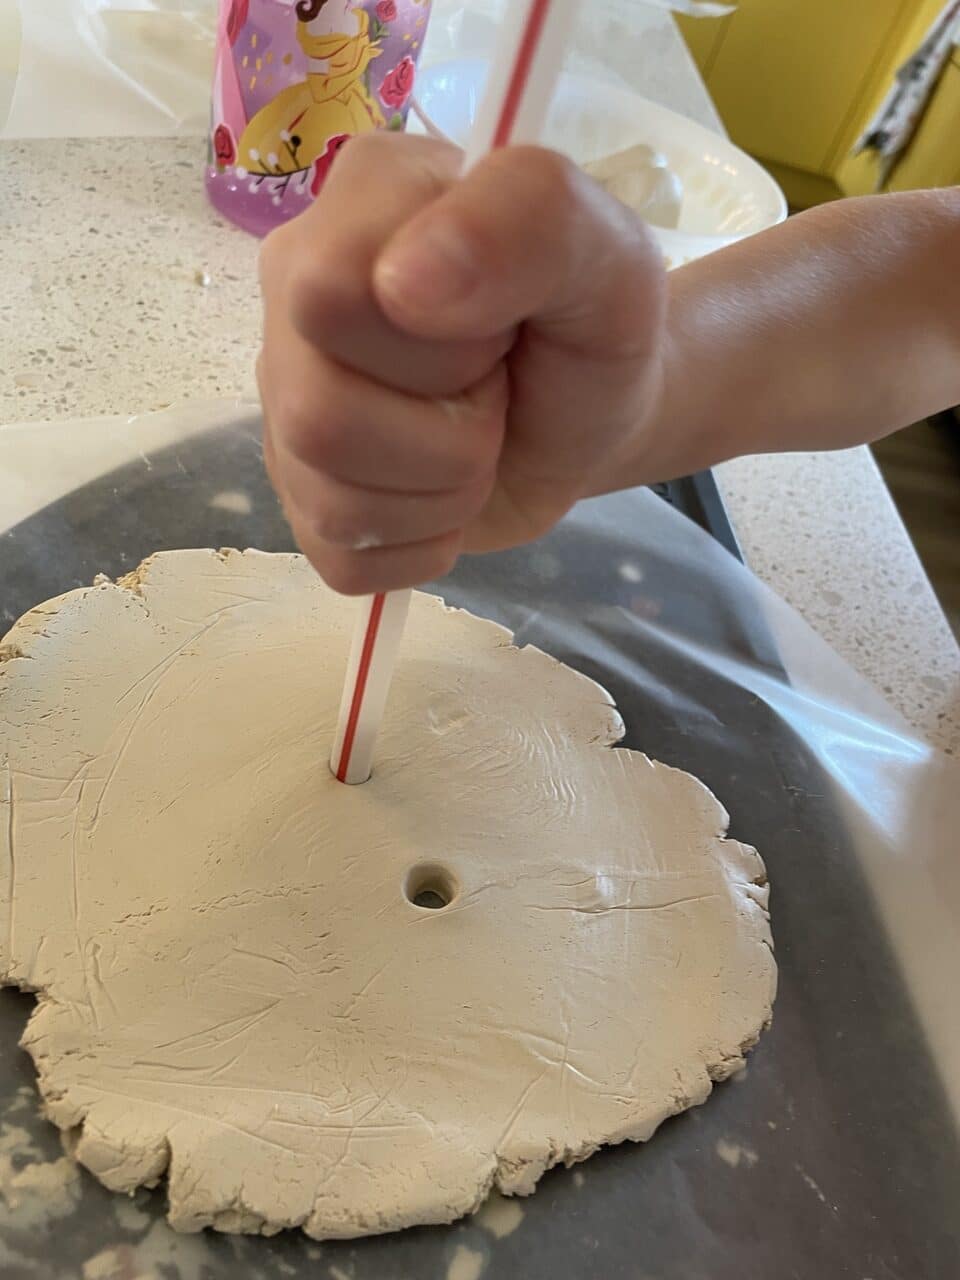
  • Take a straw and carefully poke out two eyes for per ghost. I had to lift the shaped clay off the foil in order for the kids to do this task, but then, I set it back down. The grands loved poking the eyes out, for some reason. Eventually, it just got easier to have them estimate where the eyes would be on the rolled out ghost, as is the pic.
eye poke
  • Place water in a bowl, and dip your fingers into the water and smooth out any cracks that appear after shaping the clay.
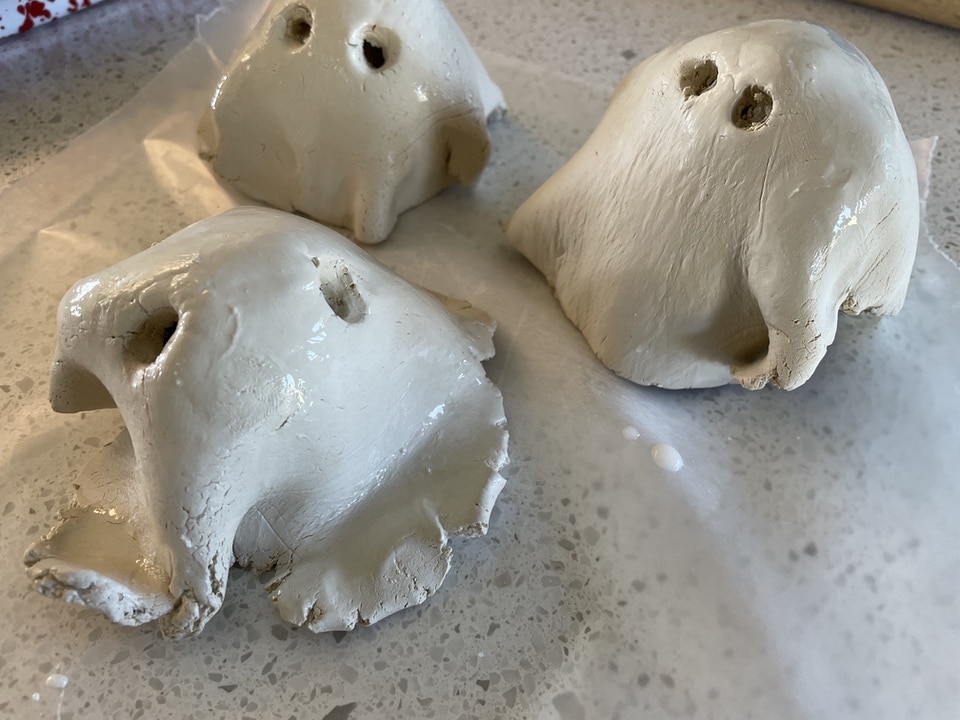
  • Let set undisturbed until dry, which can take at least 48 hours.
Three wet clay ghosts

Day 2 Materials:

  • Mod Podge
  • Paint brushes (flat works well)
  • Paper plates
  • Paper bowls
  • Dried or artificial flowers
  • Dampened paper towels or dishrags to wipe messy fingers on
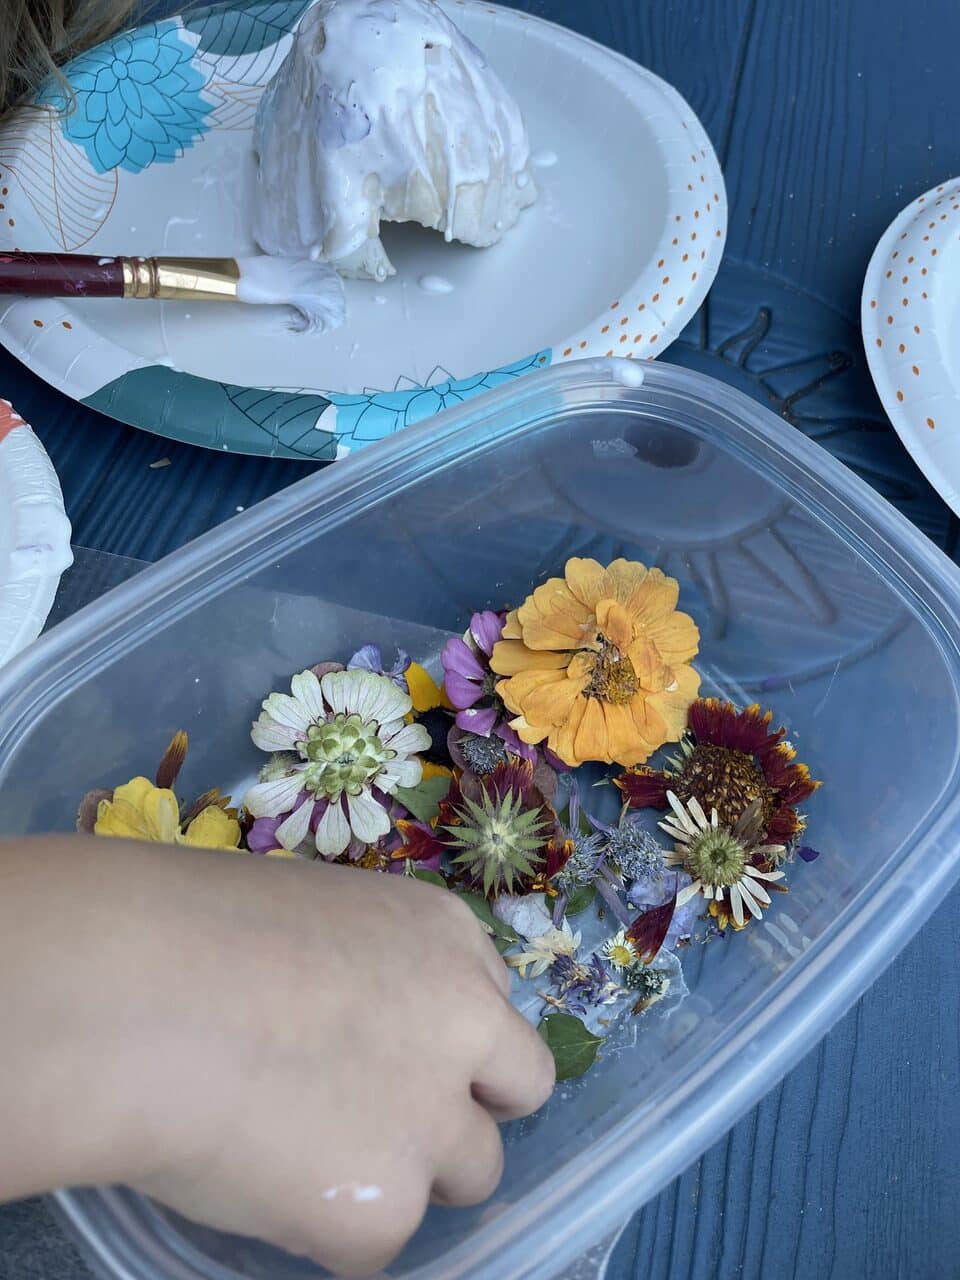
dried flowers

Directions for Day 2: Now the fun begins!
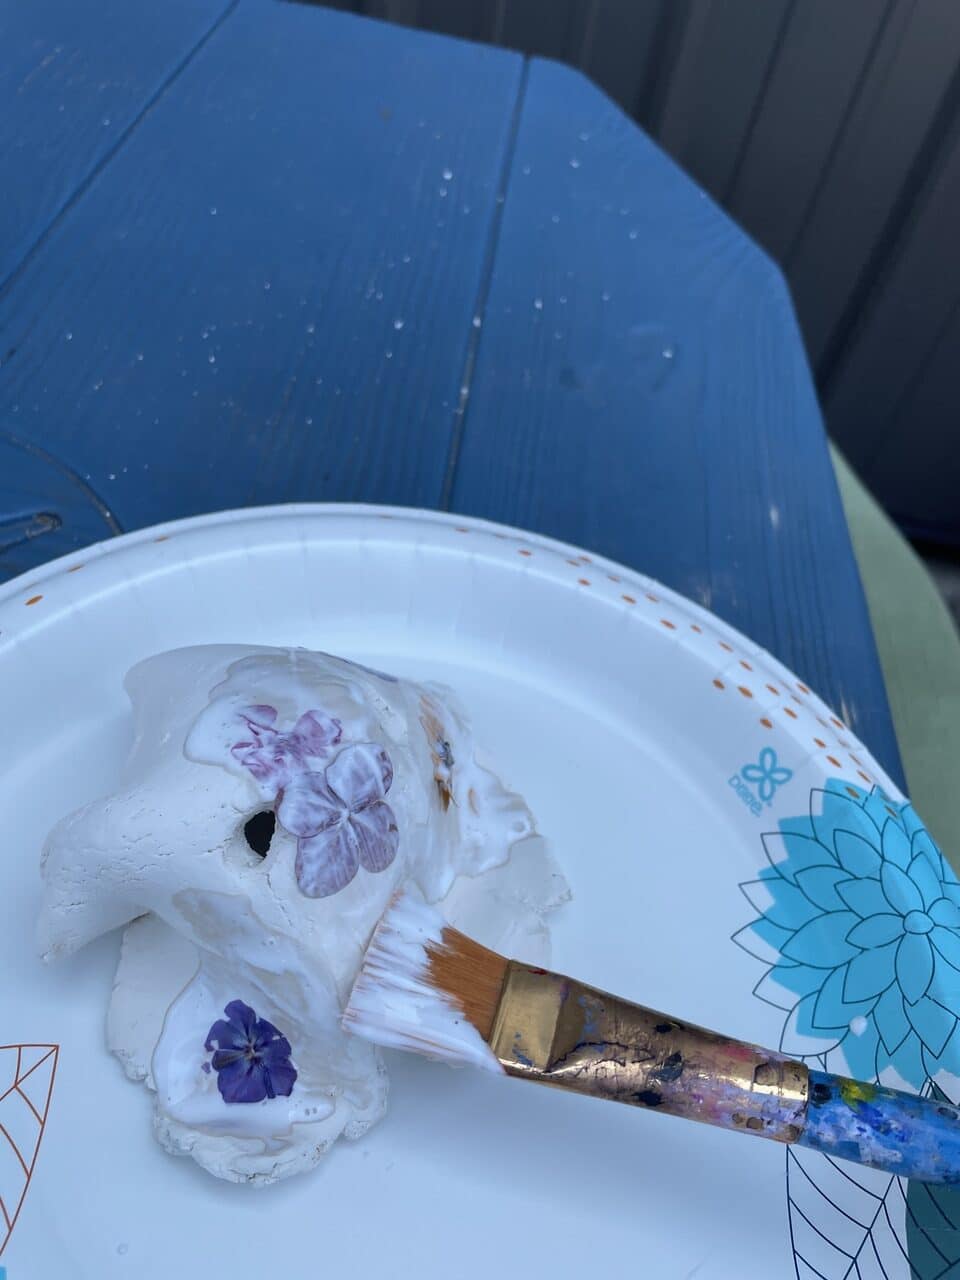
  • Pour Mod Podge into a bowl. 
  • Place a ghost on a paper plate.
  • Choose a flower and decide where to stick it on the ghost.
  • First, though, paint that area with Mod Podge.
  • Then, stick a flower to the gluey area and then, use the Mod Podge liberally to go over the flower.
  • Repeat until you’re happy with the results.
  • Let dry. This should take at least a day. Your ghosts will probably stick to the paper plates, so you might try waxed paper instead. Or, just cut the paper plate away when you’re finished.
painting the ghost with mod podge

Extra Stuff

You could spray the ghosts with an art paint-type sealer if you want. Do that outside, though.

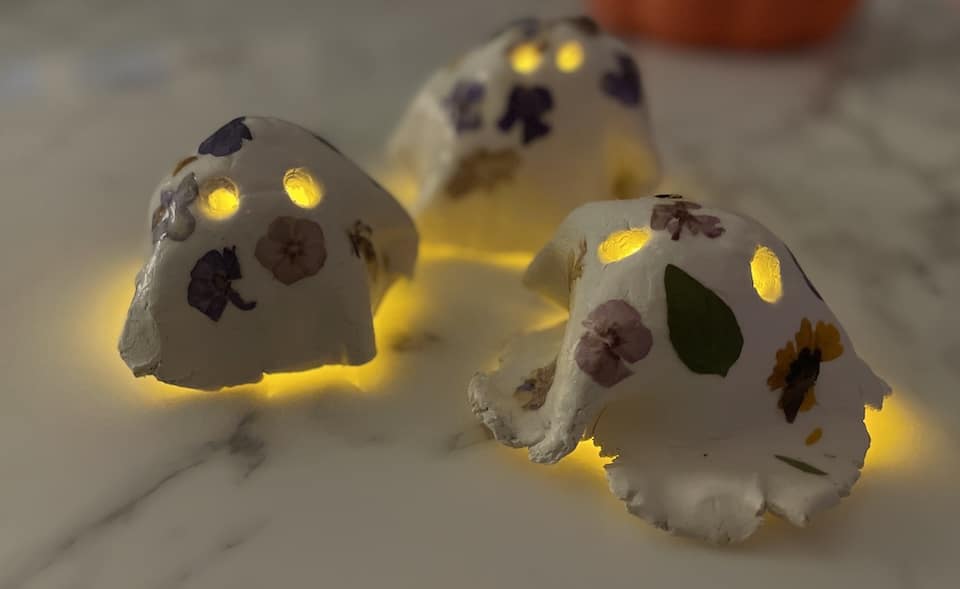
You can put little battery operated tea lights inside the ghosts so their eyes light up. Don’t use actual tea light candles. You might have a melt-down in progress at your dinner table.

As you can see, these little ghosts(es) turned out cute and funky. I especially like the three-year old’s wide-eyed ghost! 
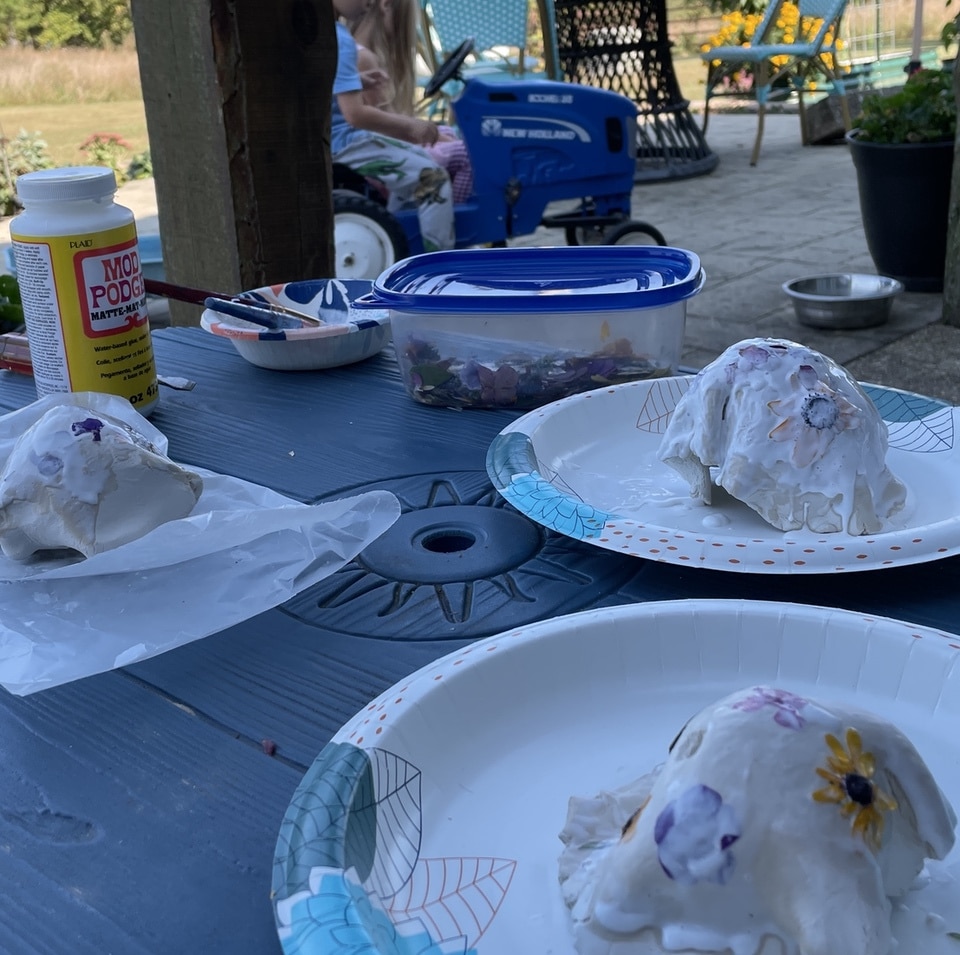
clay ghosts drying

But the best thing is that they enjoyed the entire process, and I believe they are proud of their little flowery ghosts(es).
lit clay pumpkins horiz
  • About Barbara Baird

    Publisher/Editor Barbara Baird is a freelance writer in hunting, shooting and outdoor markets. Her bylines are found at several top hunting and shooting publications. She also is a travel writer, and you can follow her at https://www.ozarkian.com.


The Conversation

One Comment