Have you ever thought to yourself, “What would I do if there was an event or accident in my school, at work, at this concert or in this store?” Do you know how to apply a tourniquet, occlusive dressing or pack a wound? I, along with a team of trainers, teach the FASTER (Faculty, Administrator, Safety Training and Emergency Response) Saves Lives program in northeast Ohio. This program trains staff to carry firearms in schools. Adam Copley, our medical and firearms trainer, teaches lifesaving interventions. Regardless of whether or not you carry a firearm, the following lifesaving interventions may help you save someone’s life.
Sponsored by Springfield Armory
In FASTER Saves Lives, we use the MARCH-RE acronym to help students remember the order (which addresses the most critical life threat first) to apply lifesaving interventions.
M — Massive Hemorrhage
A — Airway
R — Respiration
C — Circulation
H — Hypothermia
R — Reevaluation
E — Evacuate/Everything Else
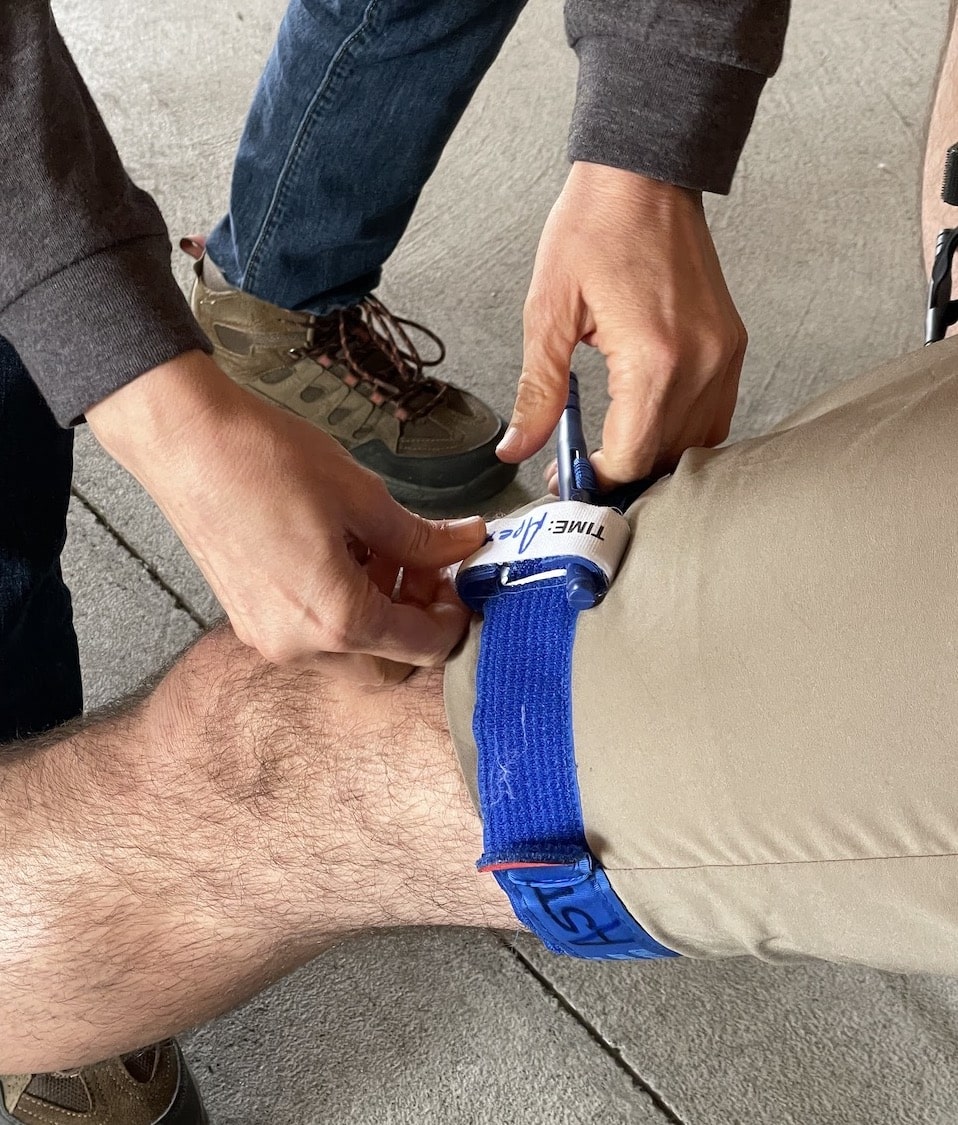
Tourniquets are applied to massive hemorrhage or amputation on the extremities. The two types of tourniquet applications are hasty and deliberate. Hasty tourniquets are applied quickly and placed high-and-tight. When there is more time to assess the situation, a deliberate tourniquet application is applied 2- to 3-inches above the known bleed (but not at the joint).
Keep in mind:
Tighten down the tourniquet at much as possible initially before turning the windless. Then, continue turning the windless until the bleeding stops. This can be very painful to the injured person but you must stop the bleeding.
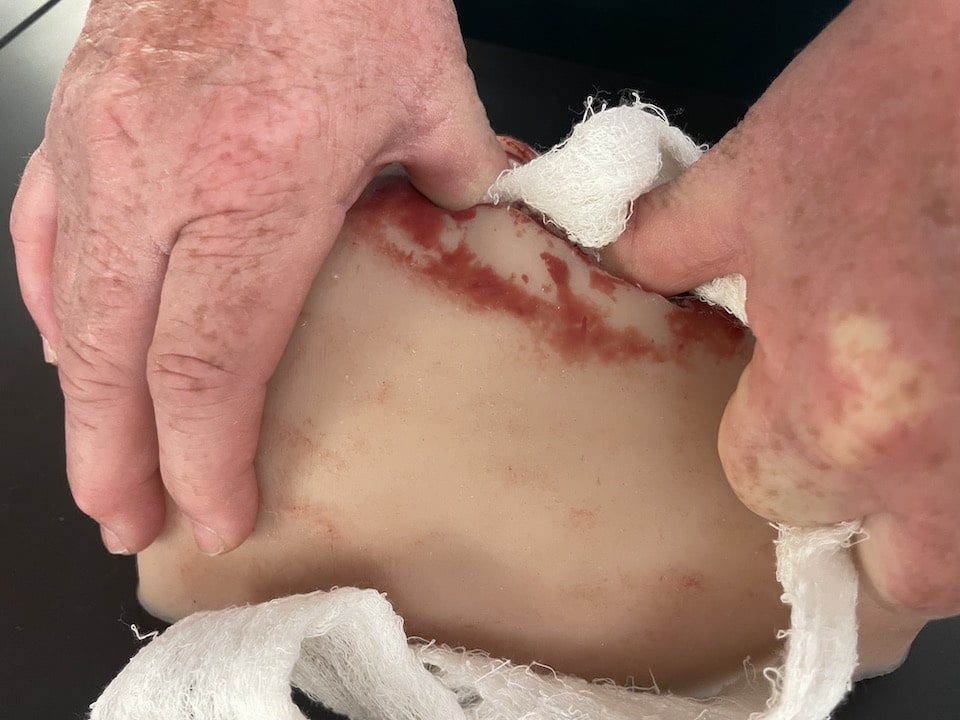
When the massive bleeding or hemorrhage is at a junction point (neck, armpits and groin) wound packing and direct pressure is the lifesaving intervention.
Keep in mind:
Once the wound channel is completely packed, hold direct pressure for at least five minutes. Then reassess. Do not remove the previous packing, instead, add more and continue to apply pressure.
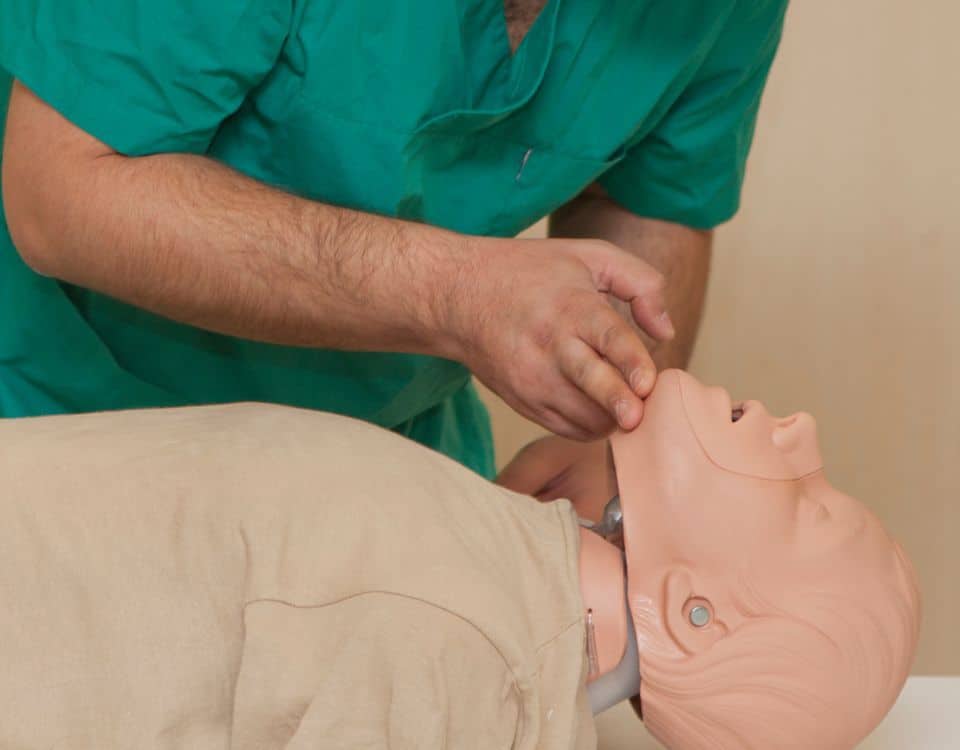
If you’ve taken a CPR class you’ve learned the “head-tilt, chin-lift” and recovery position technique to maintain an open airway.
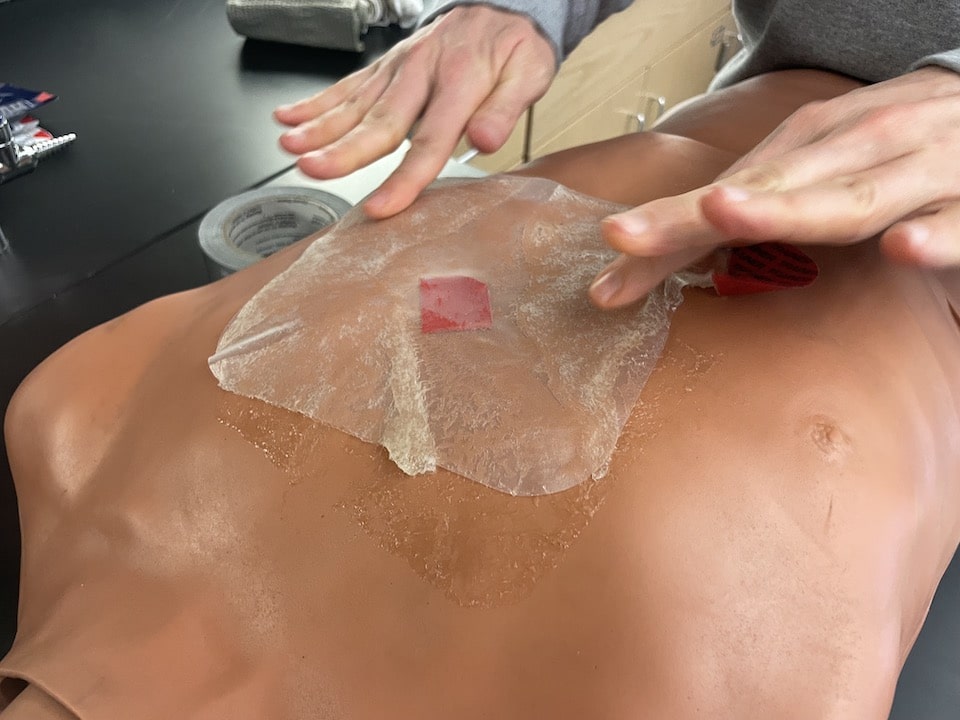
Numerous times during his presentation, Adam says, “Seal the box.” The “box” is the area on the body from junction areas down and the belly button up, the chest cavity. When a bullet enters the box, air gets sucked into the cavity creating pressure which inhibits your lung from inflating. This is referred to as a sucking chest wound. A lifesaving intervention in this situation is an occlusive dressing or chest seal.
Keep in mind:
Check the front, back and sides of the injured person for an exit wound. All holes must be sealed for the lung to function.
This is CPR. Follow the most recent chest compression taught by the American Heart Association.
Due to loss of blood, apply measures to avoid hypothermia by keeping the person warm, moving him or her off the ground into a warmer area or whatever else possible.
Continually reevaluating the injured person’s condition until care is transferred to higher medical care. Did the tourniquet move? Is the chest seal still in place? Is there any more bleeding?
The evacuate/everything else step is when the staff in the schools get the students out of the building for reunification.
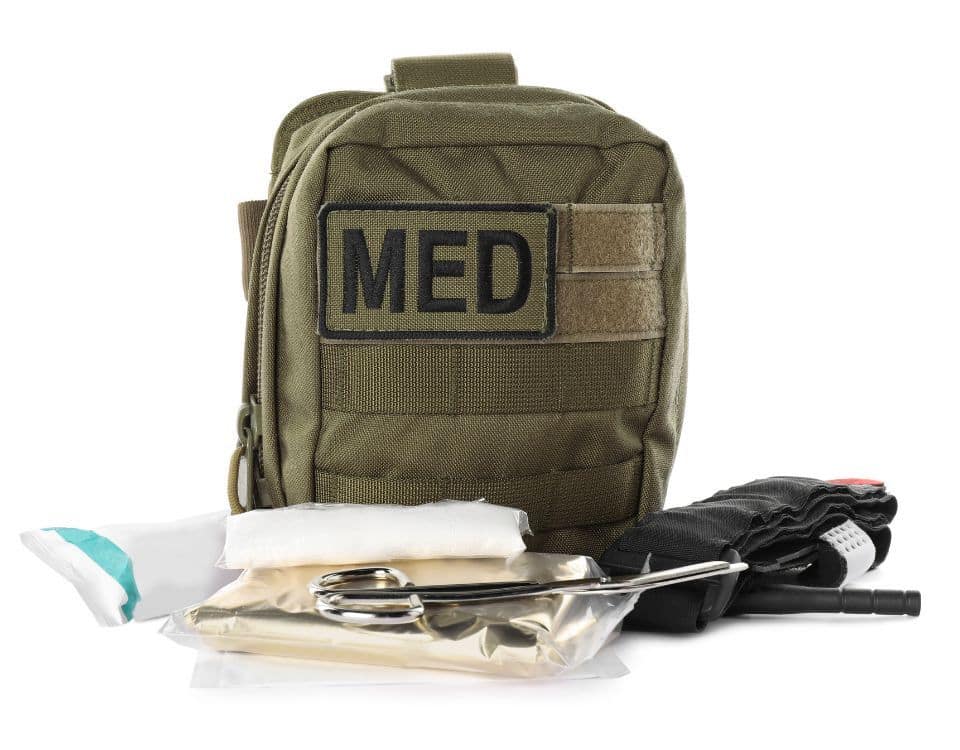
Prepare yourself to help others with these lifesaving interventions by carrying the gear you may need. Decide what you want to keep in your vehicle, backpack or even purse. Do your research and purchase quality products. FASTER Saves Lives has personal, classroom and school kits available on their website. Plus, if you use products purchased from them to save a life, they replace the item for free. Learn how to use everything in your kit and practice with it when possible. Also, do your research and learn what improvised items you might use for these same incidents. You just don’t know where you will be, or what might be available when it all goes down. Adam suggests purchasing training equipment that can be dedicated for practice that is separate from your kit. You can even run drills in your house to make sure everyone knows how to use it.
Get the training you need to properly apply tourniquets, chest seals and pack wounds.
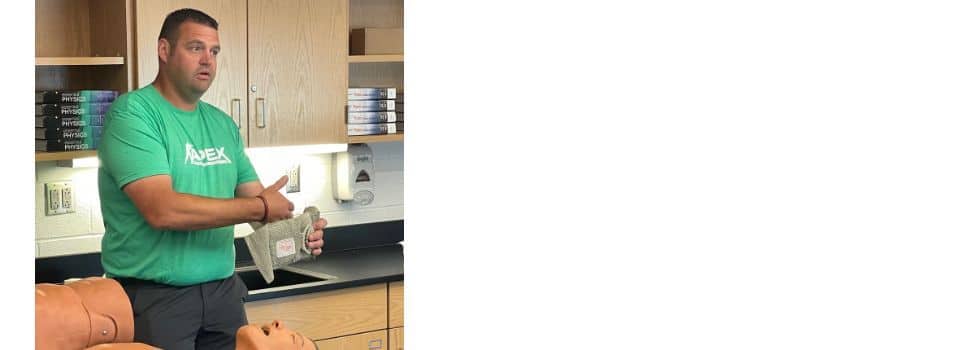
Adam Copley has 20 years of experience as a firefighter with various medical and instructor certifications. He is a full-time firefighter in a large metropolitan area and part-time in his home town with a rural setting. Throughout his years of service, he has dealt with gunshot wounds, stabbings, machinery accidents and more. Adam has applied the lifesaving interventions described above and has seen positive outcomes from their use.
Check out The Armory Life on Springfield Armory’s website for more articles about survival.
Michelle Cerino, aka Princess Gunslinger, first entered the firearms industry in 2011 as co-owner, president and trainer at a national training company. She immediately began competing in both 3-Gun and NRA Action Pistol, becoming a sponsored shooter. Michelle is currently a columnist and Managing Editor of Women’s Outdoor News, as well as owner of Pervenio LLC. She also manages social media for Vera Koo and FASTER Saves Lives. Michelle encourages others to step out of the comforts of home and explore. View all posts by Michelle Cerino