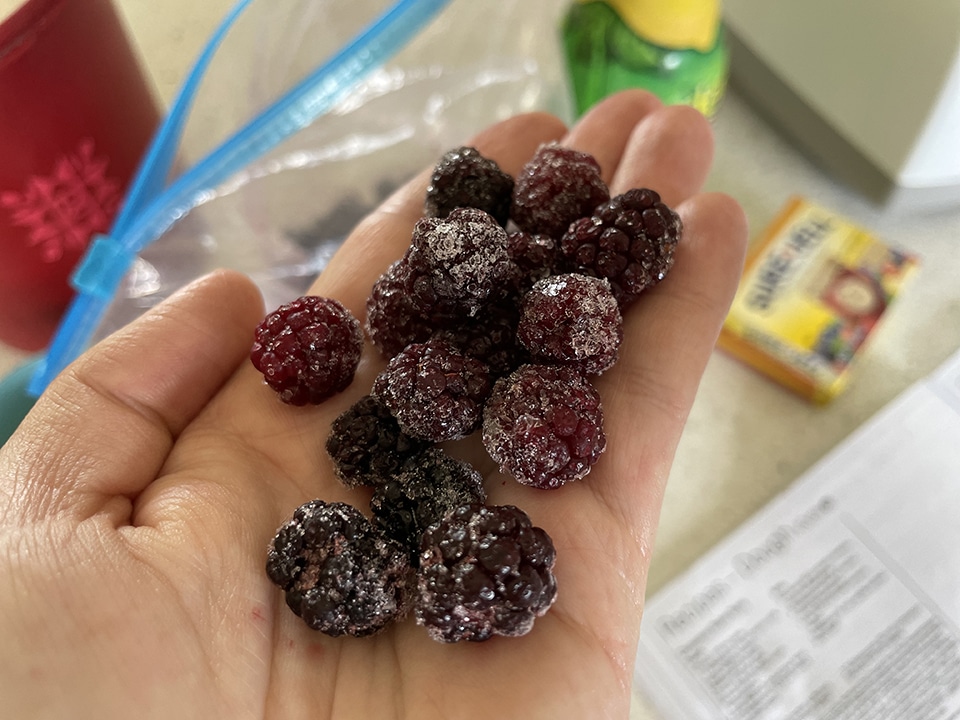
Last year we picked strawberries from a local farm, and wild blackberries from our property. Most of the strawberries were used in a delicious jam or strawberry syrup, and some of the wild blackberries went into a delectable coffee cake. The rest of the berries overwintered in the deep freezer, waiting to be used at a later date.
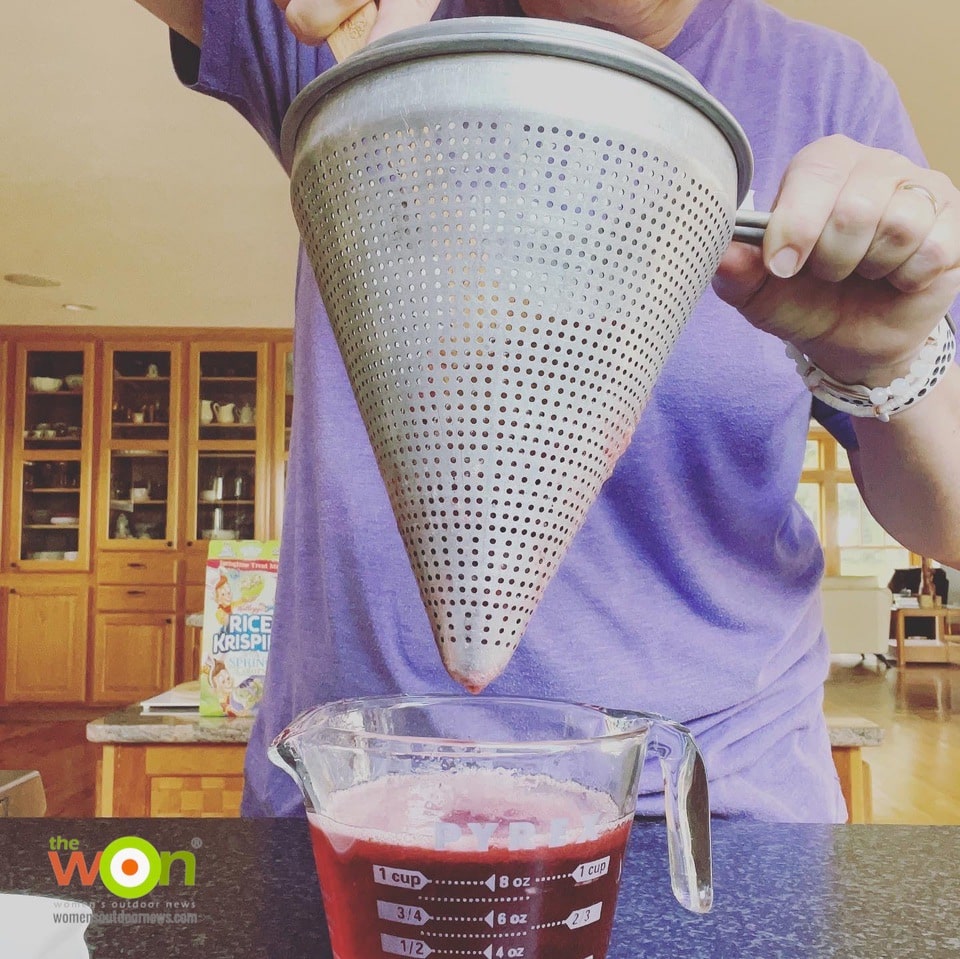
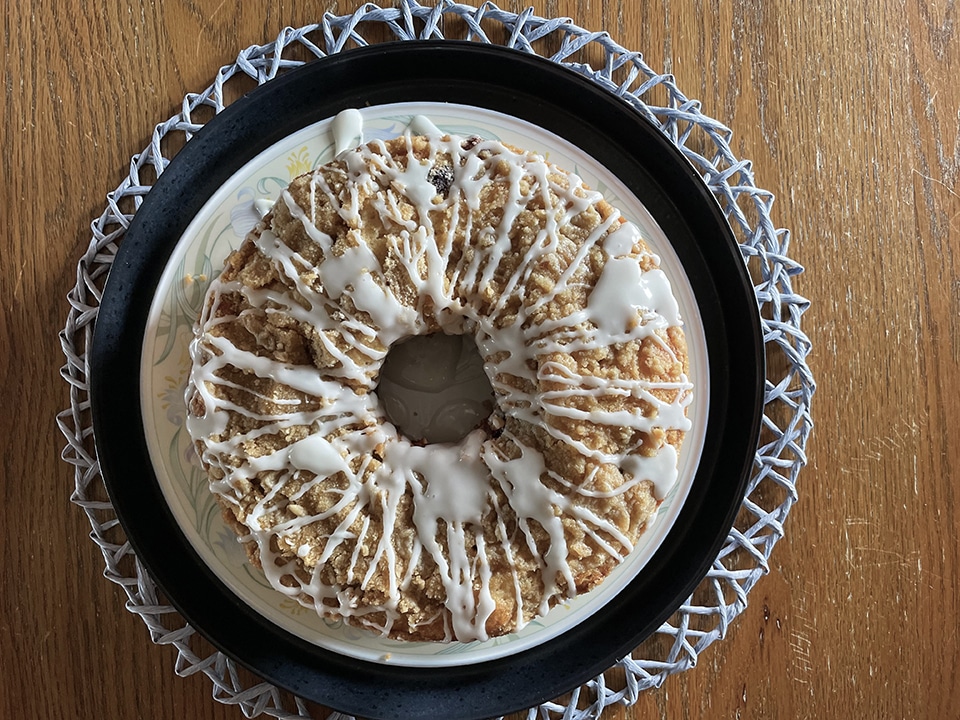
Gather the following ingredients and kitchen implements:
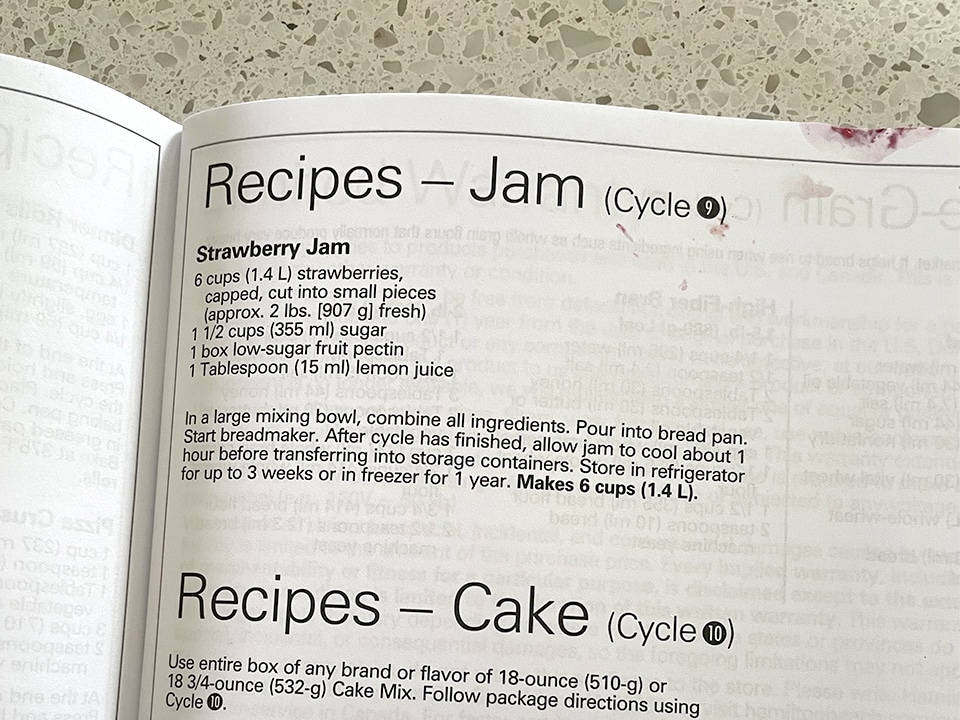
Before beginning your jam, be sure to run your storage jars, lids and bands through a quick wash in your dishwasher. No dishwasher? Hand wash these items in hot, soapy water and towel dry them right before your jam has reached the end of its cooling period (see below for more details).
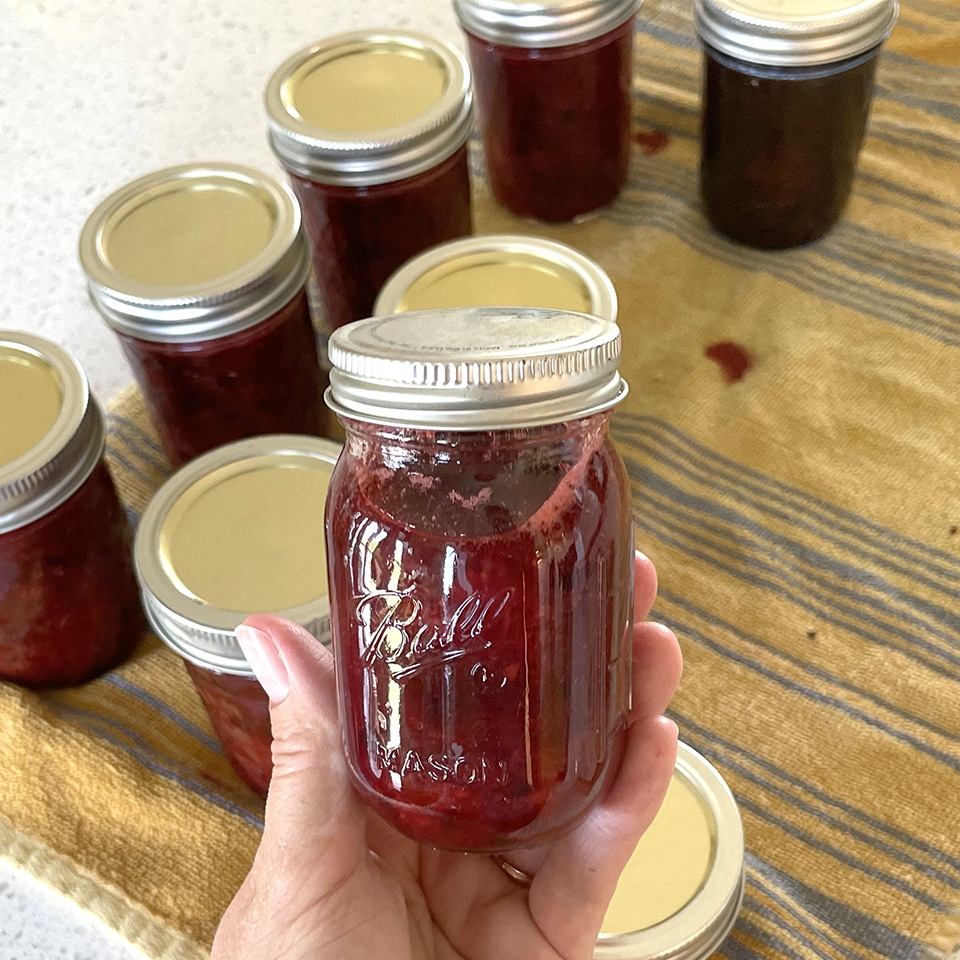
First, defrost your berries if they are frozen into big chunks. I simply placed my quart bags of strawberries in a bowl of hot water. Thankfully the wild blackberries were not frozen together, so these didn’t need to be thawed first.
Next, add all ingredients to a large bowl. I used a potato masher to smush the strawberries into smaller pieces, before adding the remaining ingredients.
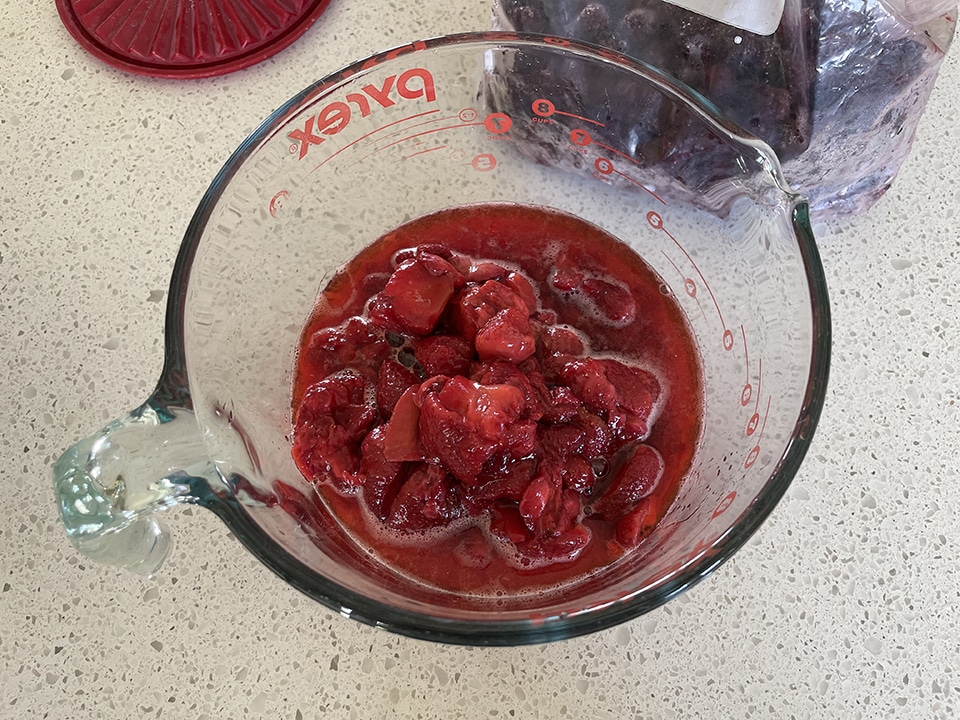
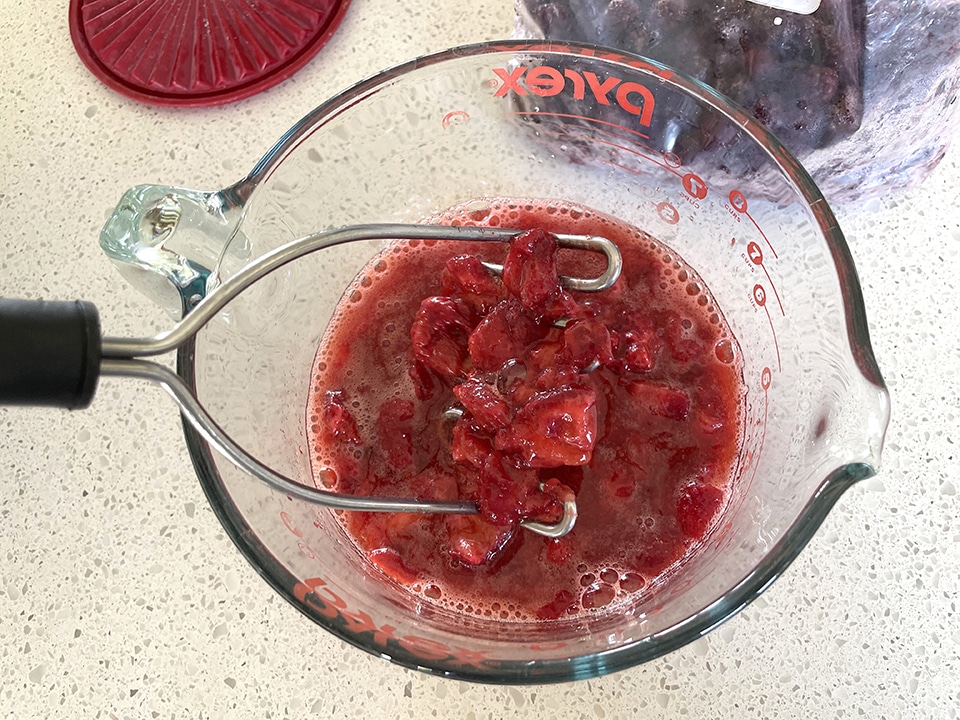
Stir all ingredients until well combined.
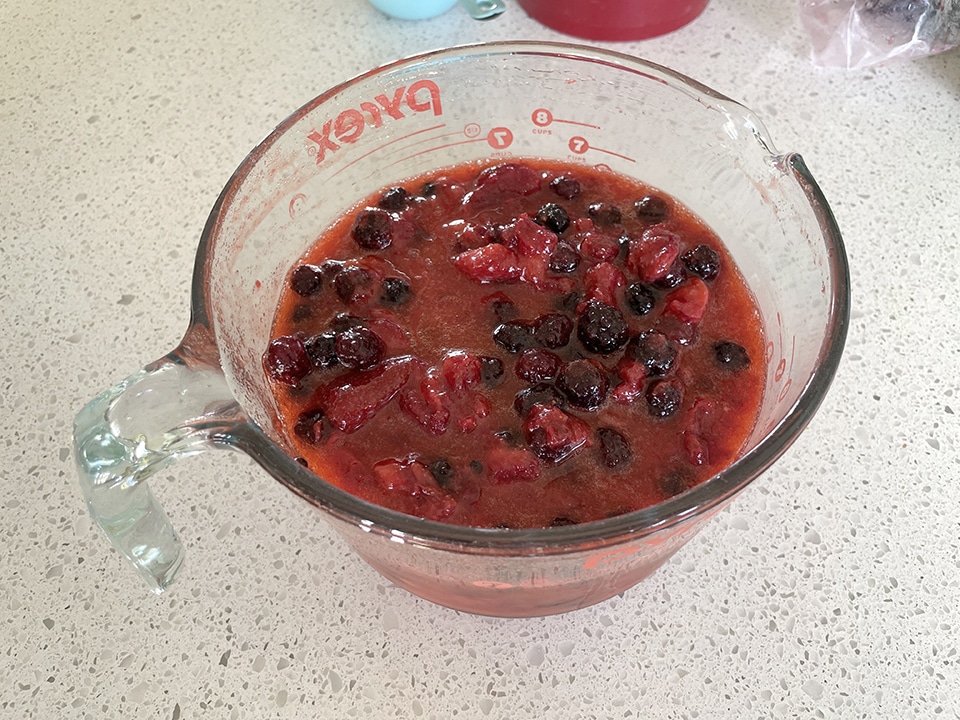
Make sure that the paddle is in place in your bread maker’s pan. Add the jam mixture to the pan, then lock in place inside your bread maker. Close the lid and start the jam setting. Your bread maker will do all the stirring and cooking, while you do – whatever else!
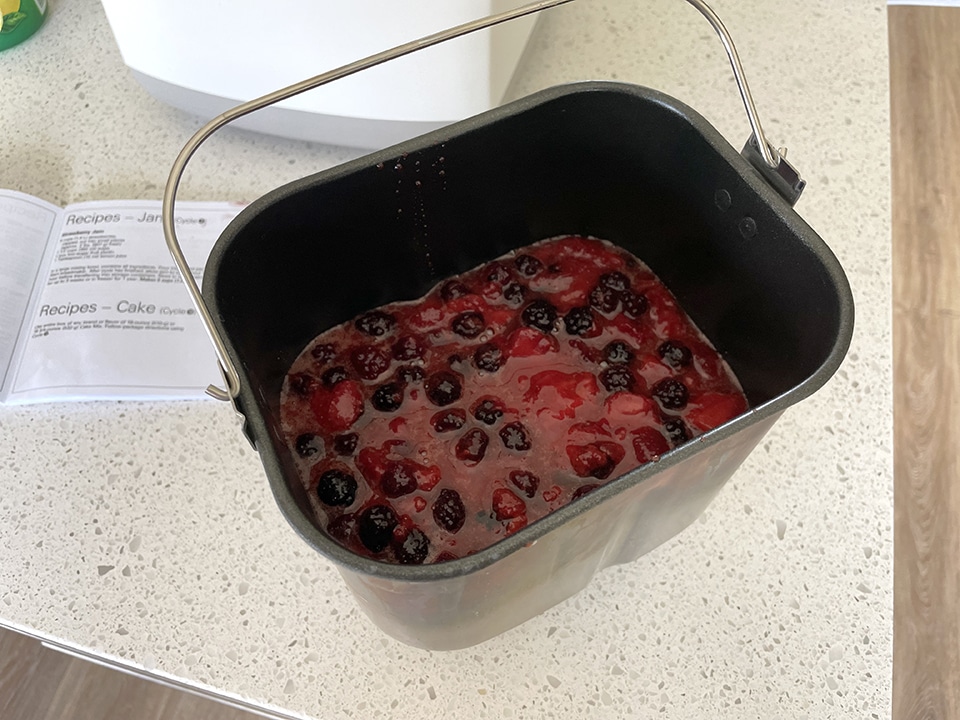
My bread maker’s manual says to let the jam cool for one hour before ladling into storage jars. During this time your dishwasher cycle should be just about finished.
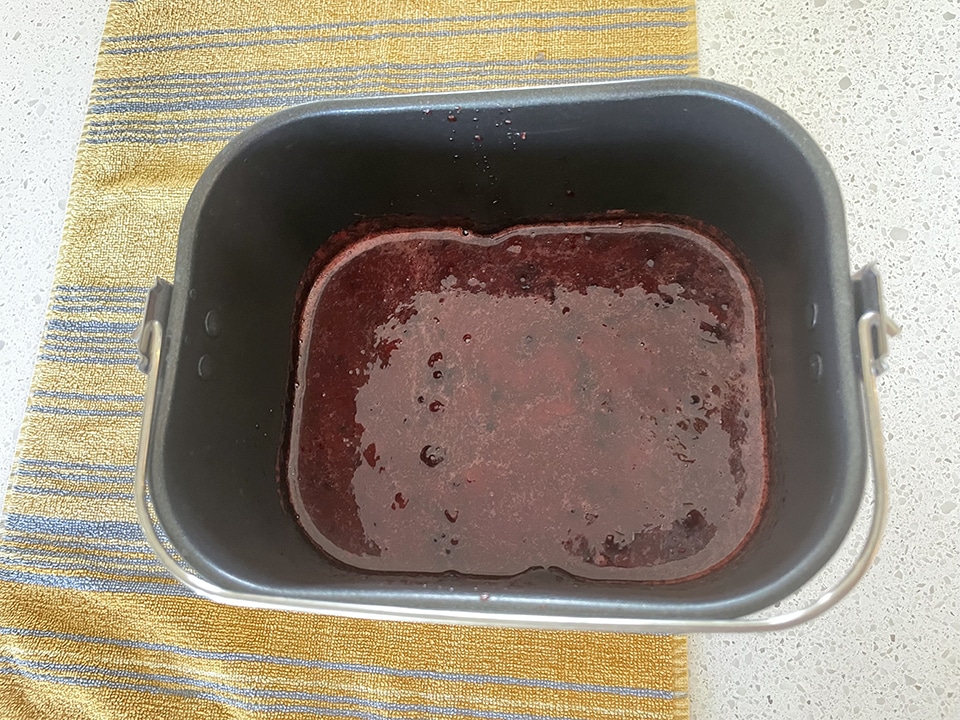
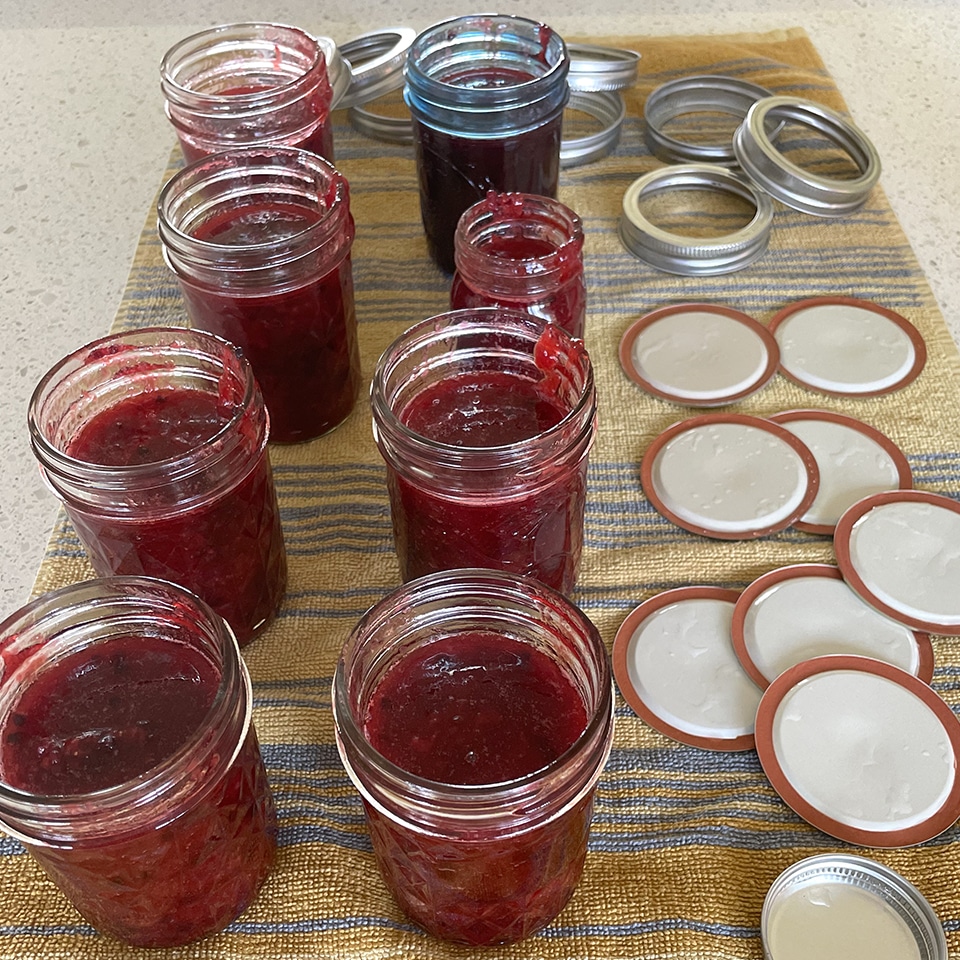
Ladle the jam into your storage jars, wipe jar rims and sides (if messy) and pop a lid and band onto each jar.
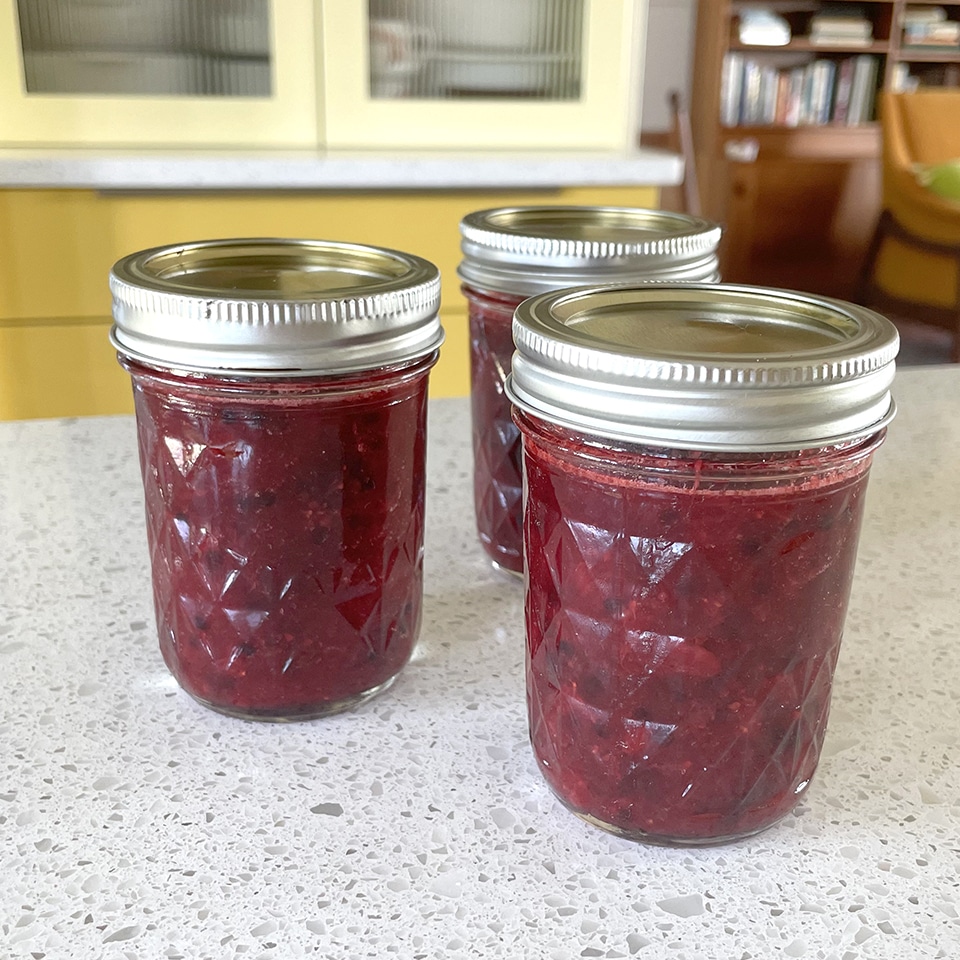
Label with the date; this jam keeps for three weeks in the fridge. Want to freeze your jam? Be sure to follow these instructions.
Jackie Baird Richardson is an interior designer, editor at The WON and avid junker. Watch for her design tips and occasional crafting ideas, bringing the outdoors indoors. View all posts by Jackie Richardson