I knew my grands would love to make clay mushroom wind chimes. They are 10- and 12-years old (I believe my 5-year-old grandson could do this one easily as well). When I visited them recently, we created this funky boho mushroom craft (and their mom loved them).
I noticed the directions on Pinterest at “Laura Kelly’s Inklings” website. Thanks to Laura’s links, I quickly ordered supplies and had them sent out to my grandkids’ house. That way, I didn’t have to travel with clay and wool balls in my luggage.
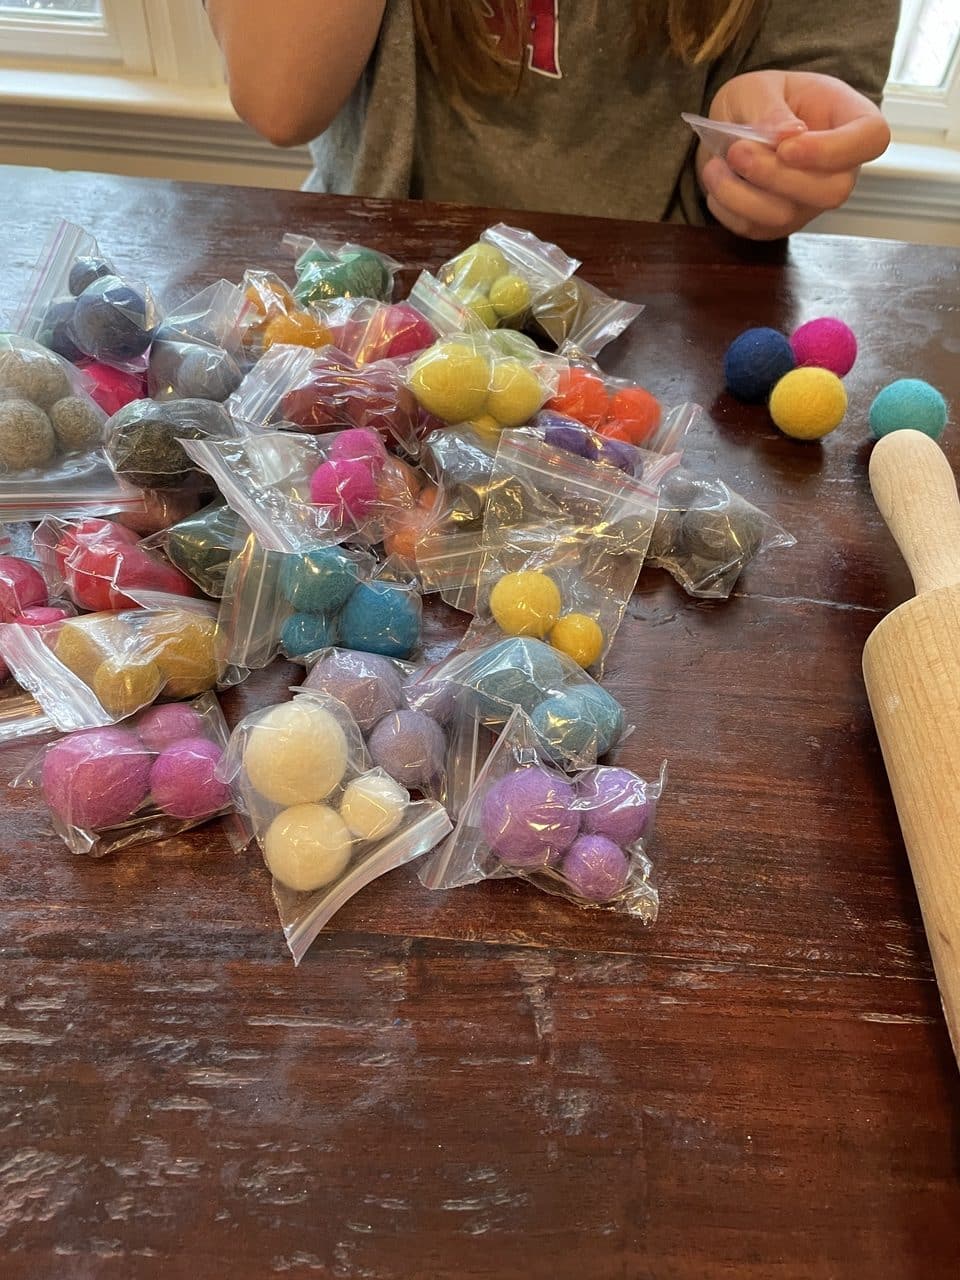
Here are the materials you’ll need:
Warm up a piece of clay in your hands, and roll out to about ¼-inch. Cut into three circles. Place around a wool ball under each circle in the middle (I purchased an assortment of wool balls, but it would be best to use the same size for all three mushrooms.).
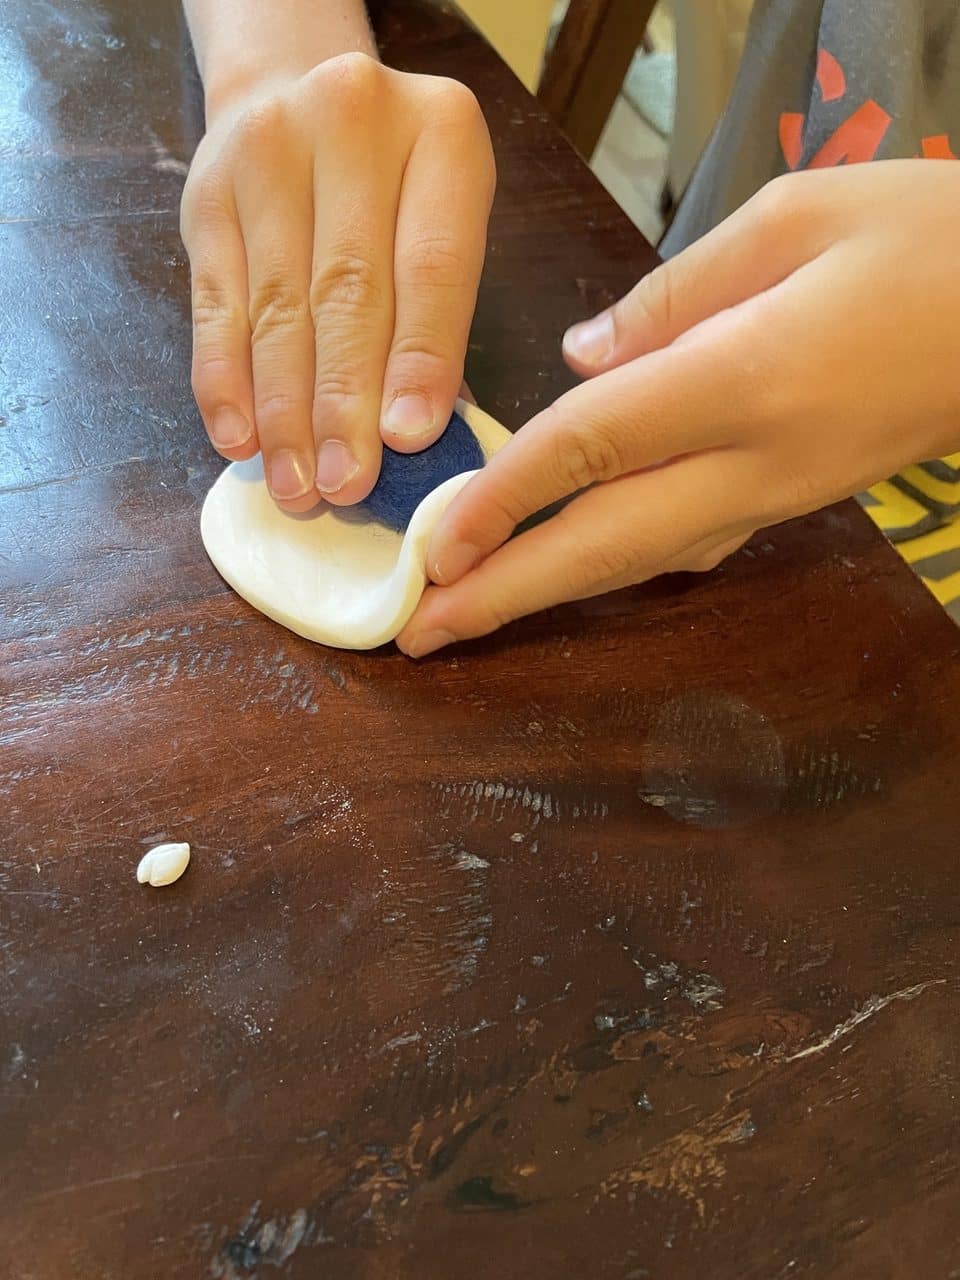
Wrap the clay around the wool ball, and then, you can pinch and deform the cap of the mushroom to make it look more realistic. Make sure that you don’t close the cap around the ball too much or you won’t be able to remove the ball after baking.
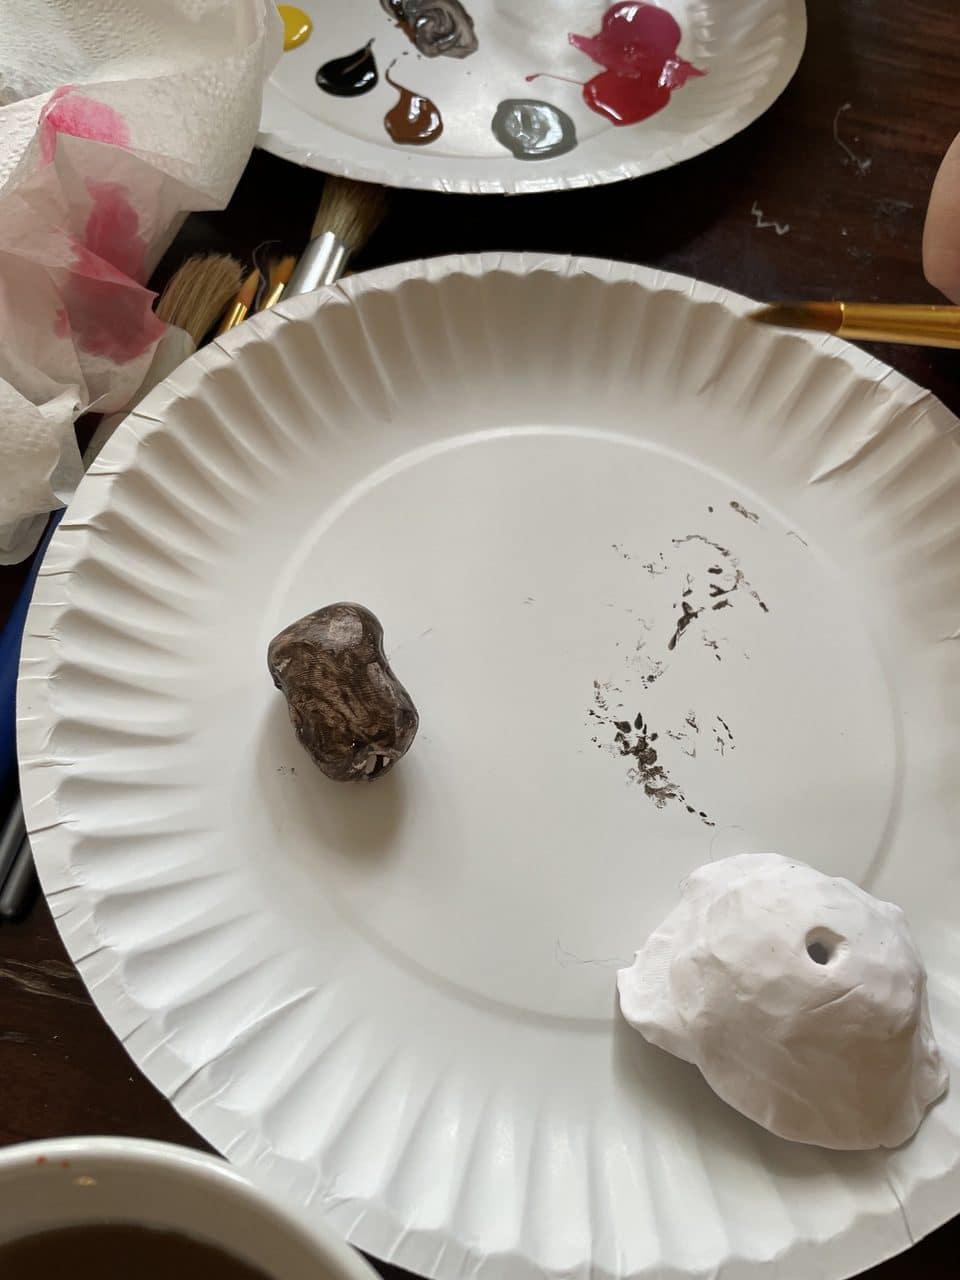
To make the stems, pinch off a piece of clay and fashion it into an oblong stem shape.
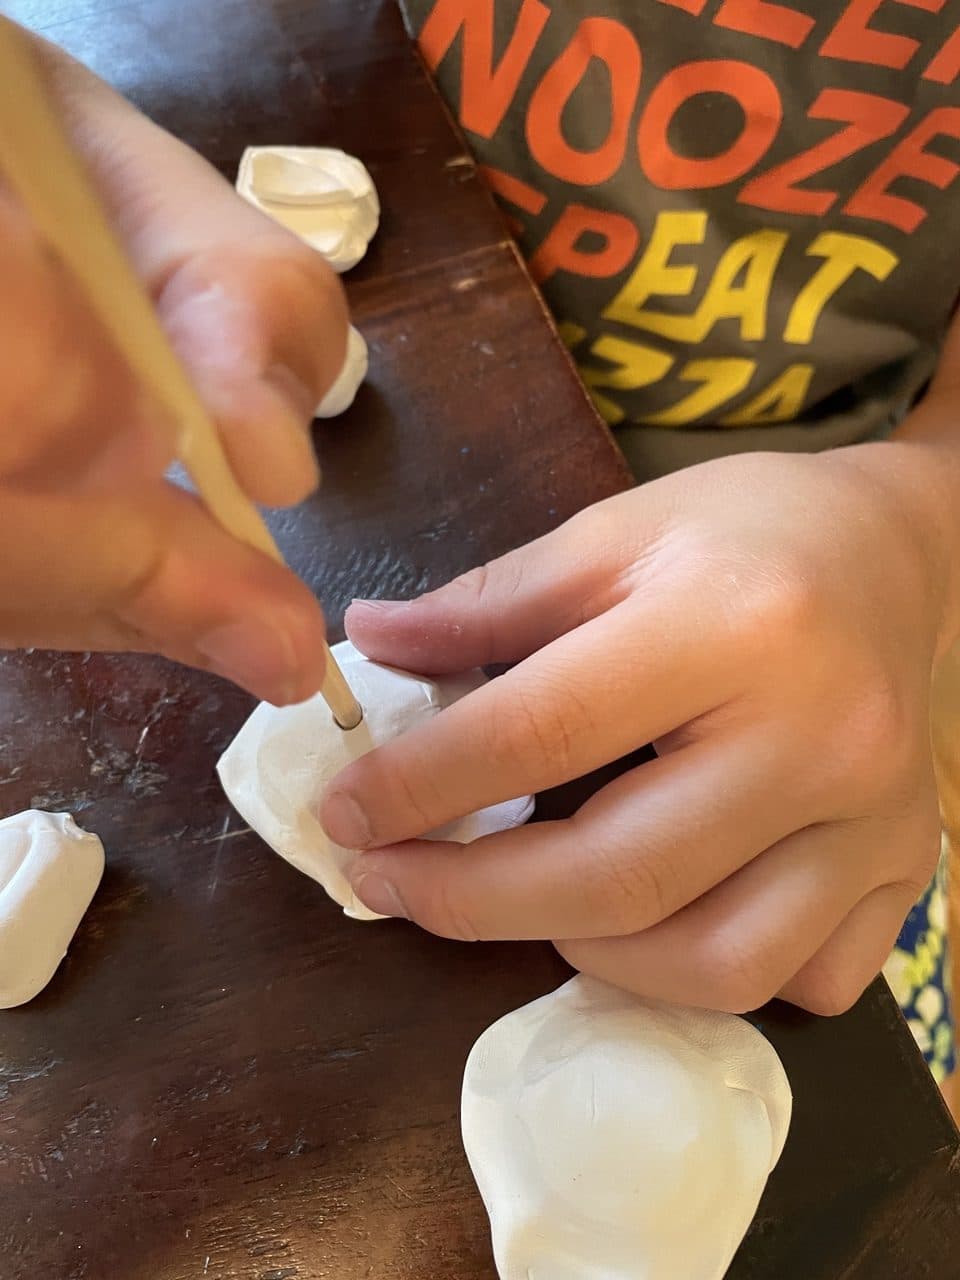
Poke holes in the top of each cap and through each stem – because you’ll want to pass the twine or cord through it to build the wind chime.
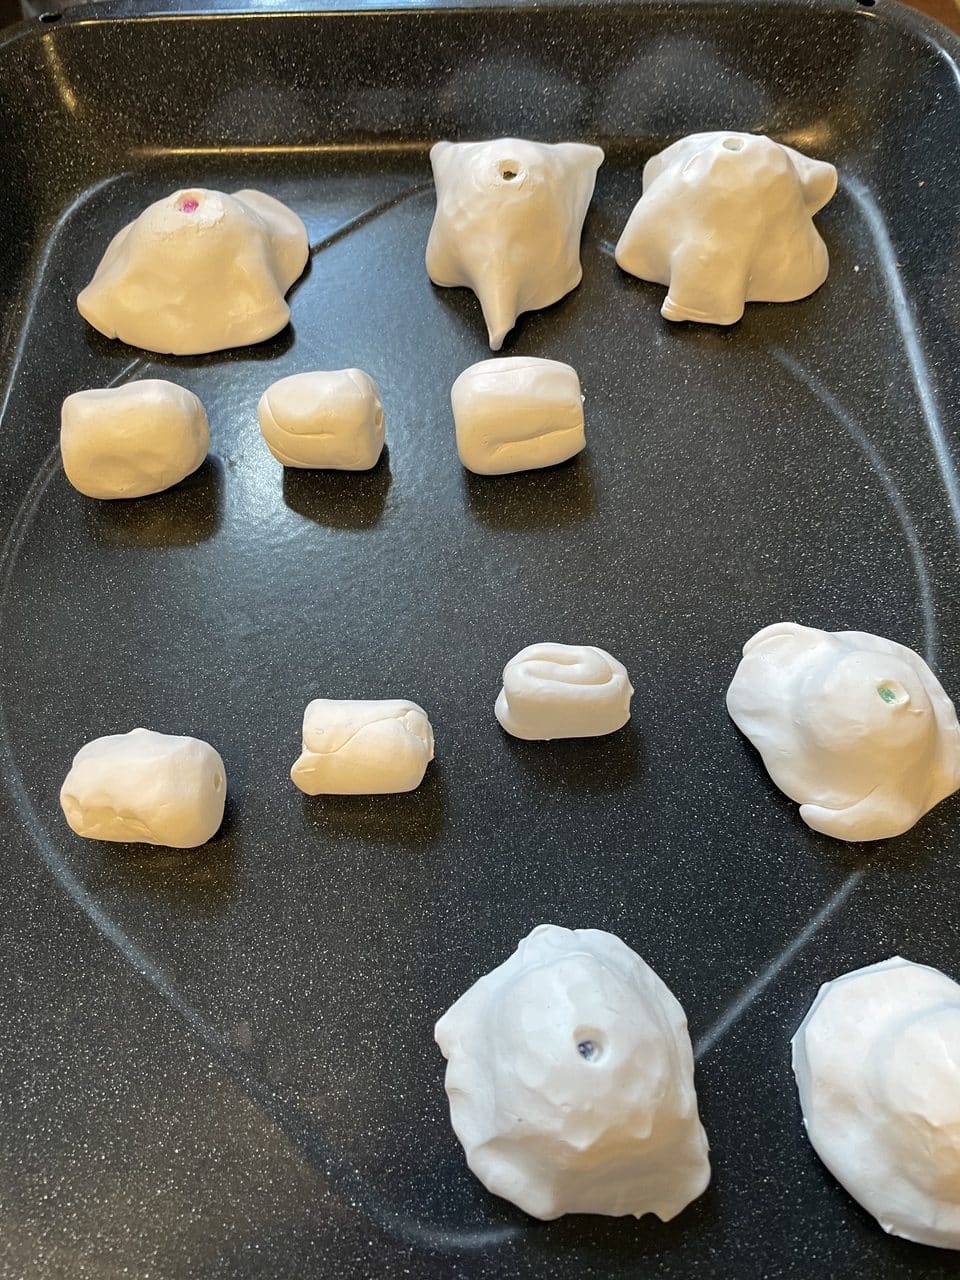
Bake on a cookie sheet at 325 degrees for 15 to 18 minutes. Let cool.

Next, you need to remove the wool balls. Then, paint the mushrooms with acrylic paints.
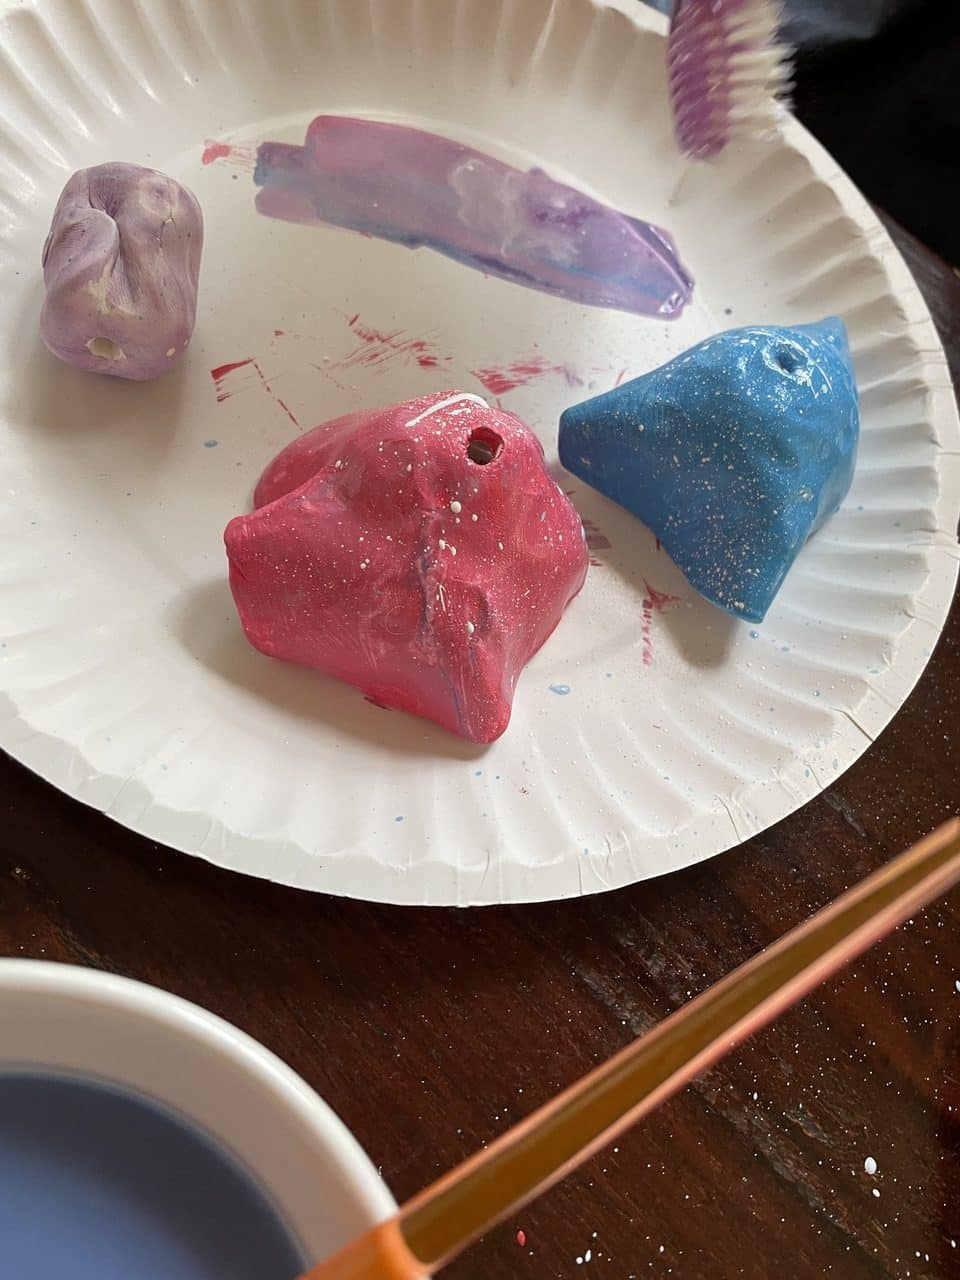
Let dry.
The next step, before assembling, is to spray a finish, such as automotive clear coat or UV resistant spray on the caps and stems. Don’t forget underneath the caps, too. (I use this on painted rocks before placing them outdoors.) Let dry thoroughly.
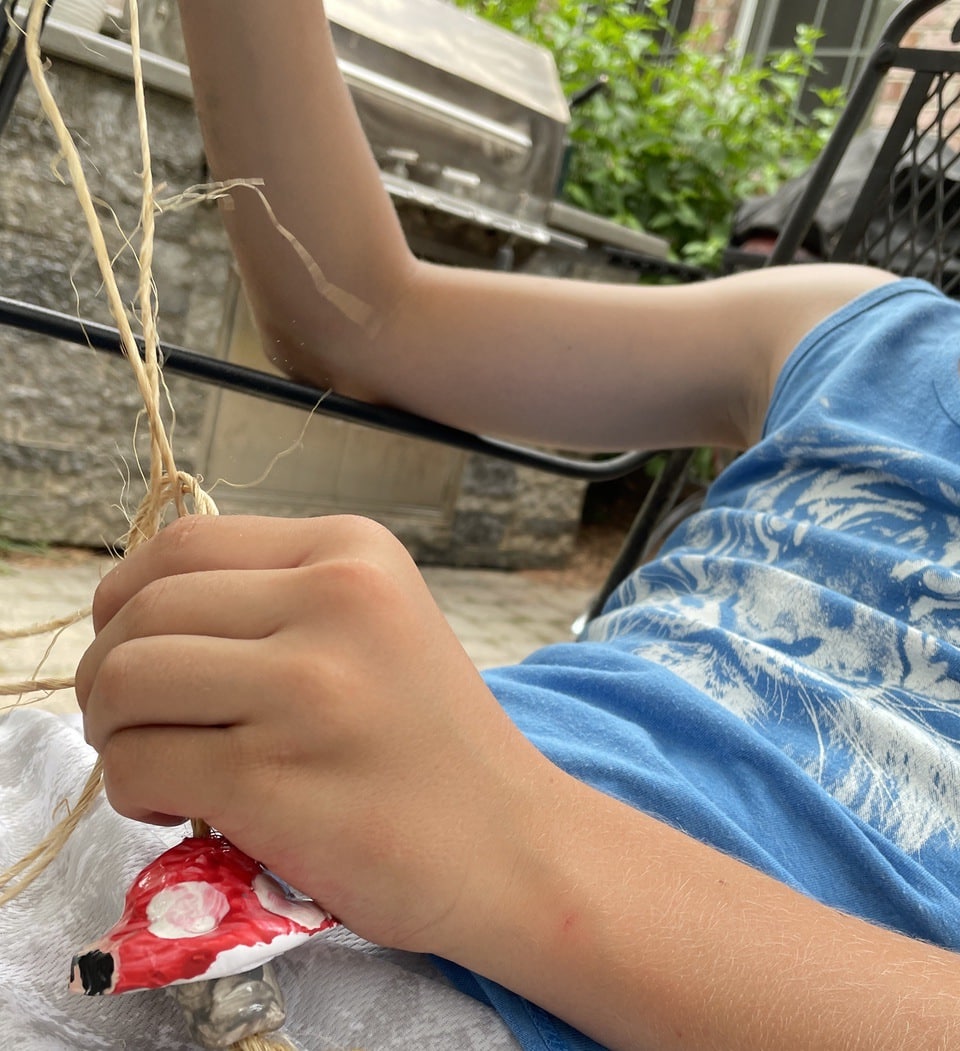
In order to assemble, cut a 4-foot piece of twine or heavy cord; make sure it will go through the holes first when doubled. Then, double it and tie a knot on the end. Place your first stem at the end of the twine (there will be two pieces to feed through the holes).
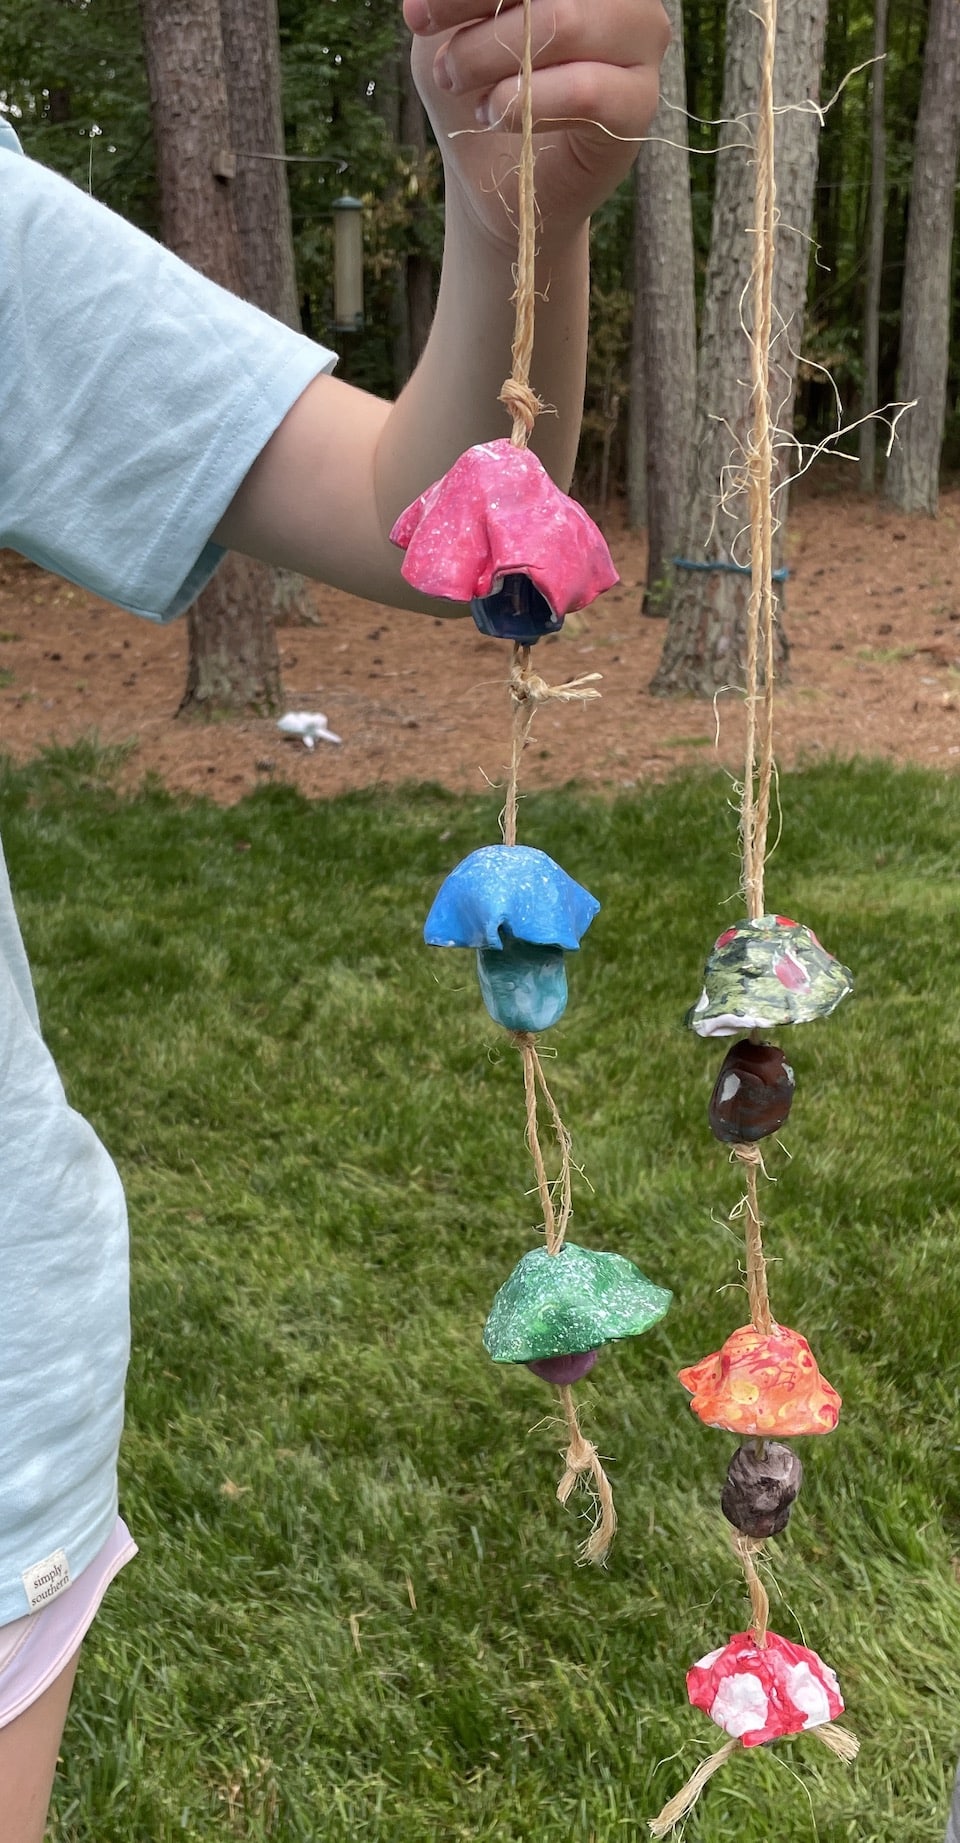
Then tie another knot in the twine where you want the cap to sit and string it onto the twine. Repeat two times. You’ll have a loop at the time and you can easily hang the wind chime.
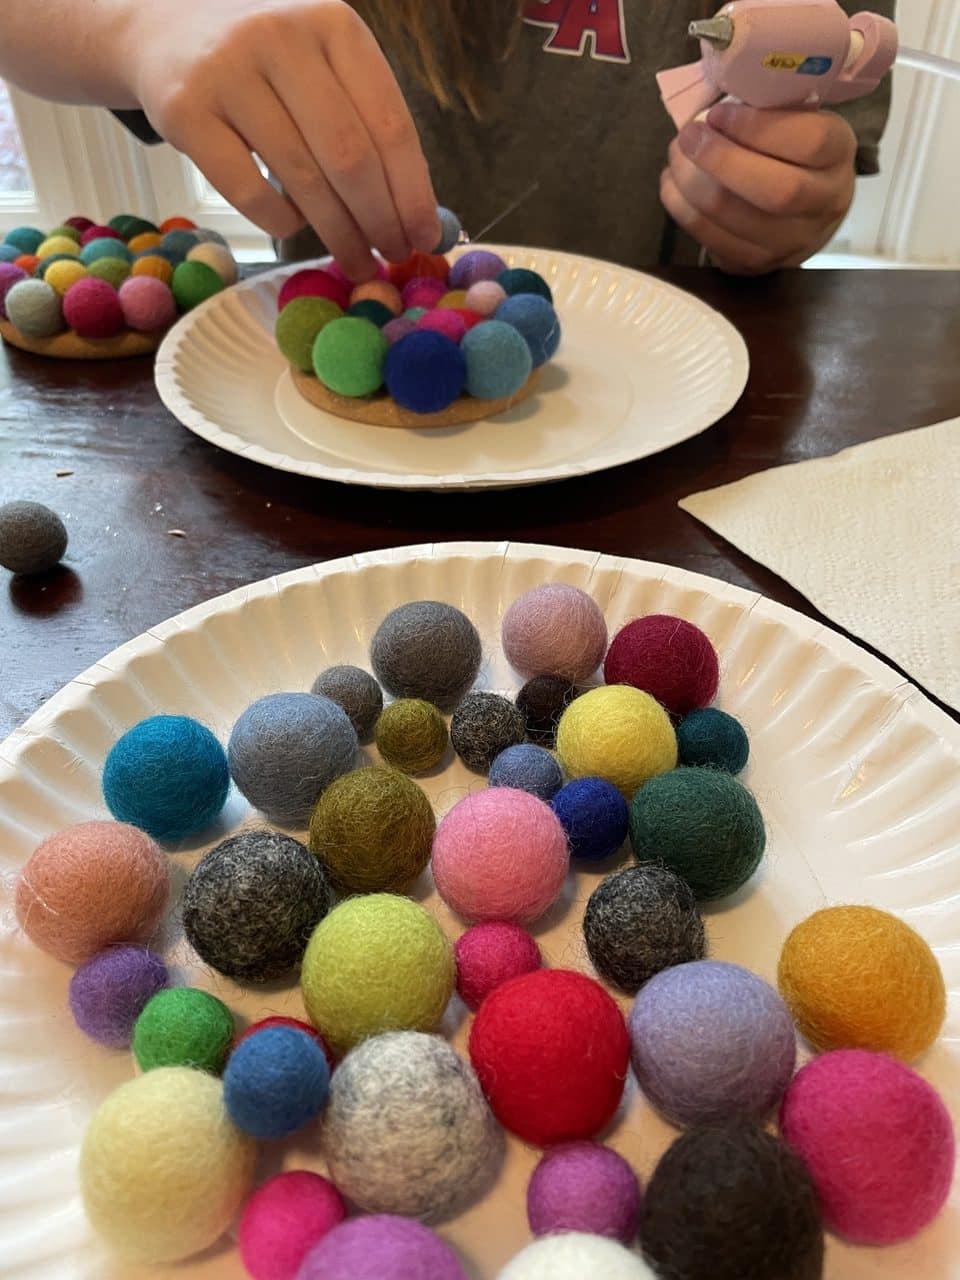
And what to do with all those wool balls? We made cool coasters out of them! It took some cork coasters (buy online or find some at a thrift shop, hobby store or your junk drawer), and then just have the kids go to town with a hot glue gun and wool balls.
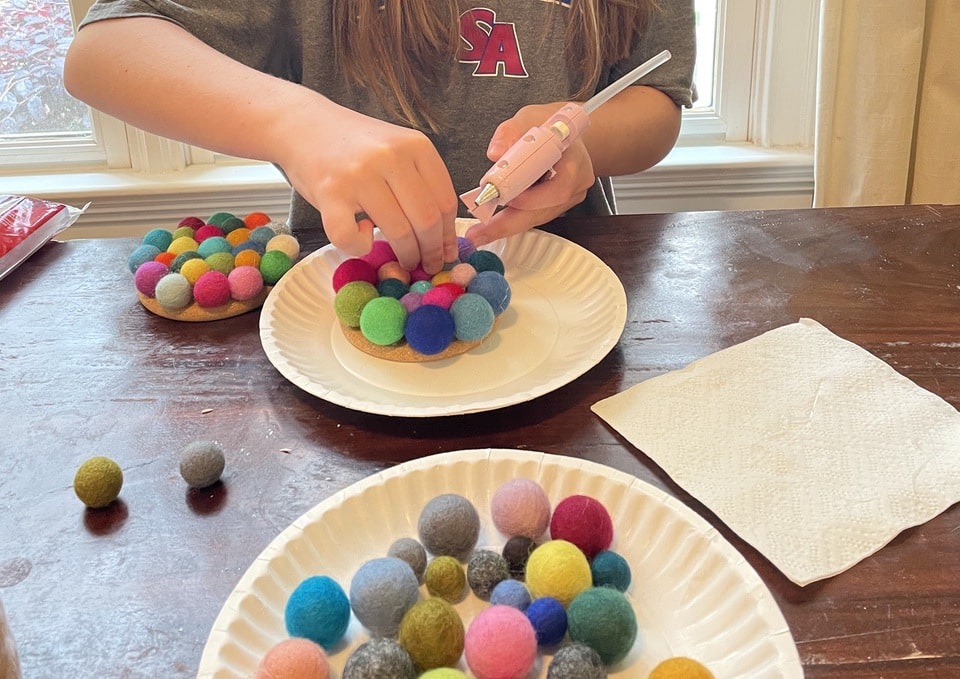
They had fun, and of course, they’re old enough to use the glue gun with supervision.
Publisher/Editor Barbara Baird is a freelance writer in hunting, shooting and outdoor markets. Her bylines are found at several top hunting and shooting publications. She also is a travel writer, and you can follow her at https://www.ozarkian.com. View all posts by Barbara Baird