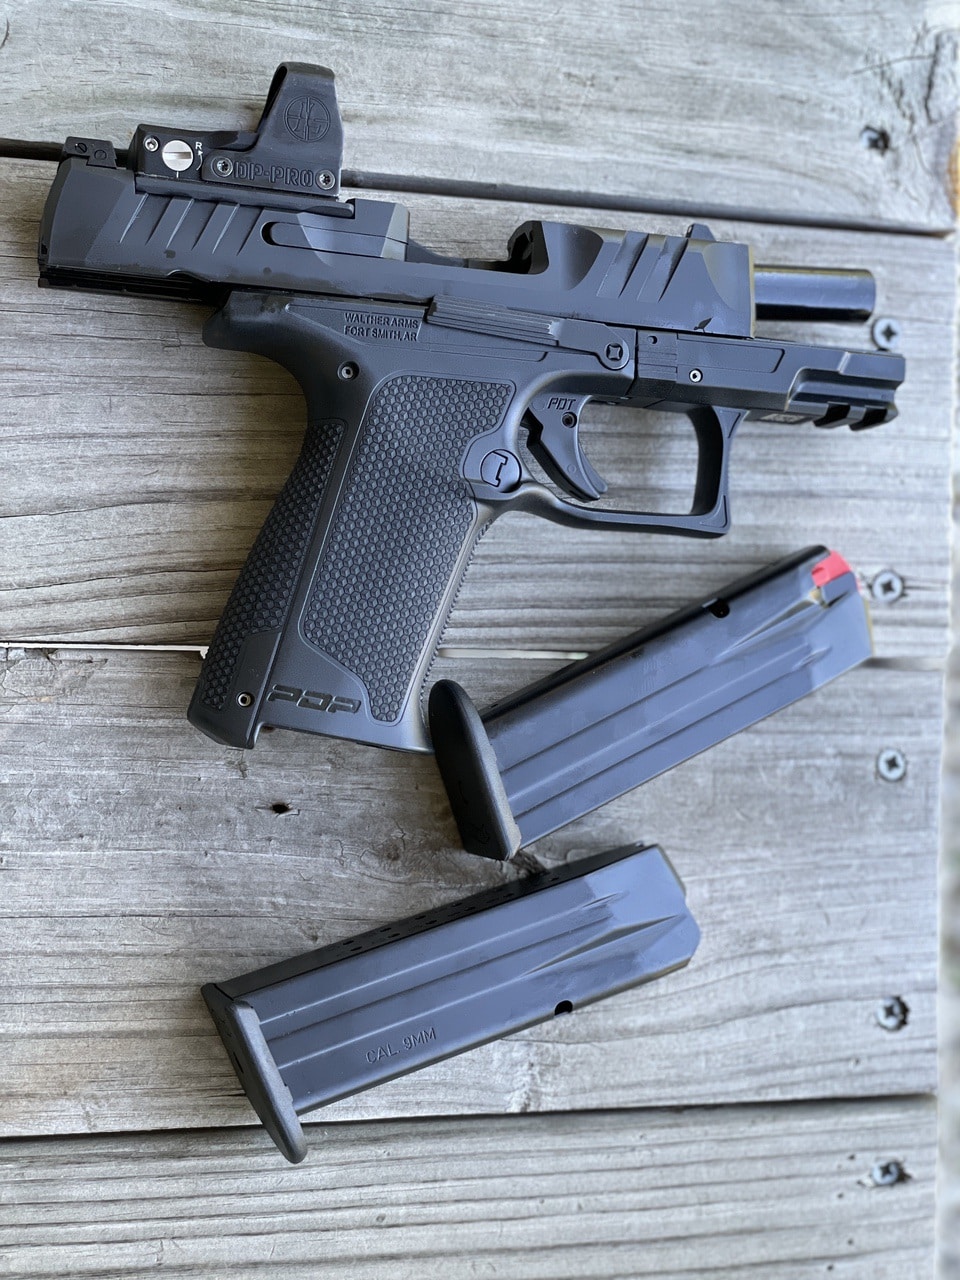
We continue to see a surge in red dot sight popularity with firearms for not only competition, but also for personal defense reasons. Walther’s new PDP F Series offers one free optic plate per purchase, so you can attach the red dot of your choice to the firearm. I reviewed this gun last year, and attached a Leupold DELTAPOINT PRO to the top of the gun, and then bore sighted it. After reviewing the gun, I decided I’d like to further train with it, and what better way than to focus on multi-target shooting?
Sponsored by Walther Arms
Red Dots and Multi-Target Shooting
Why multi-target shooting? Frankly, in this day and age, where there’s one perpetrator, there might be two or more. It’s always better to train for more than less.

I called up my trusty local trainer, Mike Ross, who comes with a full-arm’s length of qualifications (and street cred) as to why he is a fabulous firearms instructor – including former law enforcement trainer, former Marine, NRA certified and the list goes on. Mike has instructed our local women’s shooting club for several years. I featured our story in NRA’s “America’s First Freedom.”
I should add that Mike is a PPQ fan. He only carries Walther’s PPQM2 in 9mm. He owns a local range and trains law enforcement personnel from around southwest Missouri.
Mike had me start out by shooting a warm-up. He also asked if I had shot at all during the last 24 hours; I had not. I reattached the Leupold sight to the PDP two days earlier, and bore sighted the sight with the gun and shot a few rounds on the range to tweak and verify, but I hadn’t been on the range for at least 48 hours.
The warm-up consisted of shooting from 50 yards, and then, drills at various distances – from 2 yards back to 25. He used big dot targets, where we could note where the shots fell at the different yardages, and this is crucial to understanding how the gun performs with the red dot attached.
After feeling assured that the gun and red-dot worked well together, and that I could use the two under pressure, we headed to the tactical range – with lots of targets in a U shape. Here’s where it got interesting. Mike ran me through several drills with the Walther PDP. They included the following:
Running from the targets in front to 50 yards back, turning and taking three shots, then running to 25 yards and to 15 yards and taking three shots at each position. This increased my heart rate, and made it more difficult to shoot. The red dot allowed me to shoot consistently, and in the 80th percentile, for this drill. Am I happy with 80%? No, but I am heartened that it’s a good start.
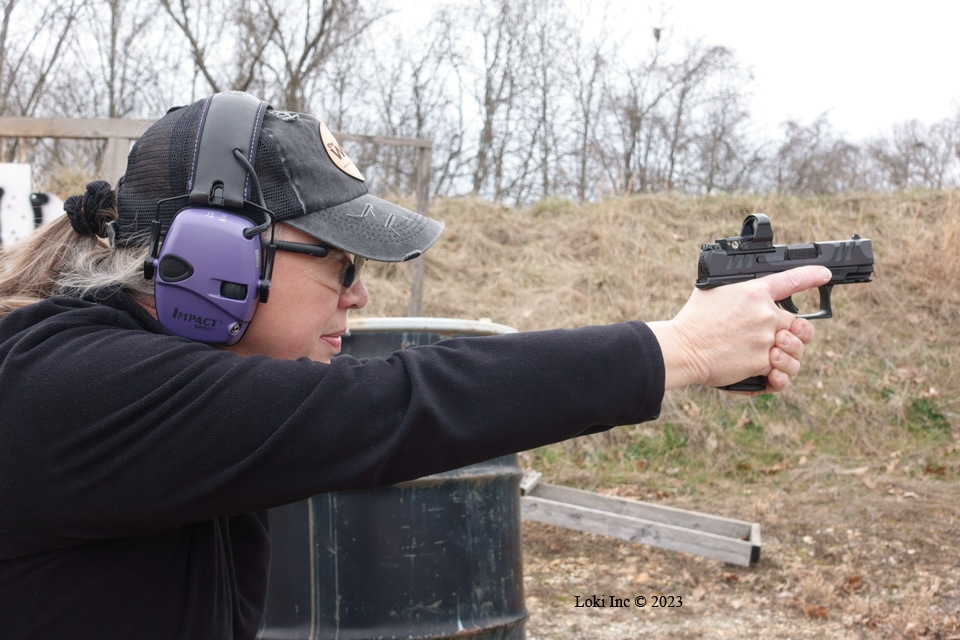
Next, he had me then shoot three targets consecutively – making sure that I moved my eyes to the next target and then, found the red dot in the center of mass, or on the 8-inch plates. It became time to move and Mike insisted that I not stand still for any of the shots, as we first went over the footwork and scenario with an empty gun. When it came time to walk forward, shoot three targets, turn and shoot three more targets, turn another quarter while backing up and shooting at three targets (about 10 yards away since these were steel), it went smoothly and I hit the target every time. Is there room for improvement? Absolutely, but I have the times and the baseline set now.
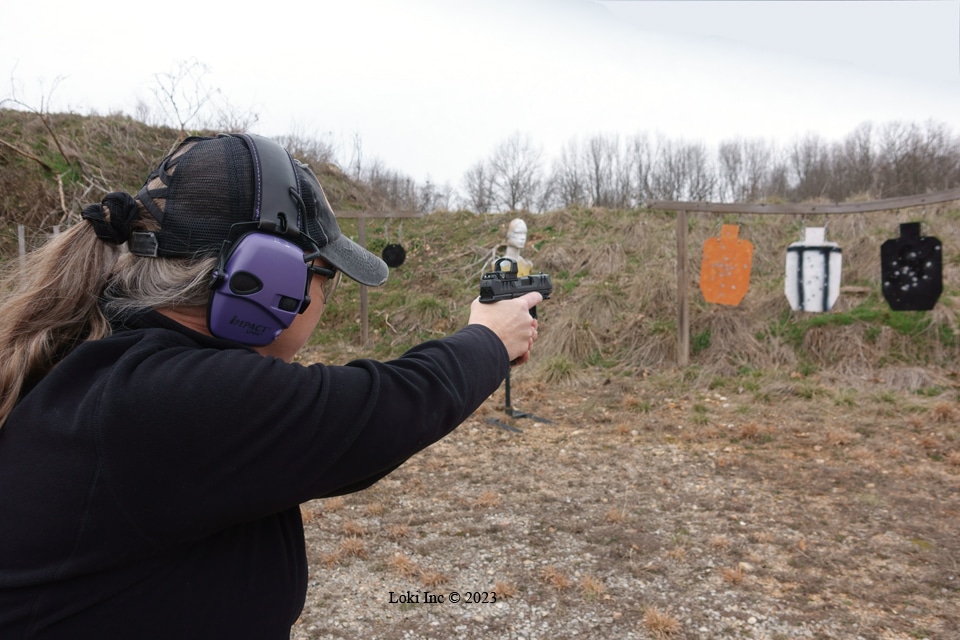
We moved on to the “Bill Drill” and “El Presidente drill,” which are excellent speed shooting drills, and I realized then how much I really like the red dot and relied on it while moving from target to target.
To finish the course, Mike had me shoot a drill he designed called a “range qualification course” using an FBI QIT qualification target paper. My score fell into the 75% range, which inspires me to continue training.
Finding the Dot
The first and most important skill when using a red dot on a firearm is to quickly find the dot. The popular blog called “Breach Bang Clear” (BBC) offers one of the most concise guides to finding the red dot quickly before shooting. I believe I started with the “Muzzle Up” method, where BBC states, “For this method, as you draw down on the target you start with a slightly elevated muzzle and acquire the dot as you level onto the target. This one is usually very quick to learn, especially if you already present the handgun in this manner.”
I realized afterward that I had naturally transitioned into what BBC called the “Magical Red Dot Fairy,” where “you look at the target, present the pistol, and the dot just appears.” Voila. After about 150 shots, this began to happen.
I am looking forward to working more with this gun and a red-dot in the near future, during our next training course, which will be based on low-light and a red-dot.
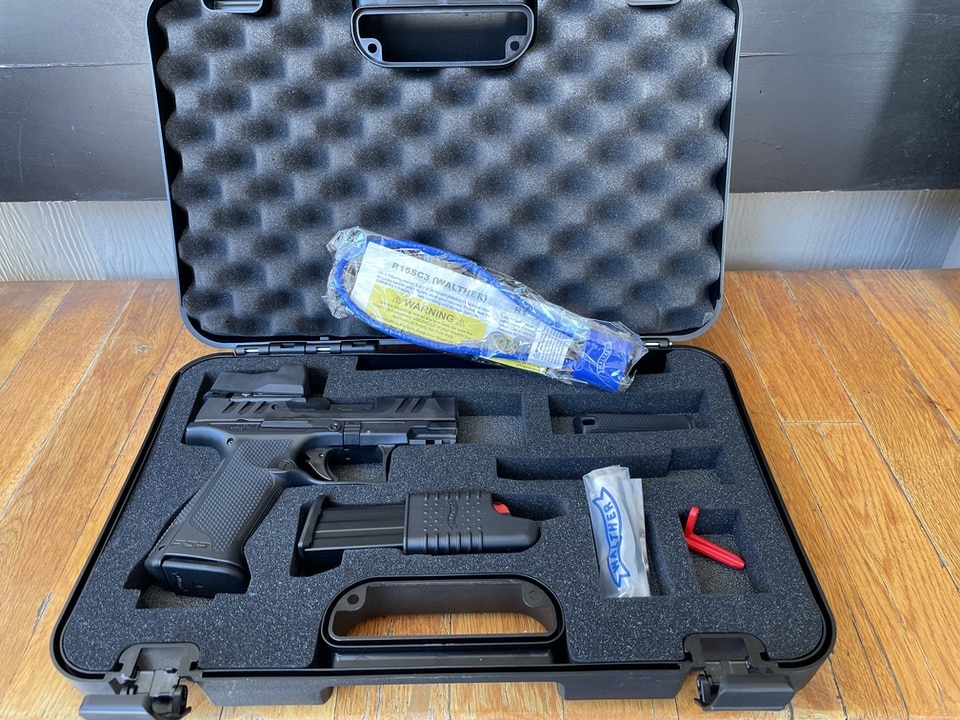
In the meantime, the Walther PDP F Series is available for sale in 3.5- or 4-inch barrels. MSRP: $699.
Publisher/Editor Barbara Baird is a freelance writer in hunting, shooting and outdoor markets. Her bylines are found at several top hunting and shooting publications. She also is a travel writer, and you can follow her at https://www.ozarkian.com. View all posts by Barbara Baird