This week brought our first snow day of the year. After playing outside in the perfectly-sticky snow, my children were worn out and ready to go inside and warm up. To help entertain them, I broke out a few craft supplies, threw down some worksurface protection and let them color away. Coffee filter creatures are super easy to make, and allow for versatility in design and materials used.
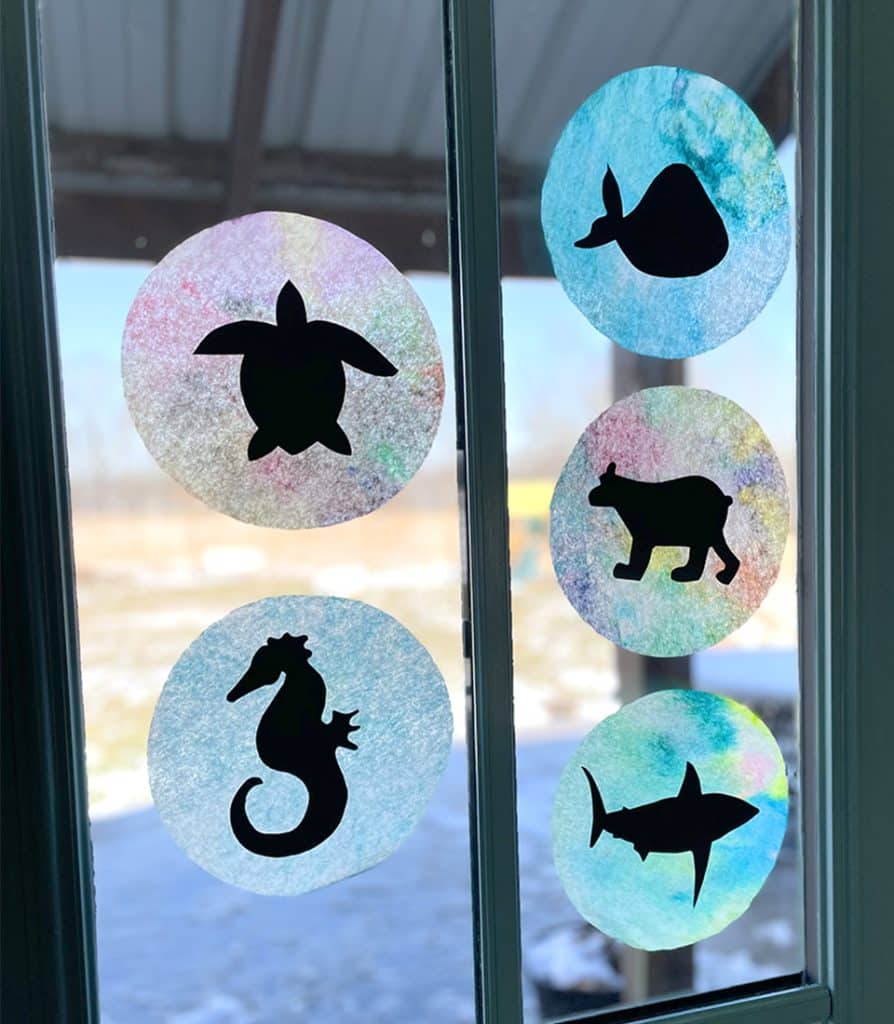
First, gather the following materials. As I mentioned, this list is fluid and more of a guideline for creating this craft. The colorful coffee filters will become the background for creatures cut from construction paper. The whole assembly can be affixed to a window or glass door pane, creating a suncatcher effect in the daytime.
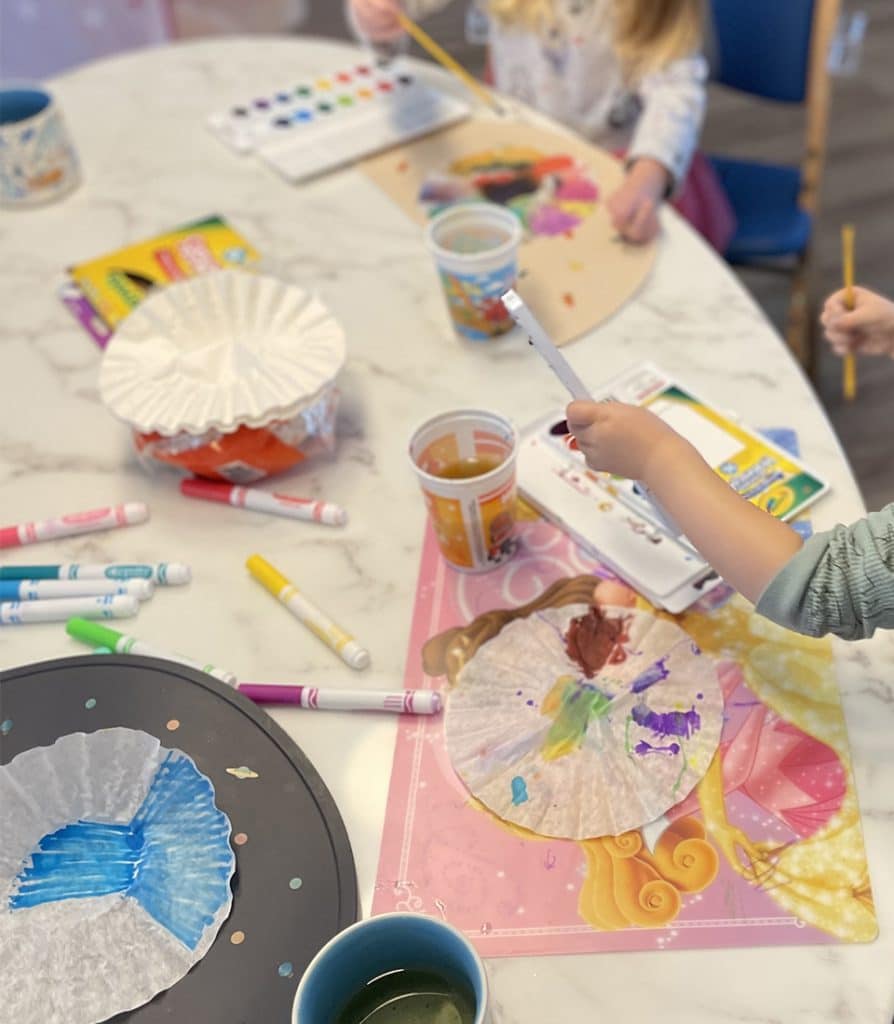
Coffee filters are an inexpensive craft medium, and have become a staple at our house. We’ve used them to make bats at Halloween and butterflies in the spring time.
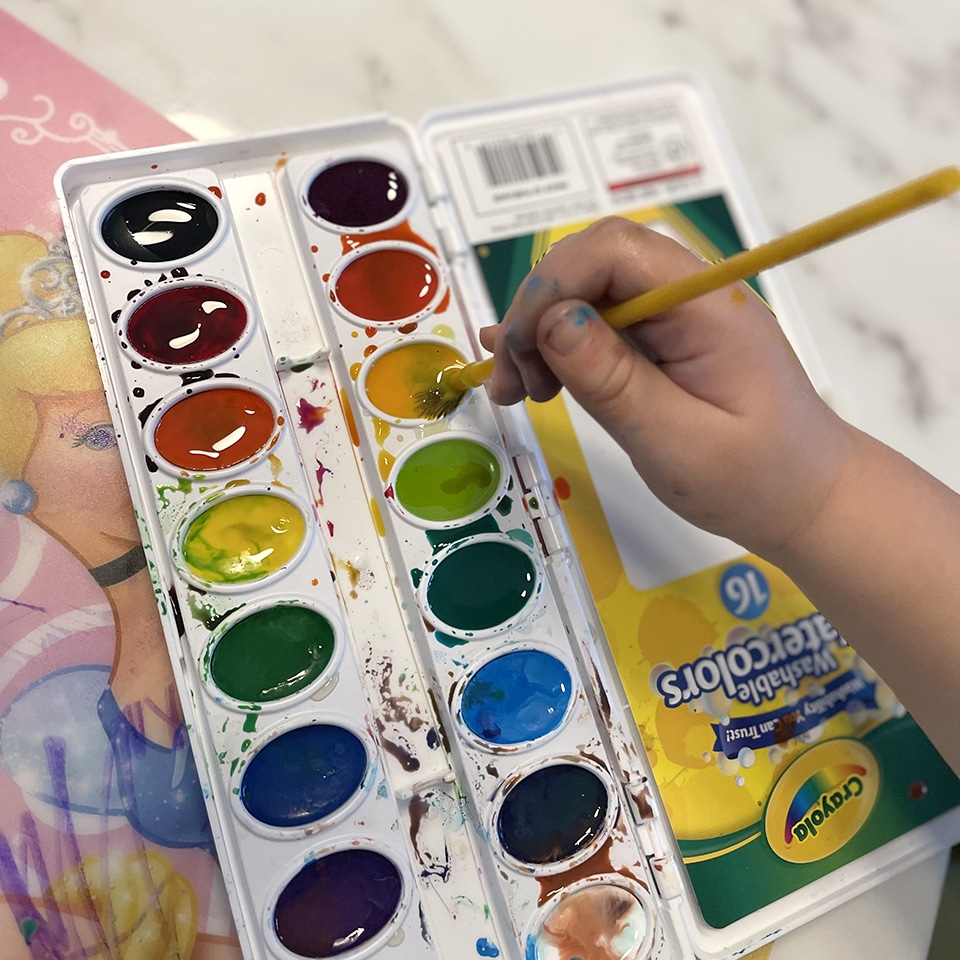
Now that you’ve gathered your supplies, covered your worksurfaces and poured a hot cup of tea or cocoa, you may begin the craft. Color the coffee filter, making sure to fill as much surface area as possible. My children really enjoyed using the washable watercolor paints to color their filters.
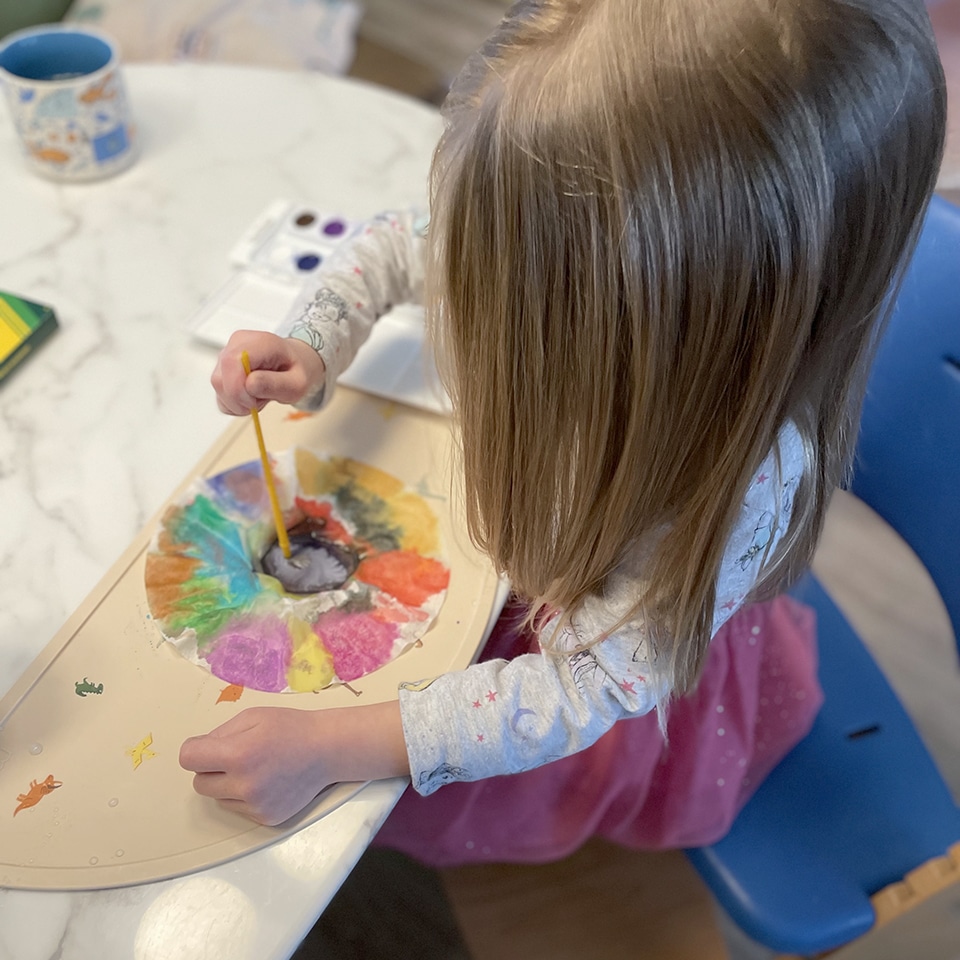
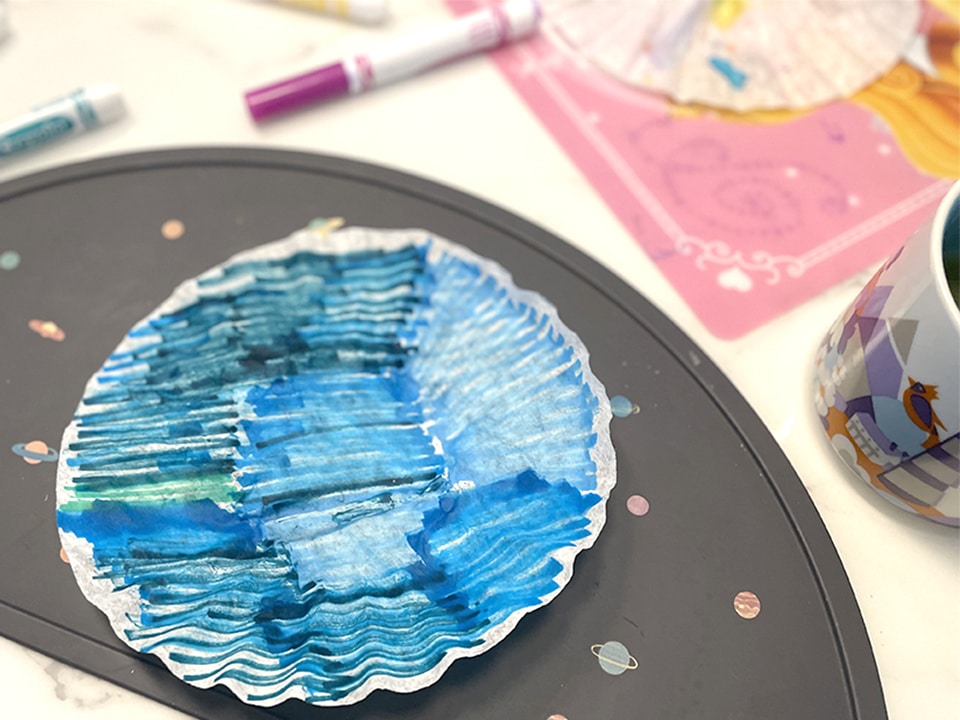
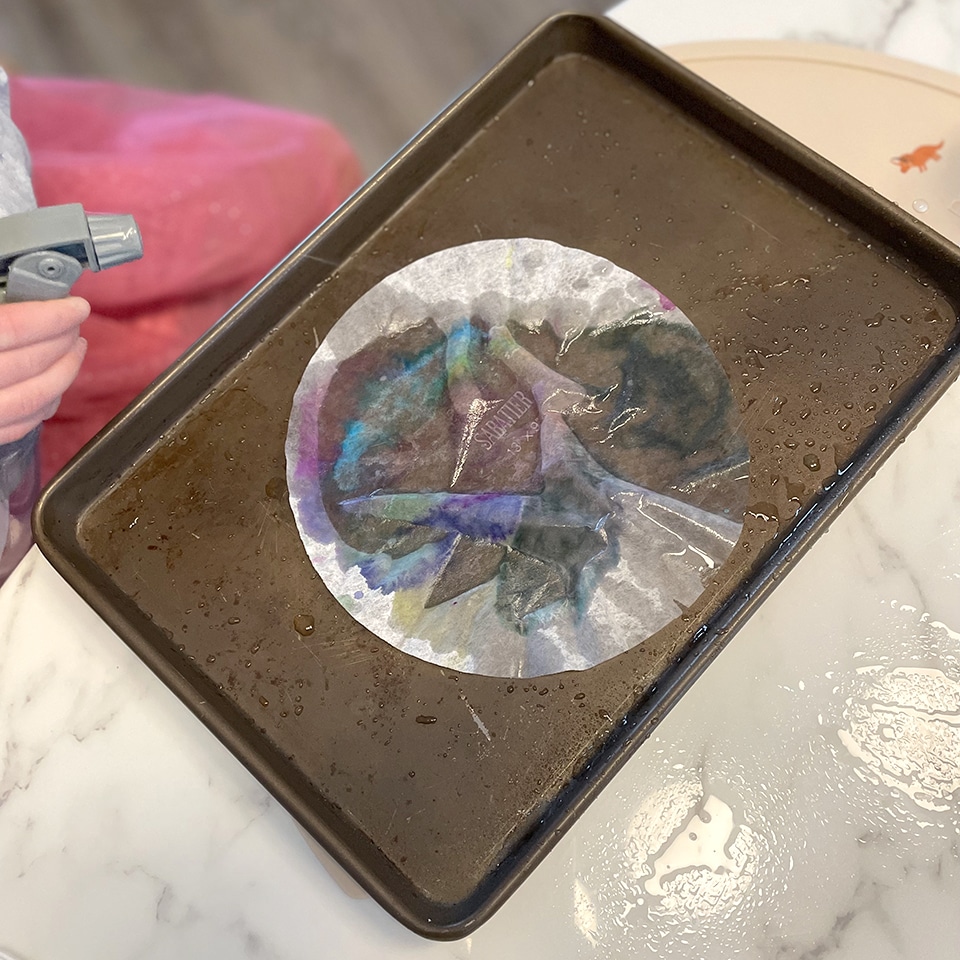
Next, place a coffee filter in your cookie sheet and saturate with water, using the spray bottle. And, if your children are like mine, some of the surrounding table surface and your little brother’s sleeve.
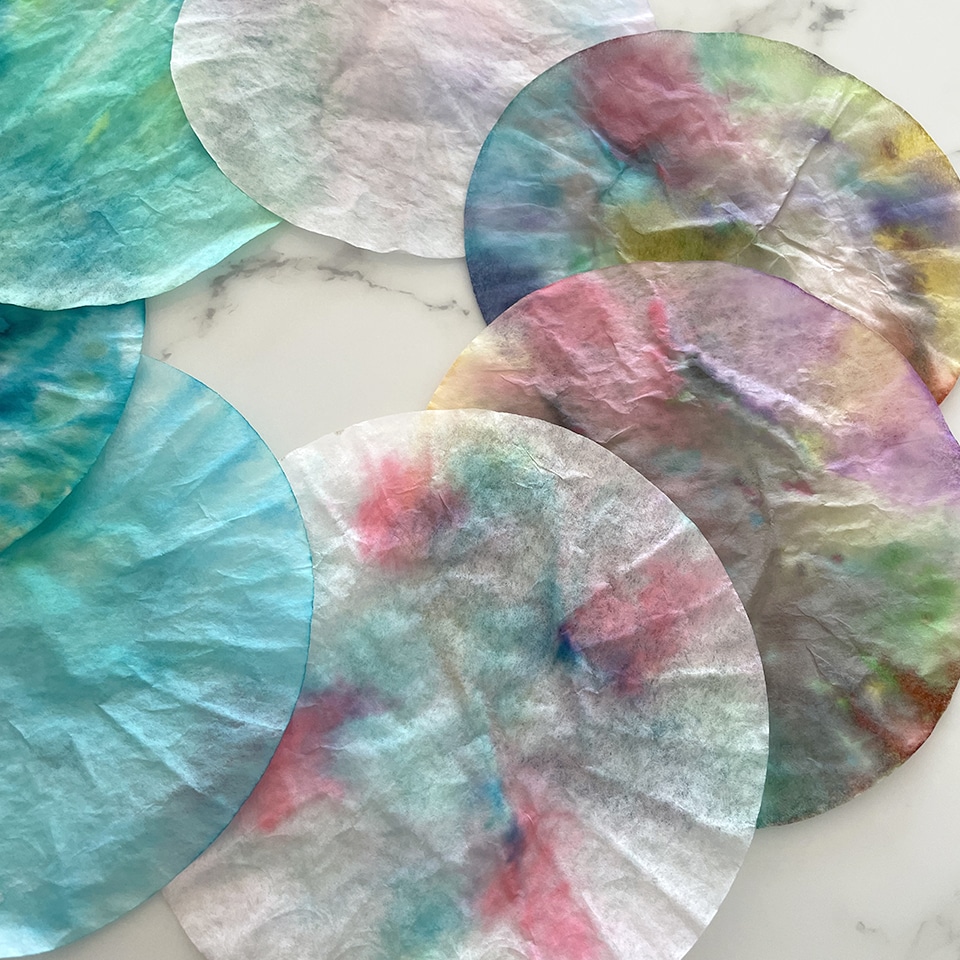
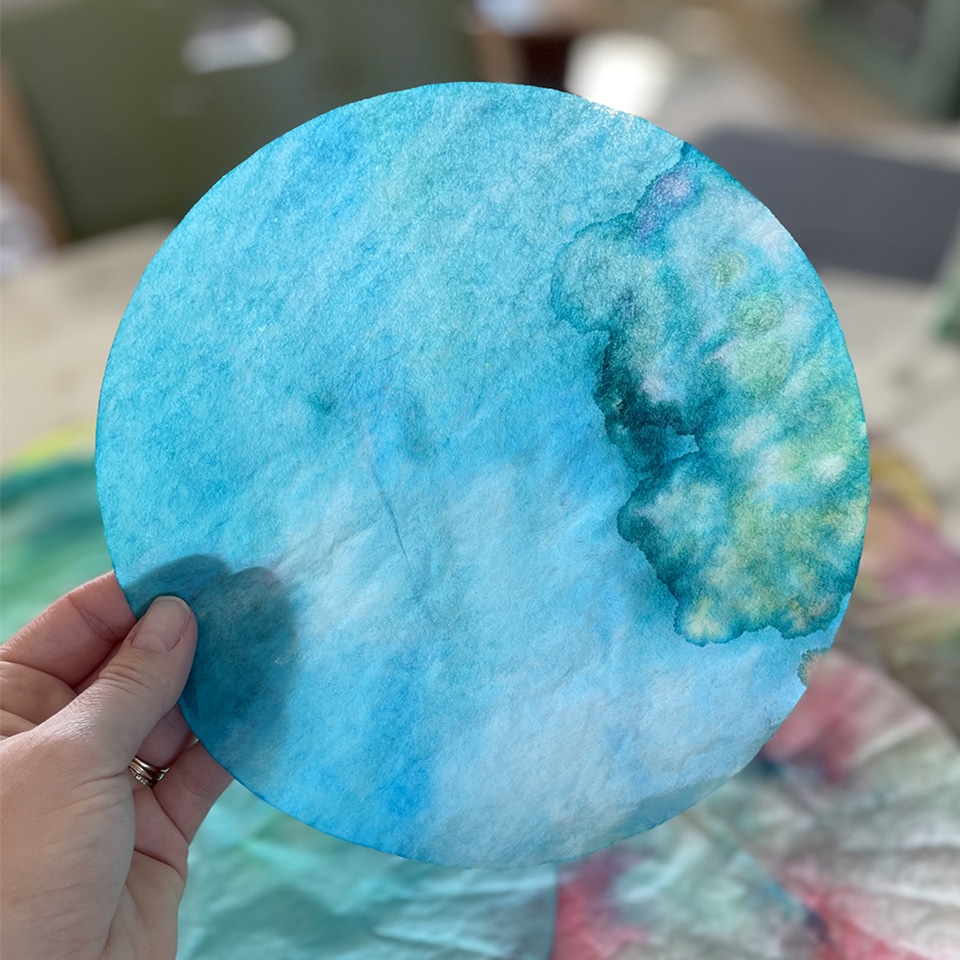
Lay each filter on top of a protected surface (I use old terry cloth dish towels). Then, allow the filters to dry fully. While they dry, cut out basic animal shapes from construction paper. When your backgrounds are dry, tape one shape to each coffee filter.
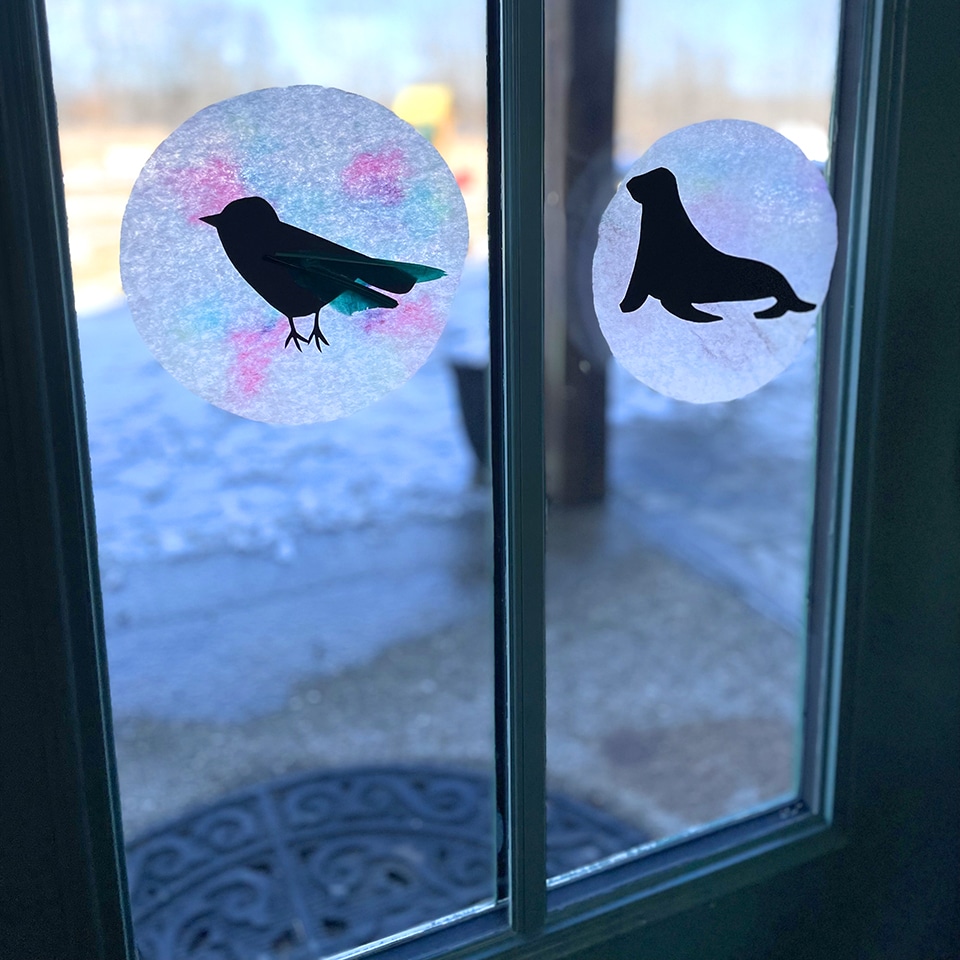
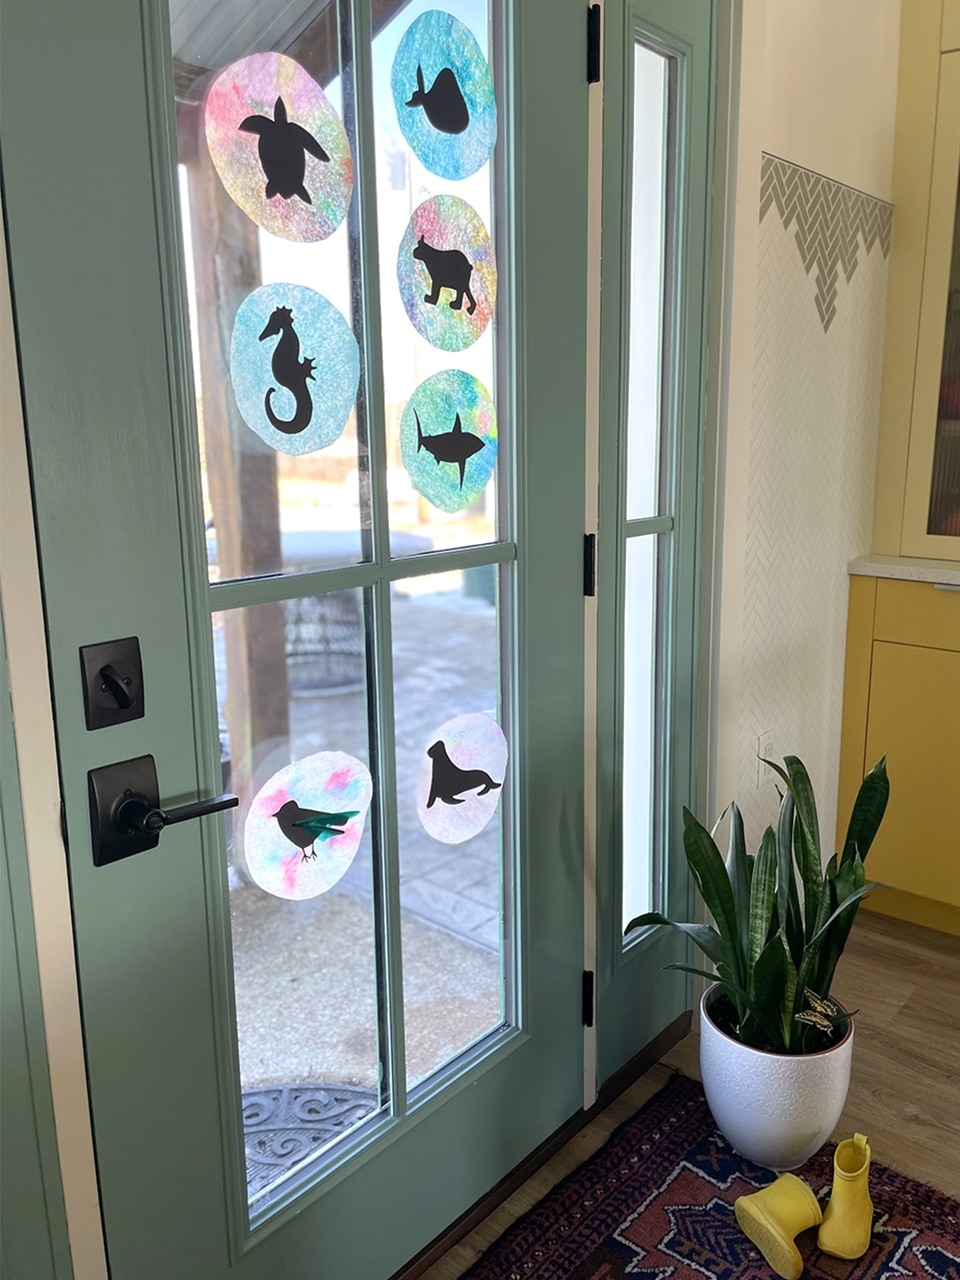
This craft can easily be tailored to your child’s interest. Mine are currently fascinated by turtles and sea creatures, and I am looking forward to our meal time conversations about the creatures in view from their high chairs. What animals will your children want to see?
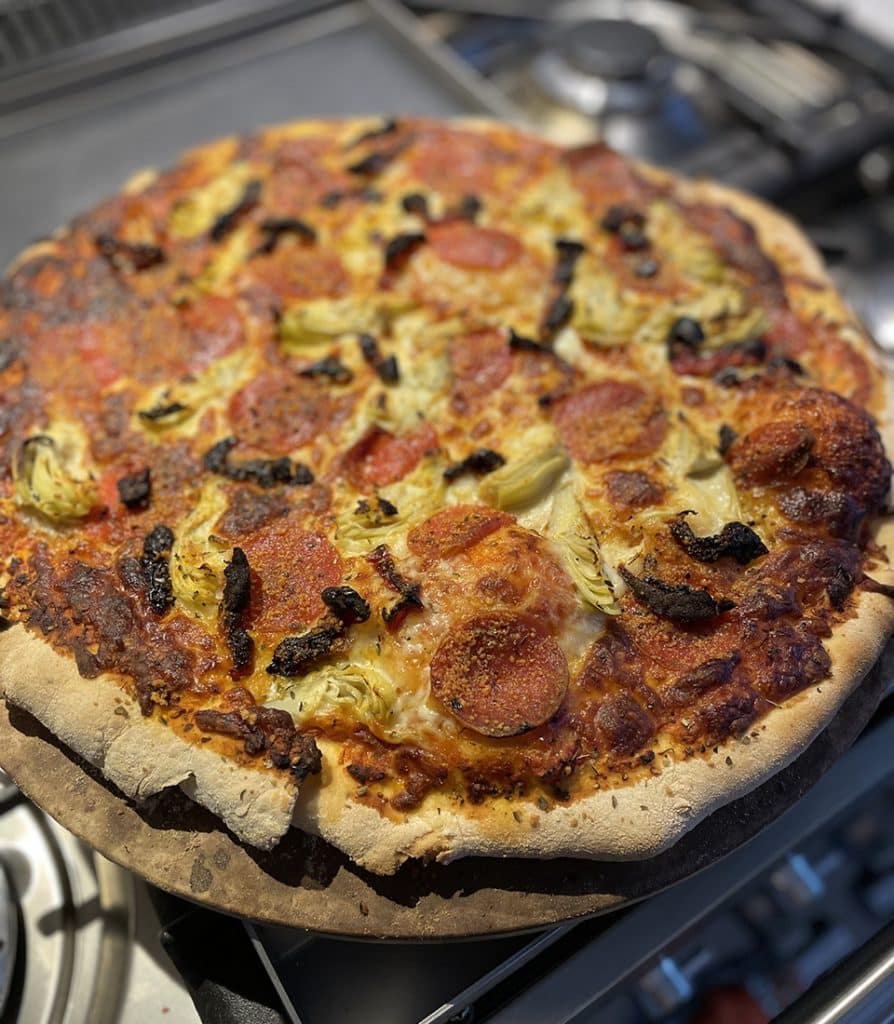
Here is a great, easy recipe for pizza dough using your bread maker. I assembled the pizza before our craft began, and baked it while we colored. The oven and cooling time was the perfect duration for us to color, spritz and lay out to dry our creations, all the while smelling our dinner cook in the oven.
Pizza Crust in the Bread Maker
Add to the bread maker pan in the order shown, from liquid to dry ingredients (yeast last). Start the dough cycle on your machine; when it is finished, dump the pizza dough onto a lightly-floured surface to rest for 10 minutes. Shape into a 16-inch pizza, top and bake for 20 to 25 minutes at 475°F. Cool for about 10 minutes, cut and serve with a side salad. Yum!
Jackie Baird Richardson is an interior designer, editor at The WON and avid junker. Watch for her design tips and occasional crafting ideas, bringing the outdoors indoors. View all posts by Jackie Richardson