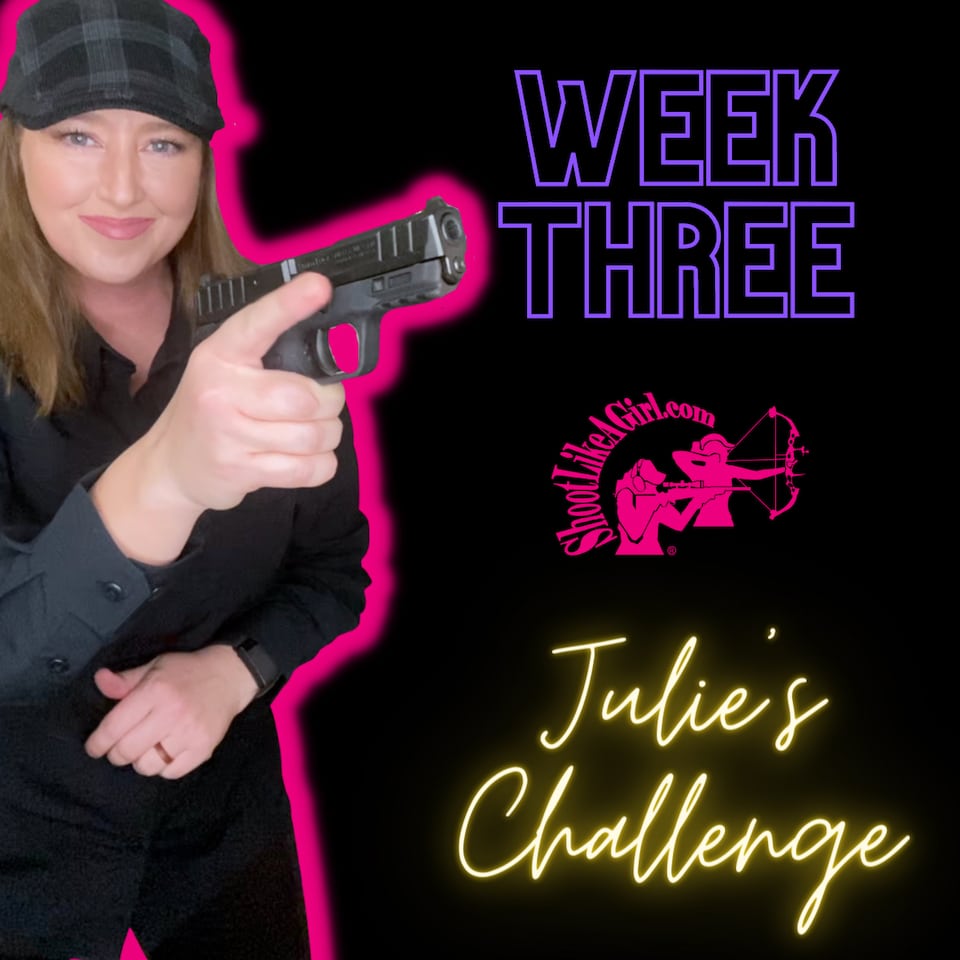
It’s the third week of my Shoot Like a Girl range ready challenge. With a foundation of firearm and range safety knowledge as well as getting comfortable with your pistol, you are now ready for structured dry fire.
This week, you’ll start each dry fire session by ensuring your firearm is unloaded and that you have no ammunition around you. For this challenge, you’ll also need a defined aiming point. I like to use a sticky note or small piece of paper that’s easy to adhere to a wall. Draw and fill in a dime-sized circle in the center of your paper. This smaller aiming point will help you line up the sights and see how they move while you press the trigger. Place your target on the wall at eye level and about 6 feet away from where you’ll be standing for these dry fire sessions.
Now, make ready. With your finger off the trigger and the pistol pointed in your designated down-range area, rack the slide and then acquire a good two-handed grip. Keep the pistol pointed down range with your finger off the trigger and then bring the gun to your chest. I like to keep my muzzle mostly parallel to the ground and centered at mid-chest level. This is not only a good ready position, it’s also near the location of where your hands will meet when you’re ready to learn how to draw from a holster.
Next, slowly push the pistol forward and upward as you present to the target while keeping your eyes fixed on the target. You’ll see the muzzle come into view first. When the sight(s) appears on the sticky note you can then place your finger on the trigger. As you align the sight(s) on the smaller circle, begin to press the trigger straight to the rear. Watch the sight picture as you apply pressure to the trigger and continue even after the dry fire shot breaks. Ideally, you want to see as little movement as possible before, during, and after the press.
Do this 10 times slowly and smoothly while being very conscious of your trigger finger and muzzle direction as you rack and present. These consistent repetitions will help you not only see the sights and press the trigger better, but they will also drill important trigger finger discipline.

After the 10 shots, take a little break, set the gun down if you need to, and then repeat the steps for another 10 presentations only this time increasing your speed just a little. Repeat for a total of 15 minutes. If at any time you’re moving too fast and no longer feel like the presentation is controlled, dial it back. The goal is to have a smooth press without disturbing the sights for each shot while ensuring that you take your finger off the trigger when your sights aren’t on the target. Do this drill each day this week to learn how to see the sights faster and reinforce necessary and safe trigger finger discipline.
There’s so much you can do in dry fire, but remember, a good dry fire session is a focused one. In addition to the physical reps, it should be a mental challenge too. Stay tuned for week four of the challenge and in case you missed them, check out week one and week two.
Julie Golob is one of the most accomplished professional shooters in the world and captain of Team Smith & Wesson. She has won more than 120 championship titles in international, national and regional marksmanship competitions in seven different shooting disciplines. Learn more about the champion, author, veteran, hunter and outdoor television personality at JulieGolob.com. View all posts by Julie Golob
[…] challenge! If you’re new to “Julie’s Challenge,” check out weeks one, two, three, and four. If you are following along, at this point, with all the gun handling and dry fire, you […]