Are you like me and fail most of the time when making fudge? Well, this is the holiday fudge recipe for you. No candy thermometer is required to make this easy fudge, and the ingredients can be melted on the stovetop or in the microwave (I prefer the latter method). My Grandma Ginny’s Rocky Road fudge is fool proof and can be modified based on the ingredients you have on hand. I always make this when preparing for the Christmas season, and stash it away in the freezer to enjoy on Christmas Day.

Gather your ingredients and a large microwave-safe bowl. This recipe hails from my paternal grandmother, and can be easily modified based on ingredients available or taste preference. Once, I even forgot to add the milk and the fudge was still delicious! This treat is really hard to mess up.
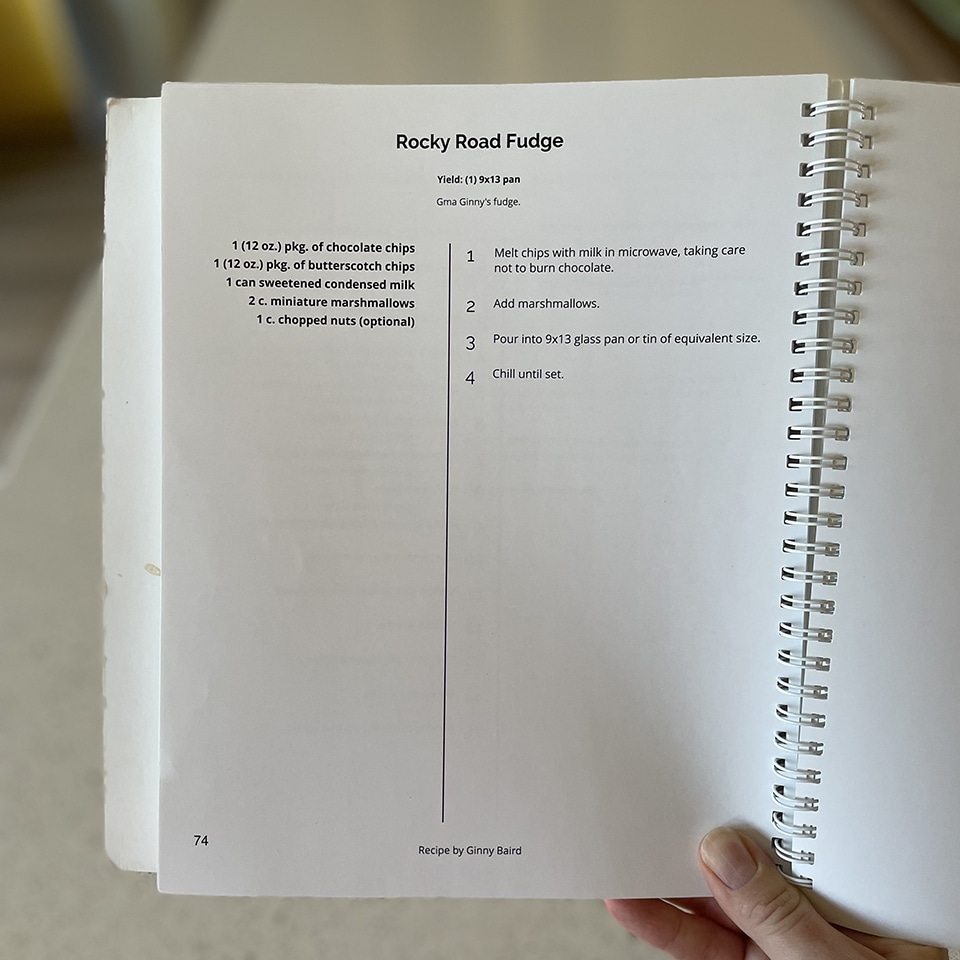
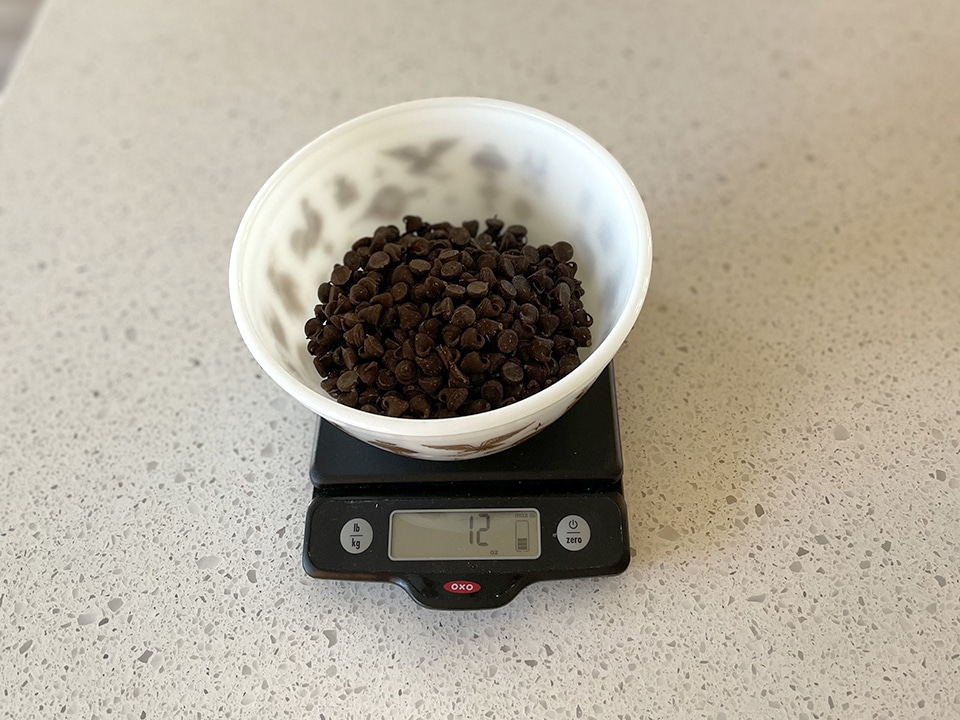
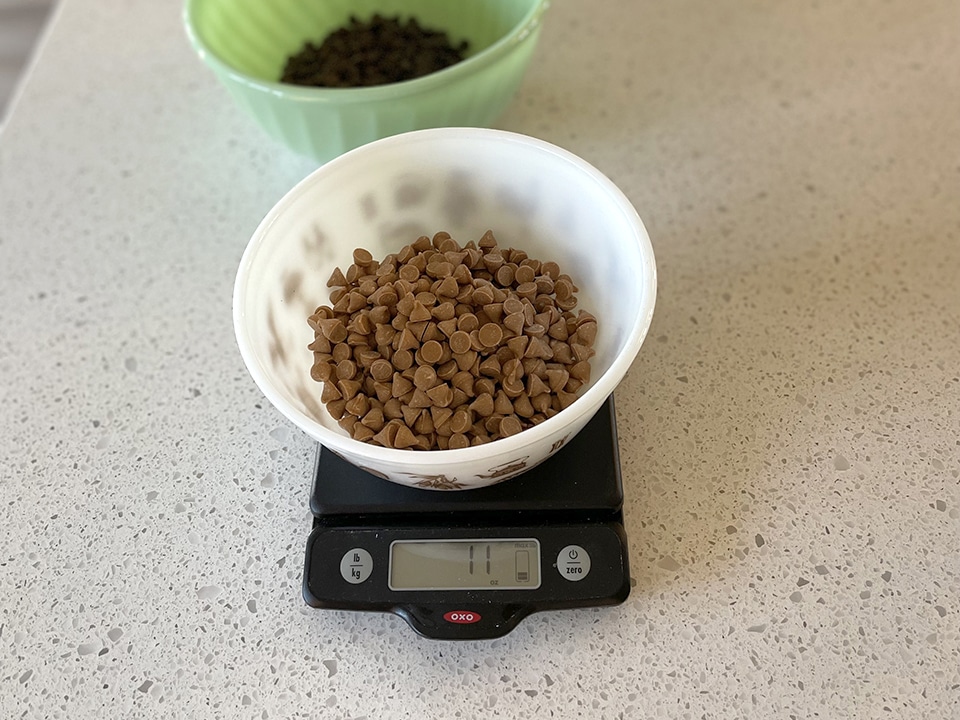
First, pour the chocolate and butterscotch chips into your bowl and add the can of sweetened condensed milk. I weighed out my chips, as I bulk-bought these particular ingredients (yum).
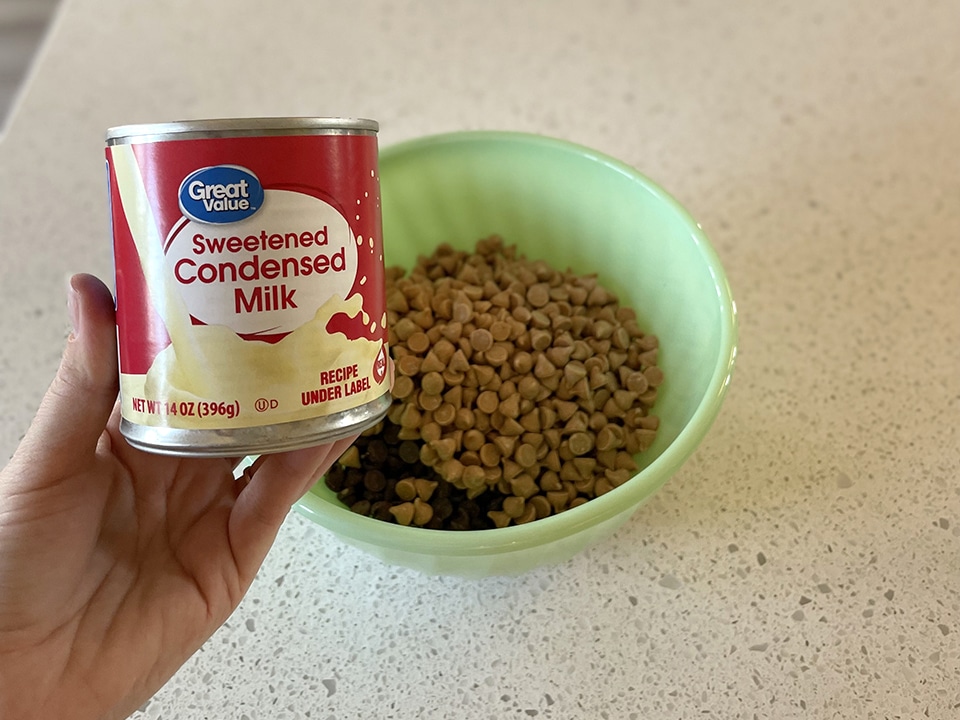
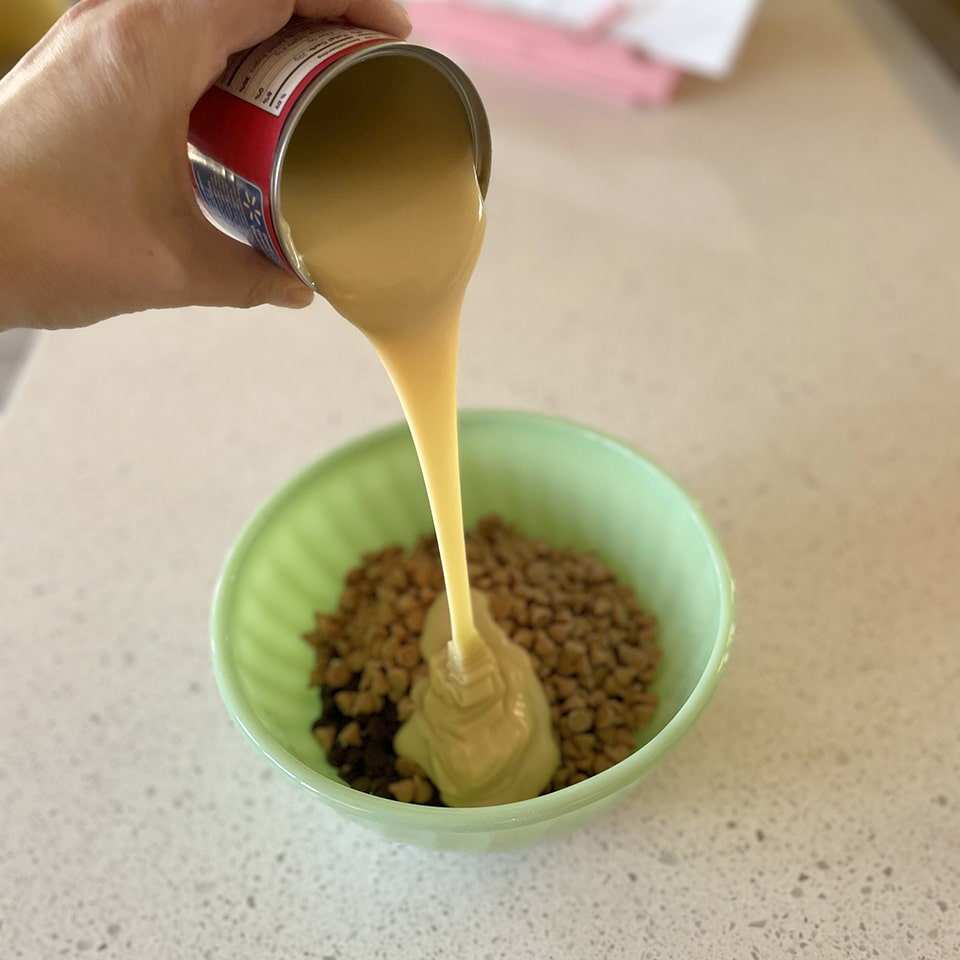
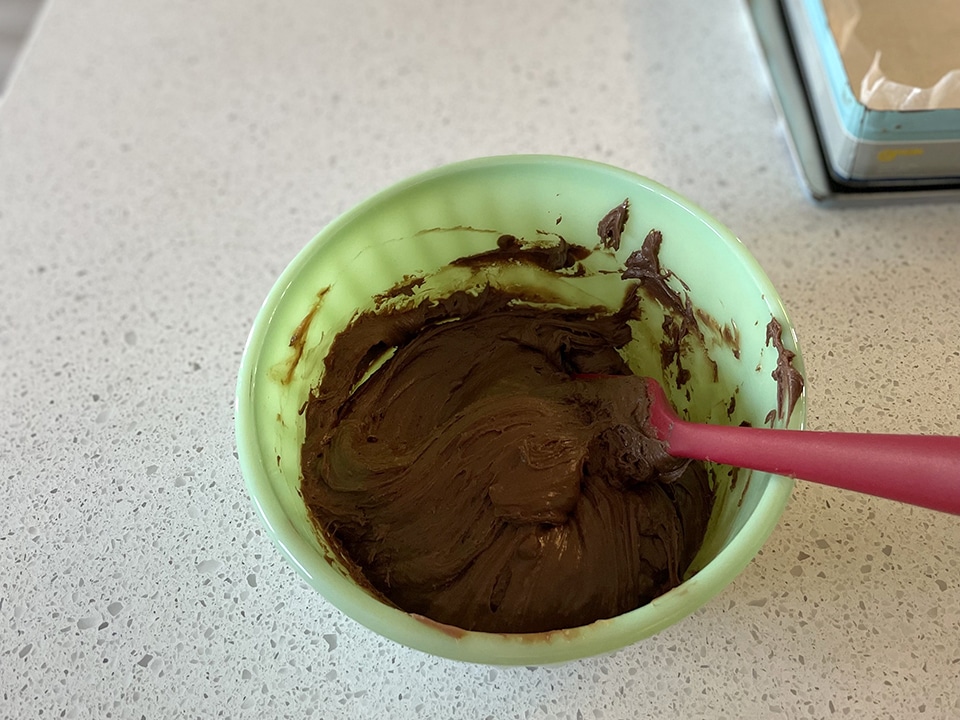
Next, melt the chips and milk together in the microwave. Be sure to stop the microwave in short intervals (I let mine cook in about 20 second intervals) and stir the mixture, so that it doesn’t burn. This is very important!
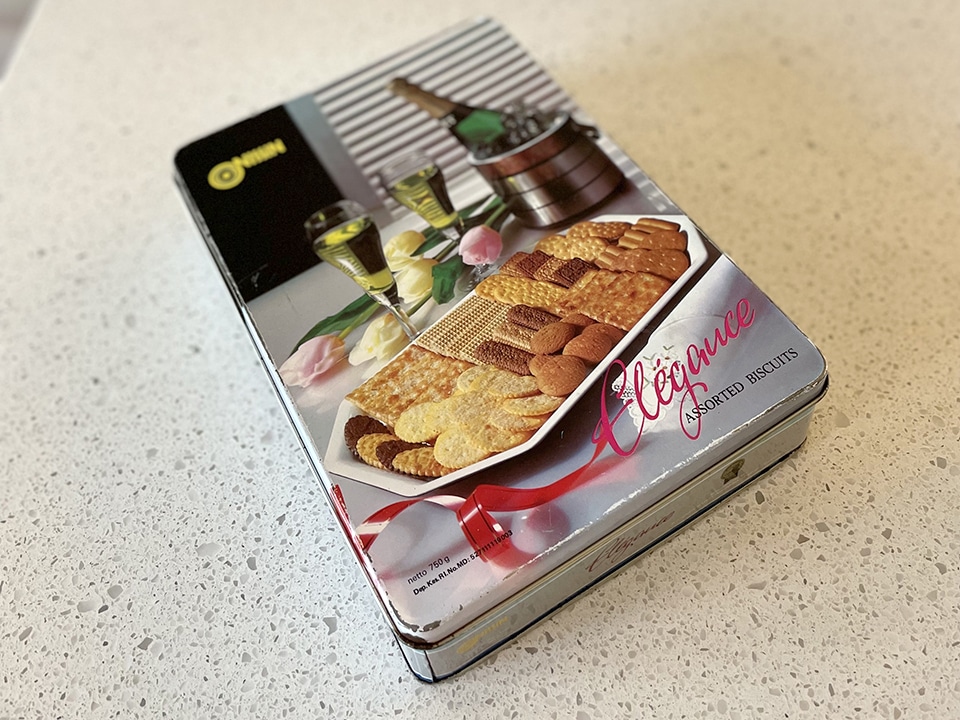
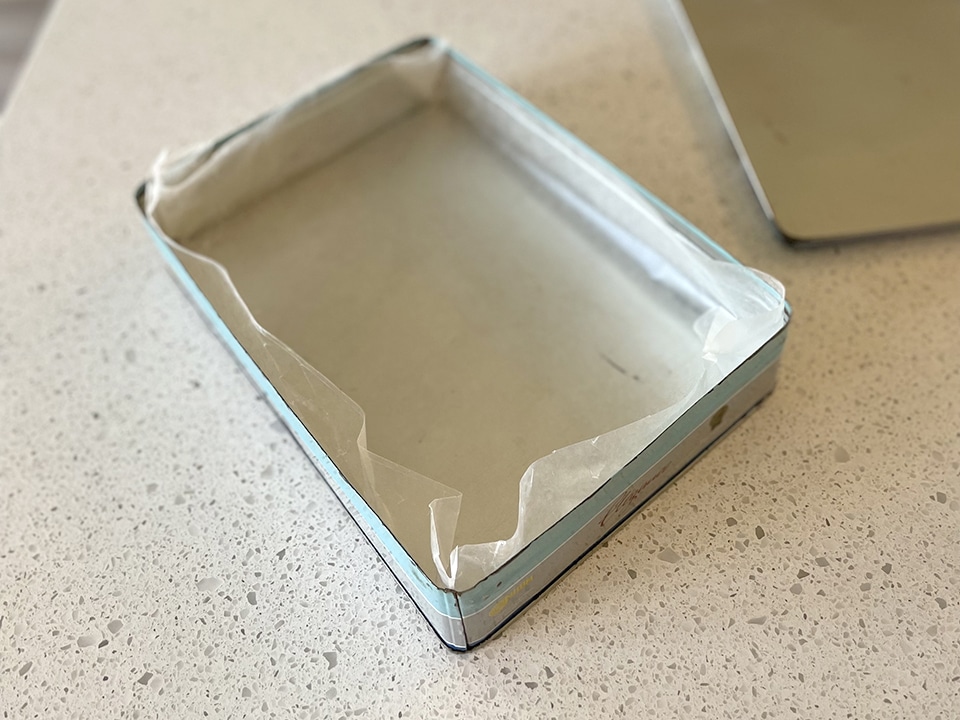
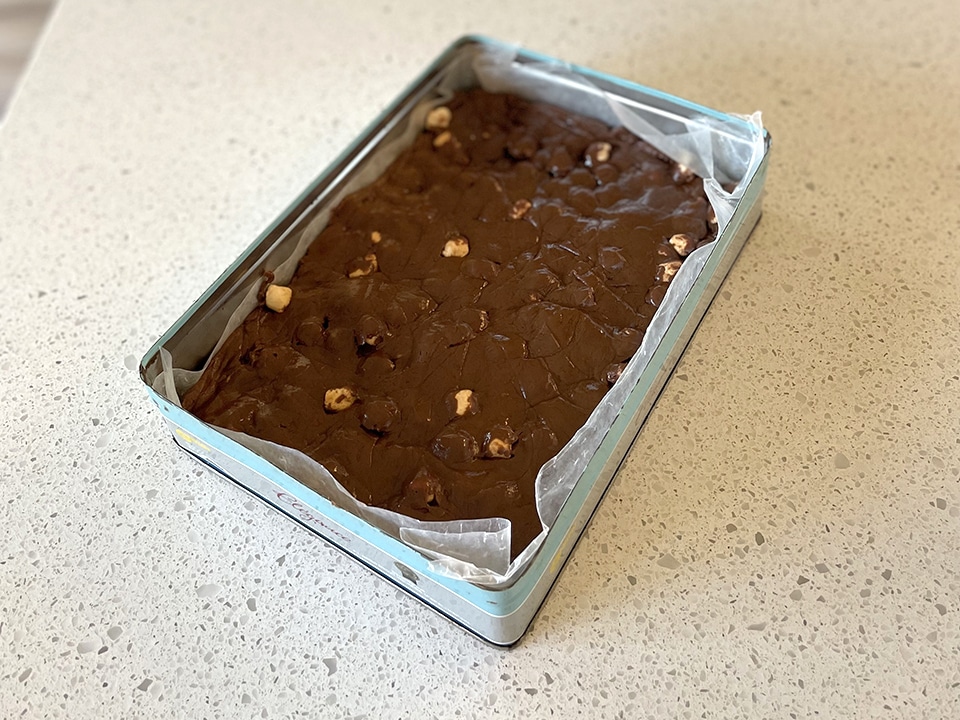
While the chocolate heats in the microwave, get out a 9 x 13 glass baking dish or decorative tin of similar size. I opted to use one of my favorite vintage tins to hold my fudge. This allows me to make the fudge ahead of time, pop on the tin’s lid and store the whole thing in the fridge or freezer.
If using a glass pan or decorative tin, be sure to line it with wax paper. I think it makes the fudge pop out of the container more easily when it’s time to serve the dessert.
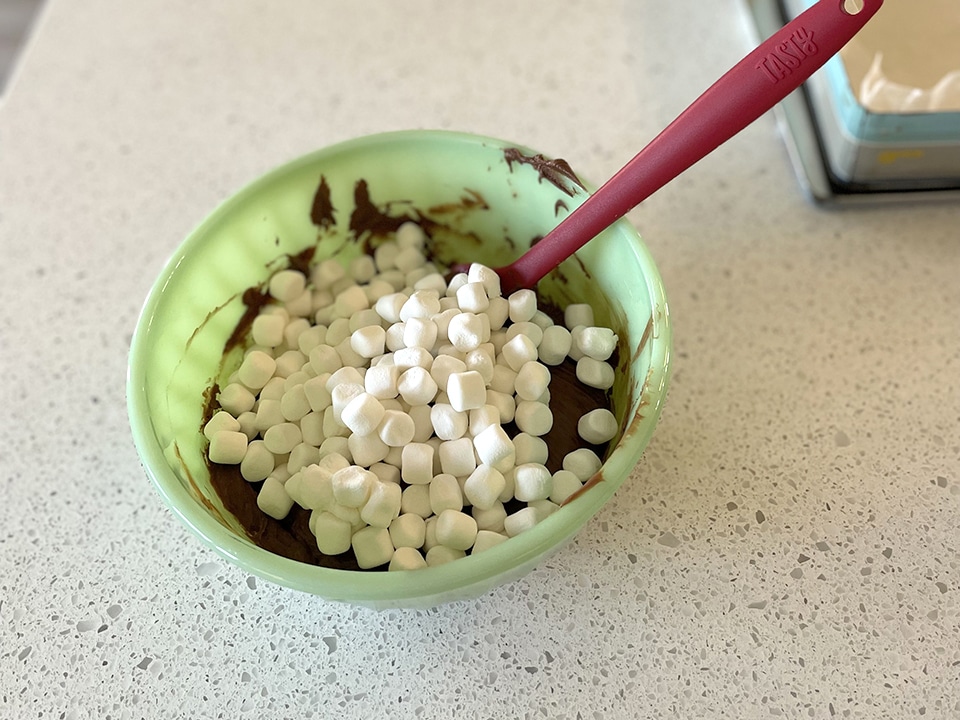
Then, when the chocolate has melted, remove the bowl from the microwave. Give the mixture a good stir, and add in the mini marshmallows (and chopped nuts, if you wish) and stir to combine.
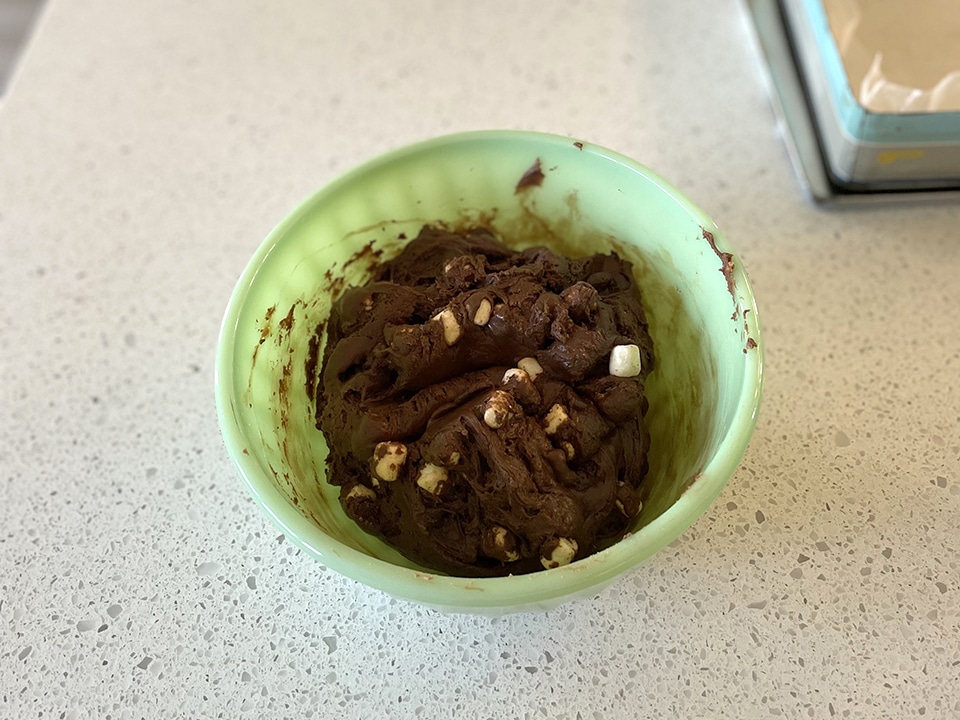
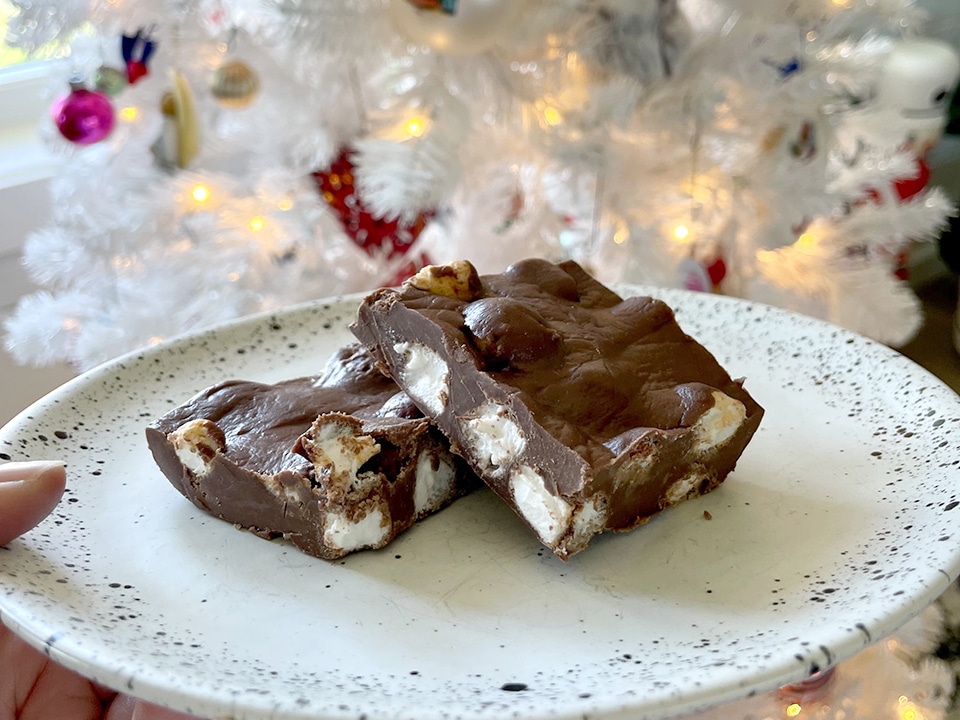
Pour the mixture into your baking dish or tin and smooth with a spatula. The goal is to make the fudge uniform in height as much as possible. Refrigerate until set (I chilled mine for the afternoon and then cut into it at dinner) – and voila! Delicious fudge with no stress.
Be sure to check out the guide to making these Santa Claus Salt Dough Handprint Ornaments. Using a few staple ingredients from your pantry, these ornaments are simple to make and will surely become treasured holiday keepsakes as the years roll on.
Jackie Baird Richardson is an interior designer, editor at The WON and avid junker. Watch for her design tips and occasional crafting ideas, bringing the outdoors indoors. View all posts by Jackie Richardson