When it comes to building raised garden beds, the only thing better than the actual building process is building with recycled materials and equipment on hand; No trips to the store needed! I recently developed an interest in gardening, especially edible flowers. I owe this to Ms. Barb from The WON.
She sent my family a wonderful book called “A Woman’s Garden: Grow Beautiful Plants and Make Useful Things,” by Tanya Anderson of Lovely Greens. “A Woman’s Garden” is an engaging read with lots of great garden advice and many projects and crafts. I liked the book enough to go from zero plant interest to starting seedlings! As part of this newfound interest, Mom, my sister, Rose, and I built a small raised garden bed to put in Mom’s kitchen garden. Rose and I will use this bed for our flowers and any other plants that strike our fancies.
Raised garden beds are fairly common, especially in gardens that have poor soil. Generally a raised bed is just a box of any food-safe material that sits on the ground. Some people build them with bottoms and legs so that it sits like a table. It can be any height and shape, and after filling it with soil and compost, it’s set for planting. Building this simple raised bed was a learning experience for me, as I never really build anything. It seems to me like a great beginner project, being simple, quick, and using materials that we already had on hand.
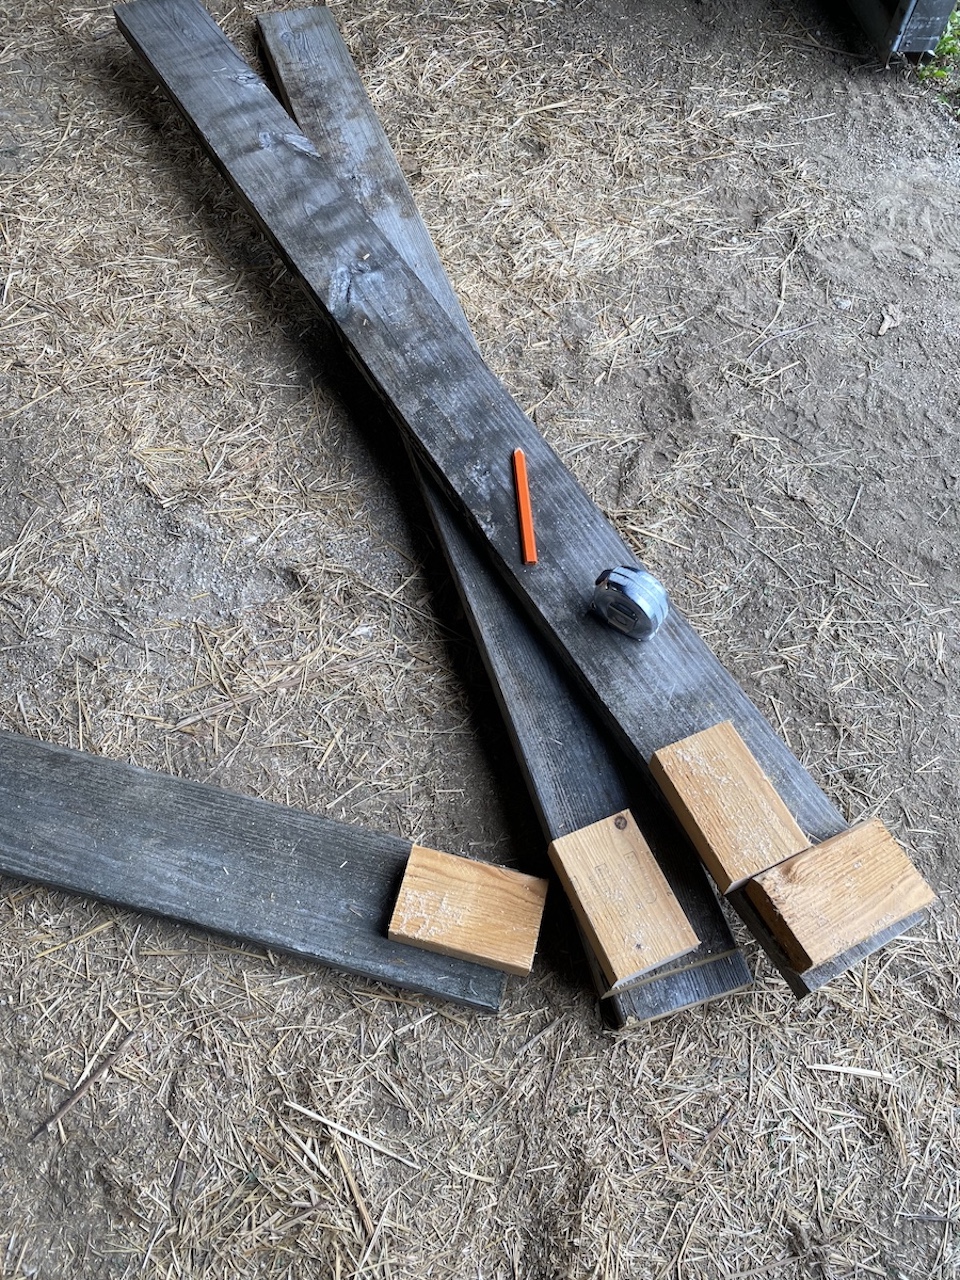
Most raised garden beds that I’ve seen are made from brand new wood, but we decided to recycle. We cut 2 x 6 boards we needed out of long fence boards we tore down. We used scrap wood to cut 2 x 4s for supports on the inside of the bed. First, I measured and marked the boards for cutting. Mom used a miter saw to cut the sides of the bed, and Rose and I laid out the boards in the bed shape and disposed of scraps.
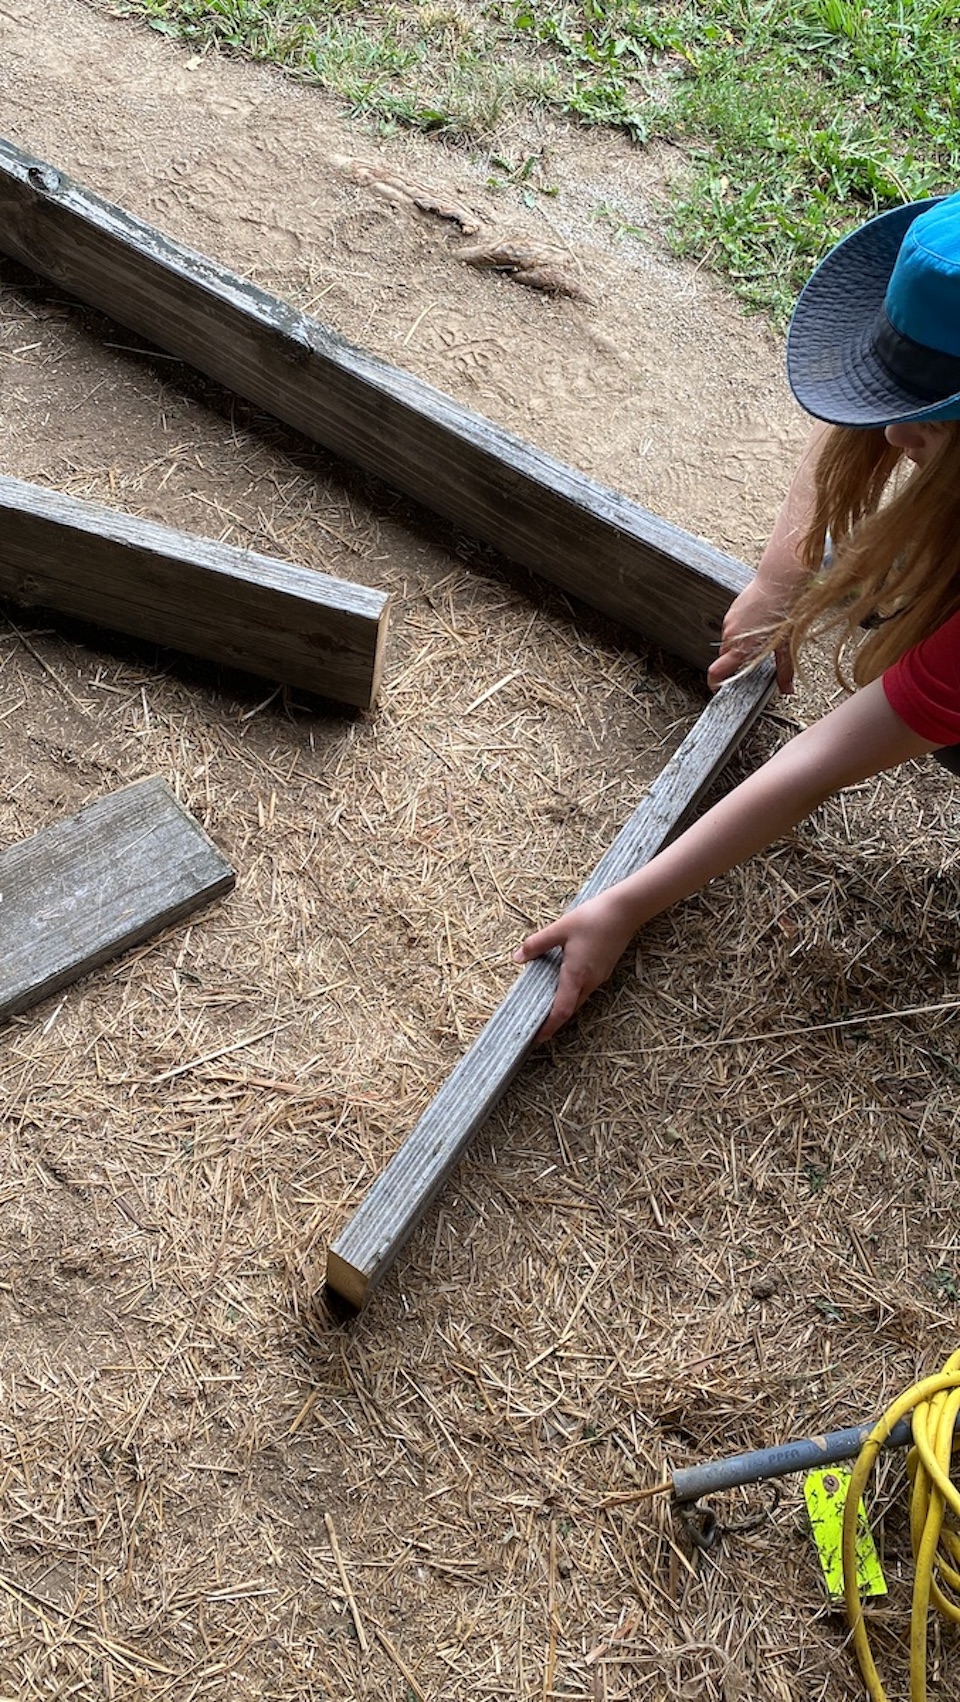
Next, Rose compared screws to see which ones were long enough to use. While I held the boards together, Mom drilled the screws into place. We screwed one of the supports onto a 6-foot board with two shorter screws, and then screwed a 2-foot board onto both pieces with three longer screws. We repeated this until our bed was completely built.
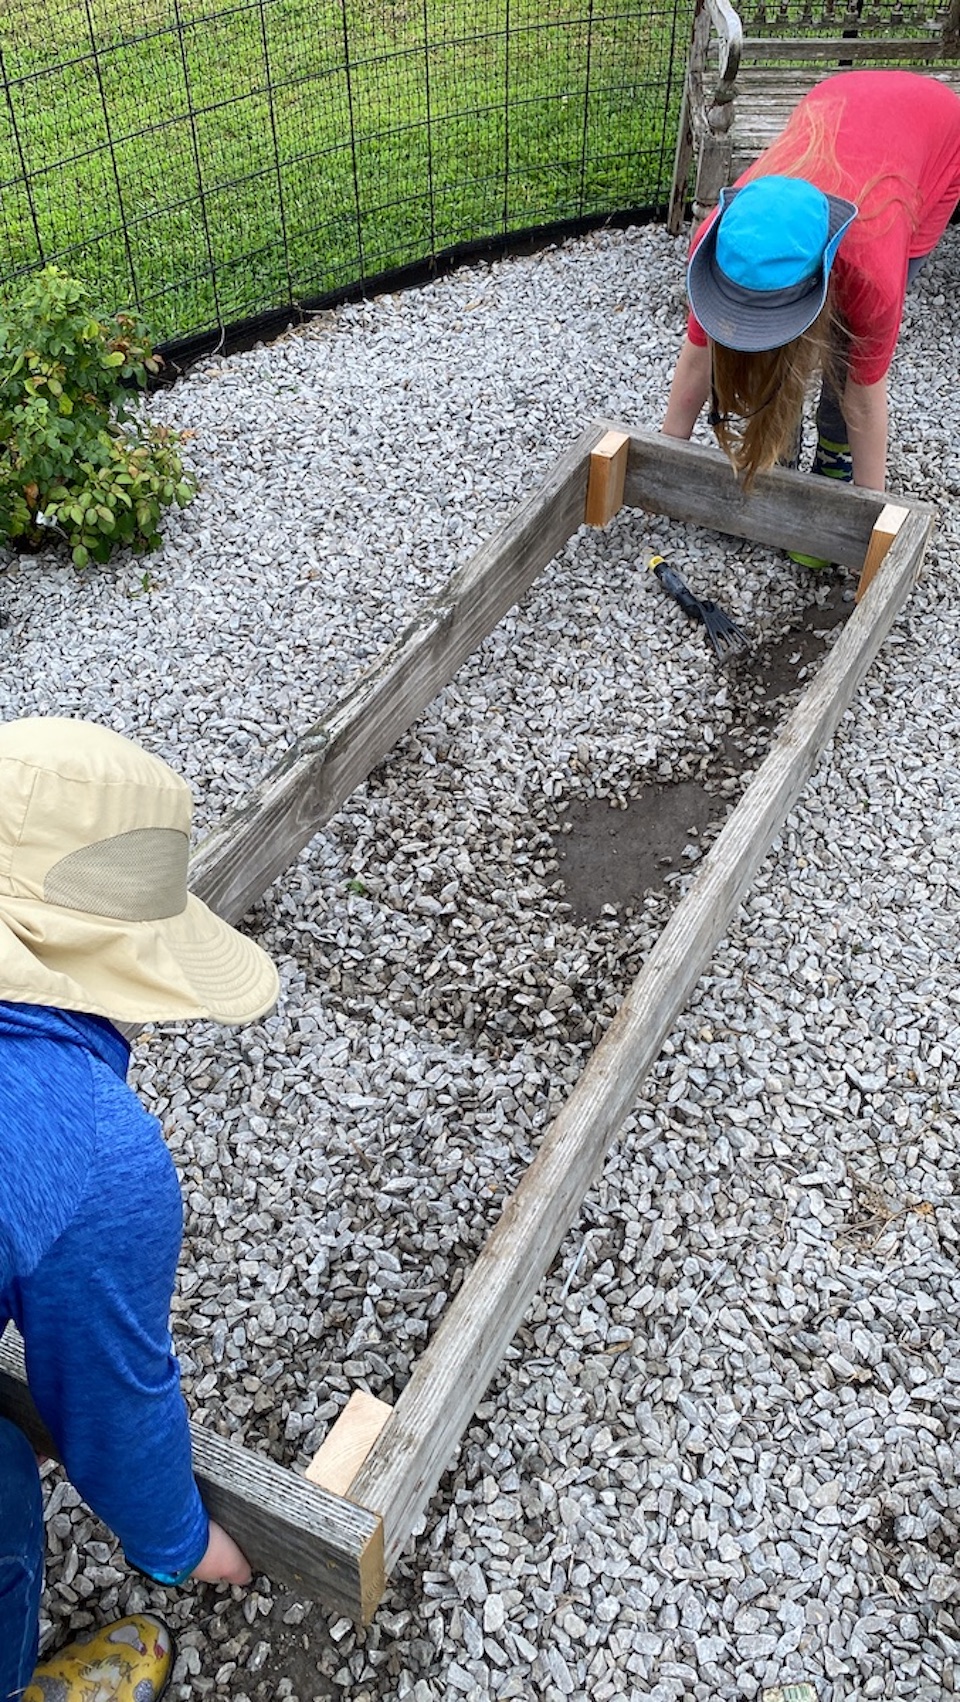
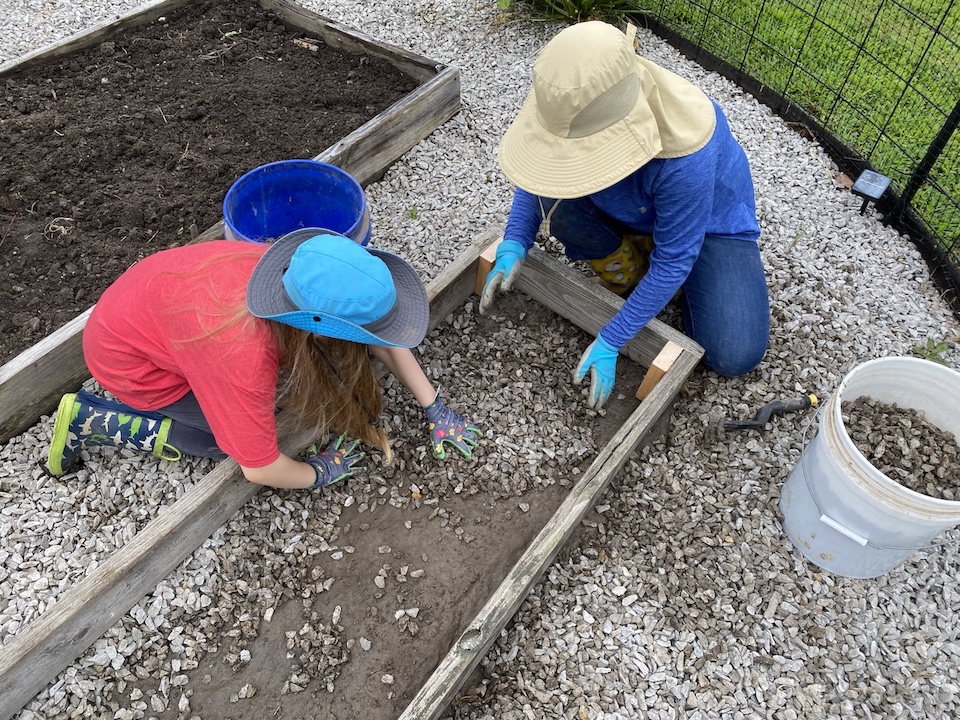
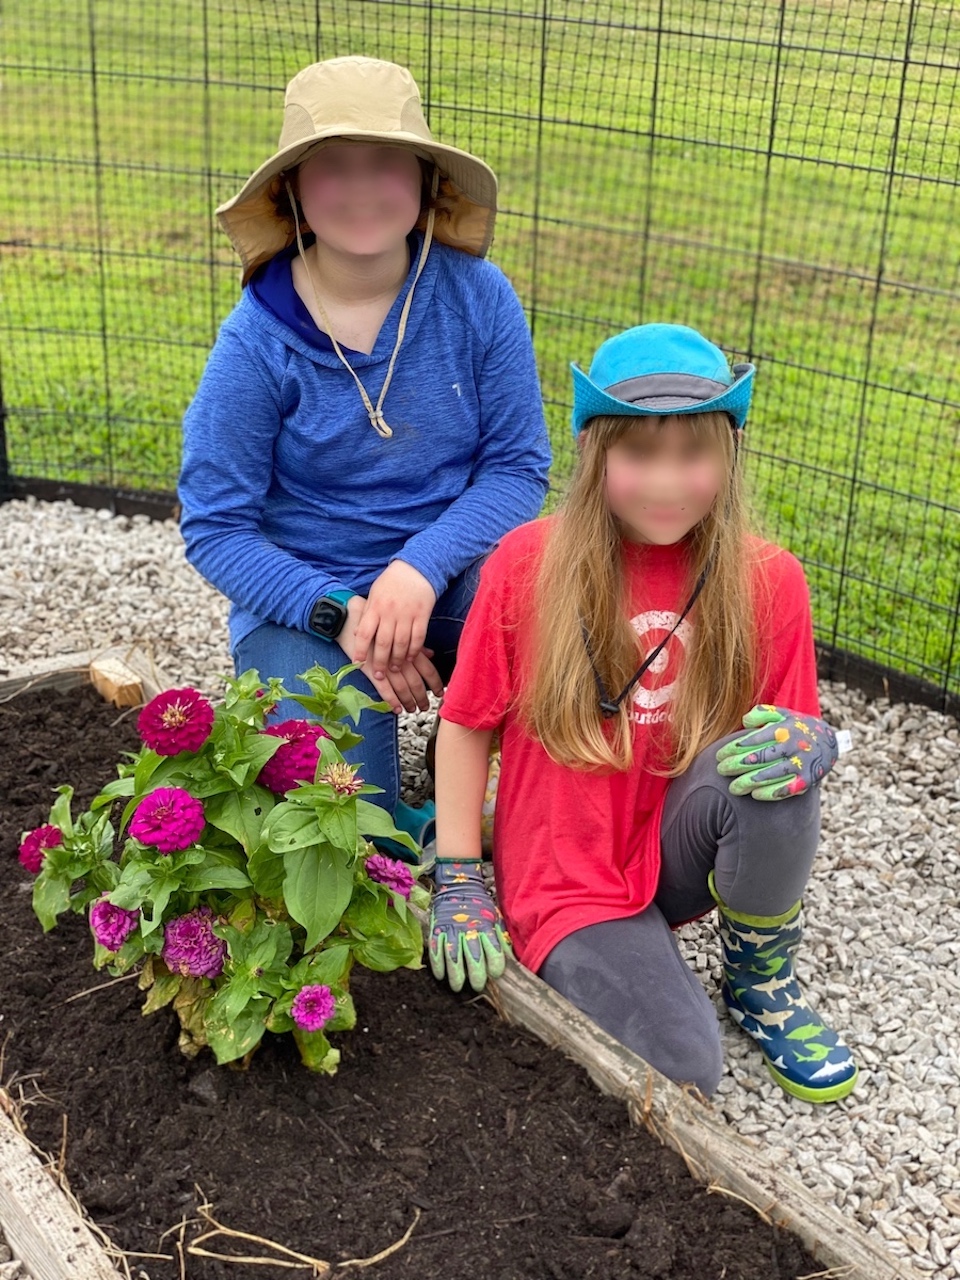
After that, Rose lifted up one end of the bed and I took the other. We carried it from our building site in the barn to Mom’s kitchen garden. The kitchen garden is shaped like a rectangle with a half-circle on one end, and the circular end is the resting place for our bed. The kitchen garden also has gravel pathways on the outside of Mom’s raised beds, so the three of us scraped away all of the gravel from our bed site before laying the bed down. To finish, we filled the bed with a thick layer of hay, and then with soil and compost. A couple days later, a zinnia plant became the first inhabitant of our raised bed, and some dahlia seeds followed. I transplanted a few pansy and viola seedlings and Rose added several young pink dandelion, marigold and chocolate daisy plants. Our bed is certainly serving its purpose!
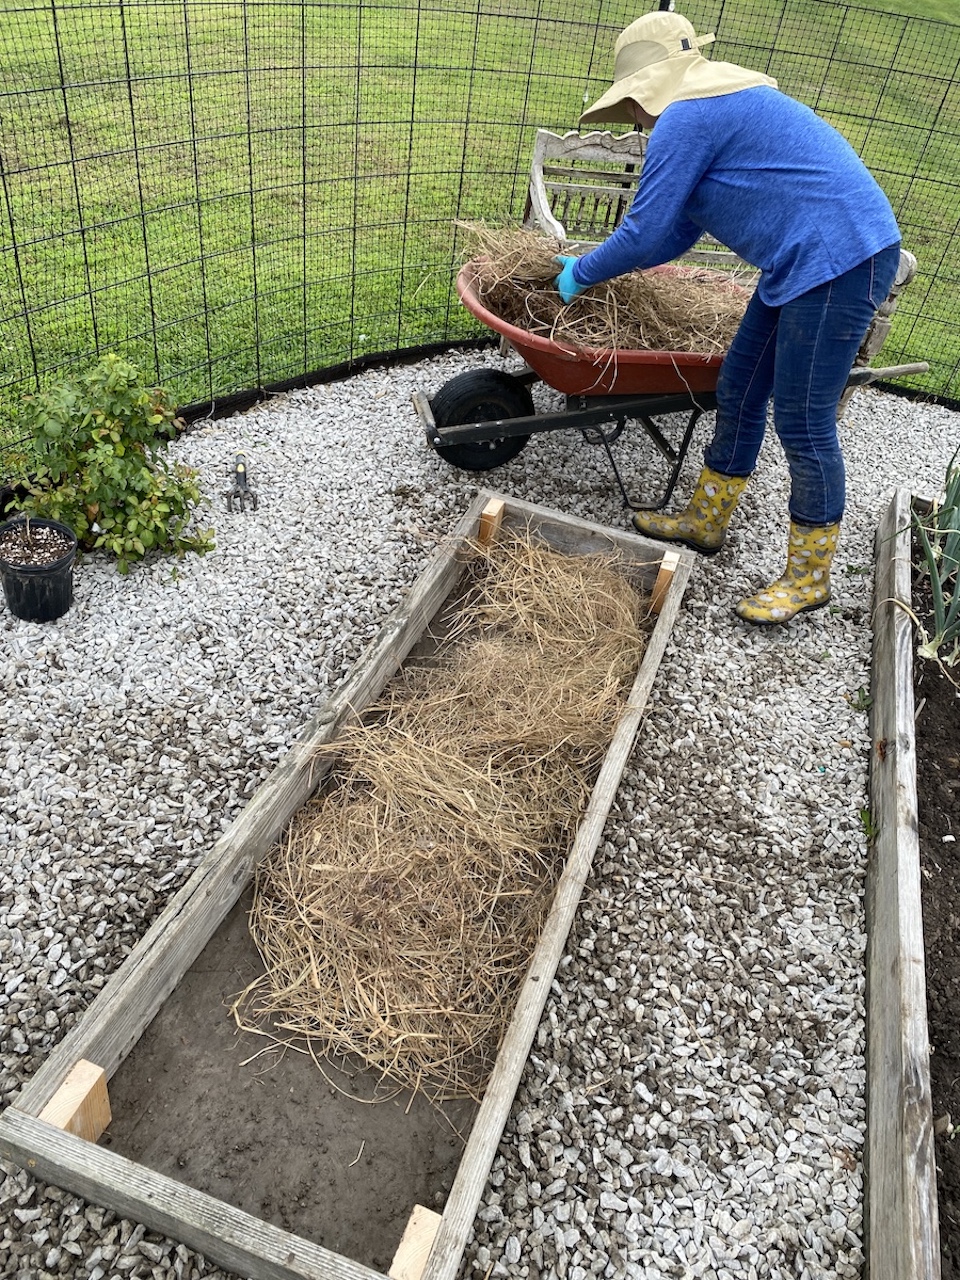
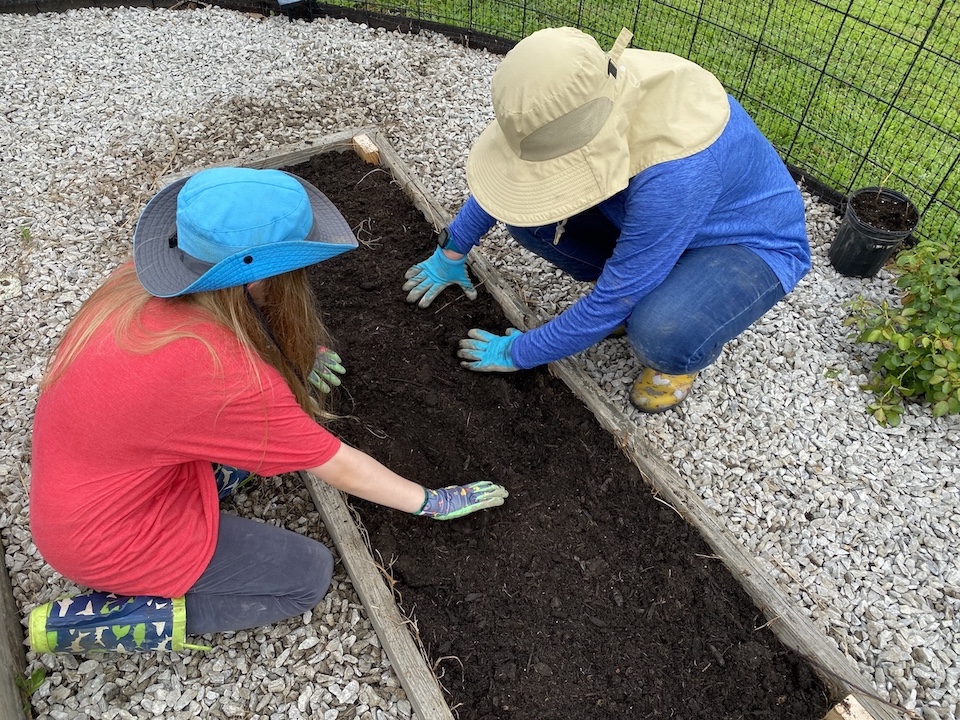
We built this raised bed completely from materials on hand, which made it quick and easy. It’s a great foundation project for beginners like me. For tips and more information on raised beds and a multitude of gardening experience, check out “A Woman’s Garden” or the “Lovely Greens” blog..
"Anna" is a teenage girl who loves to write, read, and do just about anything artsy. She enjoys writing about nature crafts and her experiences while learning to hunt and cook wild game. Anna firmly believes that backyard chickens lay the best eggs and that spending time outside with her flock every morning will start the day off happily. She is extremely grateful to her best friend, who inspired her to really take writing seriously. You can find her lost in her latest idea or listening to her sister "Rose" read book quotes. View all posts by Anna