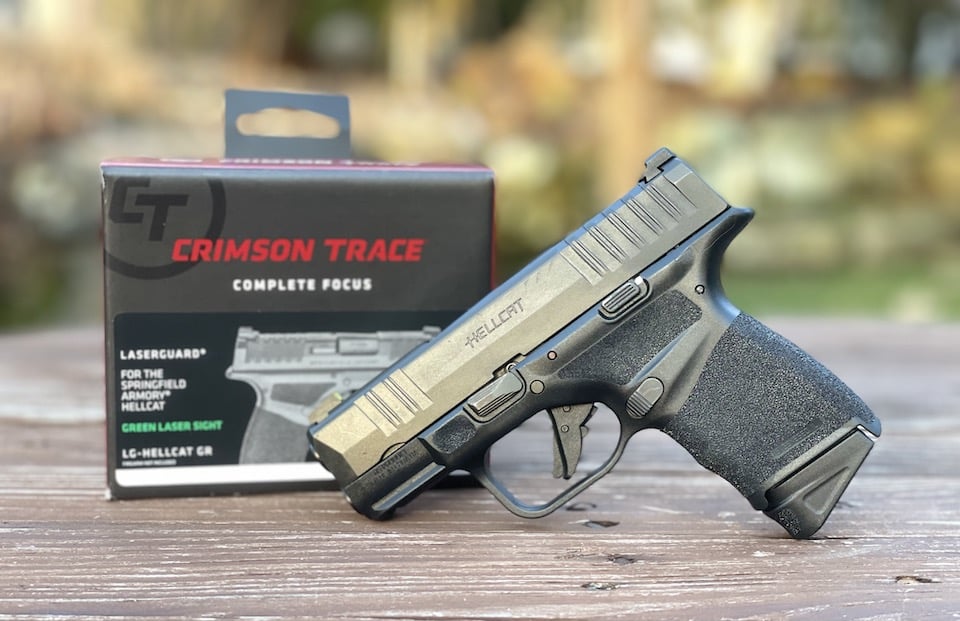
In my last post for Crimson Trace, I explained step-by-step how I mounted a Crimson Trace CMR-301 Rail Master Pro Laser/Light Combo on my AR. For this post, I’m excited to share how easy it was to attach a Crimson Trace Laserguard Hellcat to my Springfield Armory Hellcat.
Sponsored by Crimson Trace
The Laserguard Hellcat from Crimson Trace is available with either a red or green laser sight. It offers a master on/off switch and also features Crimson Trace’s Instinctive Activation. With Instinctive Activation, when you hold your gun in a firing grip, the laser is on. Then, when you release your grip, the laser turns off. The LG Hellcat wraps around the trigger guard in order to maintain the concealability of the Hellcat.
LG-Hellcat Red MSRP: $259.99
LG-Hellcat Green MSRP: $314.99
To begin, I removed everything from the box to figure out if I needed to get any tools ready. Imagine my excitement when I realized everything I needed was right in front of me. Thank you, Crimson Trace!
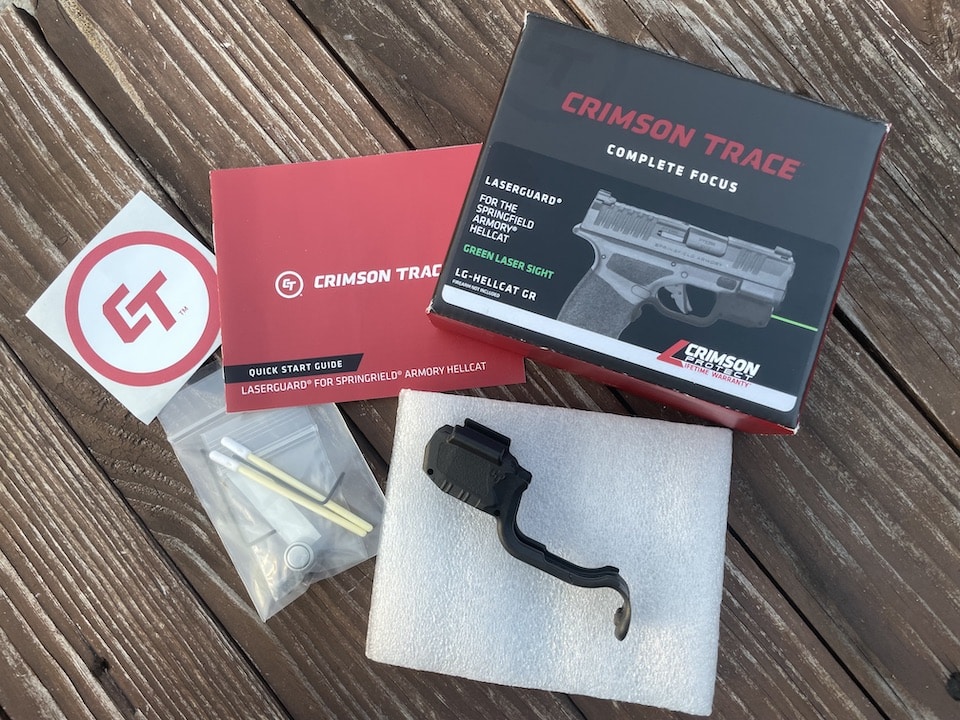
The box contained the following items:
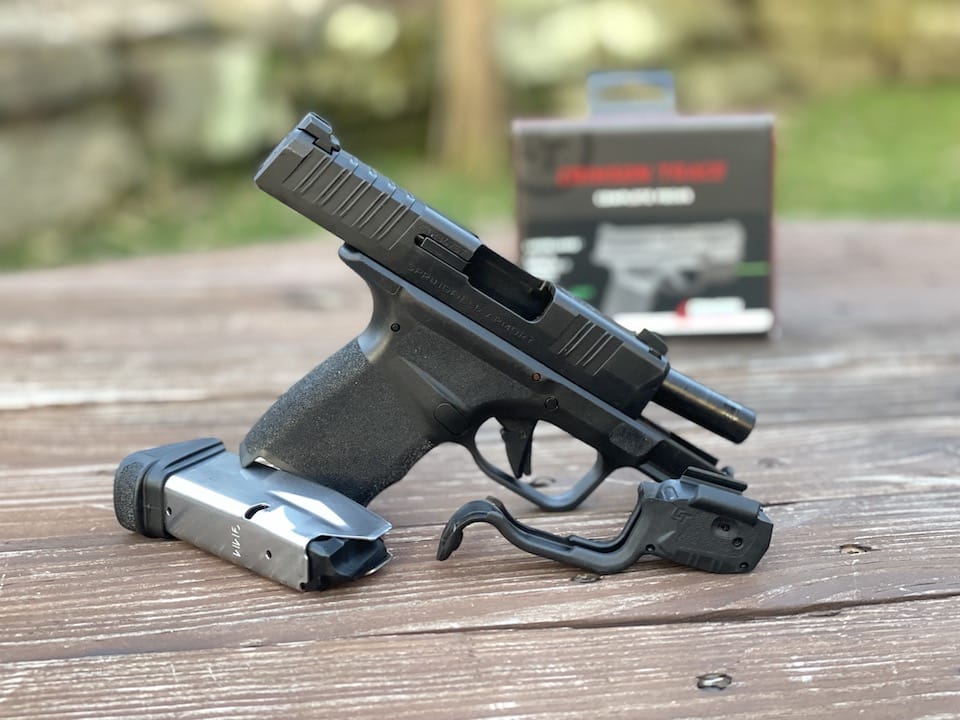
Before beginning any work on a firearm, confirm it is unloaded and there is no ammunition nearby.
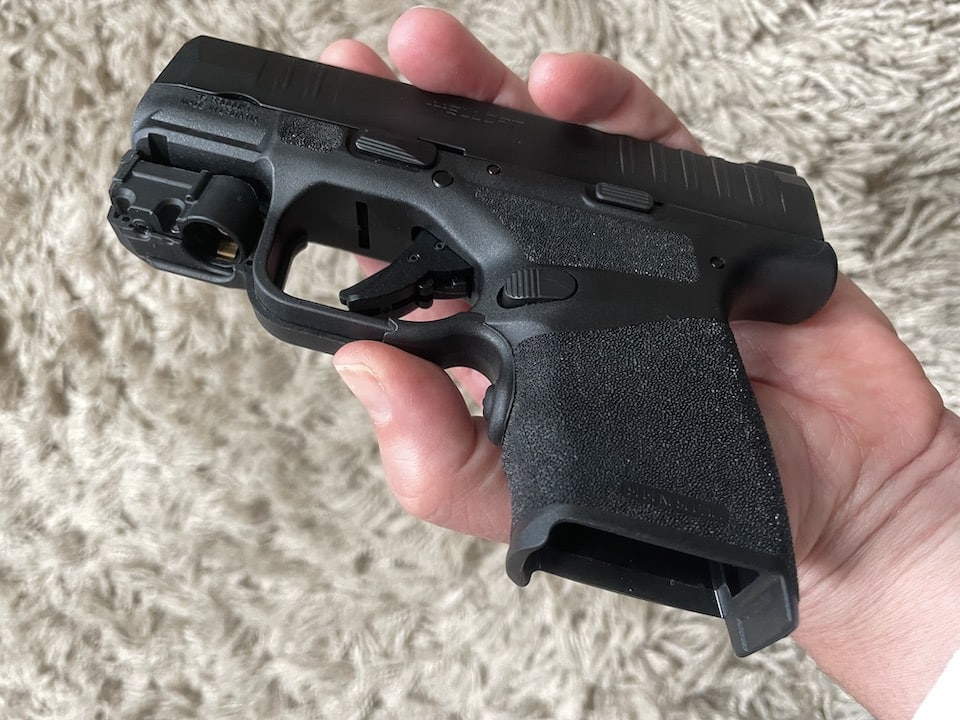
First, I slid the laser side of Laserguard Hellcat onto the trigger guard until it snapped in place.
(Yes, I heard and felt a snap.)
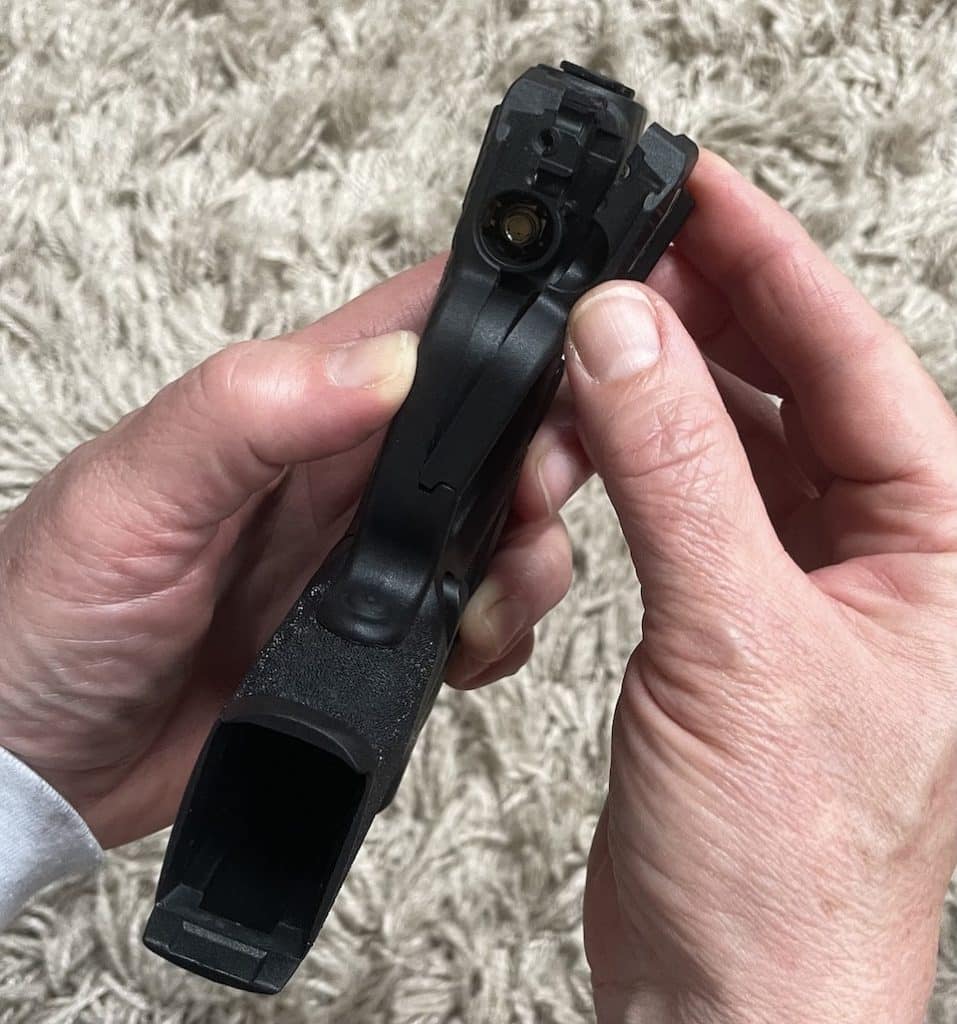
Then, I attached the other side by first fitting the piece by the trigger guard into the groove.
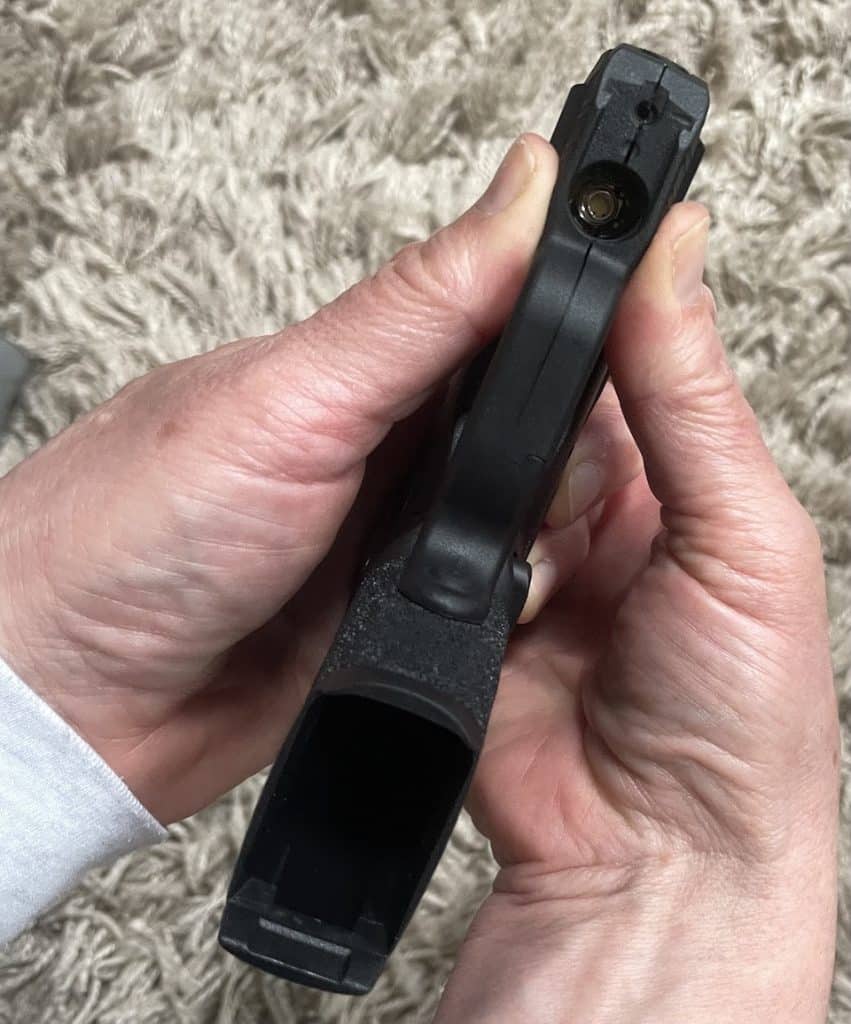
Then, I clamped the rest of it on with my thumbs.

At this point, I slid the battery compartment cover on – making sure the tab was face-up.
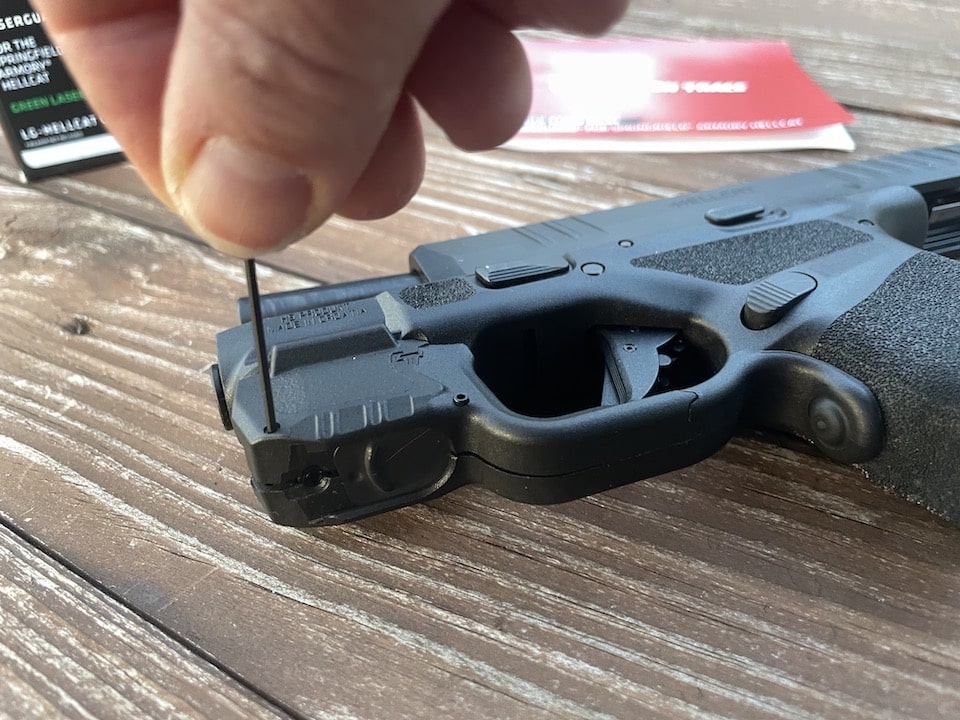
Installing the screws on the non-laser side seemed like a piece of cake with the hex wrench provided. I tightened the mounting screws until snug with no gap.
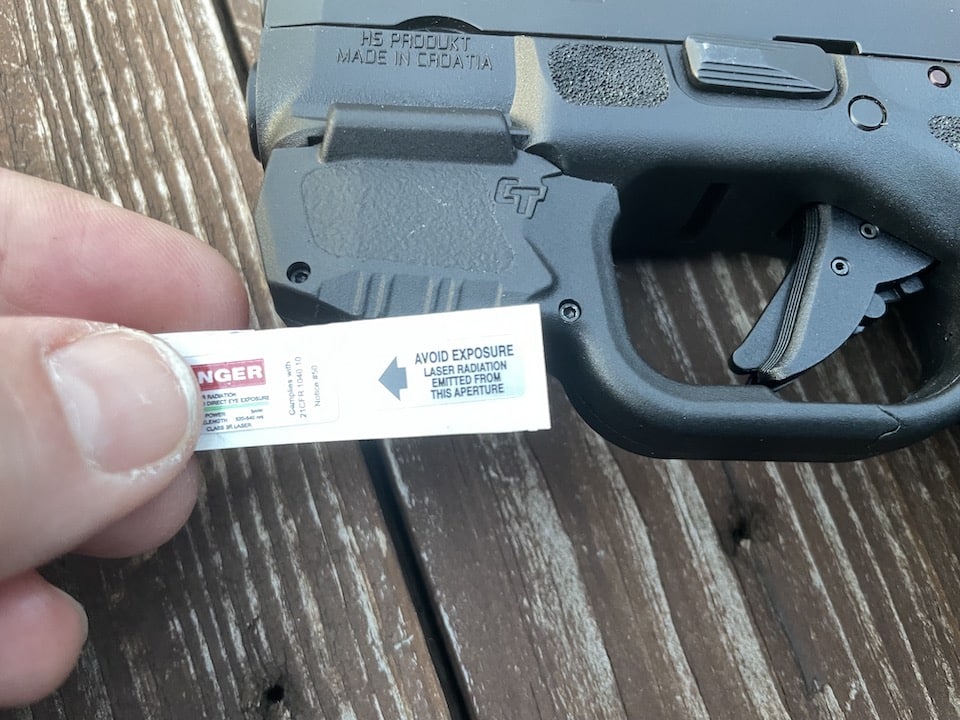
As I mentioned above, the contents of the box contained two warning stickers. I placed those on the Laserguard exactly where the instruction booklet advised.
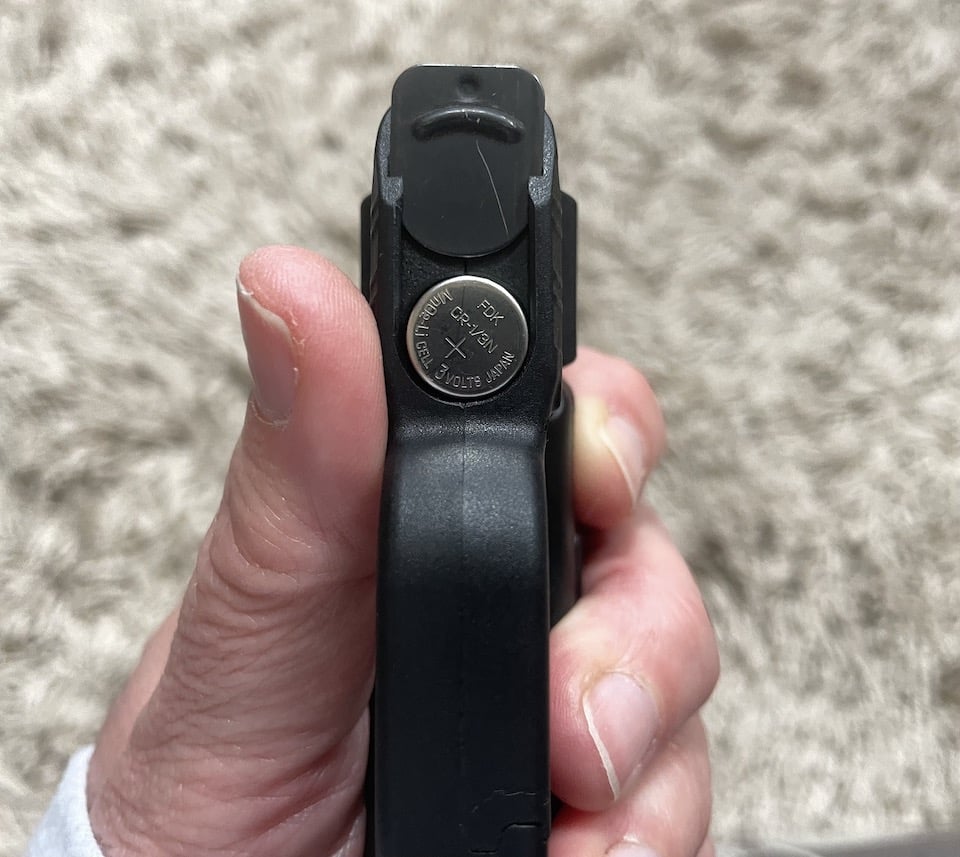
Lastly, I slid open the battery compartment and inserted the battery according to what I thought the directions said. I’m not sure where the mix-up came. However, to really simplify it, you should see the flat “+” sign when closing the compartment door.
Setting Up the Laser
With the Laserguard Hellcat installation complete, it came time to test it. First, I slid the master on/off switch to the forward “on” position. Then I picked up my Hellcat with a proper grip and aimed at a spot on the floor. Yep … I saw a green light. Hooray!
With the aid of my son, Alex, I adjusted for windage and elevation using the hex wrench provided. We took turns aiming at a small area while the other person made tiny turns in the adjustment hole. This will have to do until I can get out to the range for live fire.
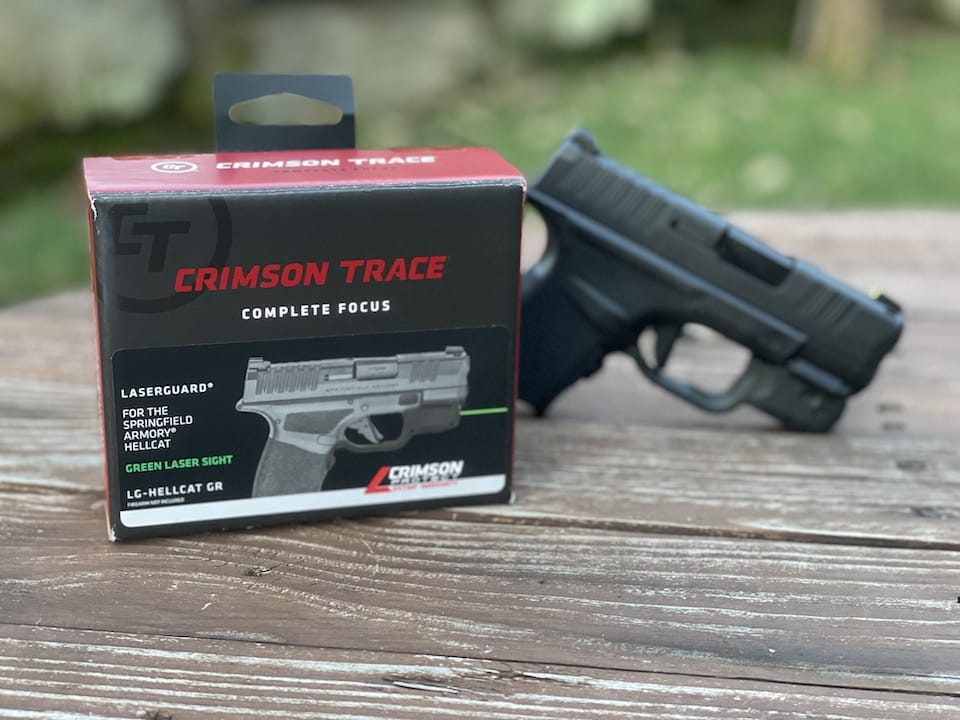
As you can tell, it’s not difficult to install a Laserguard Hellcat. I like the added security of having a Crimson Trace laser on a self-defense pistol, because failure is not an option.
Visit Crimson Trace to see the line full line of Laserguards here.
Michelle Cerino, aka Princess Gunslinger, first entered the firearms industry in 2011 as co-owner, president and trainer at a national training company. She immediately began competing in both 3-Gun and NRA Action Pistol, becoming a sponsored shooter. Michelle is currently a columnist and Managing Editor of Women’s Outdoor News, as well as owner of Pervenio LLC. She also manages social media for Vera Koo and FASTER Saves Lives. Michelle encourages others to step out of the comforts of home and explore. View all posts by Michelle Cerino