Are you a fan of chocolate-covered pretzels? These quick and delicious Shamrock Pretzel Treats will be right up your alley. Whip them up in honor of St. Patrick’s Day, and bring them into the office or send them in for a school party. These treats are a for-sure hit with all ages, young to not-so-young.
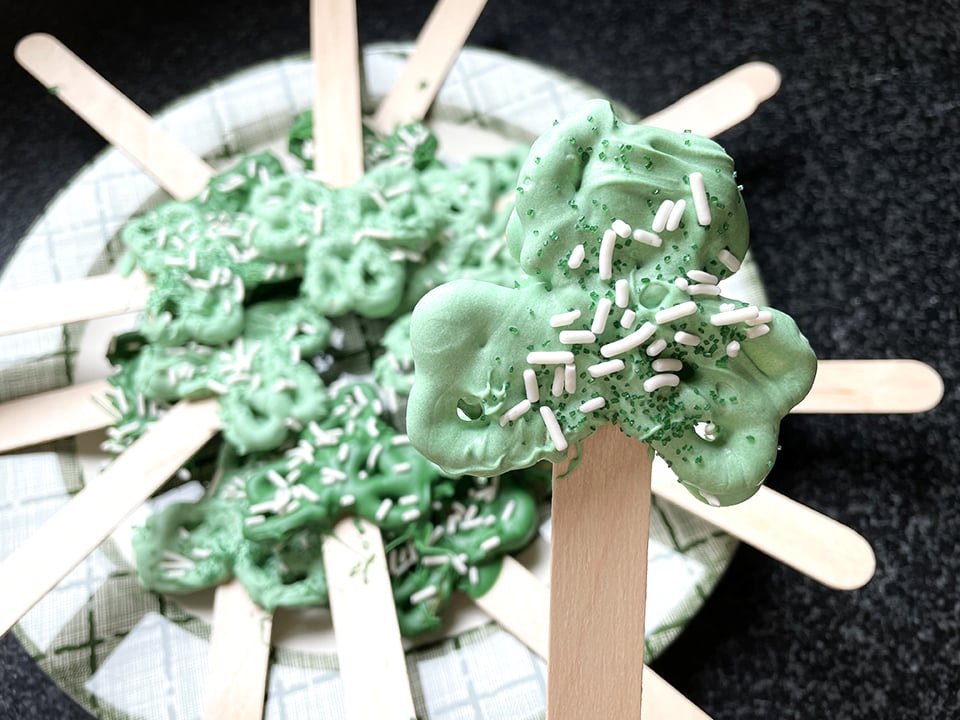
Gather up these simple ingredients:

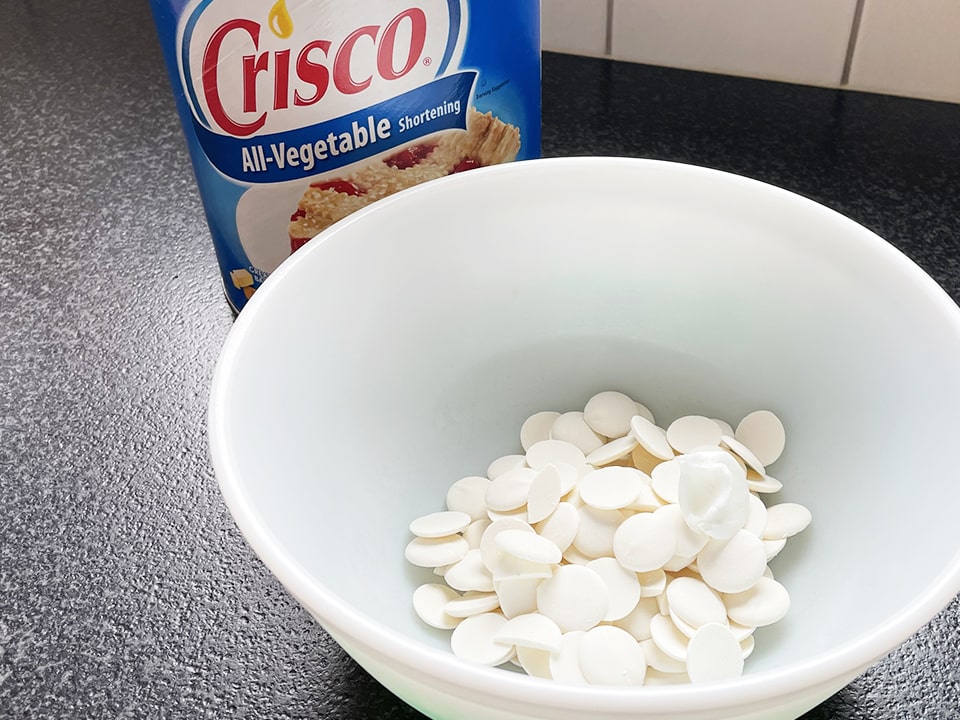
First, pour candy melts into a bowl. Follow the package instructions for melting. I added half the bag to a bowl, and also included the recommended one teaspoon Crisco to the mix. Because the candy coating cools and hardens quickly, I only melted one color at a time. Place waxed paper sheets on your countertop; this is where you will assemble the Shamrock Treats.
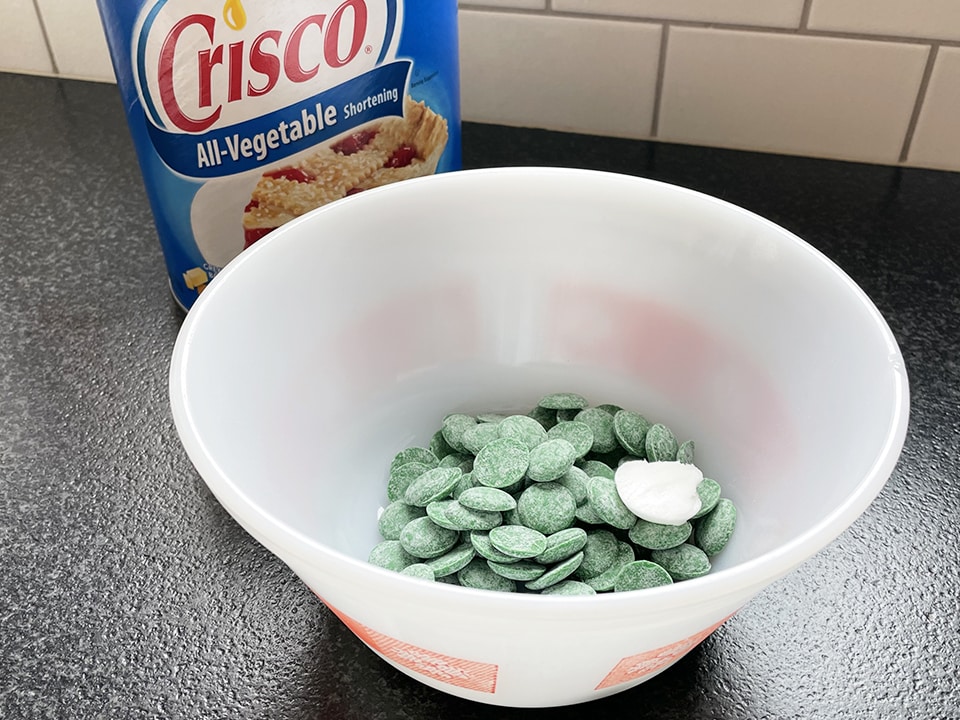
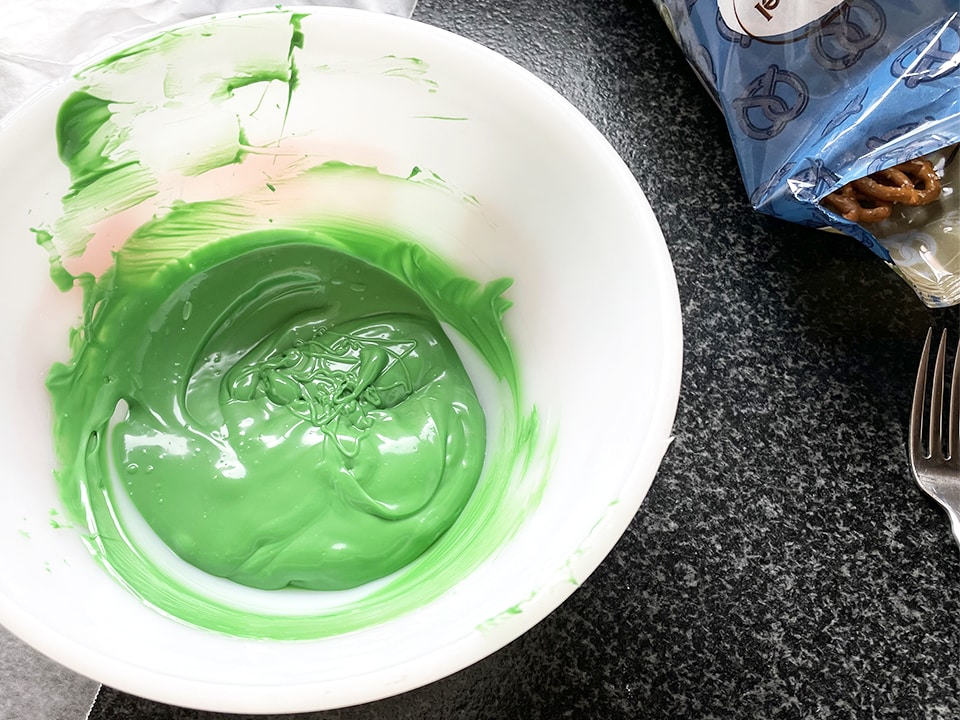
Next, melt the wafers and Crisco per package instructions. For my chocolate coating, I zapped the concoction in the microwave at 30 second intervals, stirring at each break. It took about one-and-a-half to two minutes to fully melt the candy.
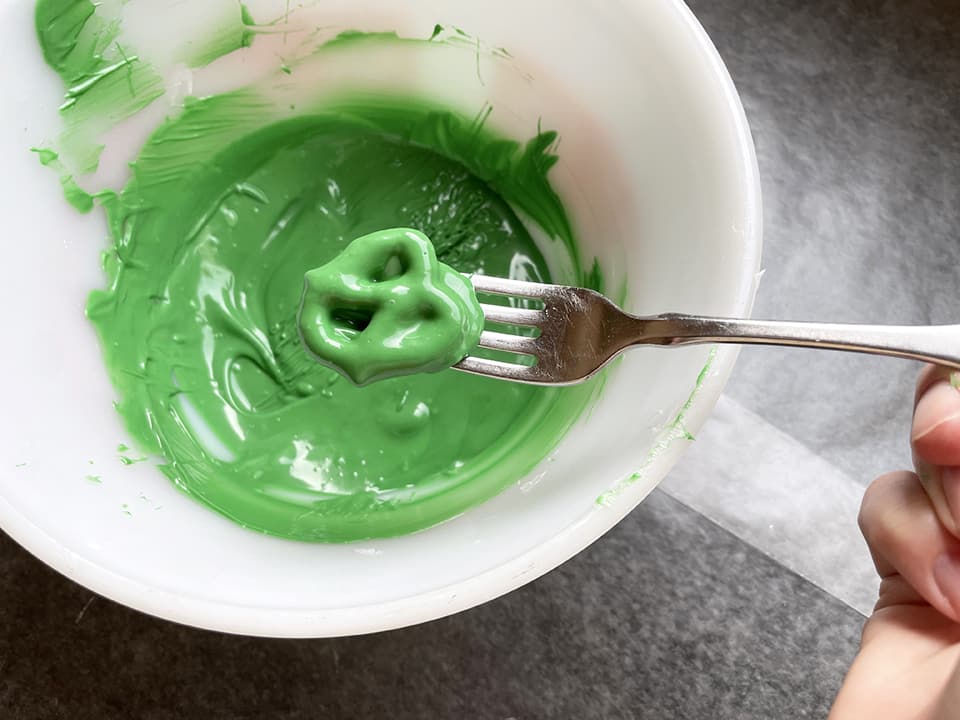
Then, working quickly, fully-coat pretzels with the melted chocolate. I made batches of three, so that I could assemble them into the shamrock shape. To assemble the shamrocks, place a popsicle stick on your waxed paper. Lay three coated pretzels at one end. The melted candy coating will help the “shamrock” stick together as the candy cools. To finish the treat – immediately top with sprinkles before moving on to making the next pop.
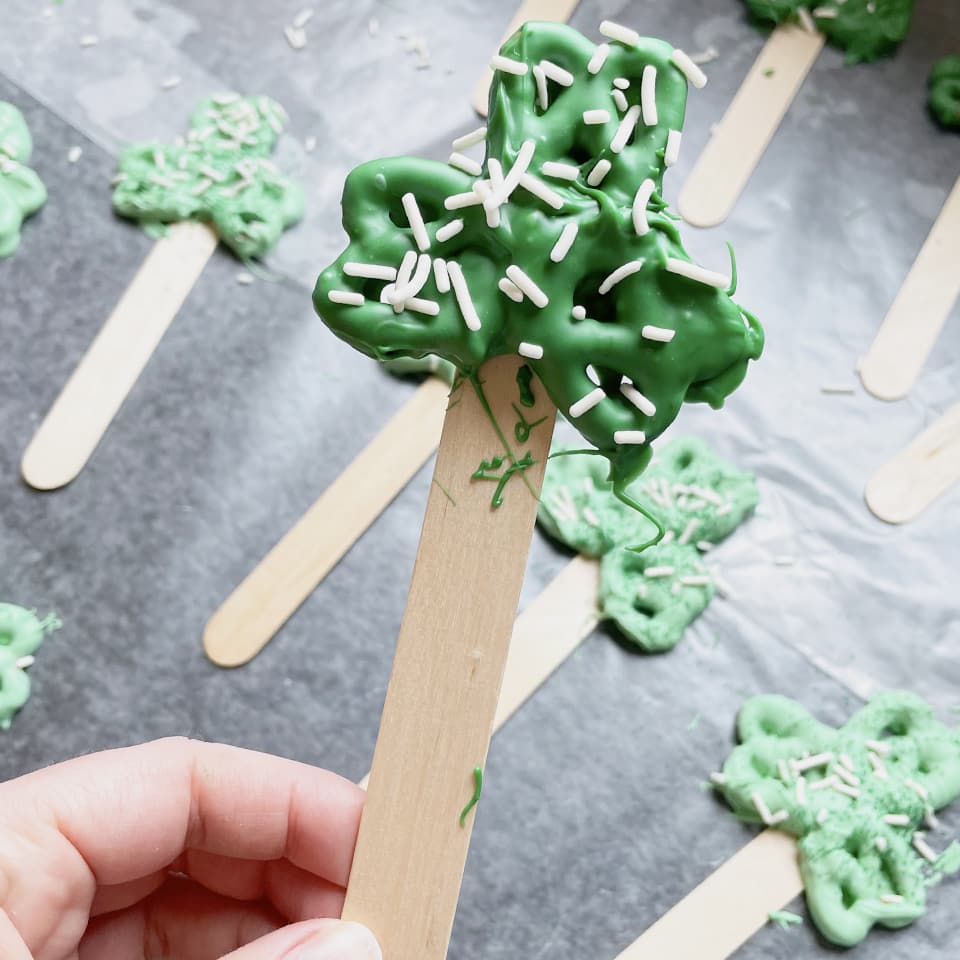
If you can’t find the right color candy wafer, or would like to use creative license with your Shamrock Pretzel Treats, follow the above method, with the addition of food coloring to white candy coating.
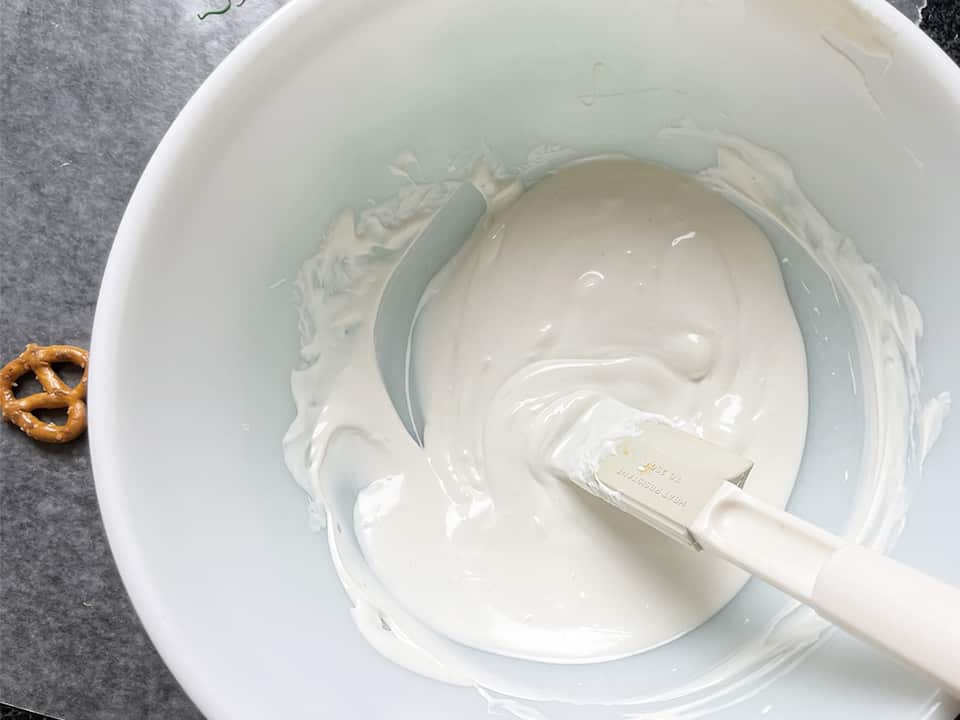
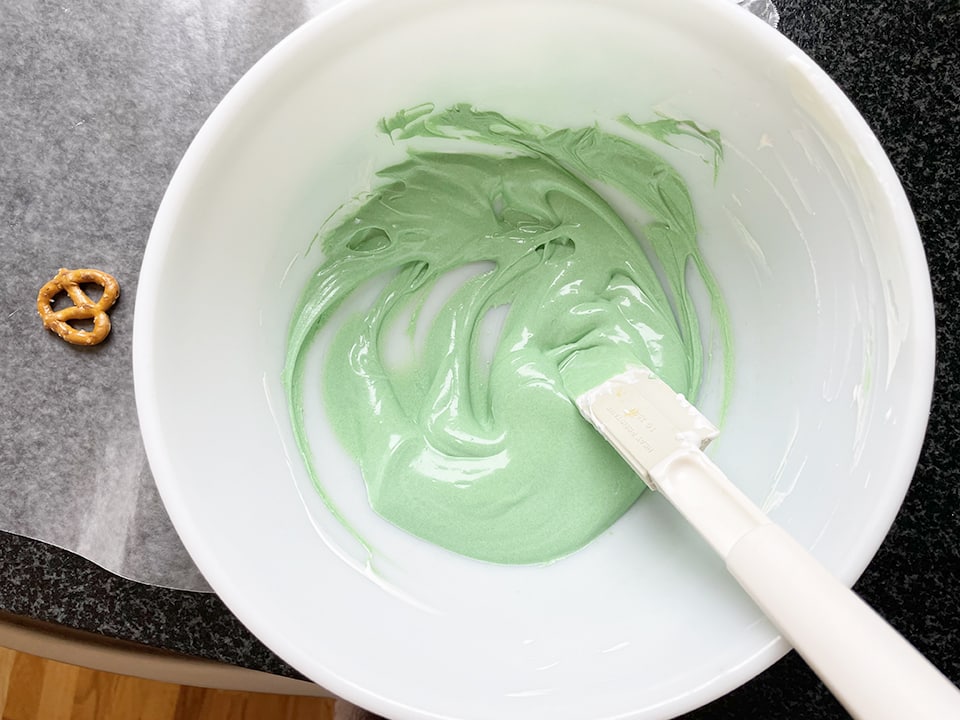
After the candy melts are melted and out of the microwave, use a toothpick to add food coloring paste. Stir vigorously, making sure to fully-incorporate the coloring. I found that this little bit of added liquid made my candy coating even smoother than the first batch.
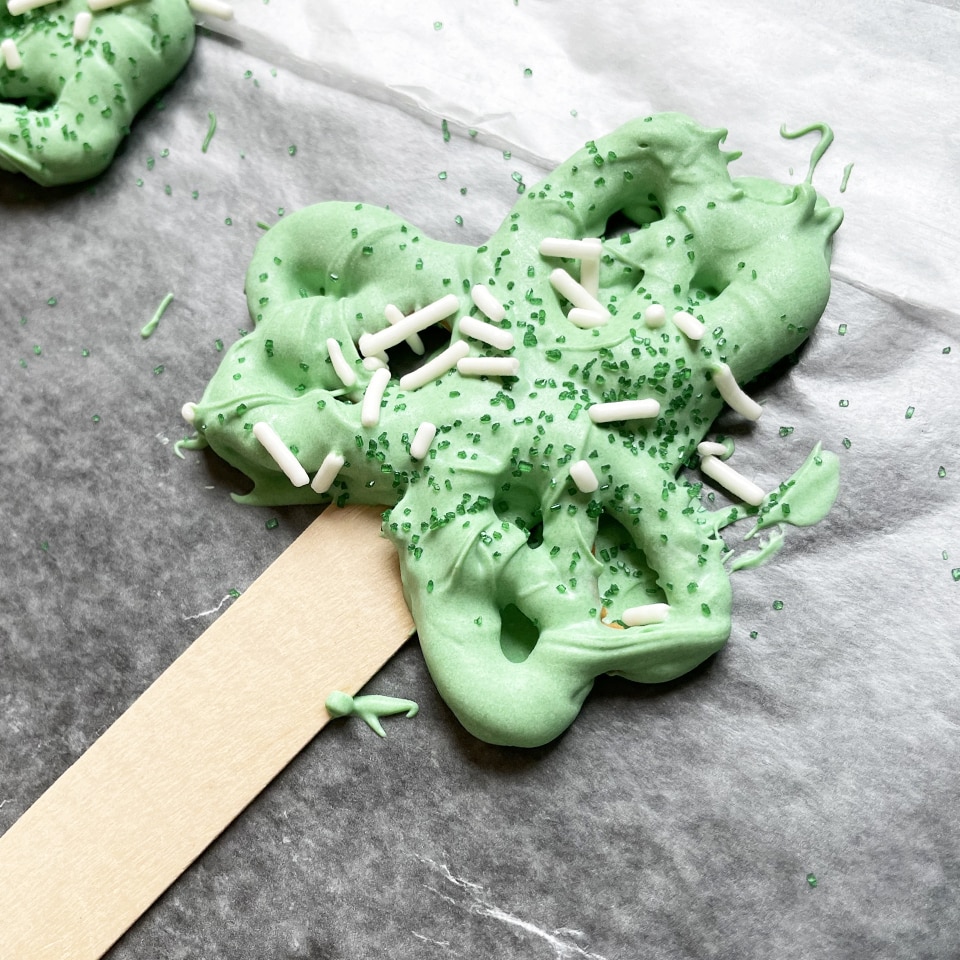
I know that you did your best to get the pretzels dipped as quickly as the candy coating had melted – right? But, let’s just say that the baby woke up early from his nap, or nature called right at the start of the coating process, and you came back to find a hardened bowl of chocolate. No worries! Just stick the bowl back in the microwave and zap for 10 – 15 seconds. This should put you back in action!
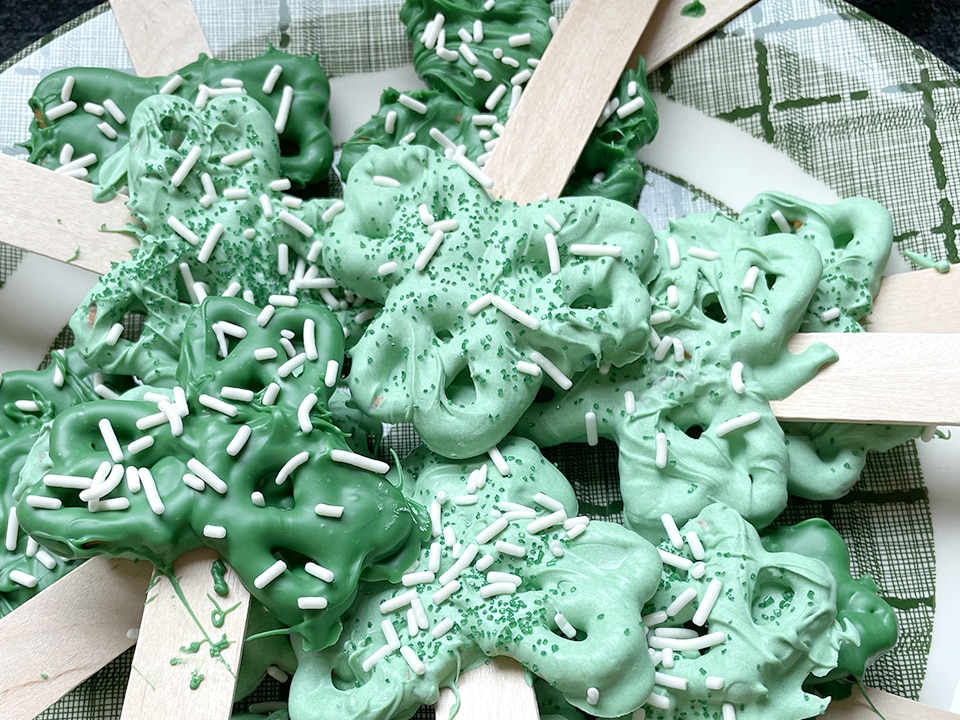
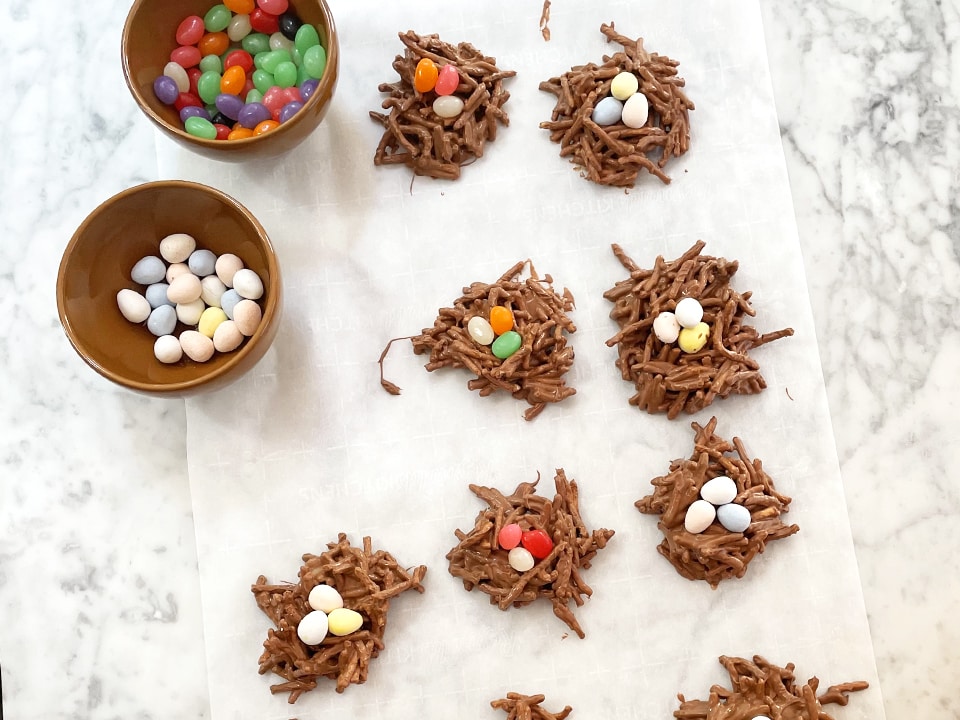
This “recipe” (if you can even call these simple instructions that!) will definitely be added to our collection of favorite no-bake spring treats. Another from that collection is our Birds’ Nest Cookies. Be sure to give them a try!
Jackie Baird Richardson is an interior designer, editor at The WON and avid junker. Watch for her design tips and occasional crafting ideas, bringing the outdoors indoors. View all posts by Jackie Richardson