For this year’s Thanksgiving table, I decided to try my hand at DIY Shibori cloth napkins. I’d bookmarked this tutorial a long time ago, and waited for the perfect reason to make these unique table linens. Something about this time of year brings out my desire to craft; last year I made these turkey tees for our whole crew of little ones.
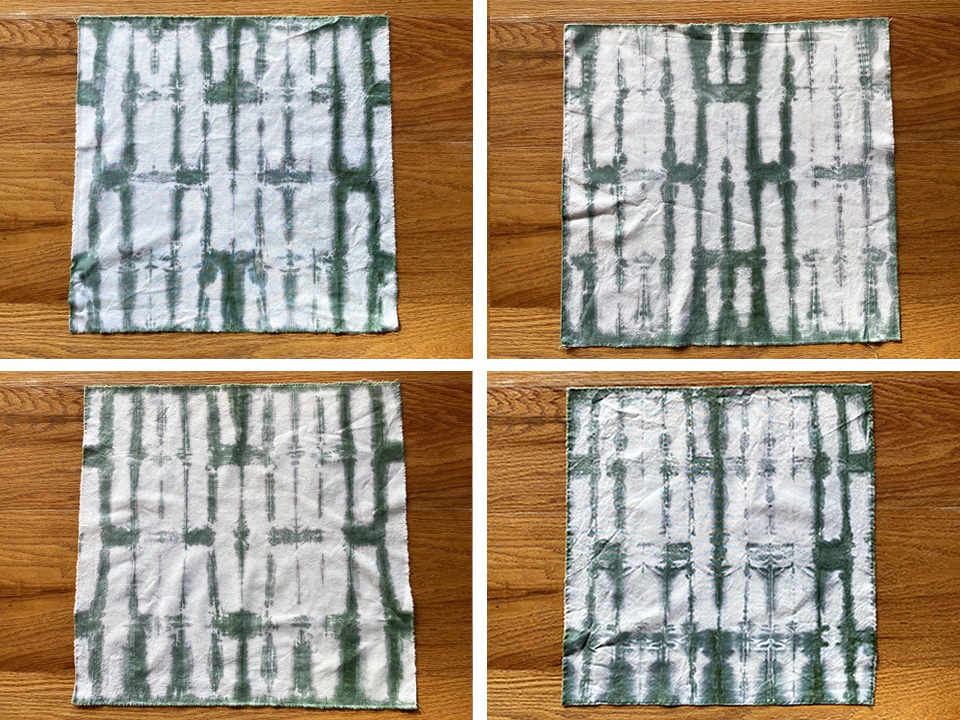
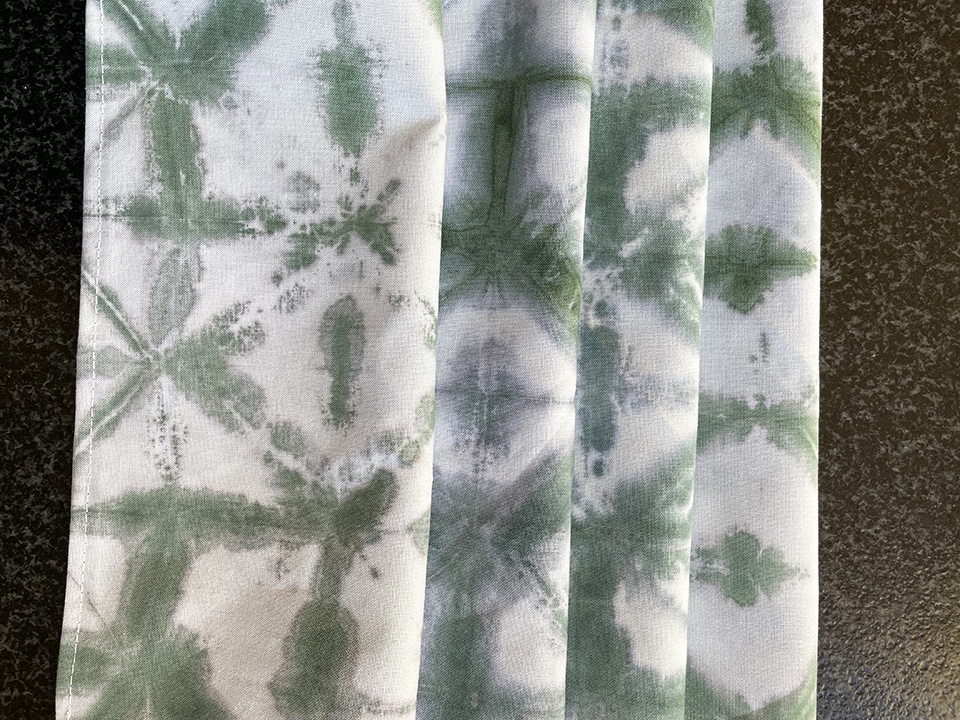
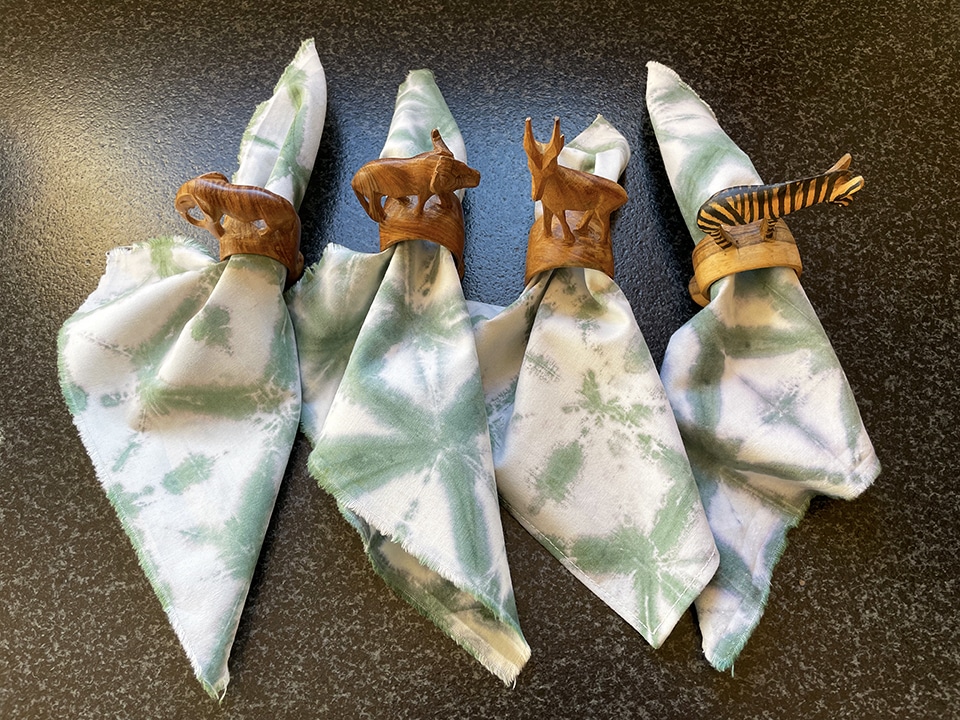
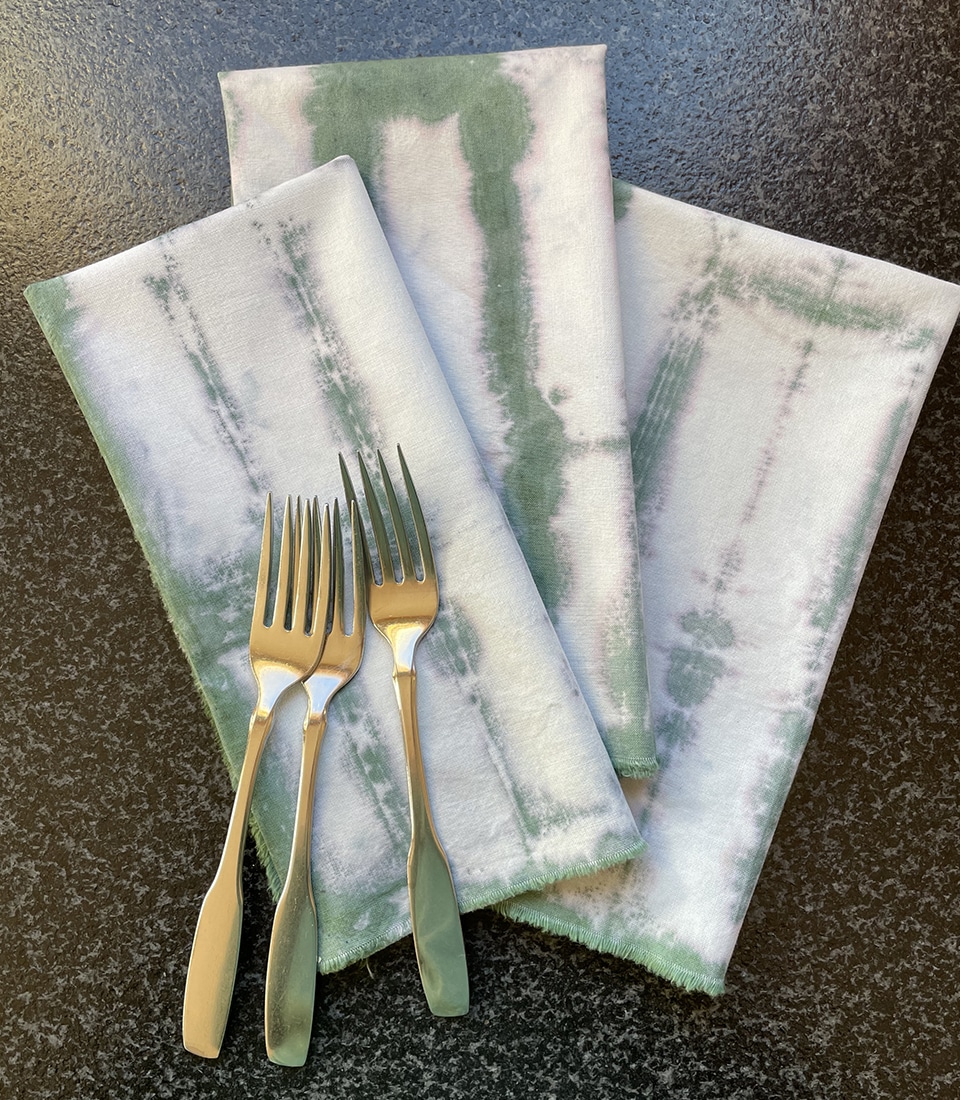
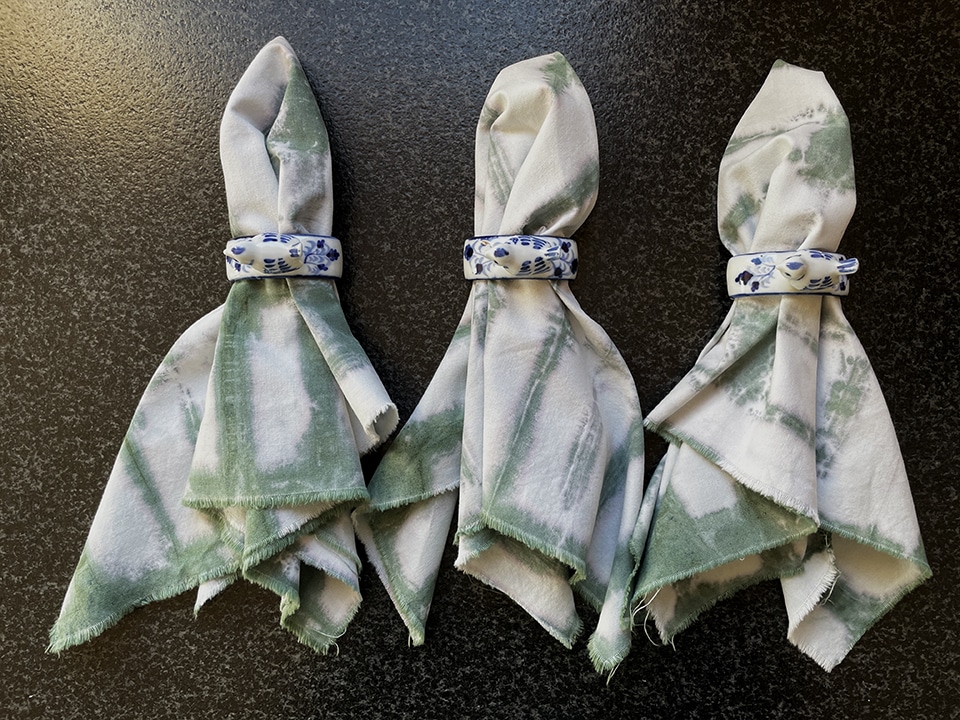
Full disclosure – I had no previous experience dyeing fabric, never having made so much as a tie dyed t-shirt in my youth. While the end result wasn’t quite what I’d anticipated that it would be, I am still loving these napkins. I am excited to try to make another batch, soon. Follow along below to see my process for making these fantastic, boho napkins.
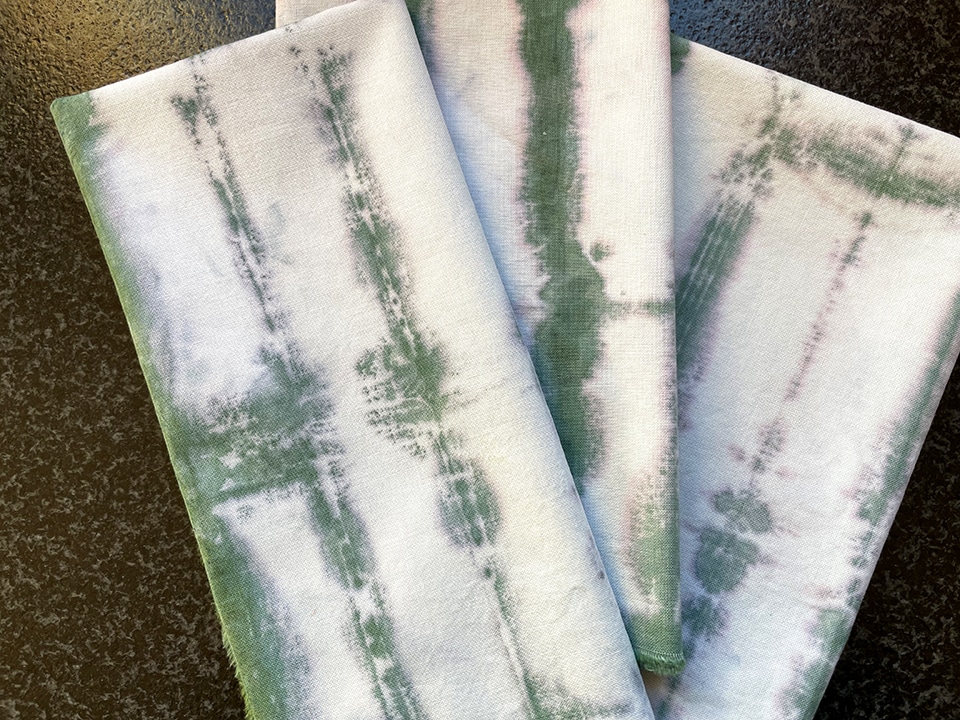
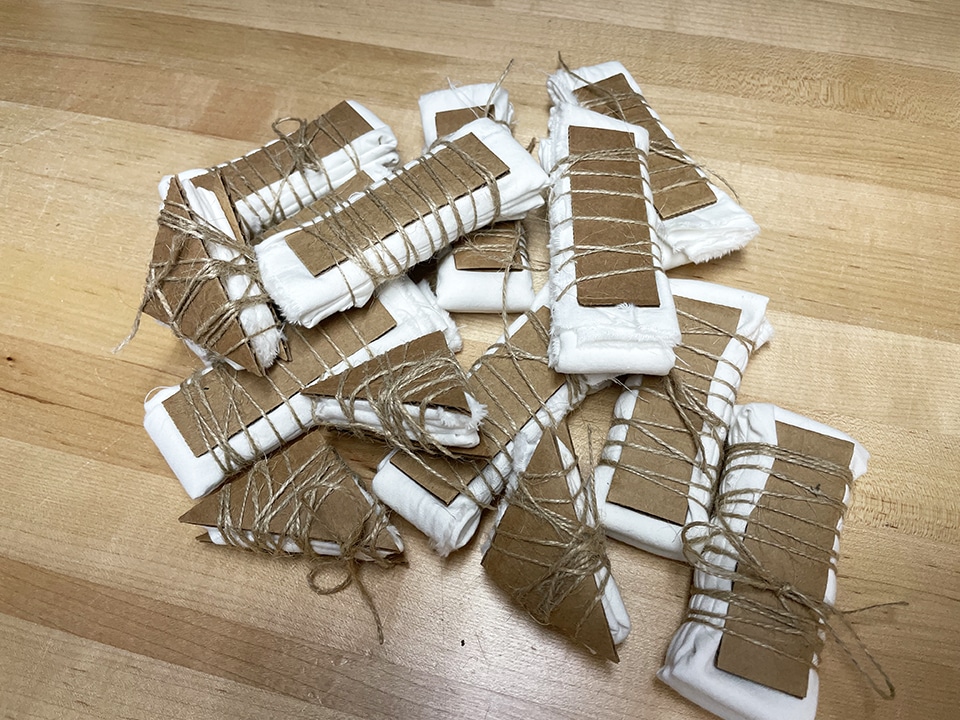
Very basically, to use the Shibori method of dyeing fabric – something is used to protect part of the fabric from dye. In my case, I used cut-out cardboard shapes to sandwich around folded fabric. These shapes help protect the dye from penetrating the fabric they cover.
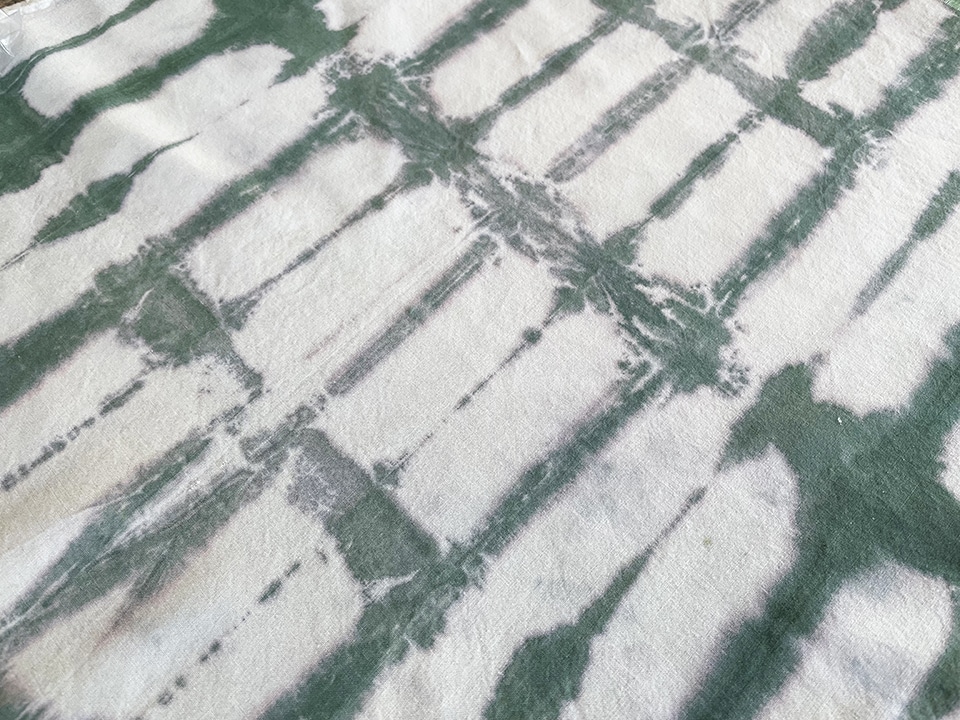
This method creates a detailed graphic that can vary from intense to light and splotchy, depending on the amount of dye used on the areas around the protective shapes.
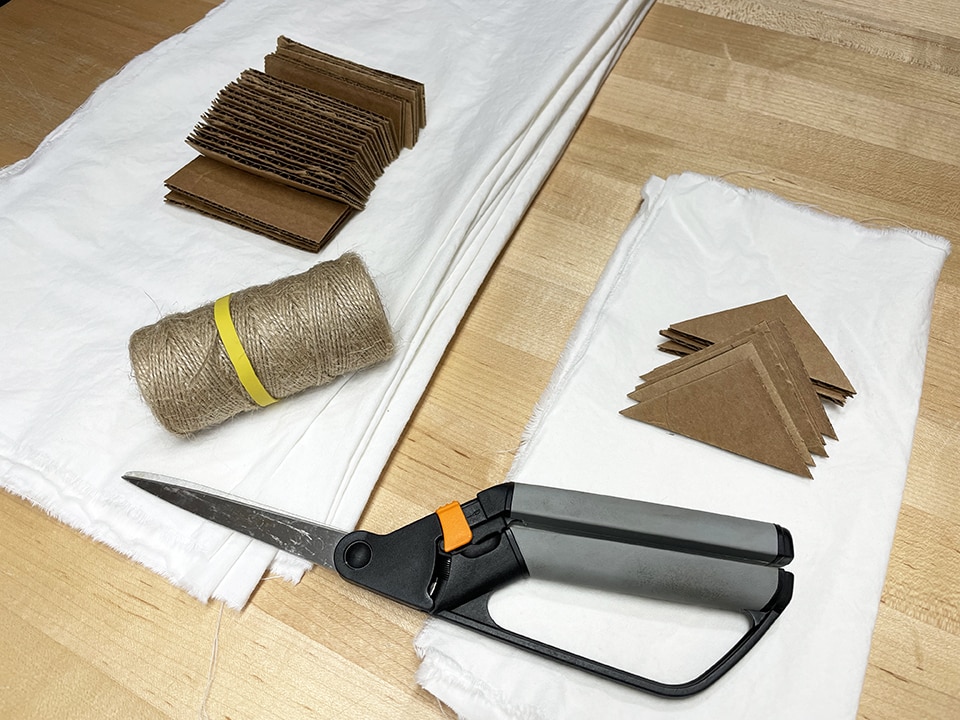
To make these napkins, you will need the following items:
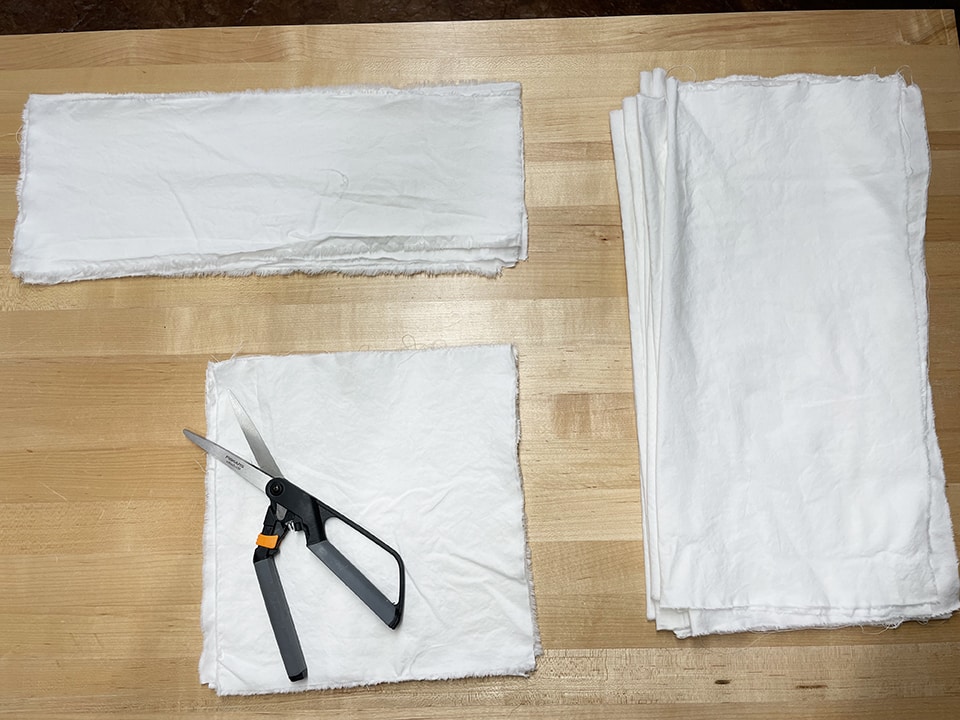
Wash and dry your cotton cloth. Cut out 18″ x 18″ squares; I was able to get 10 large napkins from the 3 yards of cloth I ordered. There was enough leftover material to make play napkins for my daughter’s toy kitchen. I cut 4 smaller napkins, each square measuring about 11″ x 11″. The few strips of remaining cloth will be saved for future sewing projects.
For the large napkins (18″ x 18″) I selected a rectangular design.
Cut out 20 pieces (2 per napkin) of 1″ x 3.5″ cardboard. These rectangles will sandwich each folded napkin.
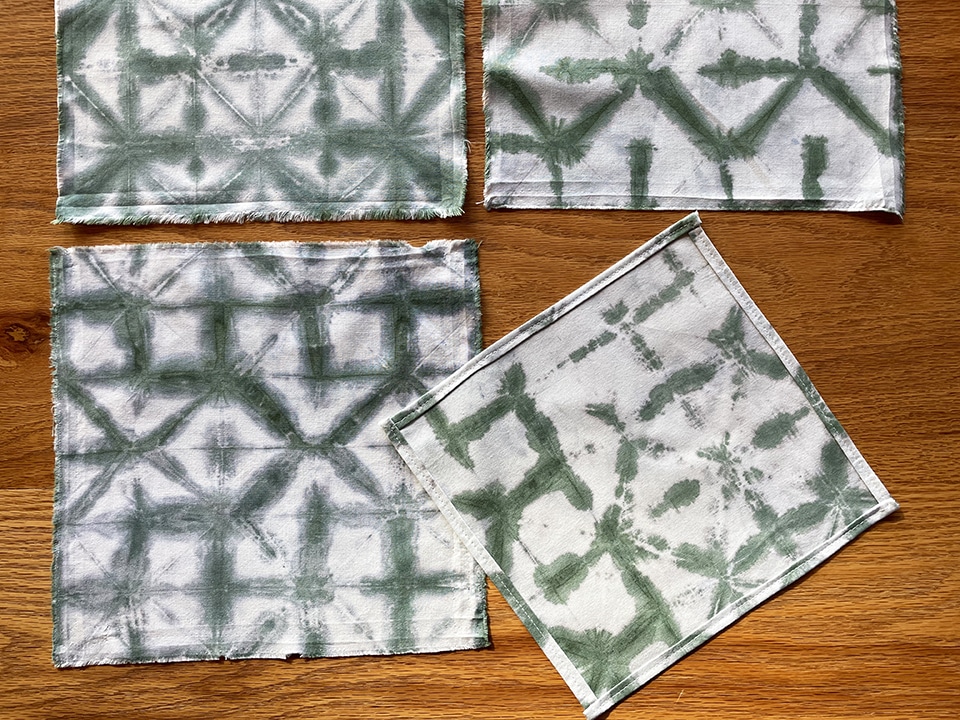
The play napkins (11″ x 11″) received a triangular dye design.
Cut out eight pieces (two per napkin) of cardboard triangles, measuring such that two sides of the triangle are 2-1/4″ in length. Note: the size of your cardboard triangles is based on the overall size of your napkin. If you decide to use the triangular dye design on 18″ napkins, create triangles with two sides measuring 3-1/2″.
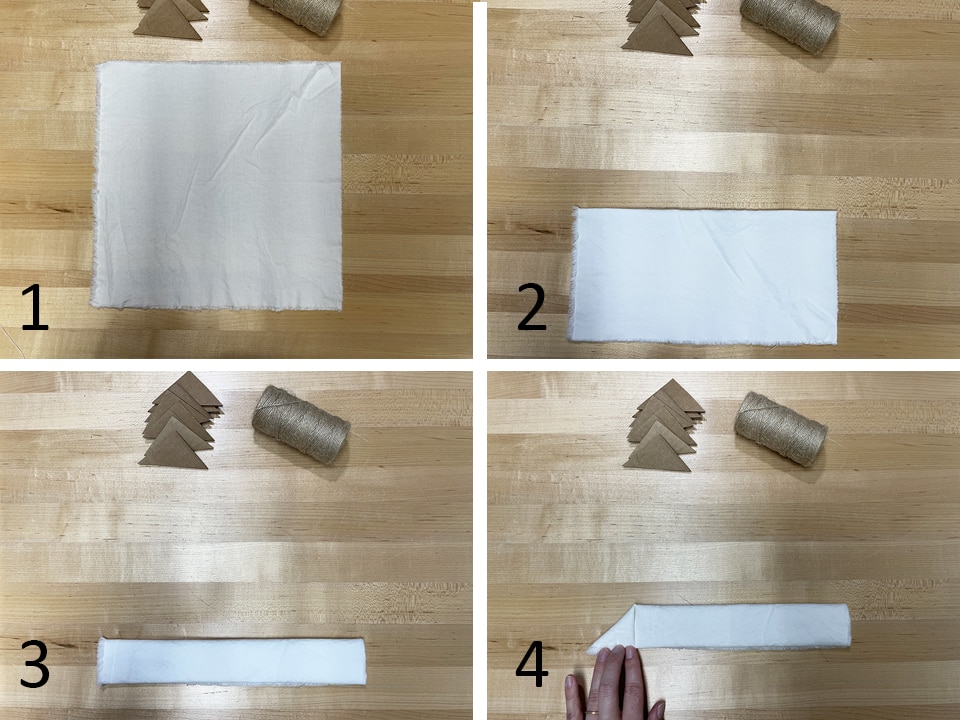
Next, fold your napkins. For a rectangular design, follow these steps:
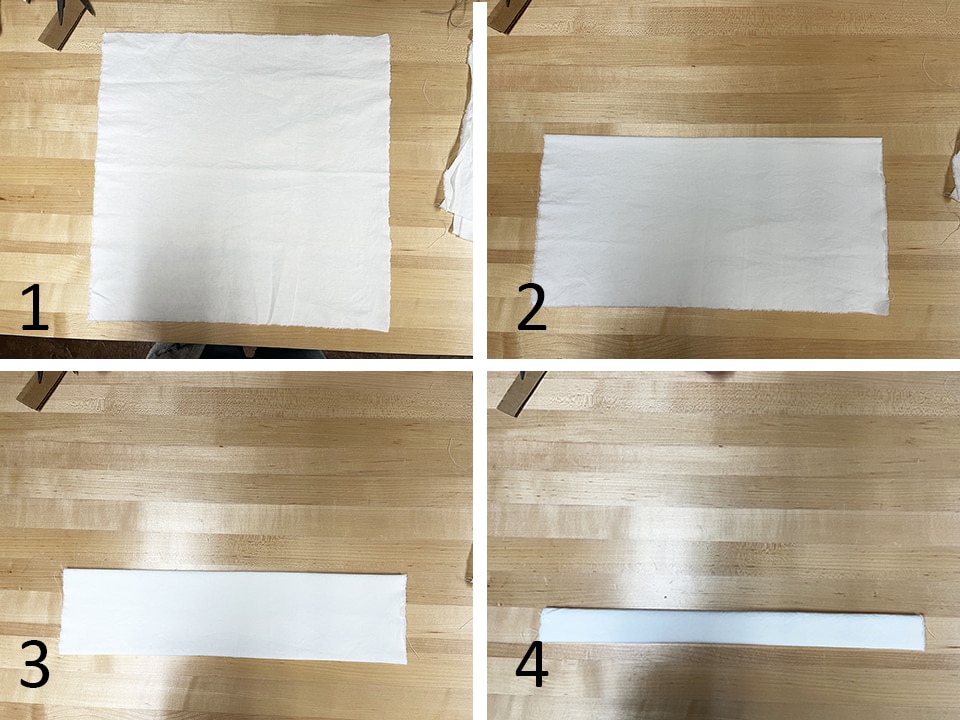
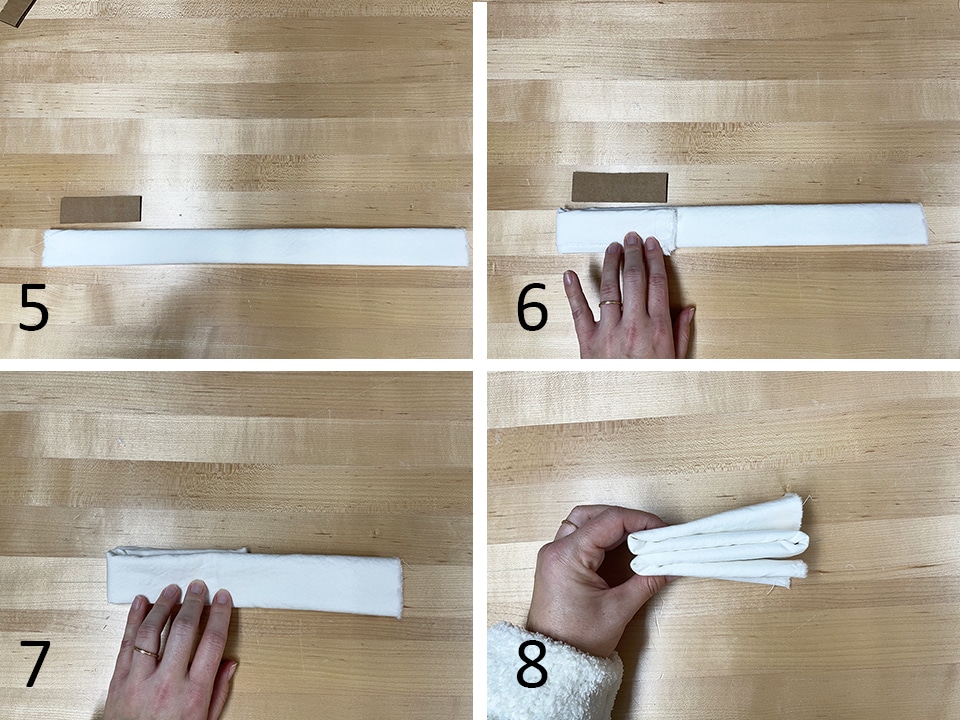
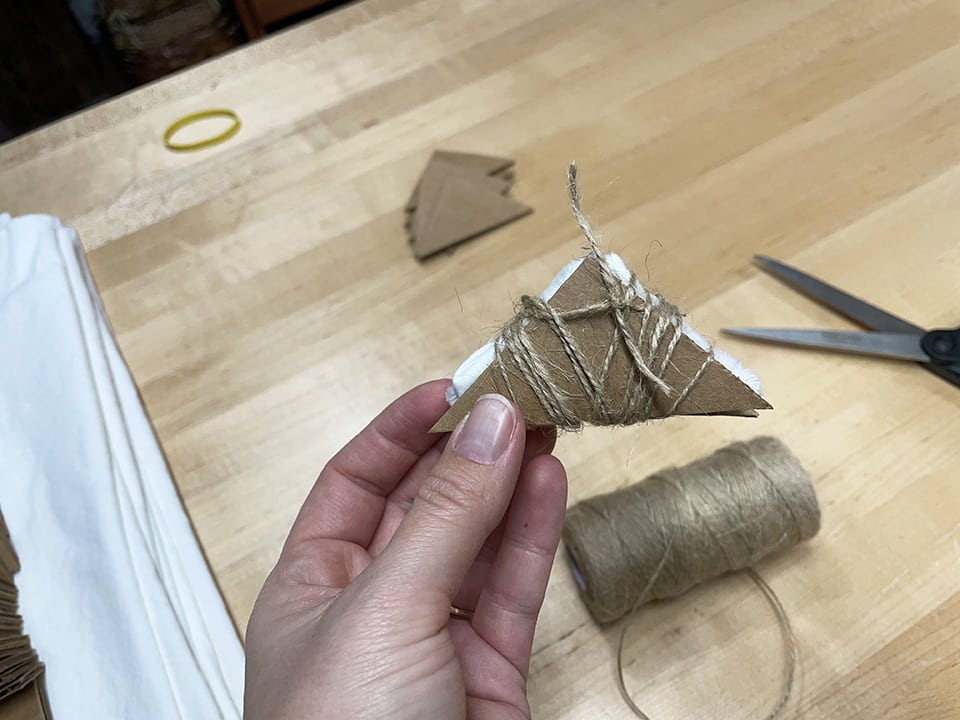
Sandwich a cardboard rectangle on either side of your cloth, and bind tightly with twine. Tie off the twine, and continue folding, sandwiching and binding the remaining 18″ square napkins.
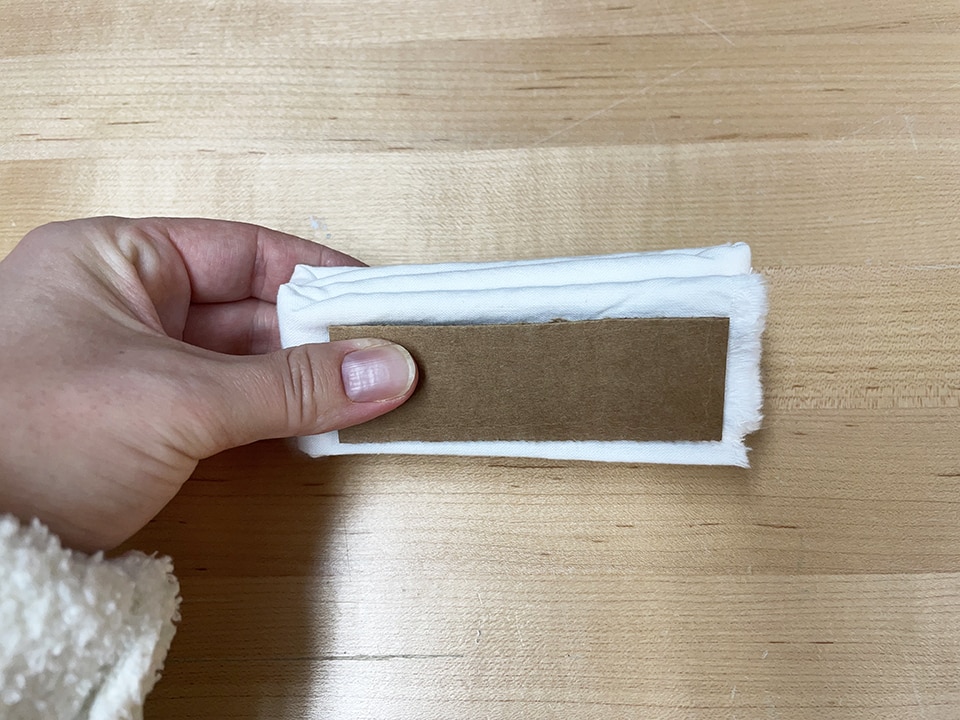
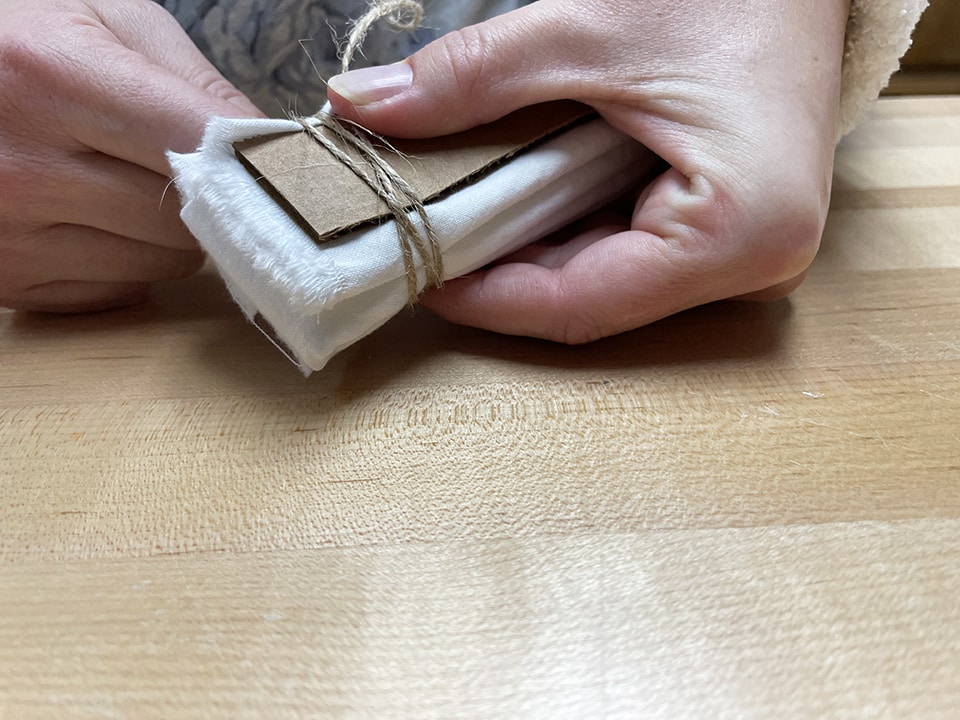
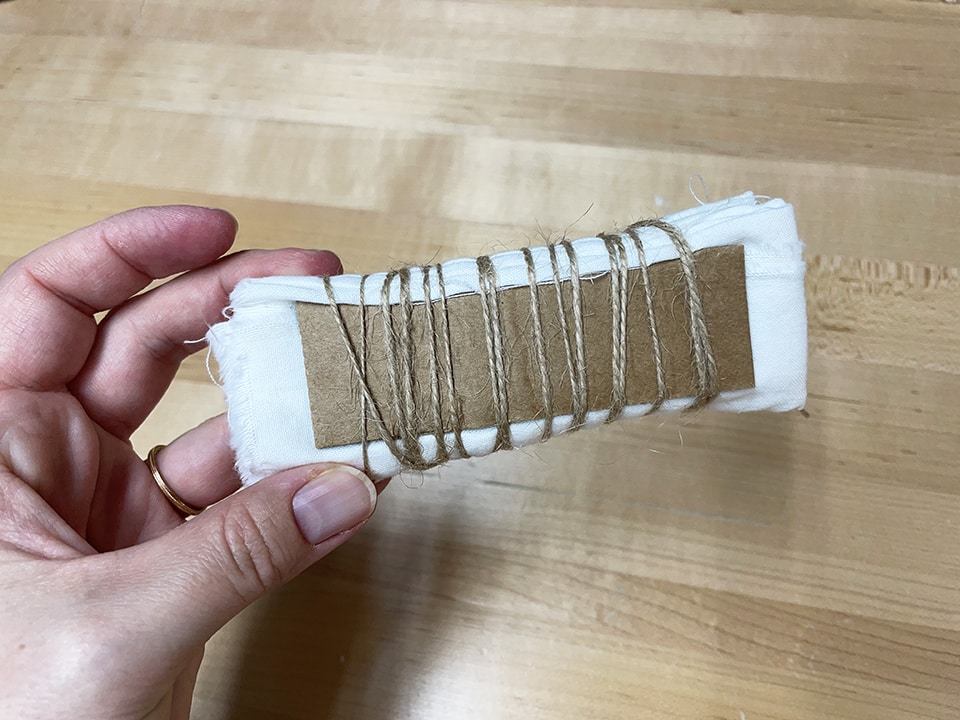
For the triangular dye design, follow these steps:
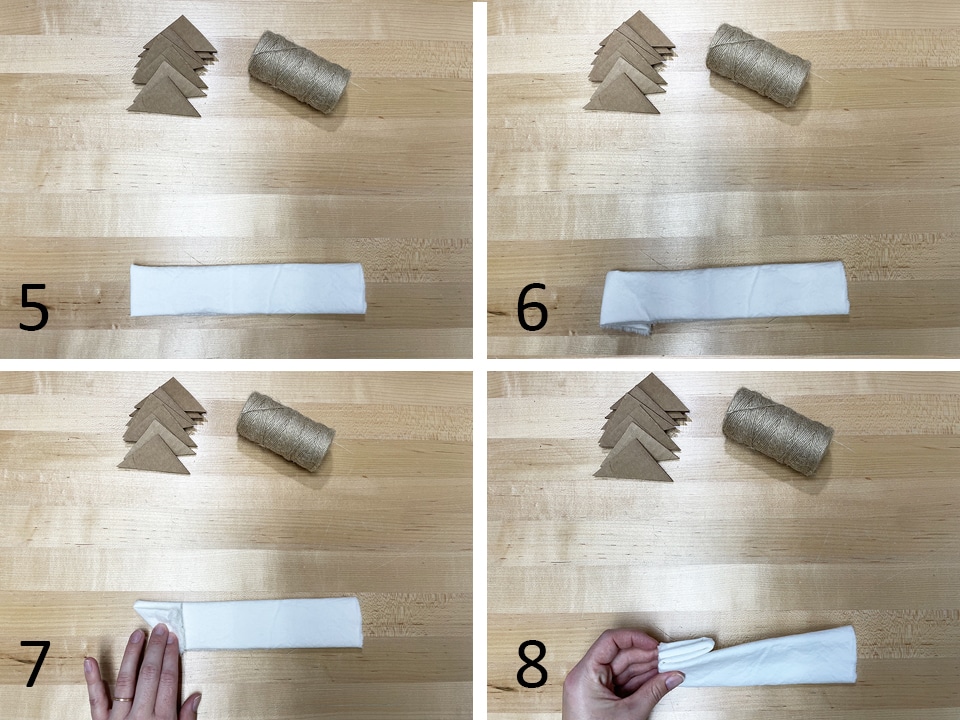
Sandwich a cardboard triangle on either side of your cloth, and bind tightly with twine. Tie off the twine, and continue folding, sandwiching and binding the remaining 11″ square napkins.
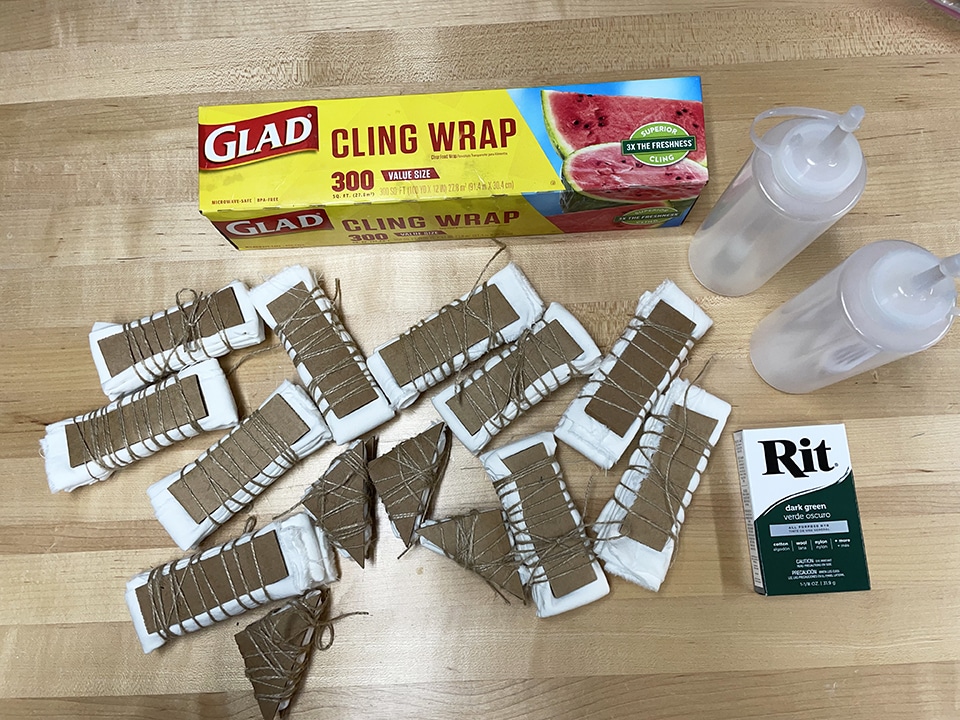
Gather your materials for dyeing the napkins. You’ll need plastic wrap, squirt bottles, dye, gloves, folded napkins and something to protect your worksurface from the dye (I used an old birdseed bag).
Prepare your dye. I used two plastic squirt bottles and added half of the box of RIT powder to each, then filled them with cold water. For my next Shibori project, I may prepare only half of the dye. I had plenty left over, even after fully saturating my napkins with dye.
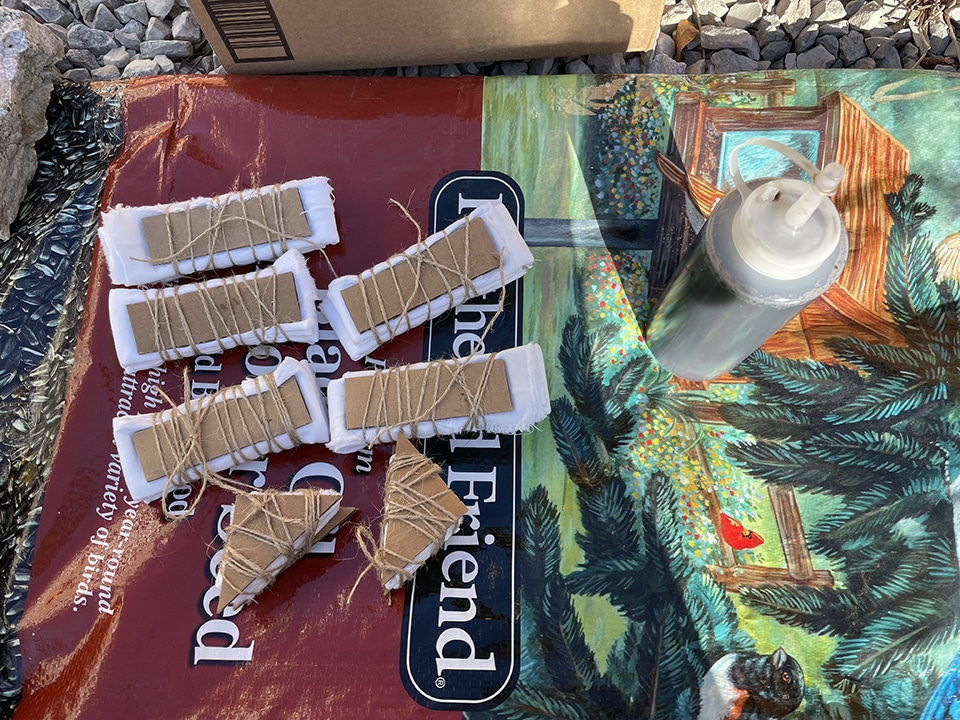
Squirt dye onto exposed fabric. For a heavier pattern, be sure to saturate the cloth edges with dye. For a more splotchy look, use less dye. Then, tightly wrap each napkin individually in plastic wrap. It was very windy on the day that these napkins were made, and they were dyed outside in the back yard. It was quite comical and frustrating trying to keep the cling wrap from being blown into clinging on itself before covering the napkins!
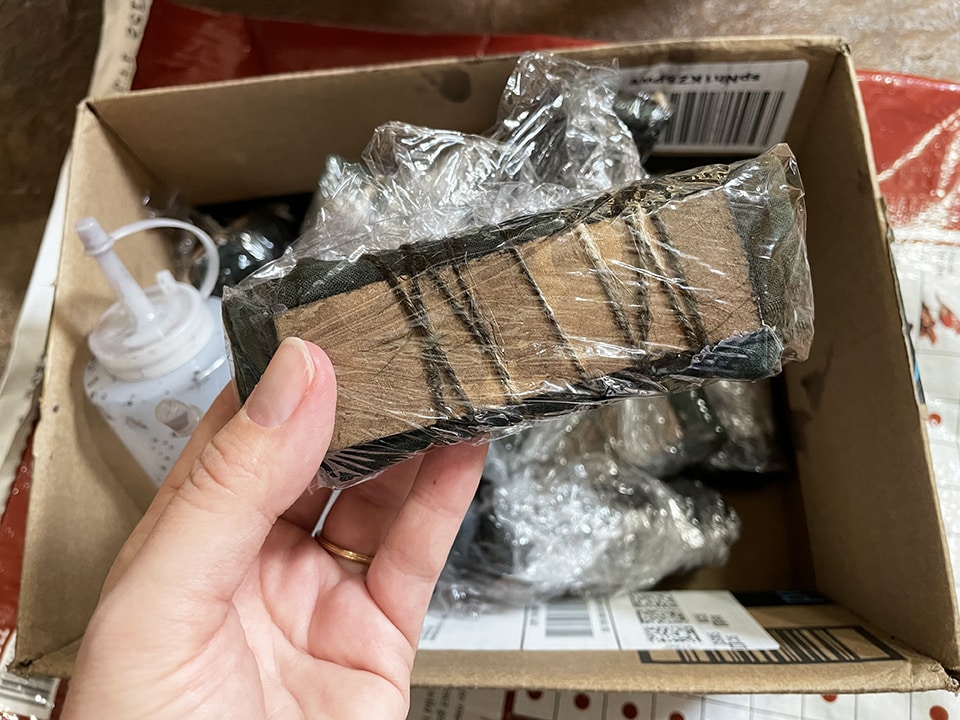
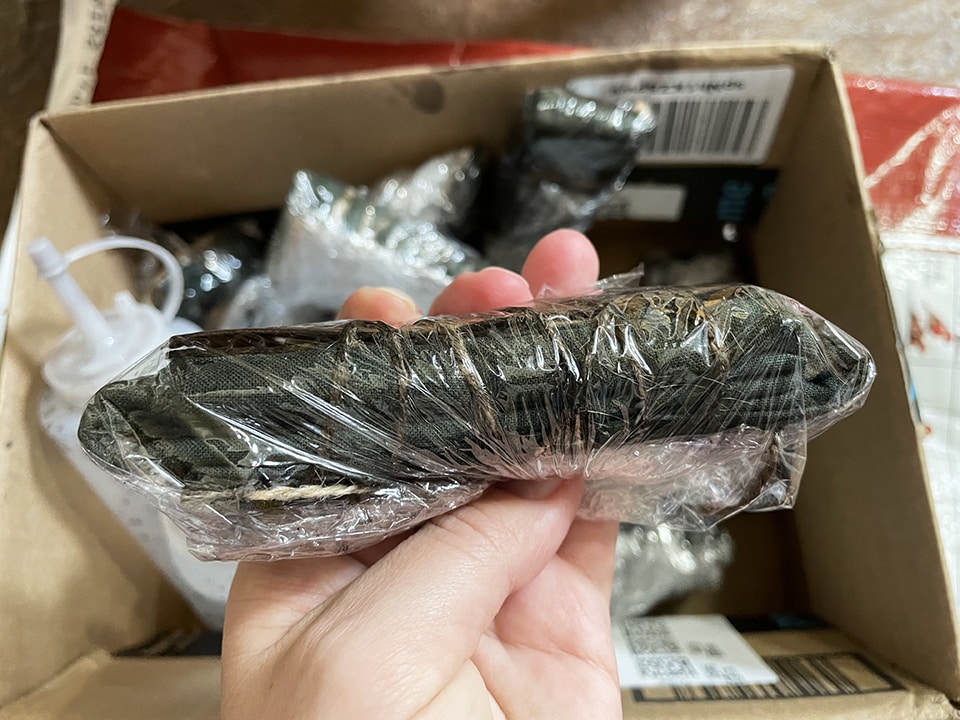
The tutorial I followed advised to let the dye sit for 8 hours before rinsing it out. I let mine sit for 24 hours, due to the extenuating circumstances of being a busy mom.
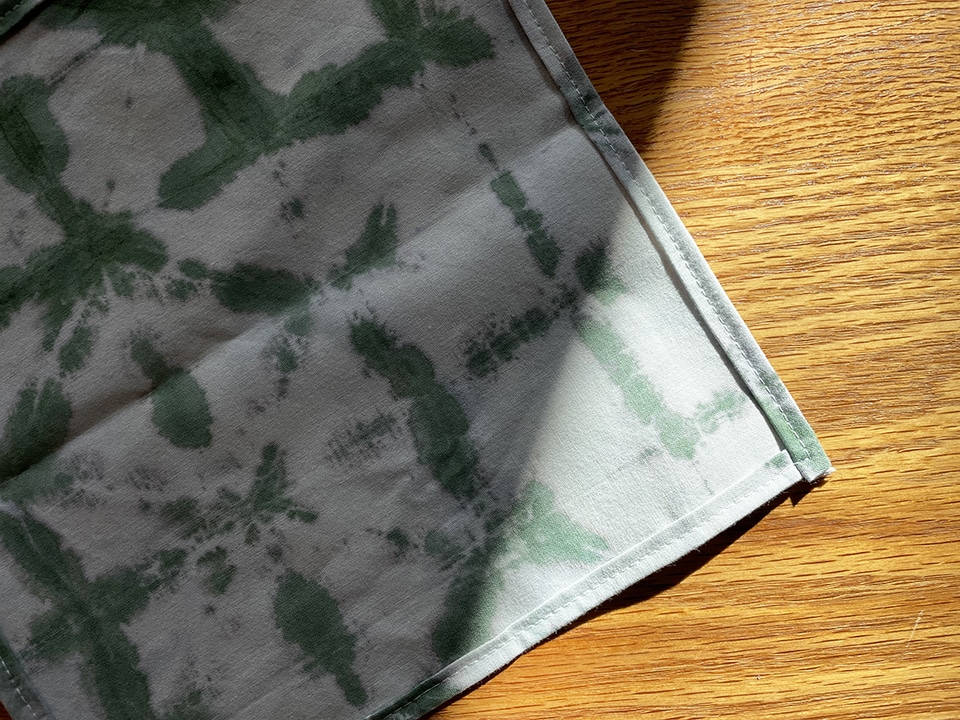
The tutorial also advised that I rinse out the dye using only cold water. The dye manufacturer recommended that I start with super hot water, and then rinse all the way through the temperature spectrum, ending with ice cold water. I chose to follow the manufacturer’s instructions. This route may be why some of my dye bled into the white spaces, and gave the overall napkin a green tint. Not a bad thing, considering that these napkins will wipe a lot of dirty mouths and fingers!
If you are going to use the color fixative, first wash your napkins (following manufacturer’s instructions) with the product. Next, wash napkins with warm water and mild detergent in your washing machine. Dry and iron your napkins. You may want to hem the napkins (I hemmed one of the play napkins, then decided against doing the rest!). Or, you can let these beautiful boho creations fray away.

Jackie Baird Richardson is an interior designer, editor at The WON and avid junker. Watch for her design tips and occasional crafting ideas, bringing the outdoors indoors. View all posts by Jackie Richardson