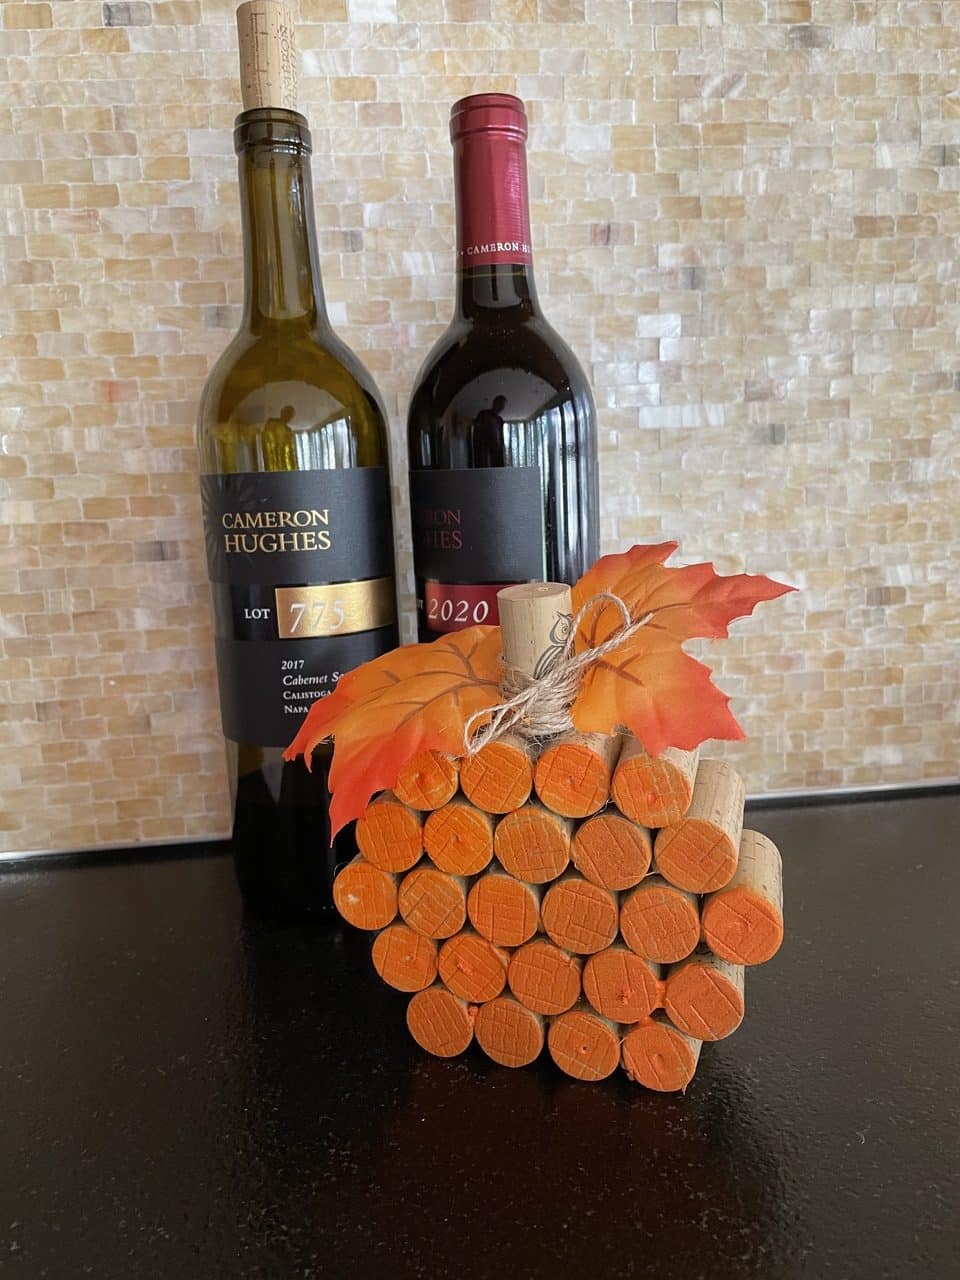
While perusing Pinterest last month, I noticed some really cute wine cork pumpkins. That reminded me that I have a collection of corks in a drawer in my kitchen, which prompted me to put this wine cork pumpkin decoration together.
It took longer to get the things for the craft than to make it. Here’s what you’ll need, and what you’ll need to do.
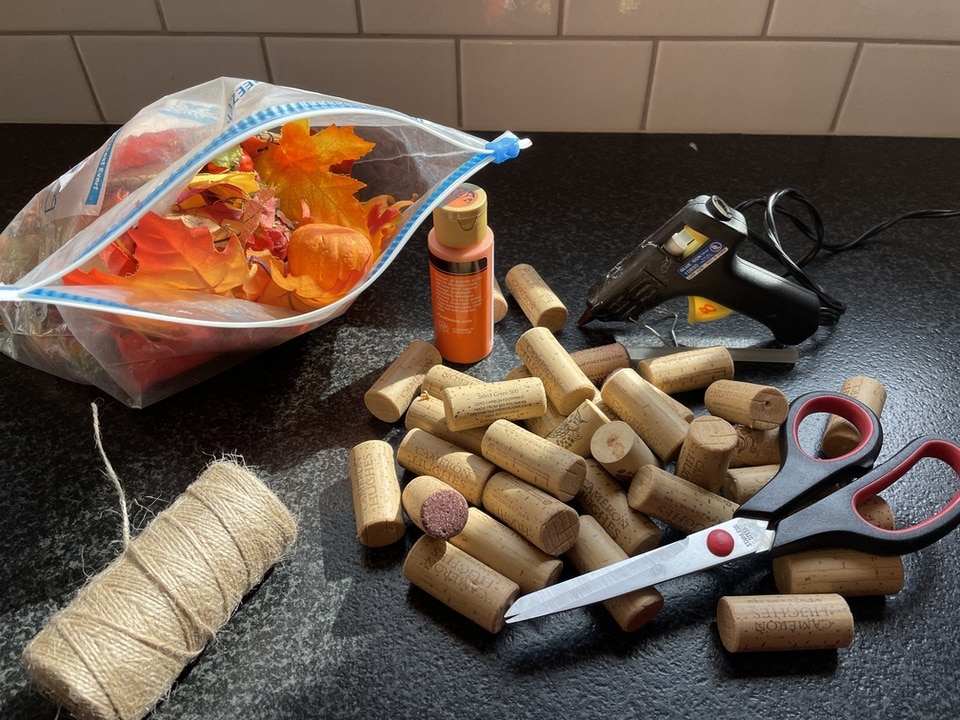
Materials for Wine Cork Pumpkin Decoration
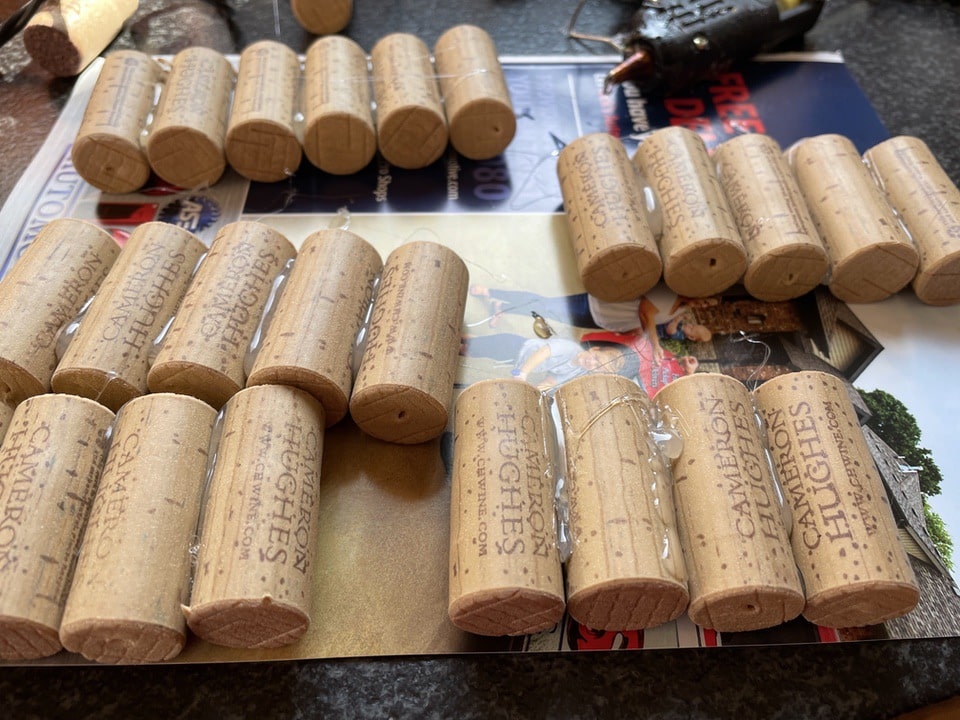
Here’s the plan. You’ll glue two sets of four corks, two sets of five corks and one set of six corks in straight lines. Match up the ends of the cork. You’ll have one straggler for the stem. I used a Winking Owl cork, which I believe comes from the fine wines at Aldi.
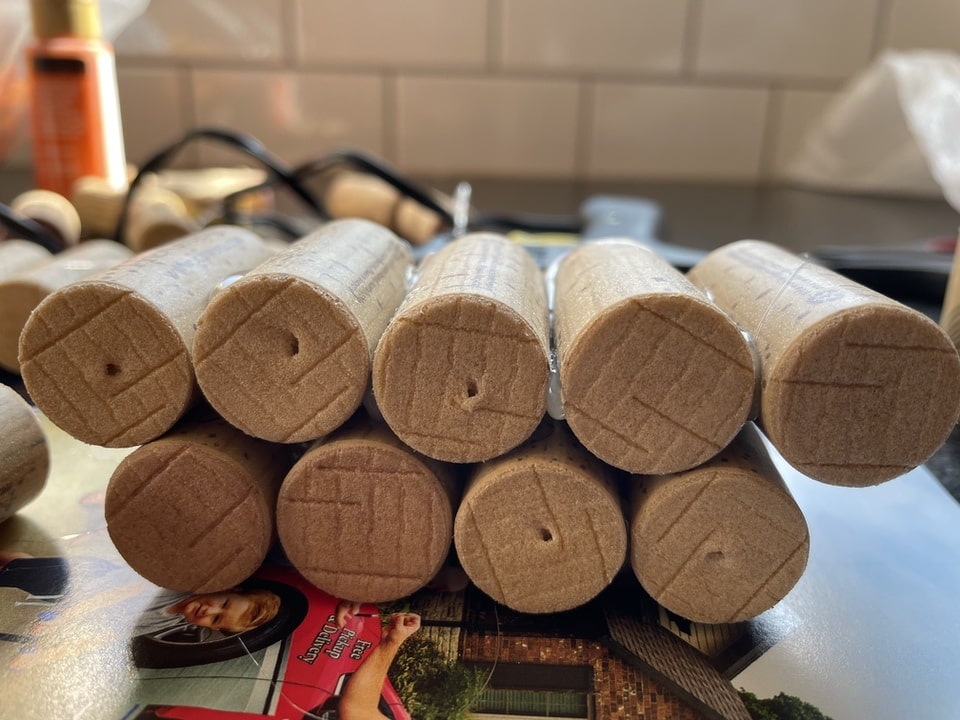
Then, stack the lines of corks and glue them in this order: Four, five, six, five, four.
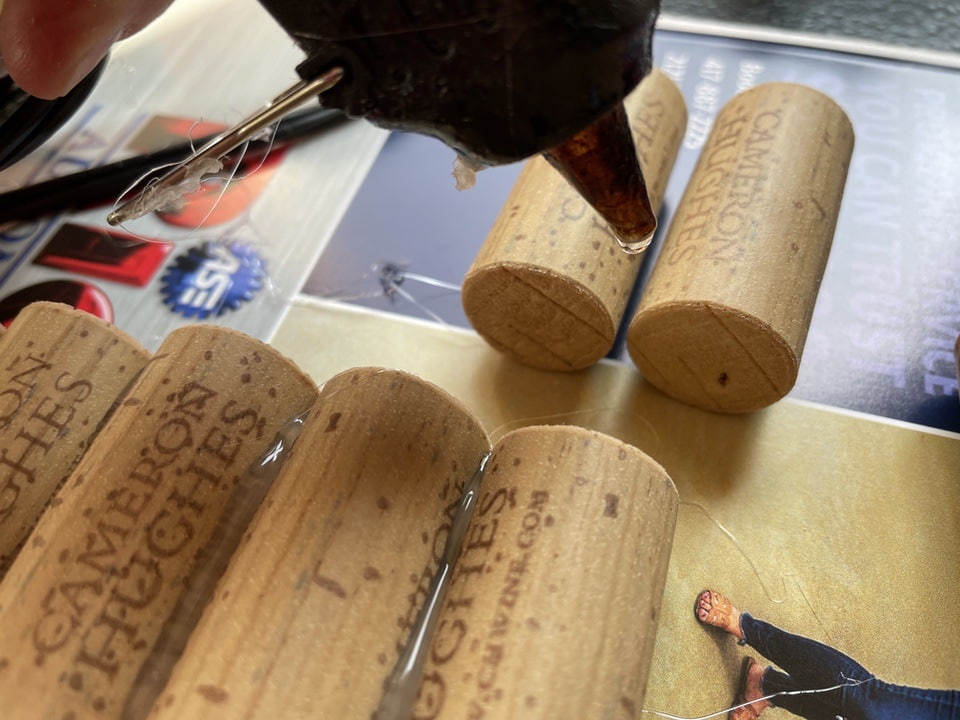
Use an old newspaper or magazine cover or back page to work on, especially if you’re working on your kitchen counter top.
Take the last lonely cork and cut it down or leave it full size for the stem.
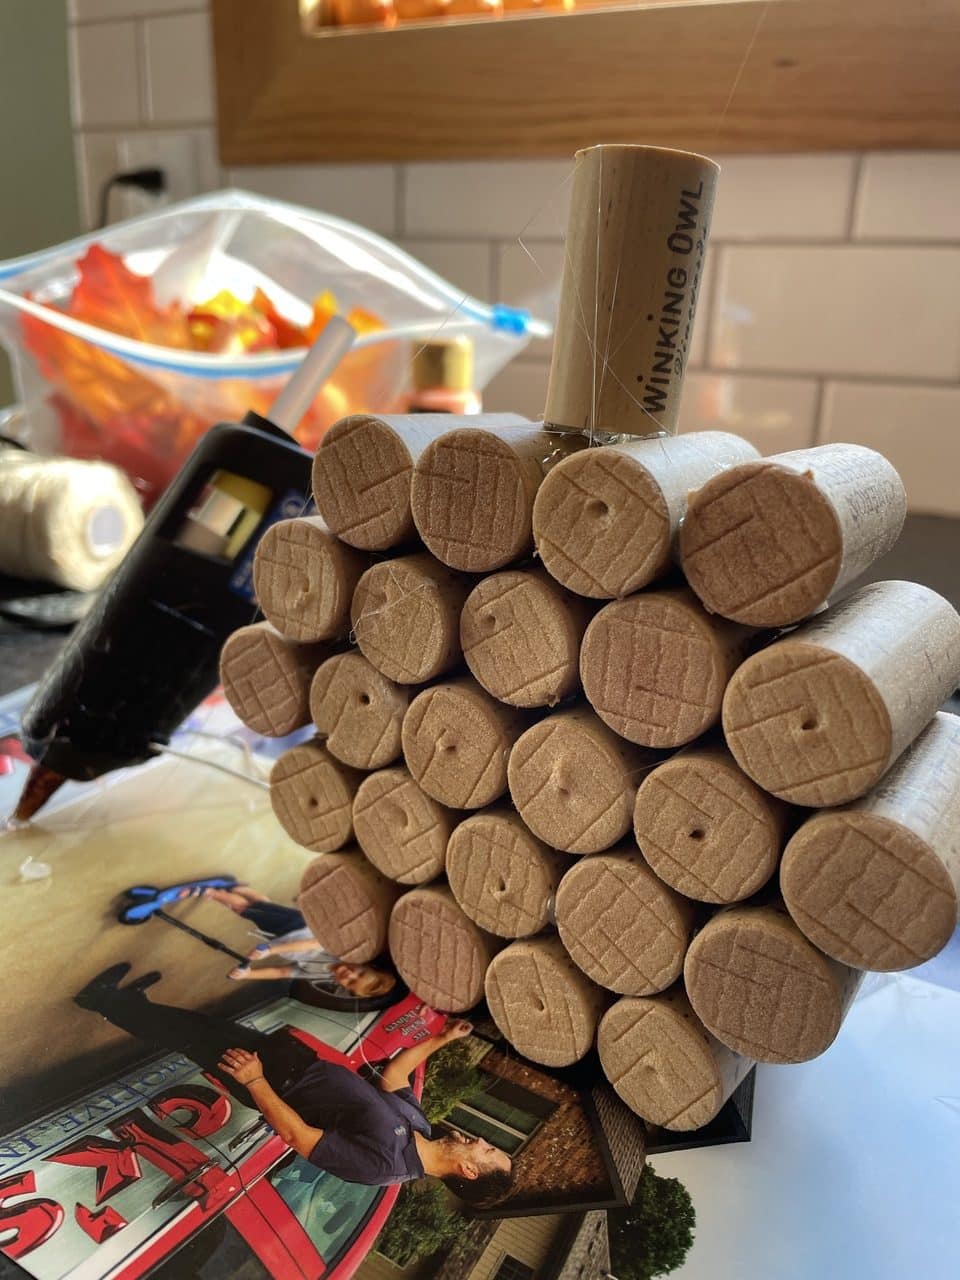
Glue it to the top of your “cork pumpkin.”
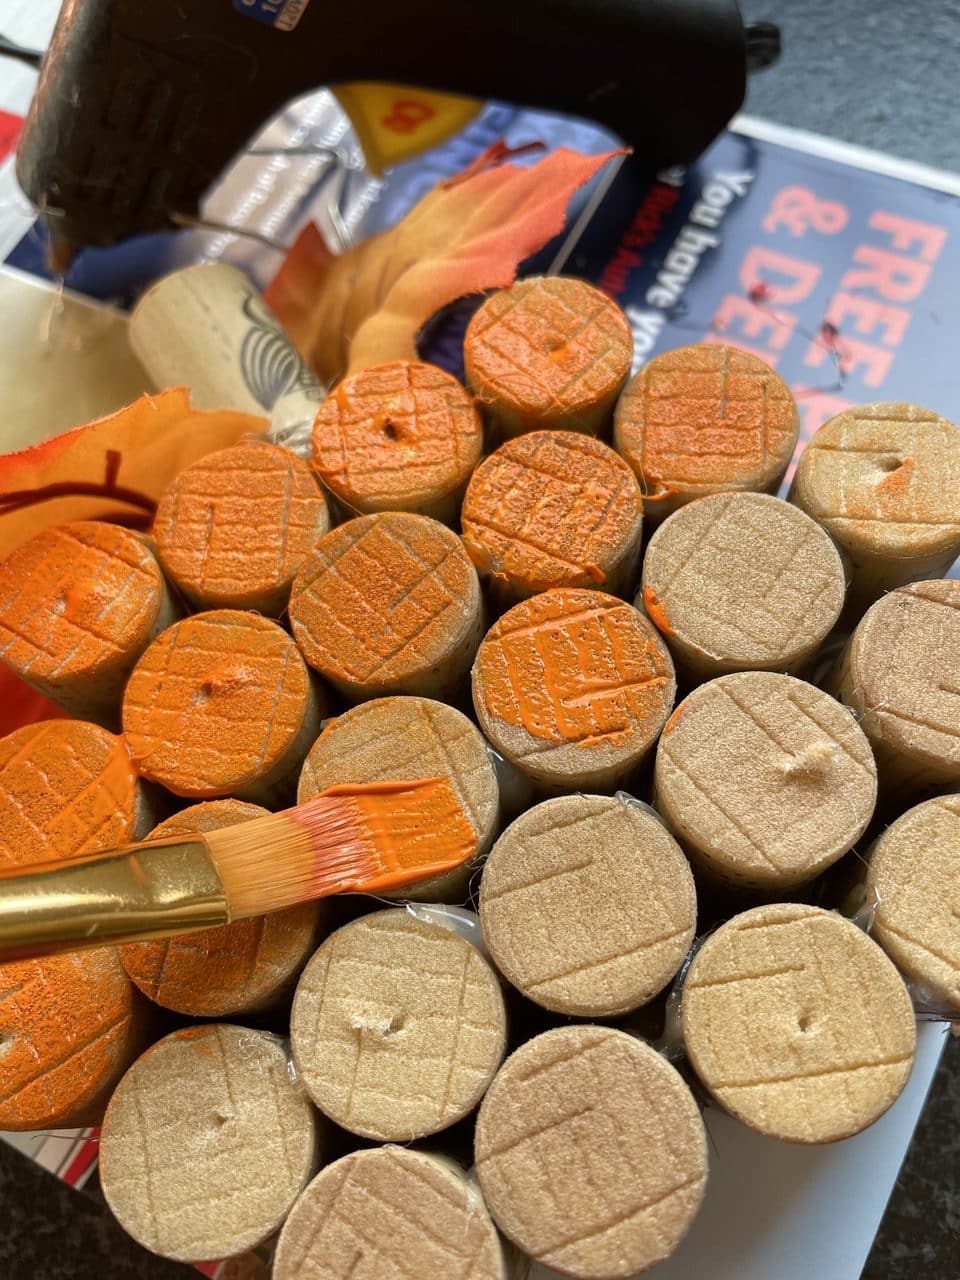
Here’s where I veered off the Pinterest plan. I painted the two flat sides of the pumpkin after I glued it together, instead of painting each cork individually. Of course, I waited for the hot glue to dry. I mean, I already had burned myself at least three times in the process of assembling the pumpkin.
Attach or glue the leaves to the top.
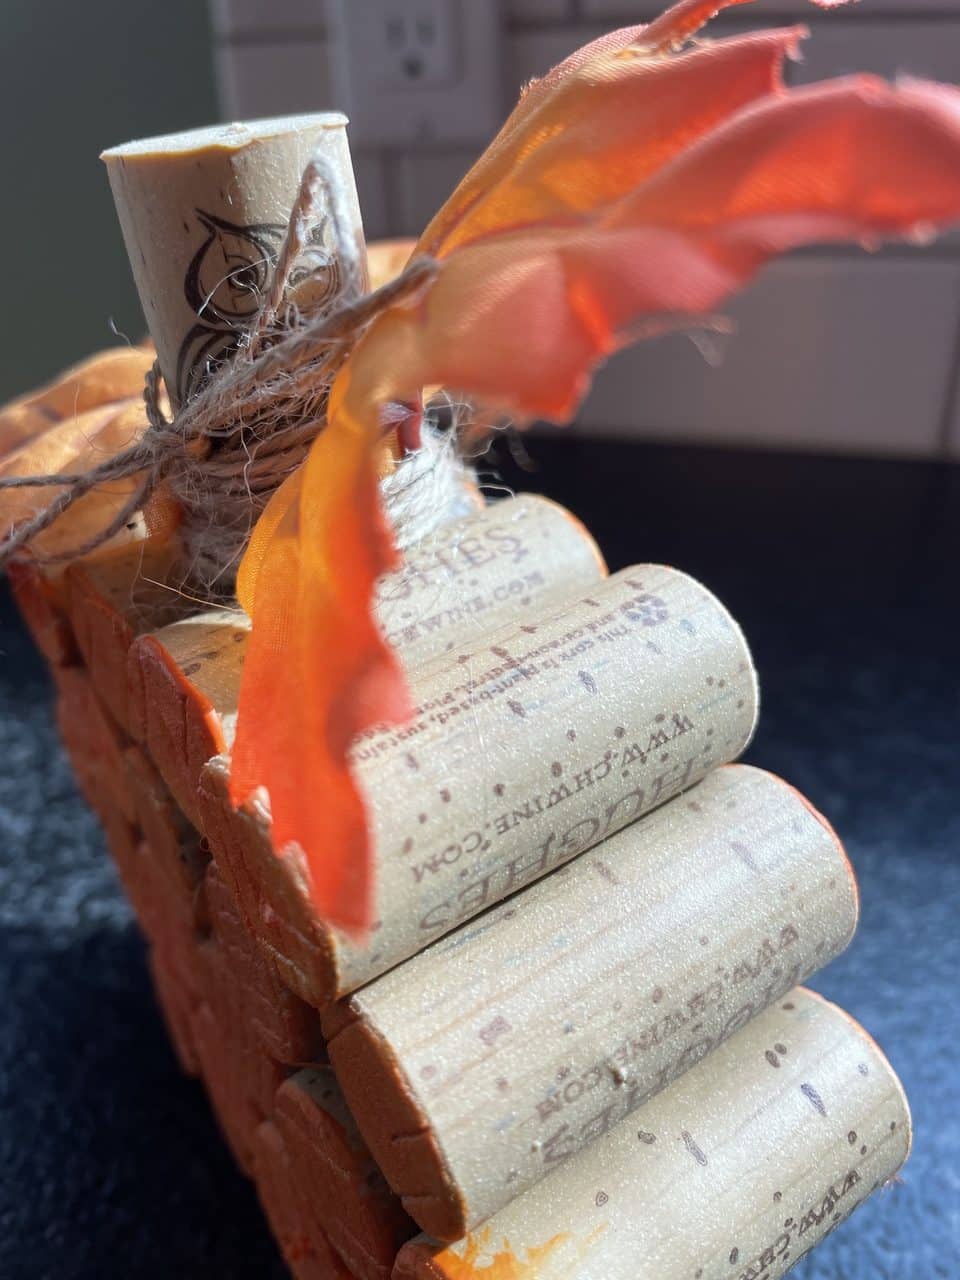
Wrap the cork with twine and tie a bow.
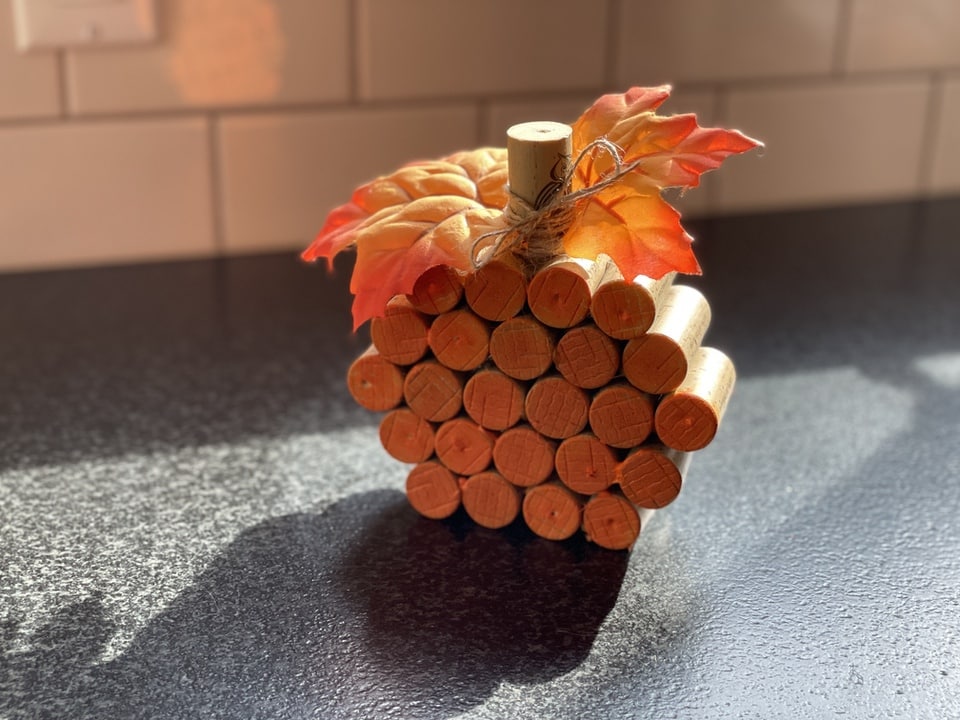
Voila! You’re finished, and this decoration looks ever so cute next to a wine bottle or rack. It doesn’t take up much room, and looks so homey. It’s a great way to use up old corks, and celebrate fall.
Publisher/Editor Barbara Baird is a freelance writer in hunting, shooting and outdoor markets. Her bylines are found at several top hunting and shooting publications. She also is a travel writer, and you can follow her at https://www.ozarkian.com. View all posts by Barbara Baird