Last month in my Red Dot Journey series, I described dry fire drills given to me by Brian Hill, owner and head coach at The Complete Combatant. For the third part of this series, I once again reached out to Brian Hill. This time, I asked him for suggestions on live fire, red dot optic drills.
Sponsored by Springfield Armory
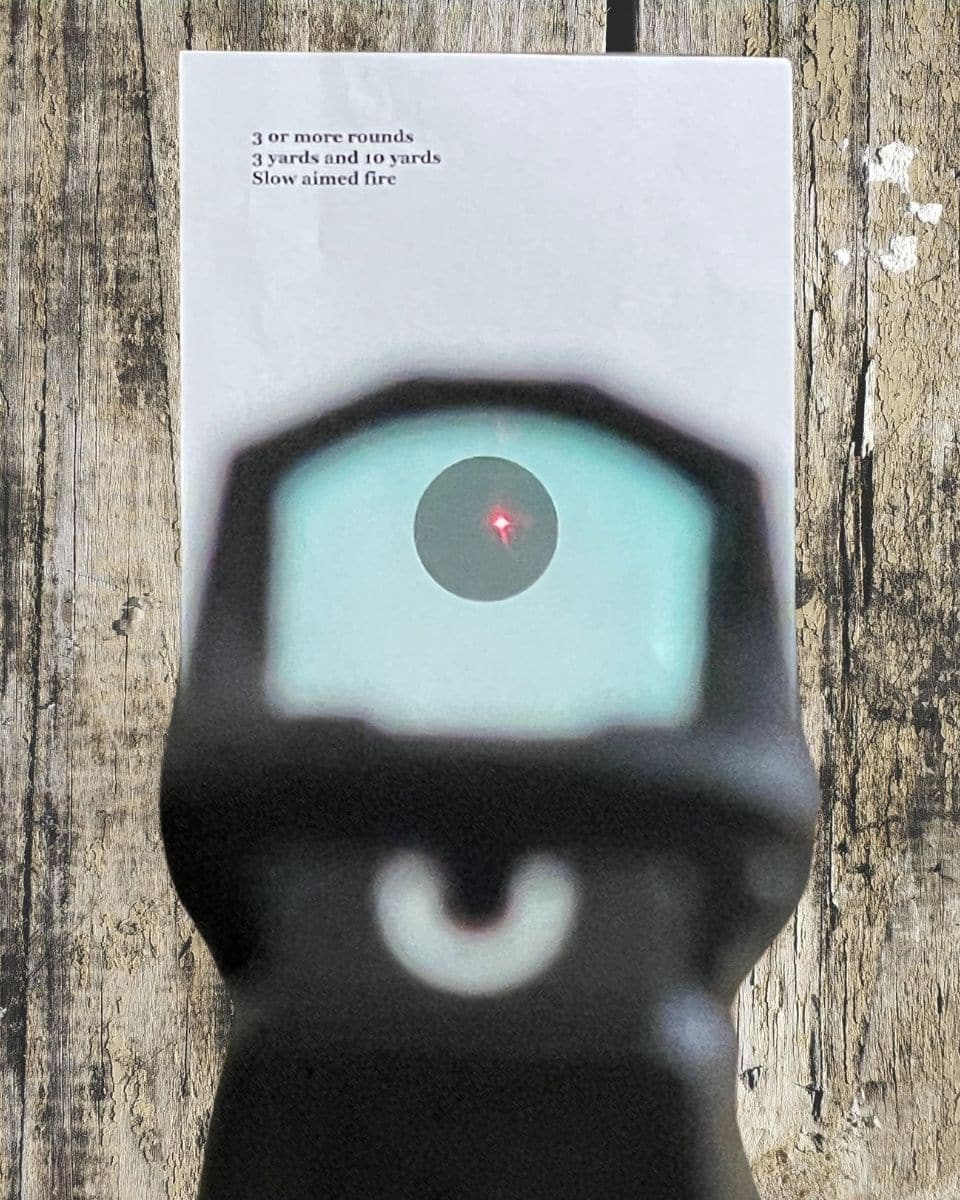
First, let me admit, staying target-focused is one of the biggest struggles I’ve had while attempting to switch from iron sights to a red dot optic. As with any person who shoots iron sighted pistols, I’m used to focusing on my front sight, through the window of the rear sight. This means my target is out of focus, just a blur behind the sights. When trying to shoot with my red dot, I sometimes have to repeat to myself, “Target, target, target!” as a reminder where to focus, while I’m extending my arms on a draw. (OK, sometimes I say it out loud.)

1. Zero the Dot and Yourself
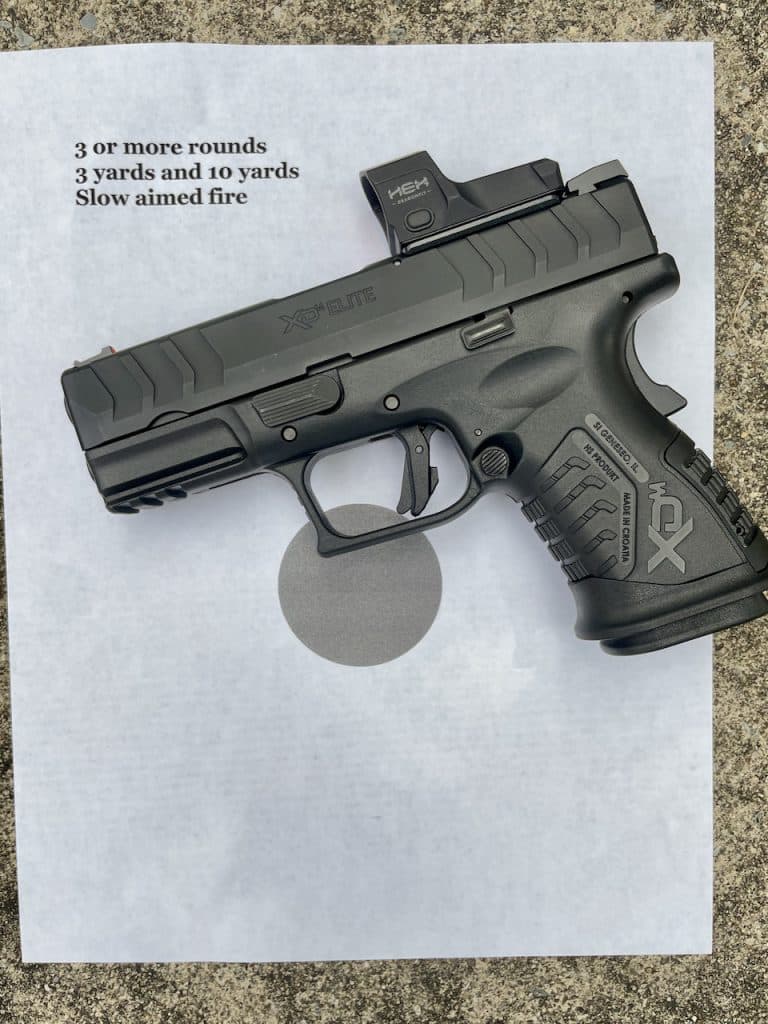
Target: 2-inch circle or square
Distance: 3 yards and 10 yards

Drill: Aim at the top edge of the target while gently pressing the trigger. Fire three (more if needed) good shots. The impact should be in the center of the target due to mechanical offset of the optic. If not, adjust your optic and/or eliminate any habits that may be moving the dot off-target. Confirm at 10-yards on the same size target; watch for the dot to lift from the center of the target.
Stay target-focused.
At 3 yards you should see a group of less than an inch. Then since 10 yards is roughly 3 times the distance, you should shoot a group of about 2 inches. If it is larger, look at the pattern. If the shots are all predominantly high, low, right or left, it may indicate a zero problem or a shooter problem.
2. Extended Prep and Press
Target: IDPA/USPSA down zero/alpha box (or any target)
Distance: 7 yards

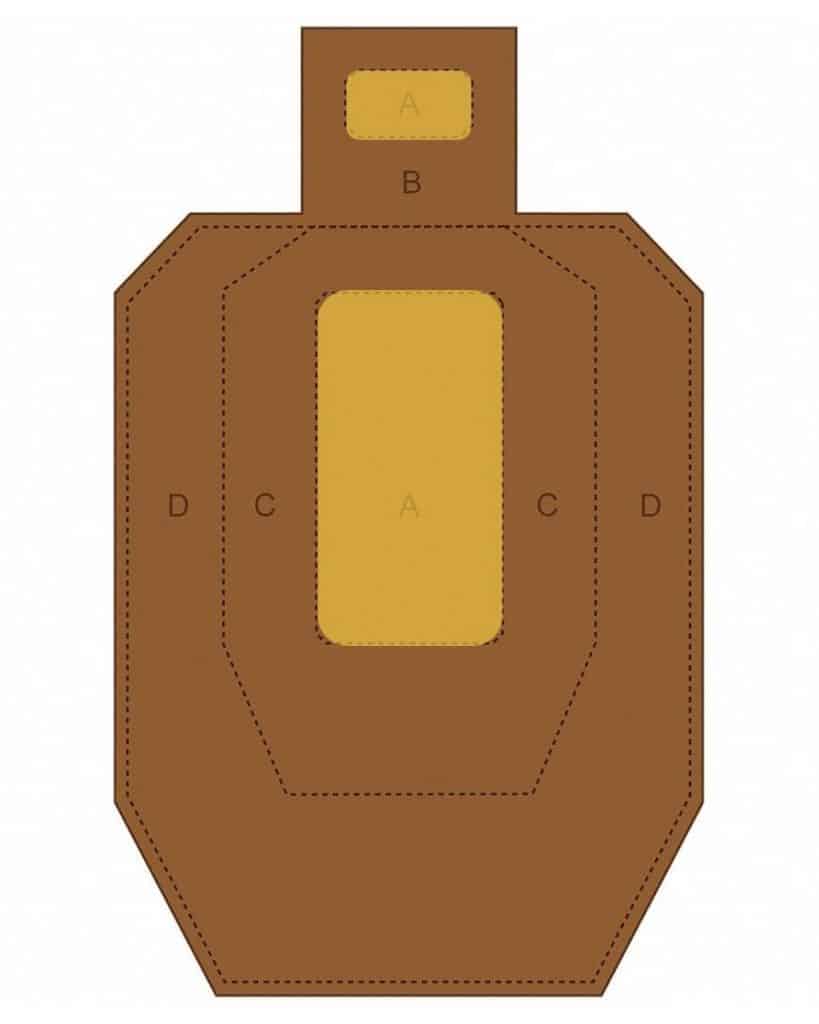
Drill: From the compressed position (solar plexus height, both hands on the gun, wrist at a natural angle), fire three rounds. Focus on the timing of prepping the trigger, dropping the dot down from the 12 o’clock position on the first shot, and using the proper mechanics of grip/posture to keep the dot in the window during recoil. Time the shooting decision to what you are seeing. Stay target-focused.
3. The Draw
Target: IDPA/USPSA
Distance: 5 yards
Drill: Begin with hands down or up in the fence position. Draw the pistol as quickly as possible with an emphasis on slowing your hands down at the end of the draw stroke to see the dot. Nothing should move except your hands. The dot is usually high, so downward grip pressure in the support hand will fix this problem. Be careful not move your head down as you draw, which impedes finding the dot. Stay target-focused.
As I mentioned in the beginning, shooting with a red dot optic is a big changer for those who usually use iron sights. I’m reiterating this to hopefully keep someone from getting frustrated during the process. If you are struggling, Brian Hill has this to say about diagnosing your target, “Your eyes will want to accommodate back to the dot because of your previous iron sight training. Shots that circle a target usually indicate dot focus.”

I know I have a lot of practice ahead of me. I’m actually going to work on my dry fire more before heading back to the range. Feeling comfortable and confident with how to run your gear is the most important of carrying a firearm. I feel confident in the gear, just not comfortable with how I run it.
Michelle Cerino, aka Princess Gunslinger, first entered the firearms industry in 2011 as co-owner, president and trainer at a national training company. She immediately began competing in both 3-Gun and NRA Action Pistol, becoming a sponsored shooter. Michelle is currently a columnist and Managing Editor of Women’s Outdoor News, as well as owner of Pervenio LLC. She also manages social media for Vera Koo and FASTER Saves Lives. Michelle encourages others to step out of the comforts of home and explore. View all posts by Michelle Cerino