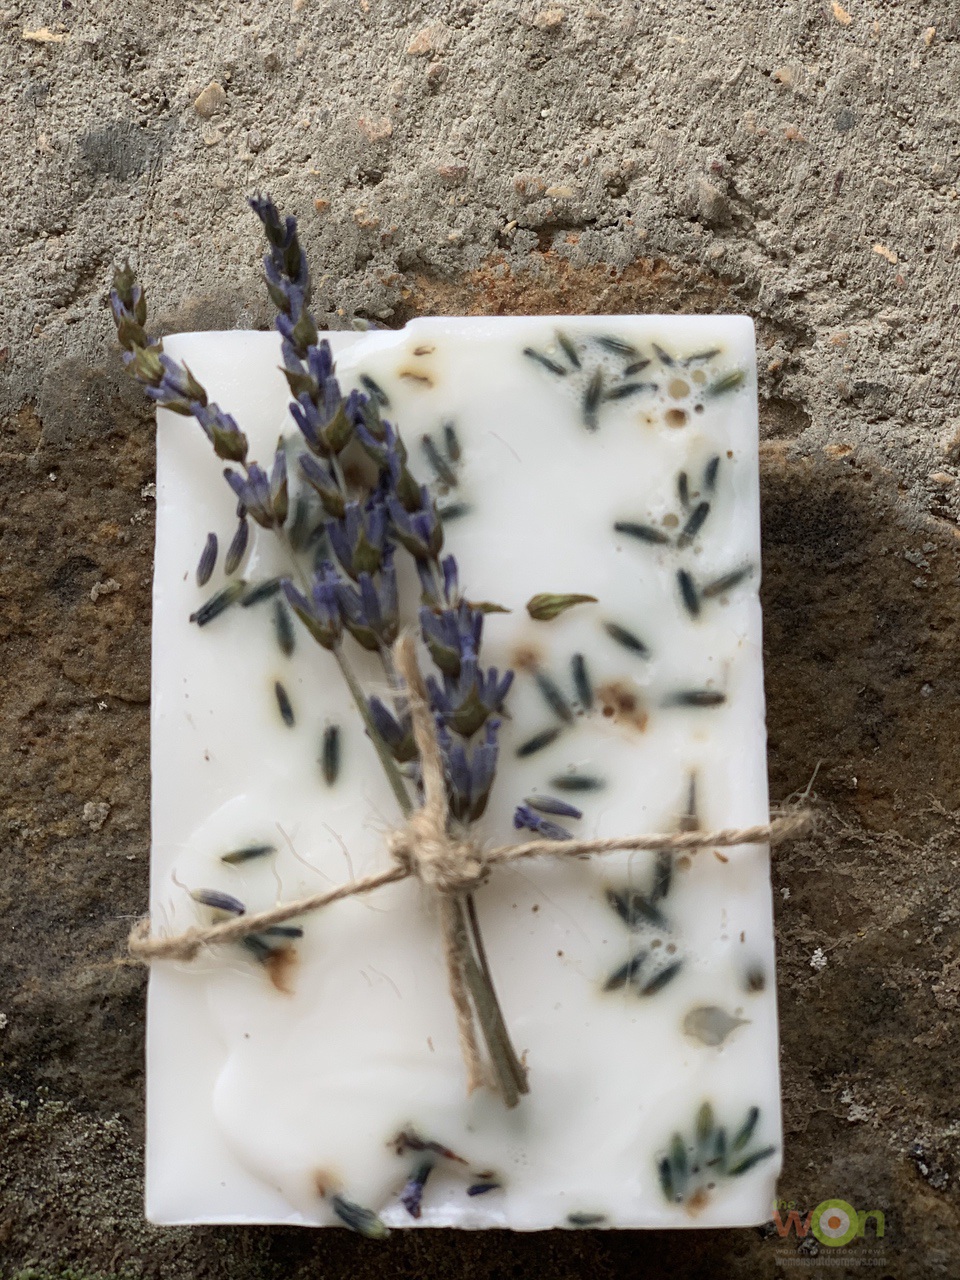
Whereas I used to sniff candles when out with my daughter shopping, I now prefer to sniff … soap. Making soap has become a popular cottage industry craft these days, and you can hardly go two aisles in any flea market, crafts fair or antiques mall without seeing someone’s version of homemade soap. Of course, it must be sniffed. I have been concocting lavender soap for years now, and although I have toyed with the idea of firing up the kettle and doing it the old-fashioned way, I prefer melting the already mixed soap blocks in my microwave, adding scent and buds to it and being done. It’s a great way to begin the process of making DIY lavender soap that my friends and family seem to enjoy.
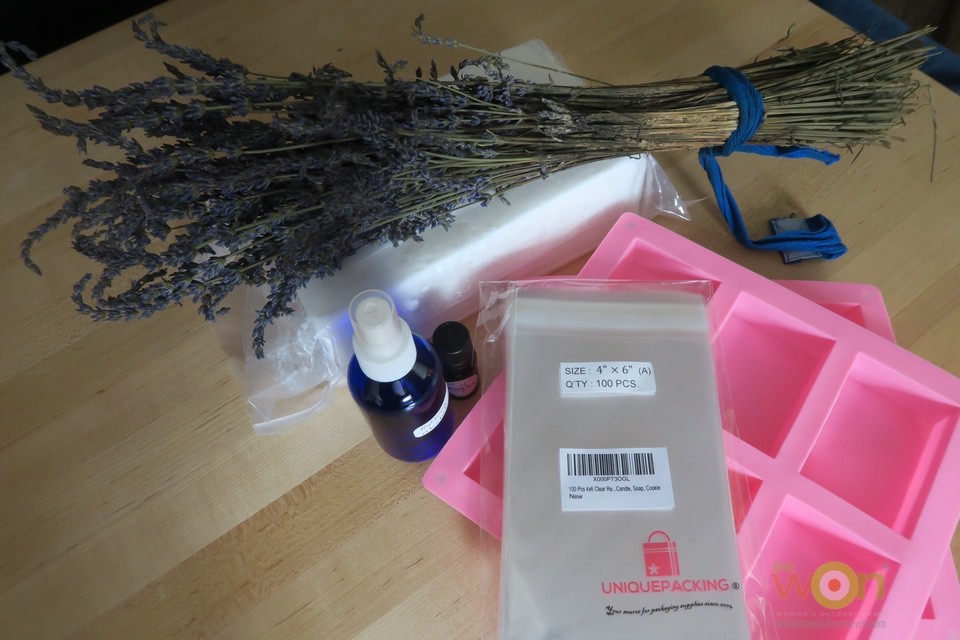
Here’s what you’ll need if you want to do this task:
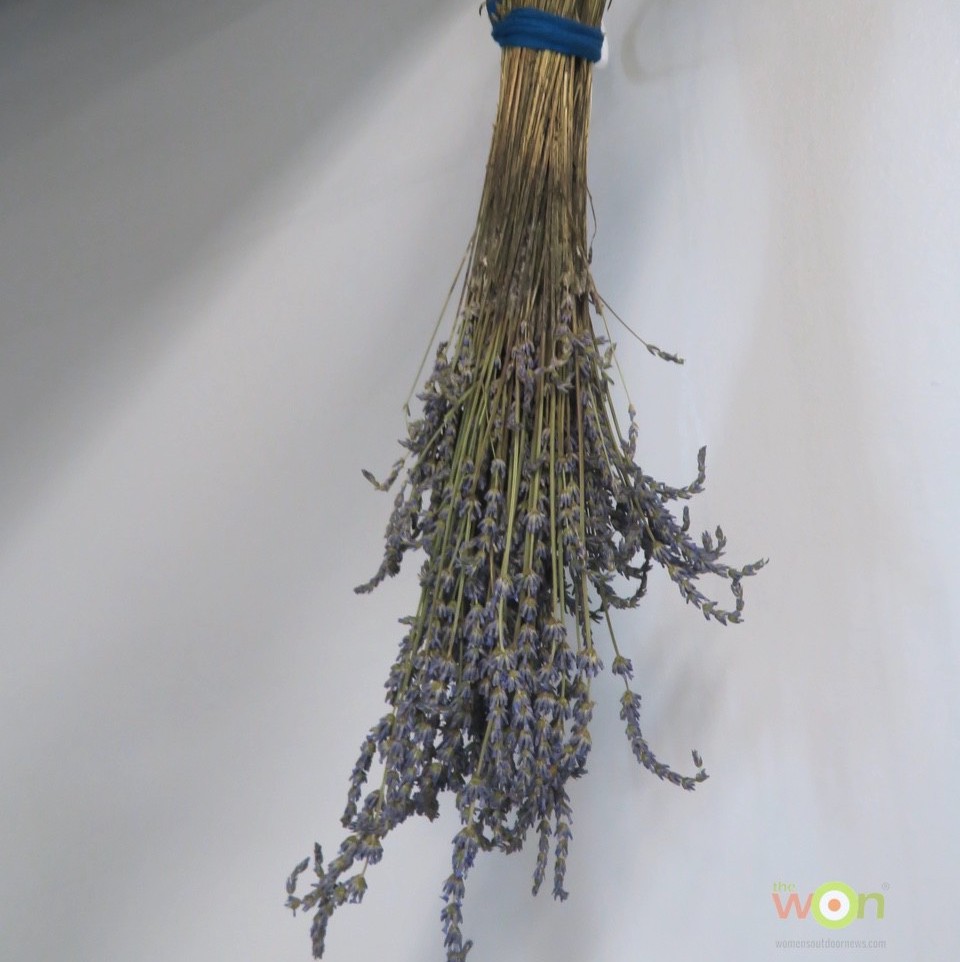
Dried lavender – I picked mine at Swank Lavender Farm last June. You can read about that outing here at my travel blog, “The Accidental Ozarkian.”
Essential oil – Logan Swank, from the aforementioned lavender farm, gave me a lovely little bottle of essential oil that he made.
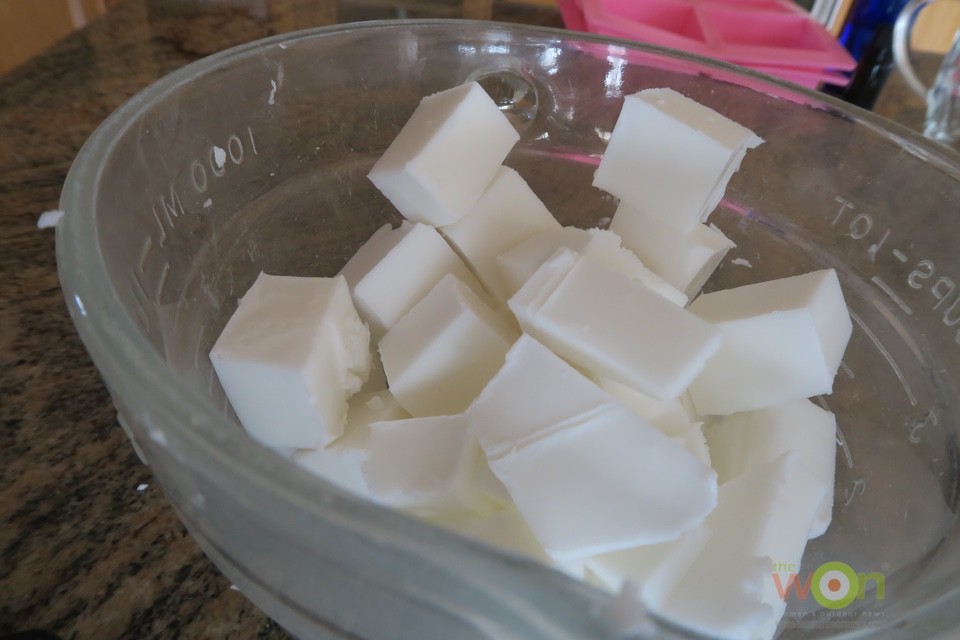
5 pounds Goats milk soap base ($29.87) Note: You may buy as many pounds as you want.
Silicon soap molds ($9.49) Note: I also purchased some silicon cupcake molds that I have used for soap making, too.
Glass bowl
Metal spoon
Cobalt blue medicine type bottle with spritzer for alcohol
99% rubbing alcohol
Cutting board
Sharp knife
Optional: Heat shrink gift bags
*About the essential oil, and the type you use. According to Lovely Greens, “In wash-off skin products like soap, you should use a maximum of 3% lavender essential oil by weight. This guideline was set down by the European Union and is there to protect us against skin reactions. Lavender essential oil, like all essential oils, is not ‘pure lavender’. It’s a complex mixture of natural phytochemicals including linalool and linalyl acetate. Some people can have severe reactions to these components which is why you shouldn’t exceed this a 3% usage.” For a one-pound batch, that’s about 3 teaspoons.
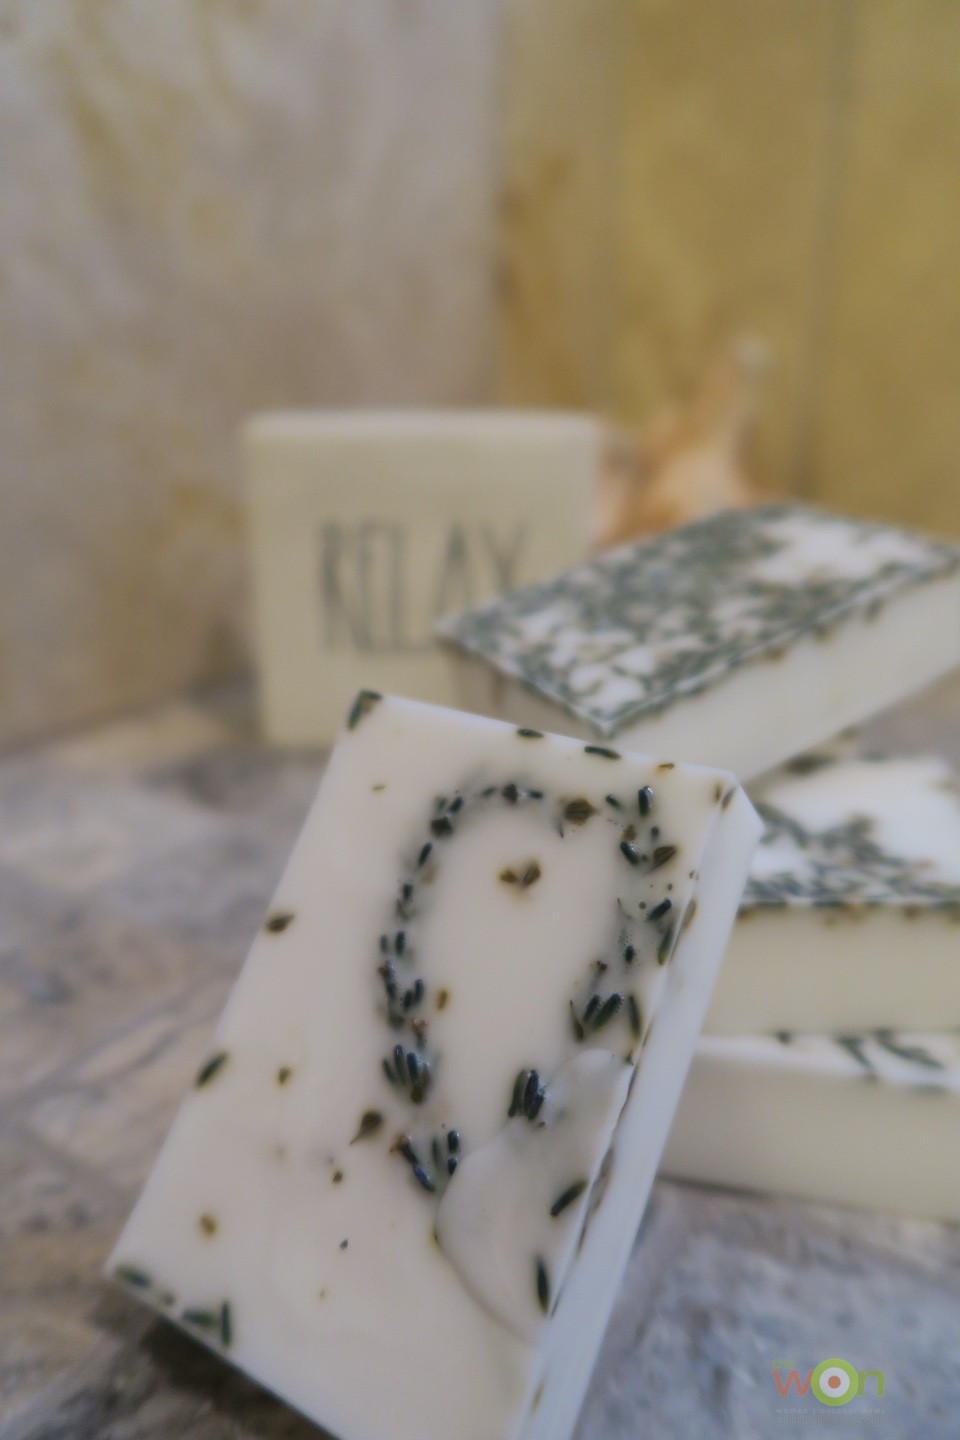
The expert at Lovely Greens is correct about lavender buds turning brown in the soap. This doesn’t really bother me, but she recommends that you can always press the lavender stems with buds into your soap about five minutes after the pour. Also, you should not submerge the entire stalk of lavender, just the underside that touches the soap.
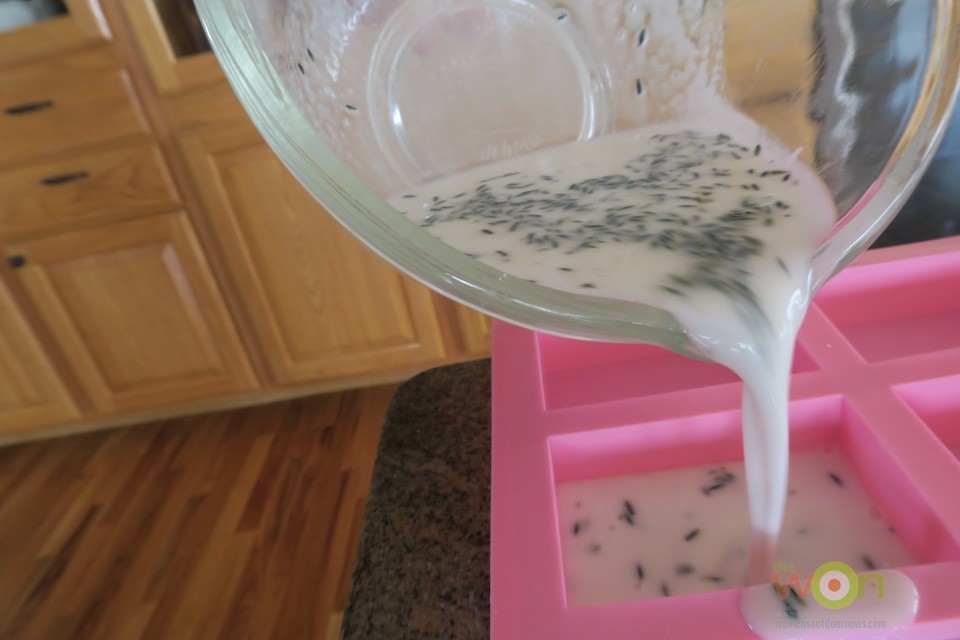
Or, you can allow the bars to “saponify” for 48 hours, which is a new word for me. Merriam Webster defines it as this: to hydrolyze (a fat) with alkali to form a soap and glycerol. After 48 hours, spray the tops with alcohol, then sprinkle the lavender buds on the top and spray with alcohol again. Saponification should happen. (See what I did there?)
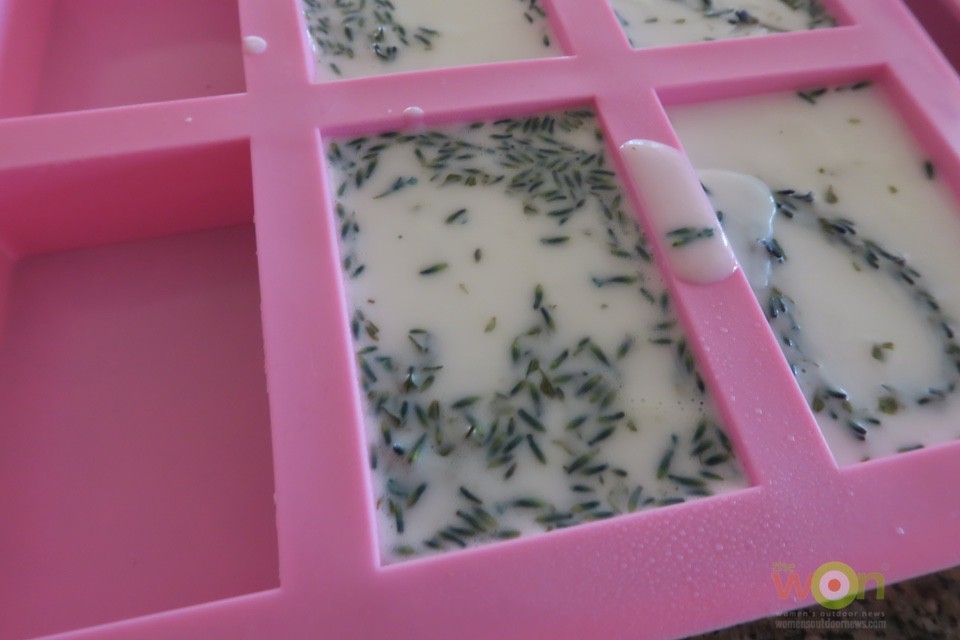
The Soap Queen says spritzing soap with 99% isopropyl alcohol is a rule to follow with melt-and-pour soap, especially. It pops any air bubbles and keeps new bubbles from forming. However, you don’t want to over-spritz. And, she indicates that if you only have 70% alcohol, that’s fine, but she prefers the hardcore stuff. Spritz it after you pour it.
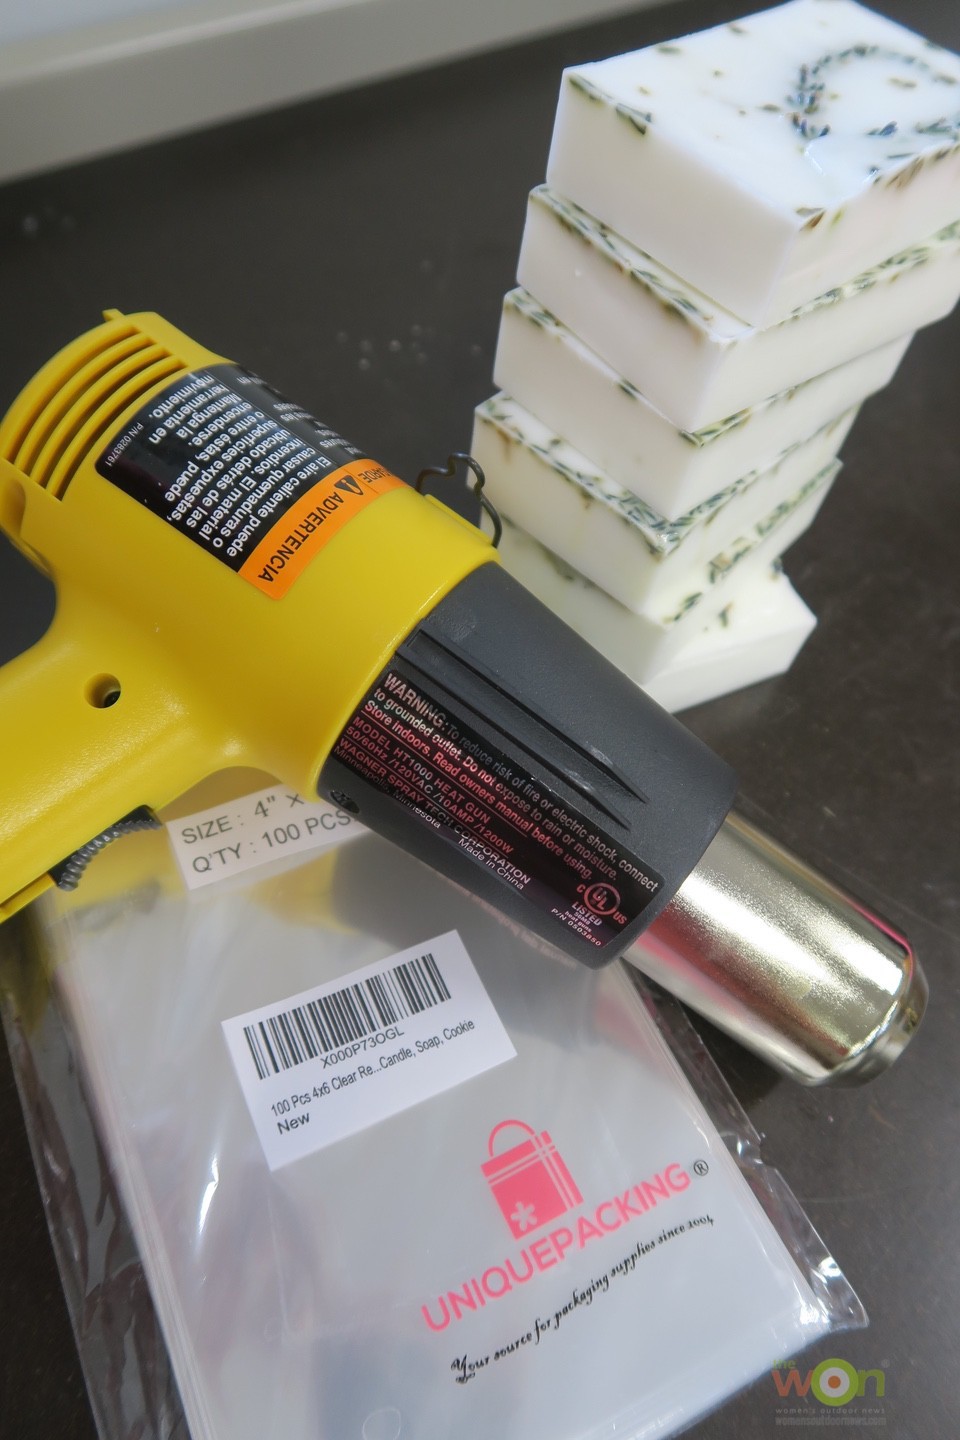
For packaging, you can do so many things … wrap your soap in paper, wrap with a band of paper and twine or use a heat shrink wrap bag. If you opt for the heat shrink bag, you just pop the soap into the bag and use a hair dryer or other type of dryer to make the bag shrivel around the soap. If your soap is smaller than the bag, cut the bag size down. Start at the front of the soap and work your way around. Do the ends last.
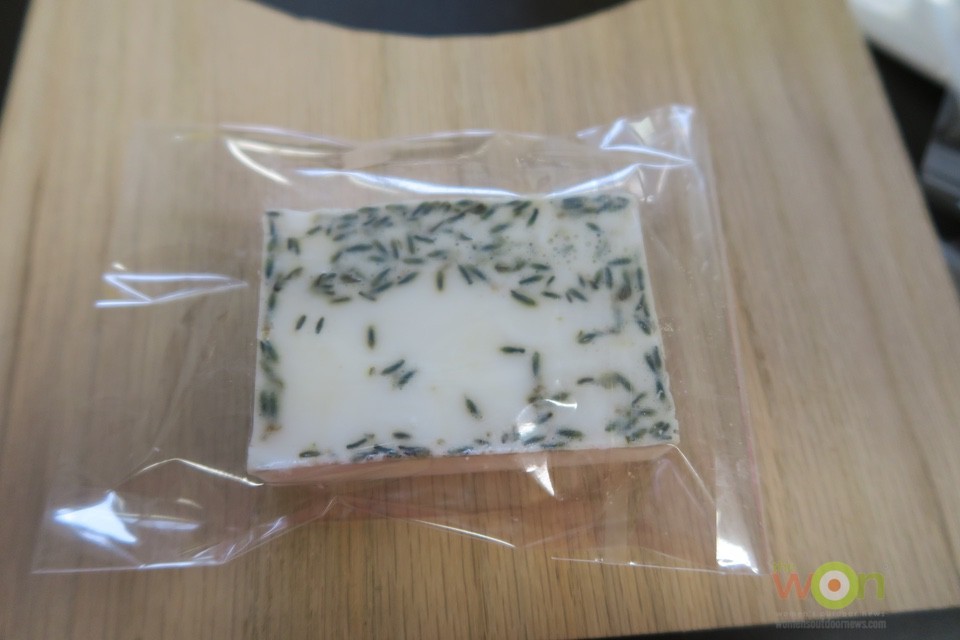
One pound yielded four bars of soap.
Publisher/Editor Barbara Baird is a freelance writer in hunting, shooting and outdoor markets. Her bylines are found at several top hunting and shooting publications. She also is a travel writer, and you can follow her at https://www.ozarkian.com. View all posts by Barbara Baird