Just like people, ARs come in many shapes and sizes. They vary in weight, with options for a variety of different optics and other accoutrements. Some people add bipods and vertical grips, while others may add lasers and lights. Regardless of what your AR looks like, fundamentals, once learned and put into practice, make shooting it easier. These are some tips for shooting your AR.
Sponsored by Springfield Armory
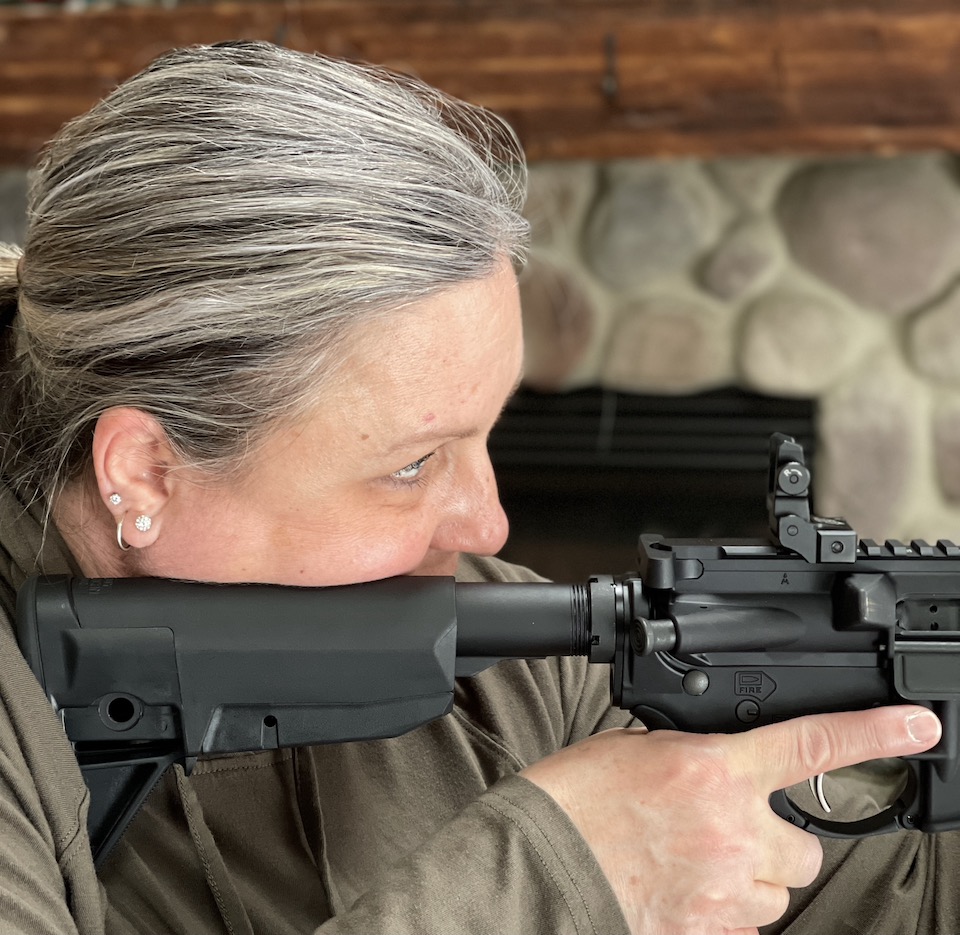
1 Strong hand – Fires the rifle and also pulls it rearward into your upper body.
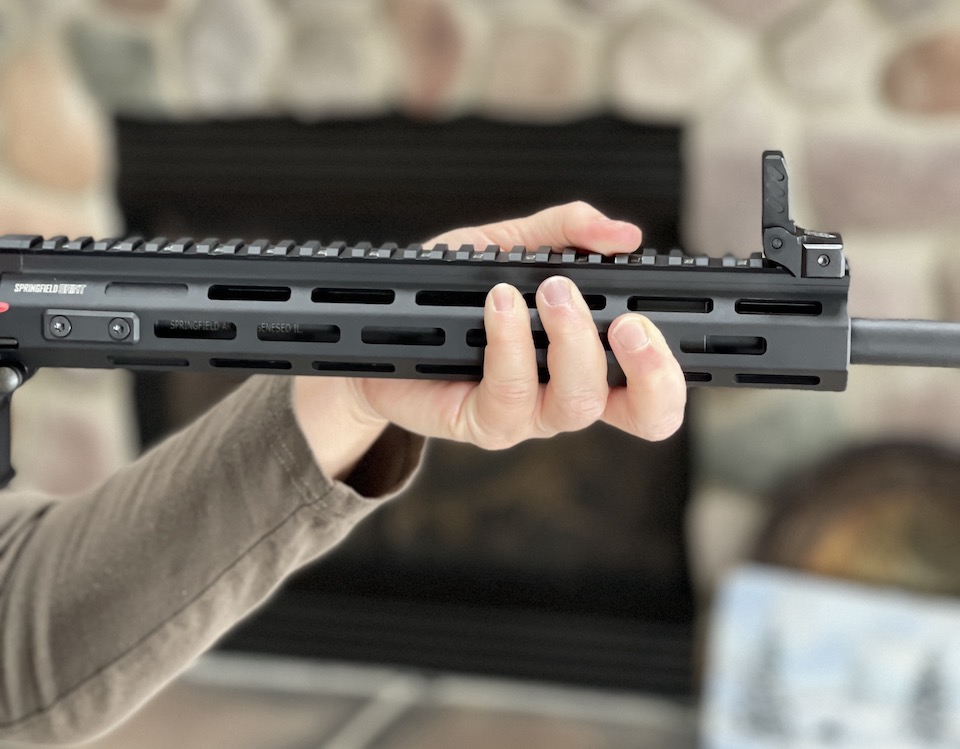
2 Support hand – Stabilizes the weight of the gun. I prefer to take my hand out farther on the hand guard and wrap my thumb on the top. Some people like to bring their support hand in closer, near the magazine well.
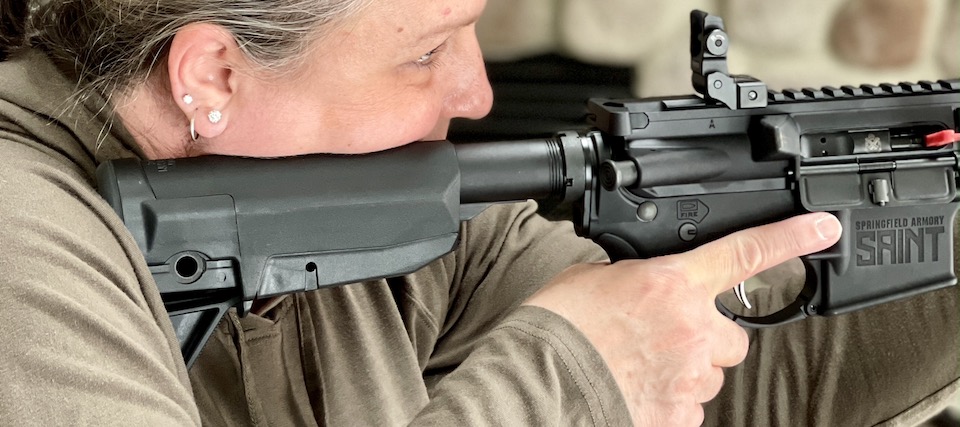
3 Buttstock — The toe of the buttstock should be high on your strong side pectoral. Try this … grab a handful of your pectoral, from your armpit to your chest. Where thumb lands is generally where the toe of the buttstock should touch.
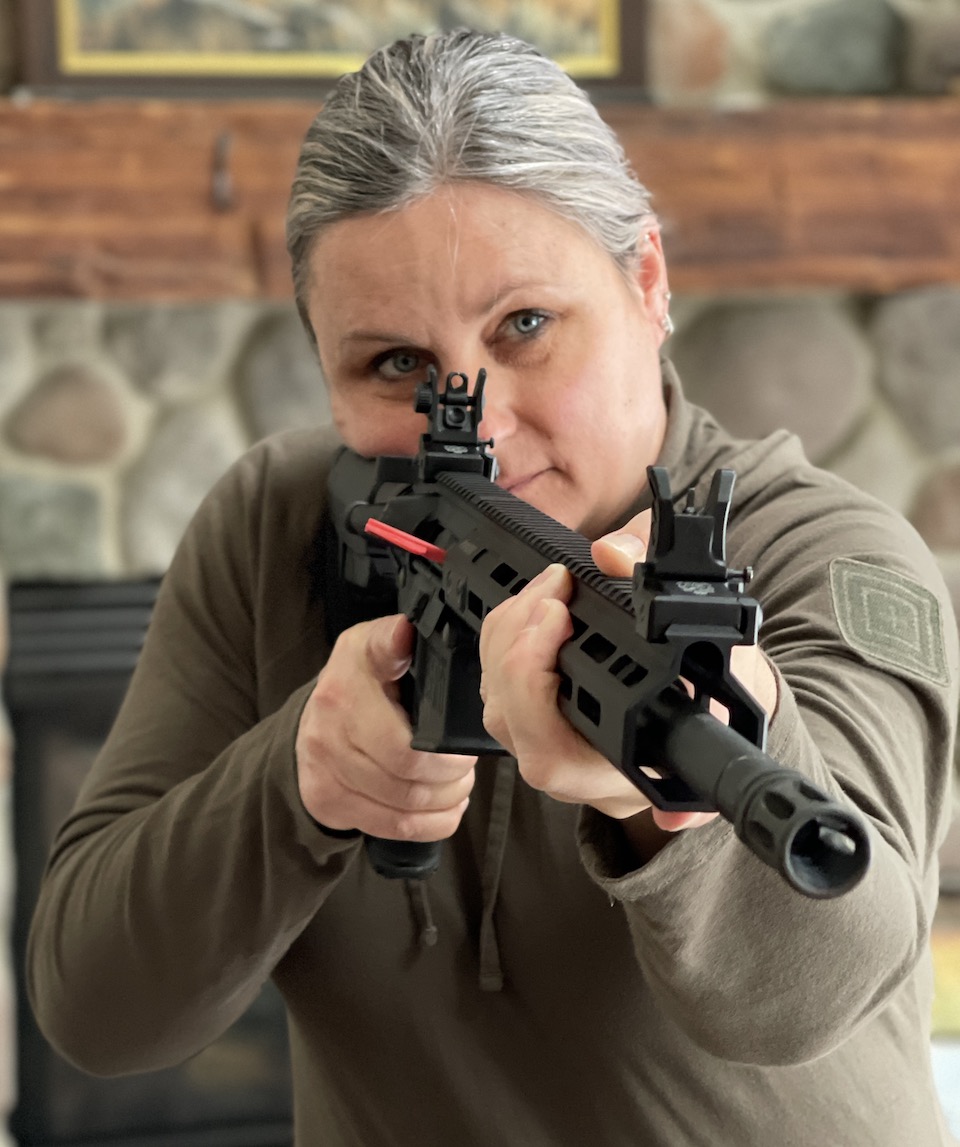
4 Cheek weld — Your cheek rests on top of the stock. The actual spot is a little different for each shooter depending on the eye relief required for the type of sights in use.
Most action shooters prefer to have their elbows down since it takes more exertion to keep them up; in addition, the small caliber low-recoil AR renders the elbow-up position unnecessary.
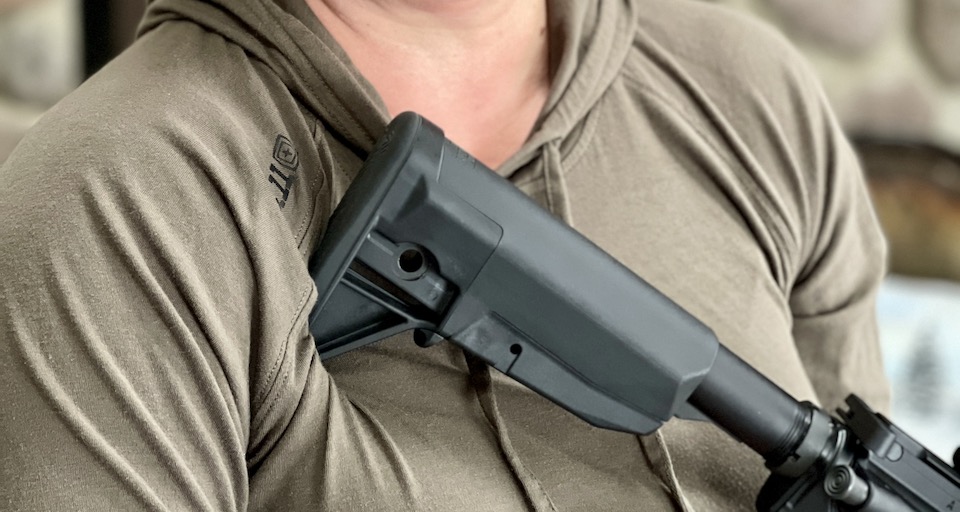
Holding a gun with your elbows down helps create economy of motion when mounting an AR to your shoulder. Use the toe of the buttstock like a hinge against your pectoral. Simply roll the gun up until the stock meets your cheek, bringing the sights in line with your eye. Eventually this movement becomes natural, based on your kinesthetic awareness, much like mounting a shotgun for wingshooting. Eventually it just begins to feel right. Although you may have to make some minor adjustments along the way, the more you practice this correctly, the smoother and more efficient your movements become.
Note that the strong side elbow up position is for shooting large caliber, heavy-recoiling rifles because this position forms a natural pocket between the shoulder and pectoral muscles. This pocket better captures the rifle’s buttstock, distributes the recoil across a larger surface, and keeps the buttstock in place during recoil. Be sure not to use your AR technique for mounting a large caliber weapon.
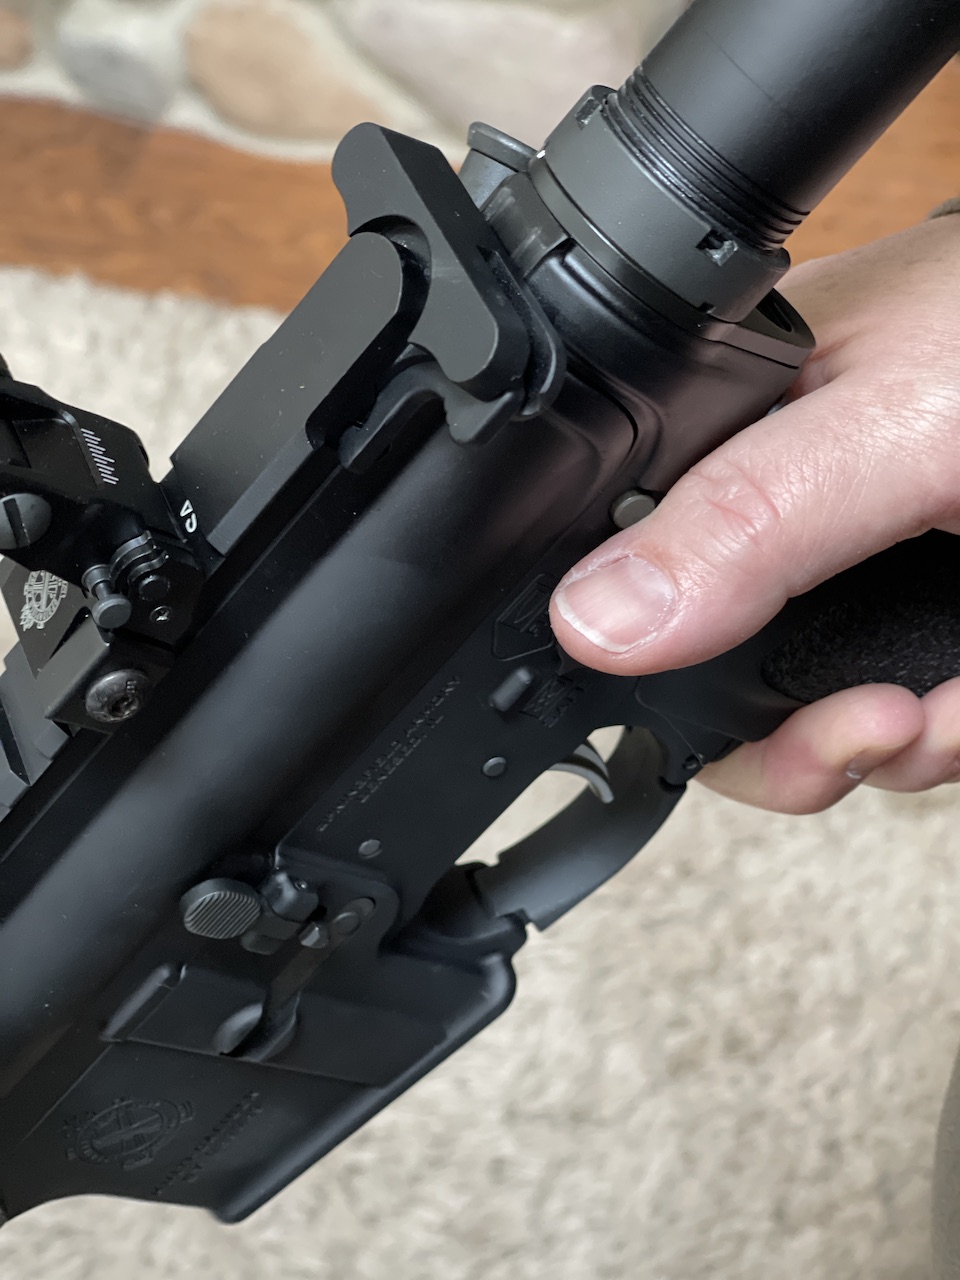
Now for the safety. Just like with a 1911, the safety on an AR should be manipulated every time you come off target. When my feet are moving and I’m not actively engaging targets, my safety is on. If you trip over a root during a match (as I have) and face plant, you’ll want your safety on. If you can’t reach the safety with the thumb of your strong hand without changing your grip, consider replacing it with an enlarged safety switch.
Consider this mantra, “The thumb lives on the safety.”
This is a form of kinetic awareness. I know what it “feels like” when my safety is both on and off. Running the safety on my AR has become an automatic motor program for me, something I don’t have to think about.
Take the time and become comfortable using the four points of contact with your AR. Find out where you need to place your support hand for maximum control. Determine where the buttstock of the gun should come in contact on your body. Practice engaging and disengaging your safety. Like with anything else, the more you practice properly, the smoother you will become and the faster you will get.
For information more information on ARs read the previous article, Getting to Know the Pieces and Parts of ARs here.
Michelle Cerino, aka Princess Gunslinger, first entered the firearms industry in 2011 as co-owner, president and trainer at a national training company. She immediately began competing in both 3-Gun and NRA Action Pistol, becoming a sponsored shooter. Michelle is currently a columnist and Managing Editor of Women’s Outdoor News, as well as owner of Pervenio LLC. She also manages social media for Vera Koo and FASTER Saves Lives. Michelle encourages others to step out of the comforts of home and explore. View all posts by Michelle Cerino