It’s the talk of this Christmas season for those who love to star gaze. The Christmas star – a conjunction of the planets Saturn and Jupiter – appeared closest together and looking like a big star, on the Winter Solstice, Dec. 21. For that reason, we thought we should include a star craft in this series, and what better than Scandia, Modern Farmhouse, simple wooden-beaded Christmas star decorations?
Actually, it’s believed that 2,000+ years ago, the planets Venus and Jupiter (not Saturn and Jupiter) closed in distance and created the famous Christmas star, visible during the time of Jesus’ birth. This year, 2 other planets (Saturn and Jupiter) will so close that our eyes, they will look like 1 big star.
According to an article in The Guardian, Saturn and Jupiter get near each other every 20 years, but in this case, these 2 planets haven’t been this close to each other since 1623.
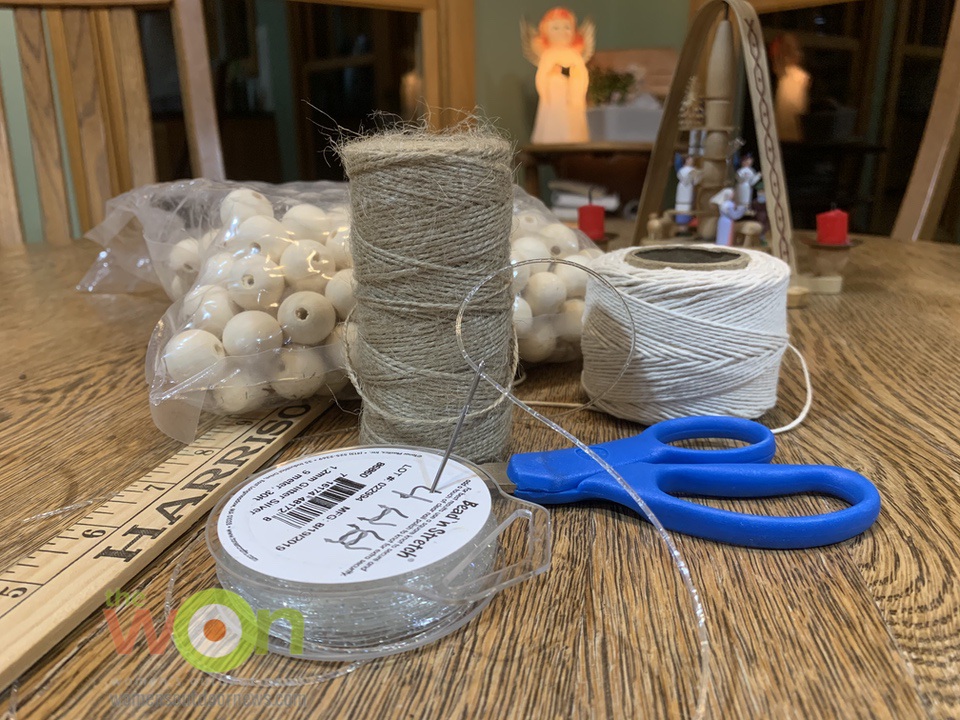
Measure 3 ½ feet of twine. The instructions I found online also indicated that you could use stretchy elastic (such as you use for jewelry making). I like the look of the rustic twine and found it threaded easier through the beads. I believe it would be easier for kids to work with the composition of the twine.
Thread the twine through a large-eyed needle. Put a big knot in one end of the twine.
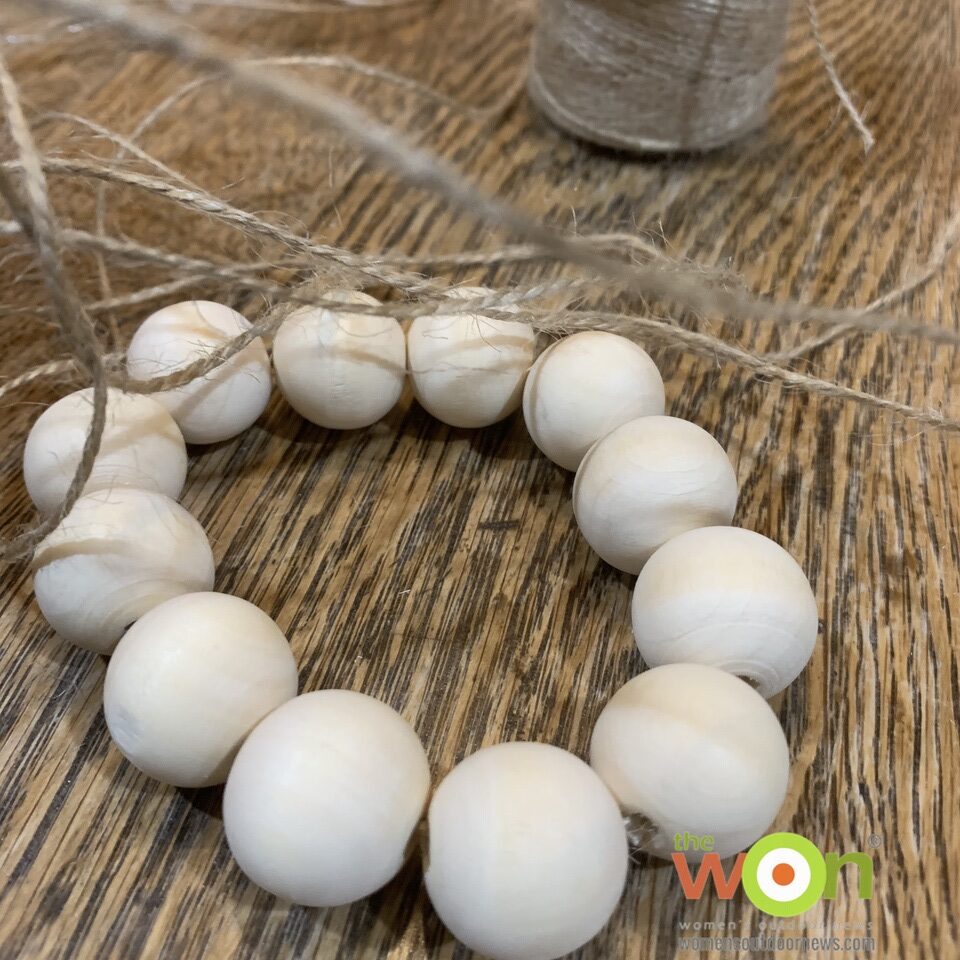
Add 12 beads for a 6-point star to the twine and shift them to the knot end. Wrap the beads into a circle wreath.
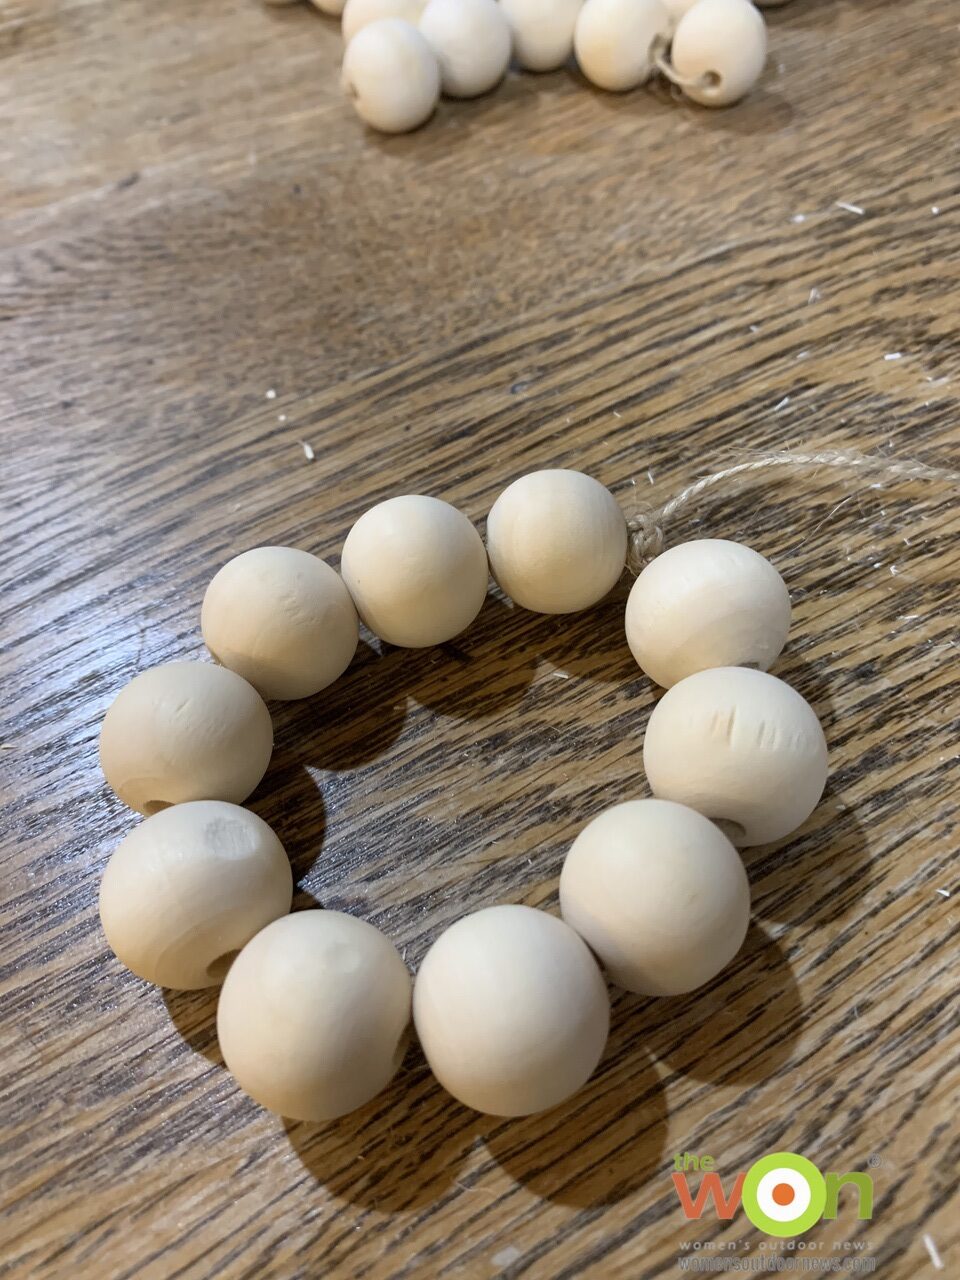
Do the same thing, but only add 10 beads for a 5-point star. Follow the same directions, but don’t use as many beads. You can figure it out.
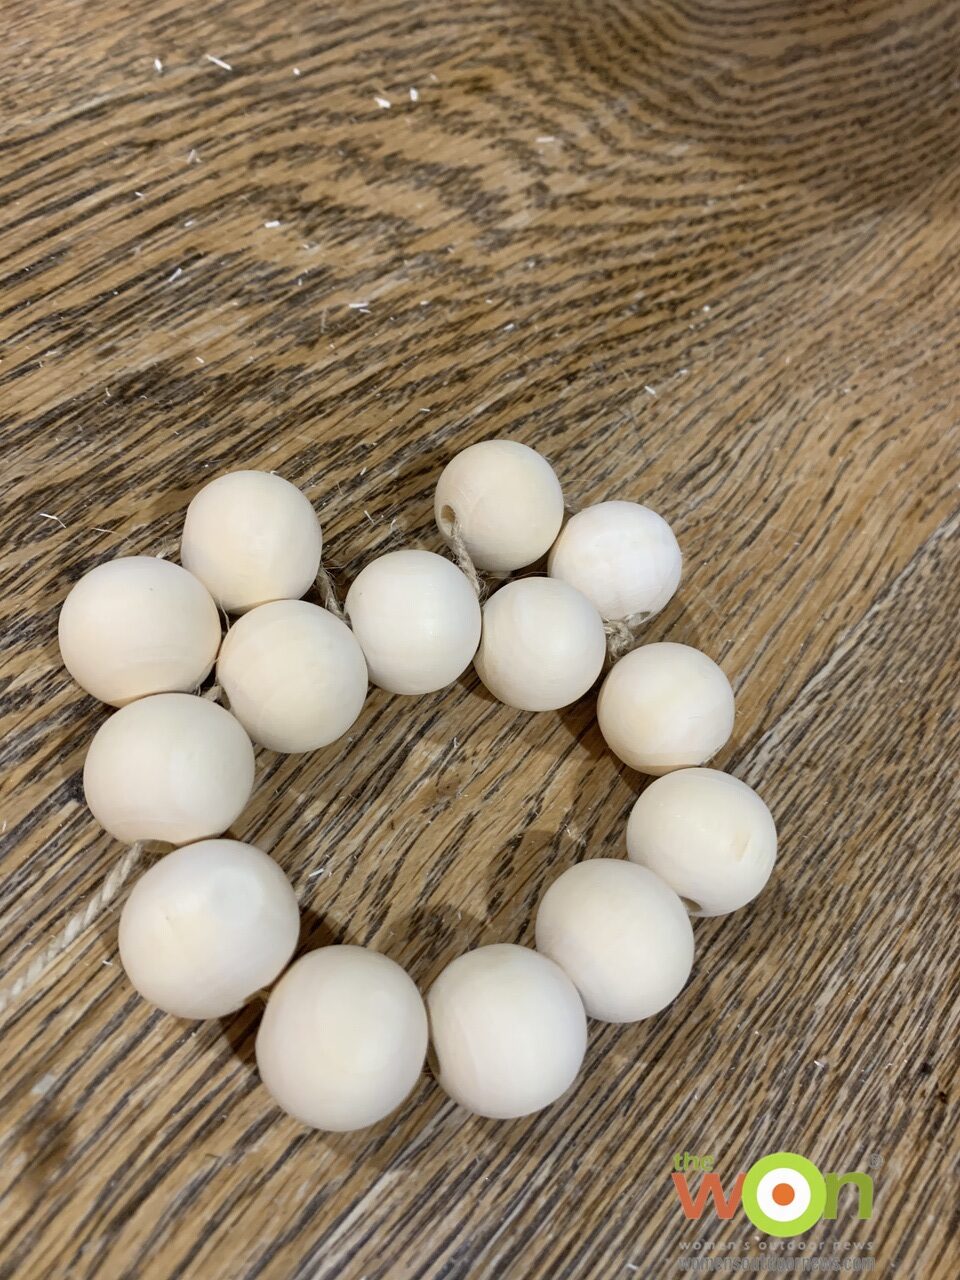
Now, poke the needle through the knot at the top of the circle of beads. Get ready to add 12 more beads around the circle, but in pairs.
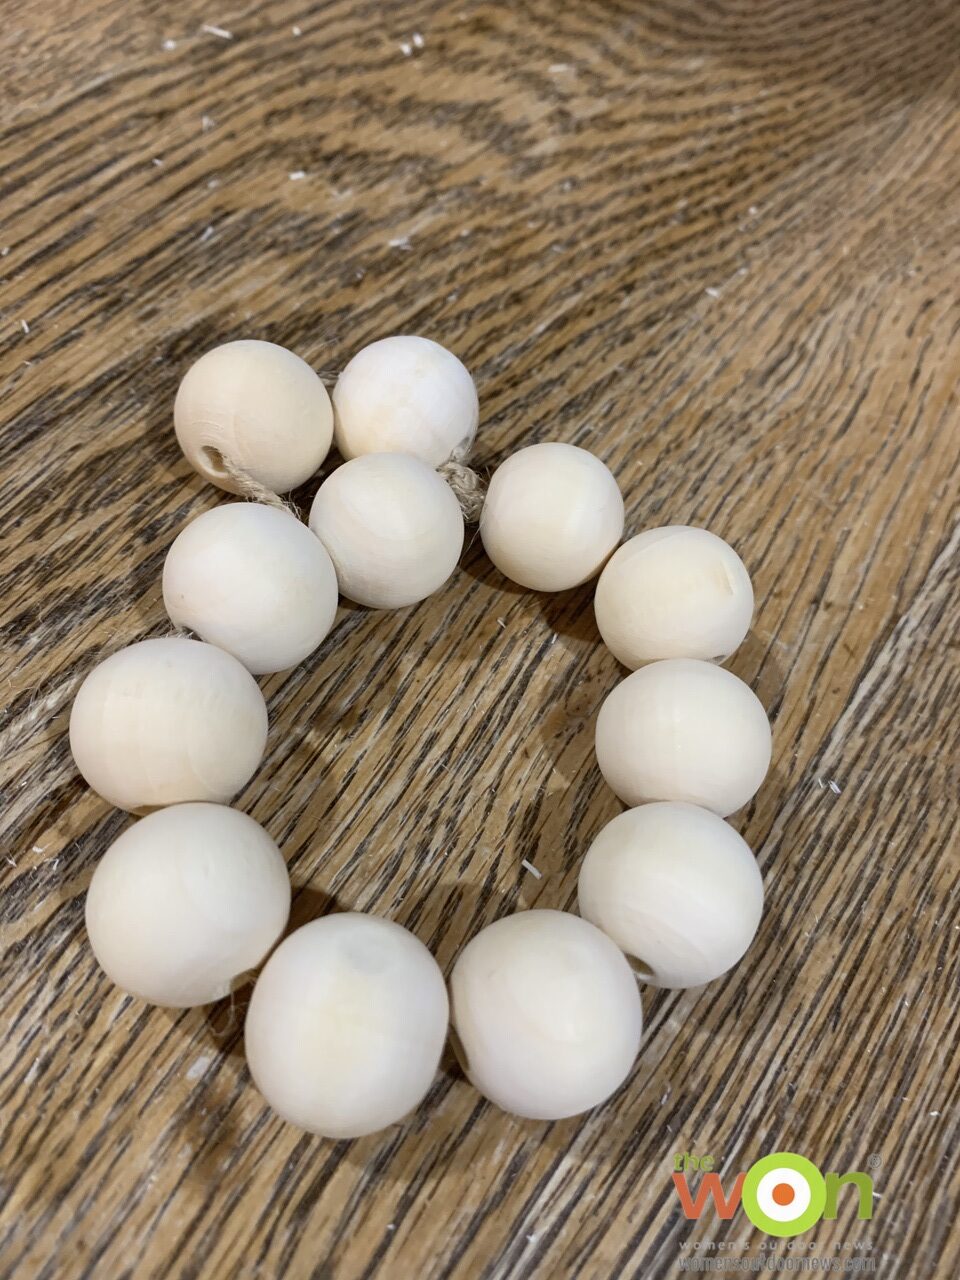
After you pull up the twine, thread 2 beads. Then skip a bead and insert the needle through the next bead and pull up. Add 2 more beads and repeat for a total of 5 times. Repeat 4 times for 5-pointer.
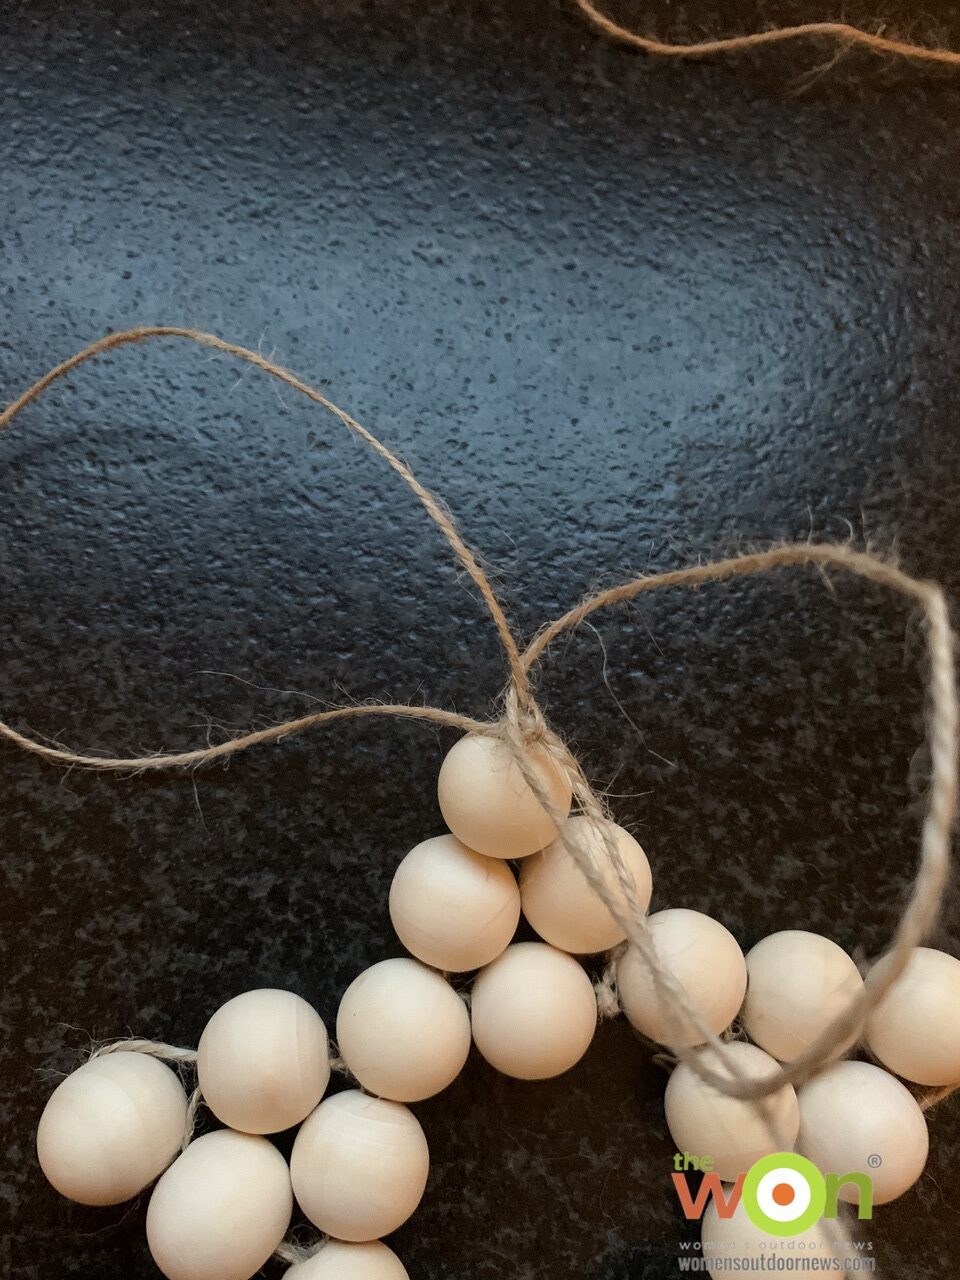
When you get around the circle, it’s time to finish and add the star tips – which means 1 bead to top off every set of 2 beads.
I kept running the needle through 2 bead holes, skipping 1 bead and aiming to top off each set of 2 beads. You’ll actually run the needle through another bead to get to the top to make the tip, making a total of 3 holes to traverse with that needle for each star tip.
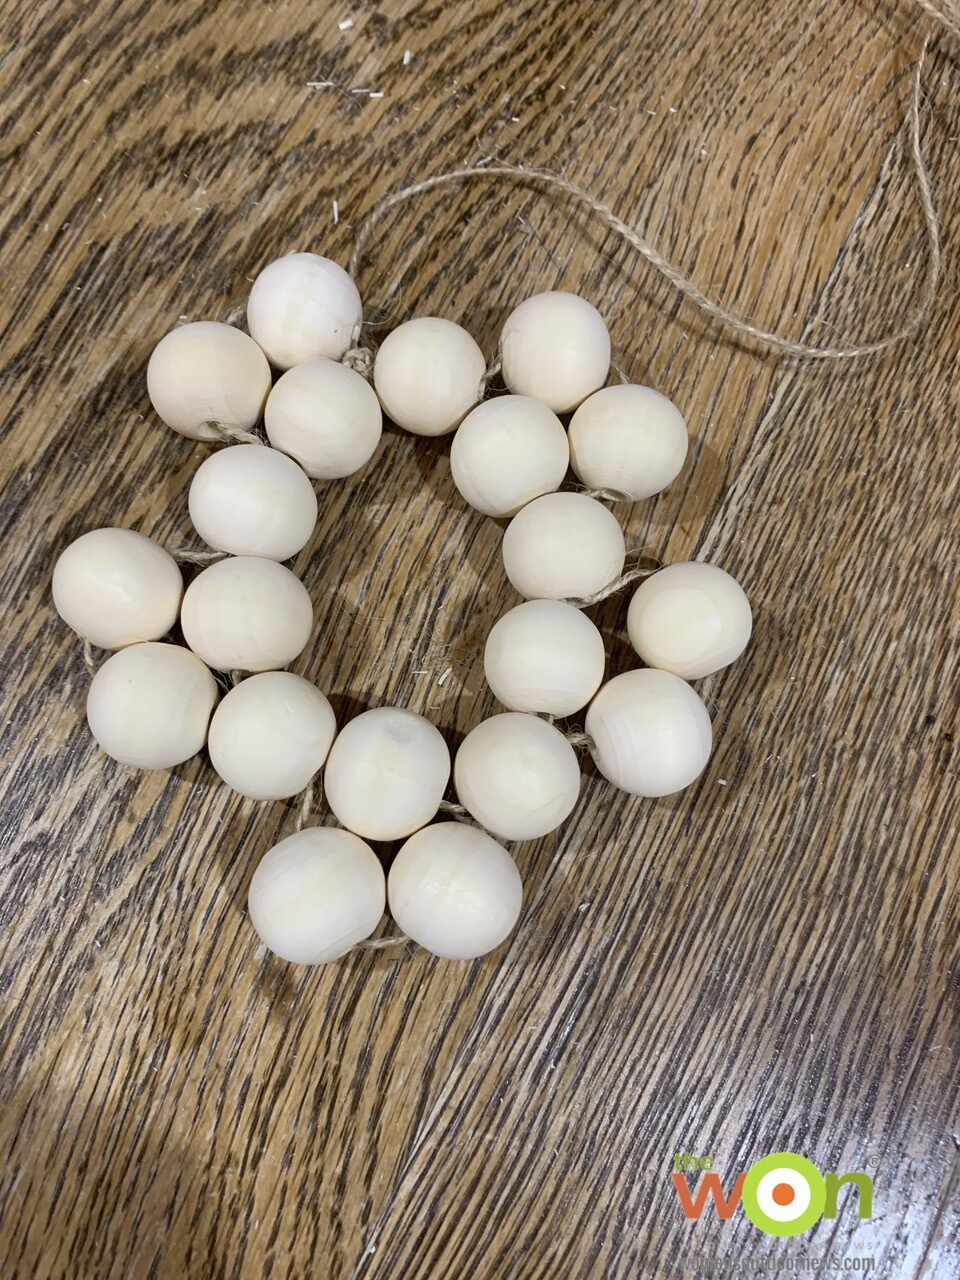
If your needle is long enough, you should be able to head through 3 beads, but you can break it up for what you have on-hand for threading purposes.
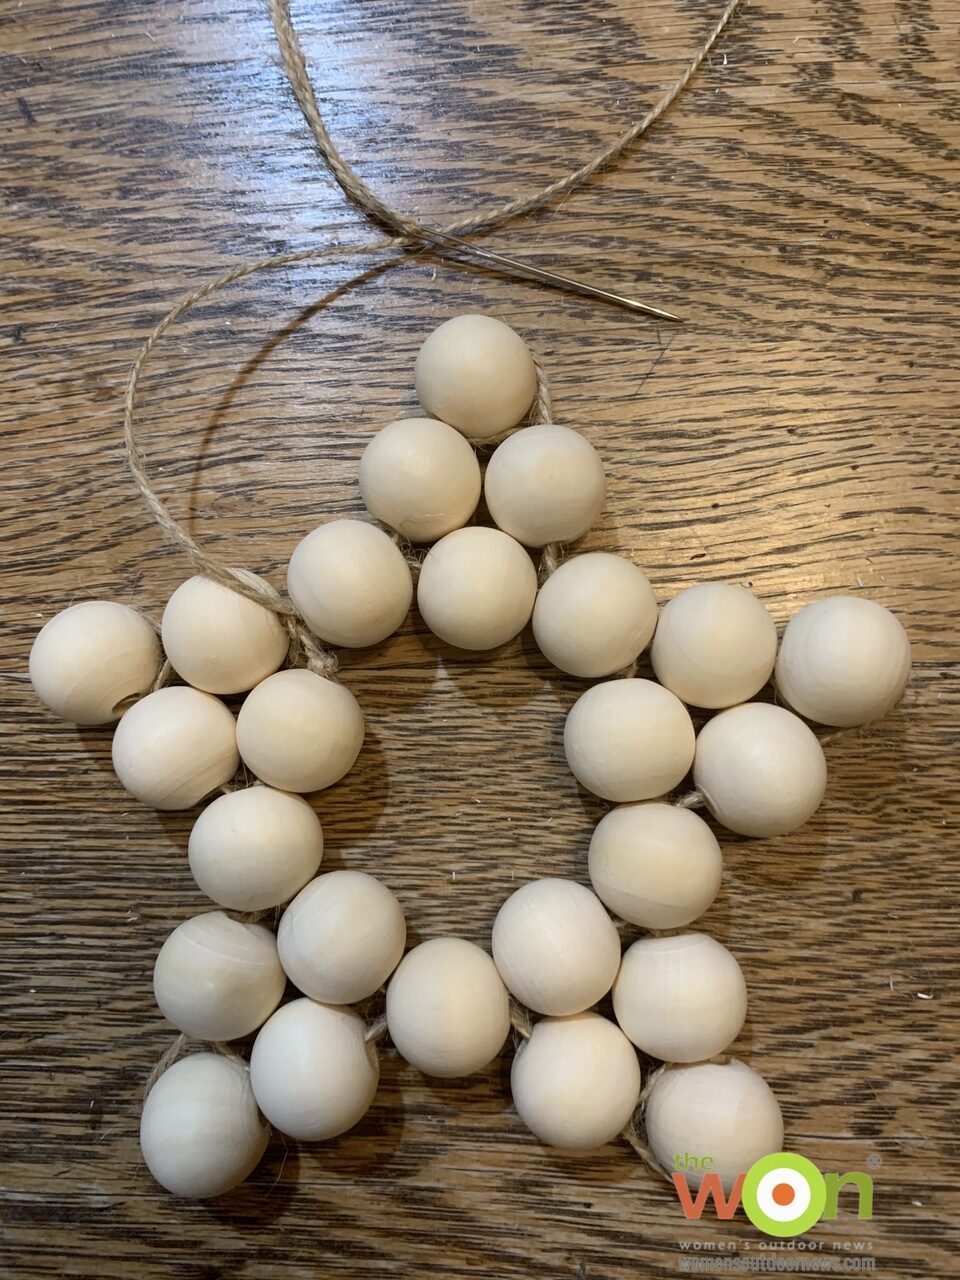
You’ll see what you need to do and discover the pattern.
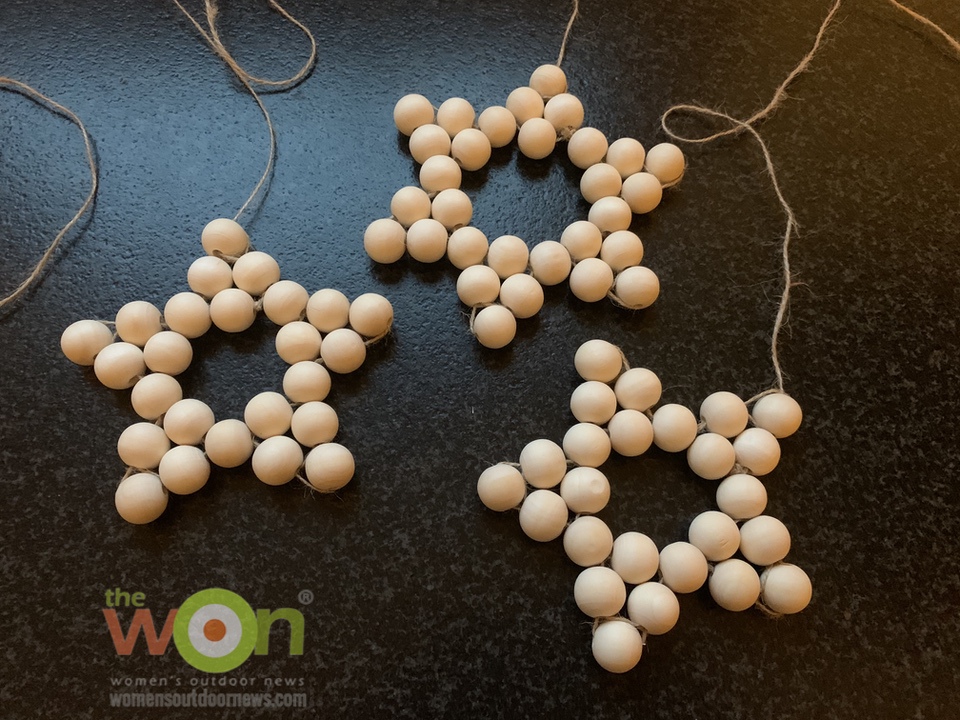
When you complete the circle, thread the needle through to the top tip, and knot it. You can either loop it and make stronger knots for hanging, or add ribbon or some other decorative look.
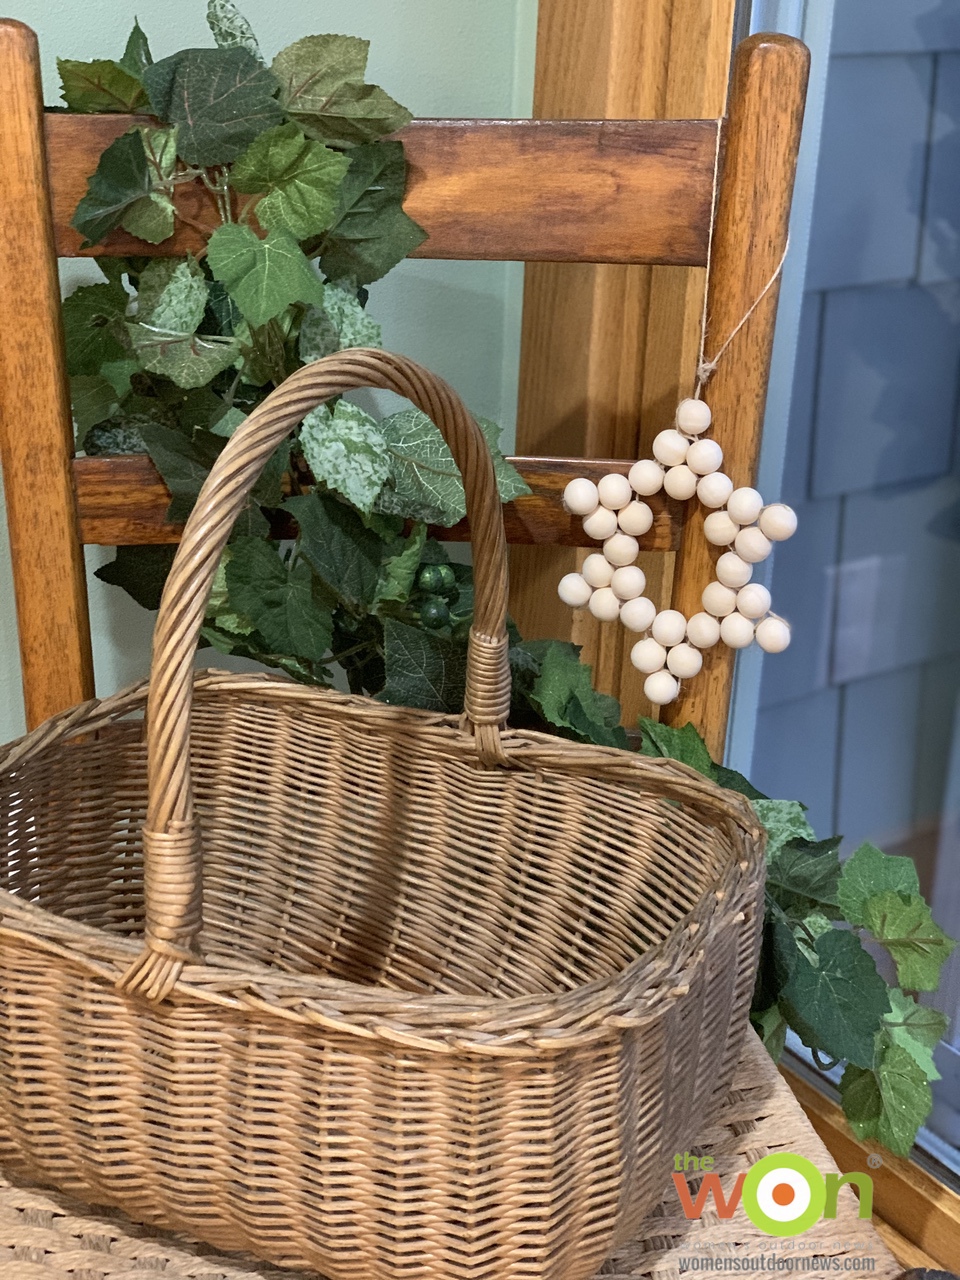
I found making these stars somewhat therapeutic, as I counted and added beads to make a simple star. I look forward to teaching my grandchildren how to make them in the future. For children, it reinforces sequences and patterns, and in no time, they will have created a chunky star that not only symbolizes the meaning of Christmas, but also adds to their family’s Christmas décor. Believe me, years later, when the pitter patter of little feet go away, you’ll appreciate Christmas crafts made by tiny hands of Christmas’s past.
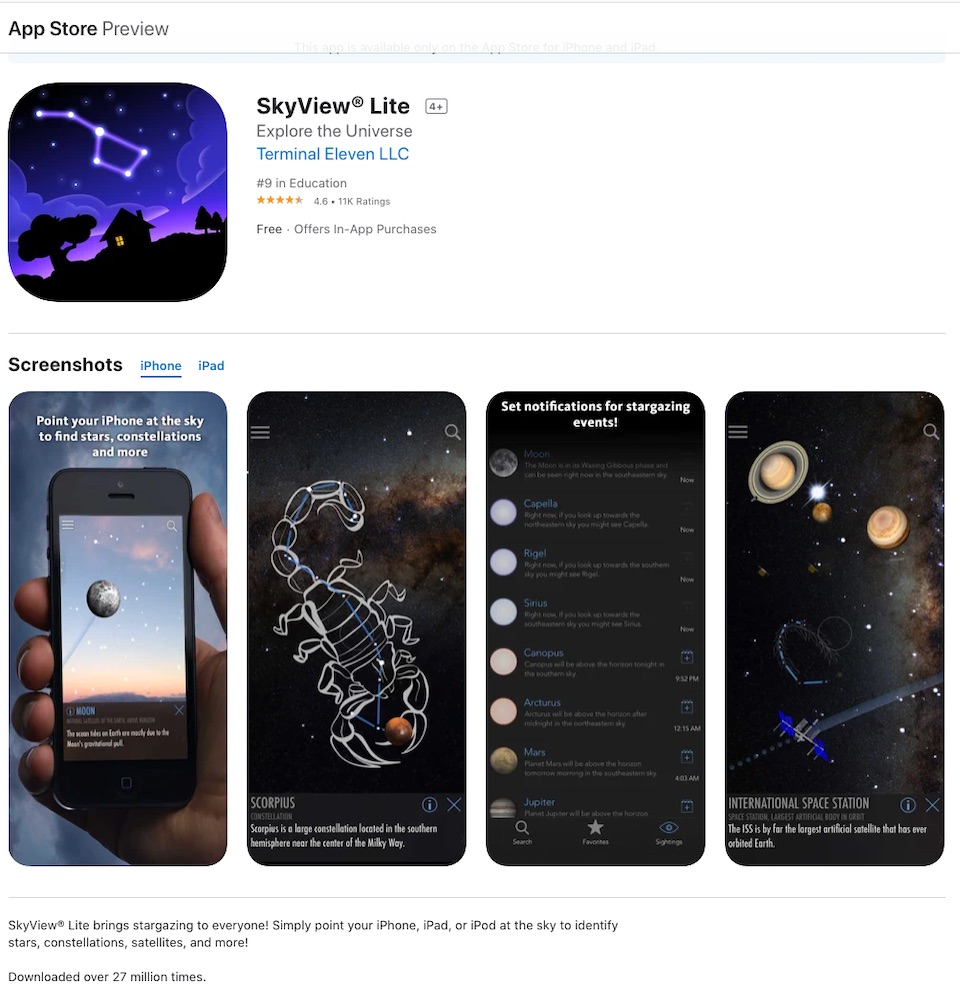
If you didn’t get out to see the Christmas star yet, do not fear. There’s still plenty to see in the sky. Perhaps you’d enjoy this app, SkyView Lite, that my sister told me about. Not only does it offer notifications regarding stargazing events, but you can point your phone or iPad at the sky and it will identify the constellations, satellites and planets.
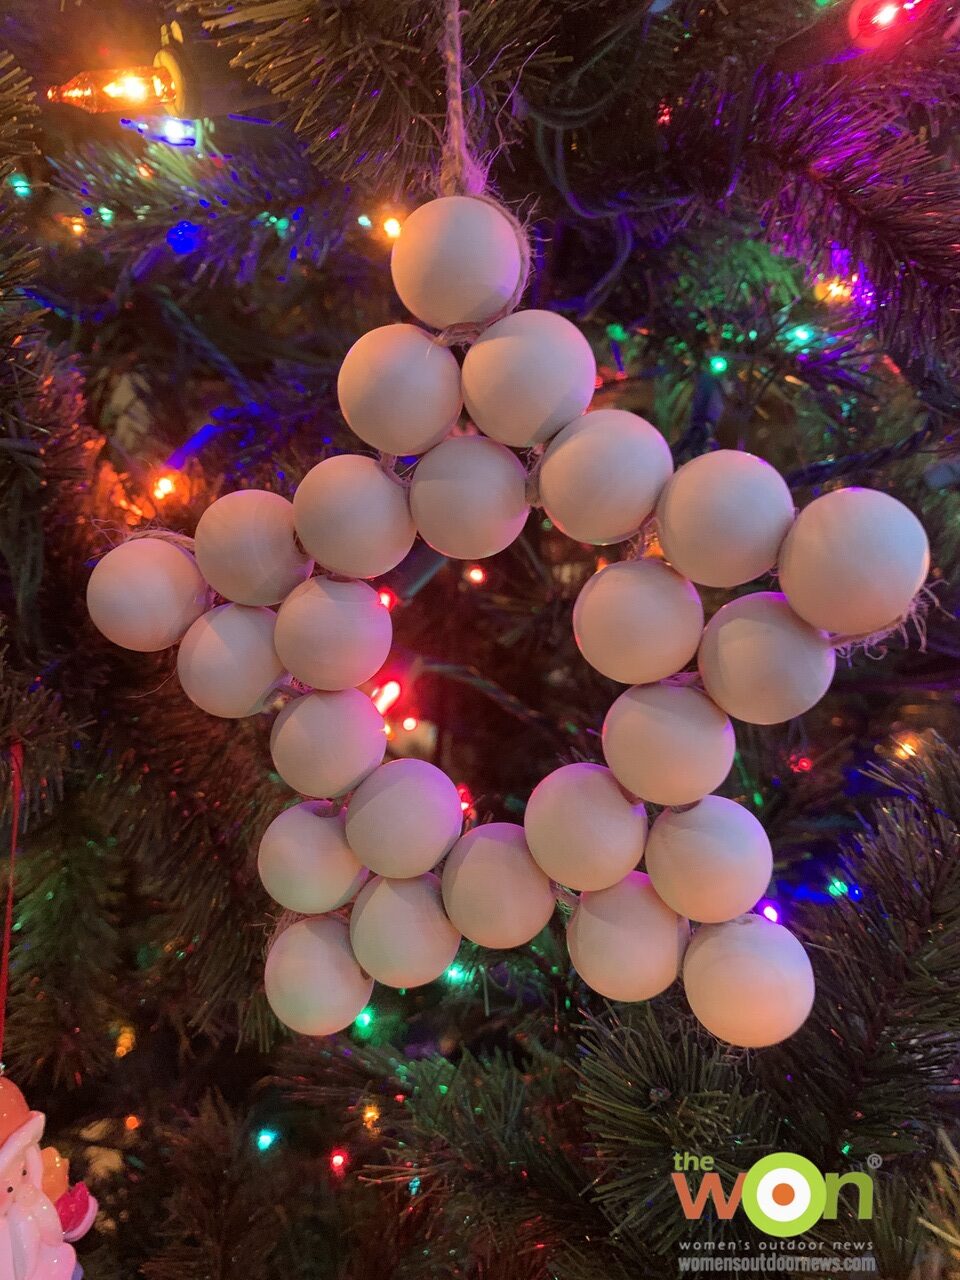
What a cool way to spend an evening with friends and family – outside, feeling small yet part of it all.
Publisher/Editor Barbara Baird is a freelance writer in hunting, shooting and outdoor markets. Her bylines are found at several top hunting and shooting publications. She also is a travel writer, and you can follow her at https://www.ozarkian.com. View all posts by Barbara Baird