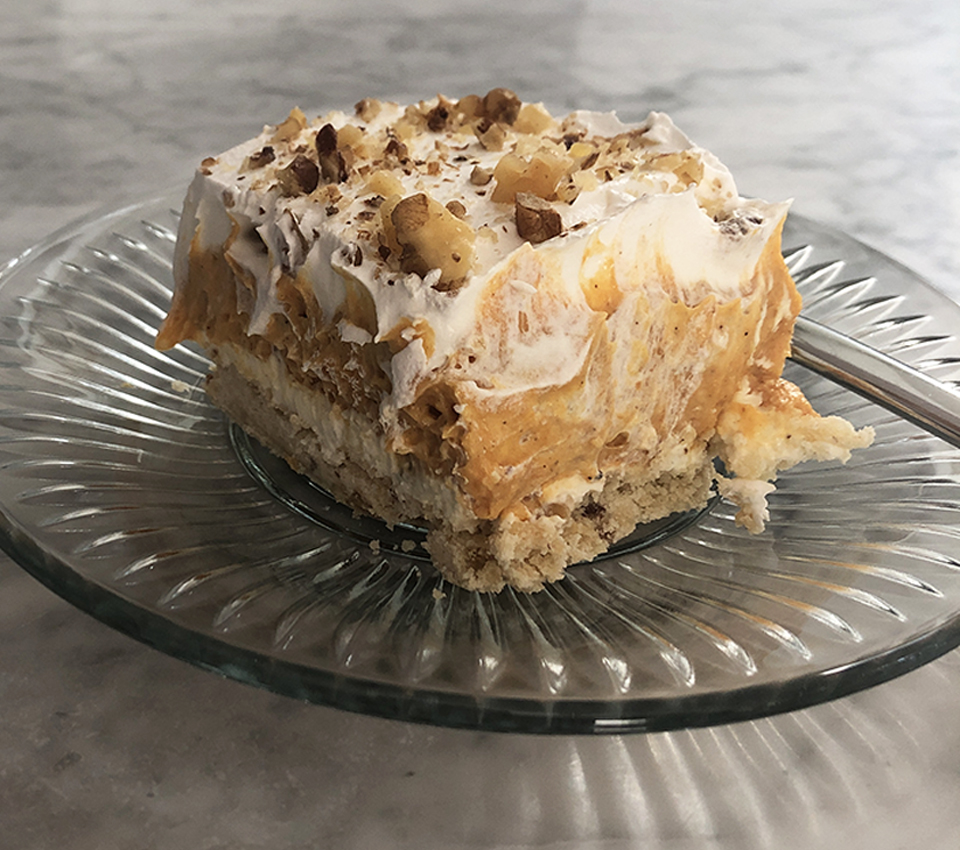
Not everyone is a fan of the “quintessential” pumpkin pie for Thanksgiving. My sister-in-law, whom I referenced during last week’s craft, is the perfect example of this type of person. This Thanksgiving, as she has graciously offered to host us for the holiday since I’m about 400 months pregnant and have a wee girl, I am determined to bring her a dessert that she will love. This layered pumpkin delight from Lil’ Luna surely fills the bill.
I stumbled across this fabulous recipe 1 early morning when I couldn’t get comfortable enough to sleep (pregnancy problems) and was passing time by browsing Facebook. The Internet Gods must have known that I was hungry and craving a cool dessert, because this gorgeous concoction popped up on my feed. I immediately added the ingredients to my online order for grocery pickup later that day (pandemic solutions), and made the dessert that very evening. Not only is it simple, easy and attractive, this layered dessert is YUMMY.
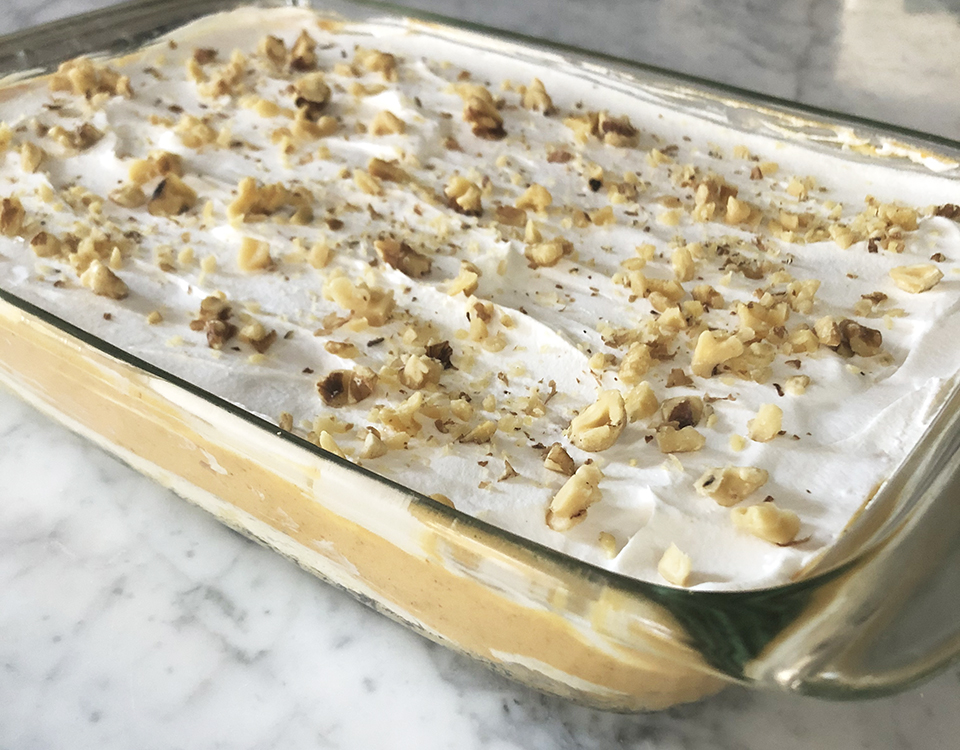
I am making this ahead of time and freezing in my brand new 9×13 glass baking dish with cover. Follow along, below, for the step-by-step instructions to crafting this lovely alternative to the classic Thanksgiving pumpkin pie.
For Use with 8×8 Glass Baking Dish:
For Use with 9×13 Glass Baking Dish:
1 Preheat oven to 350°.
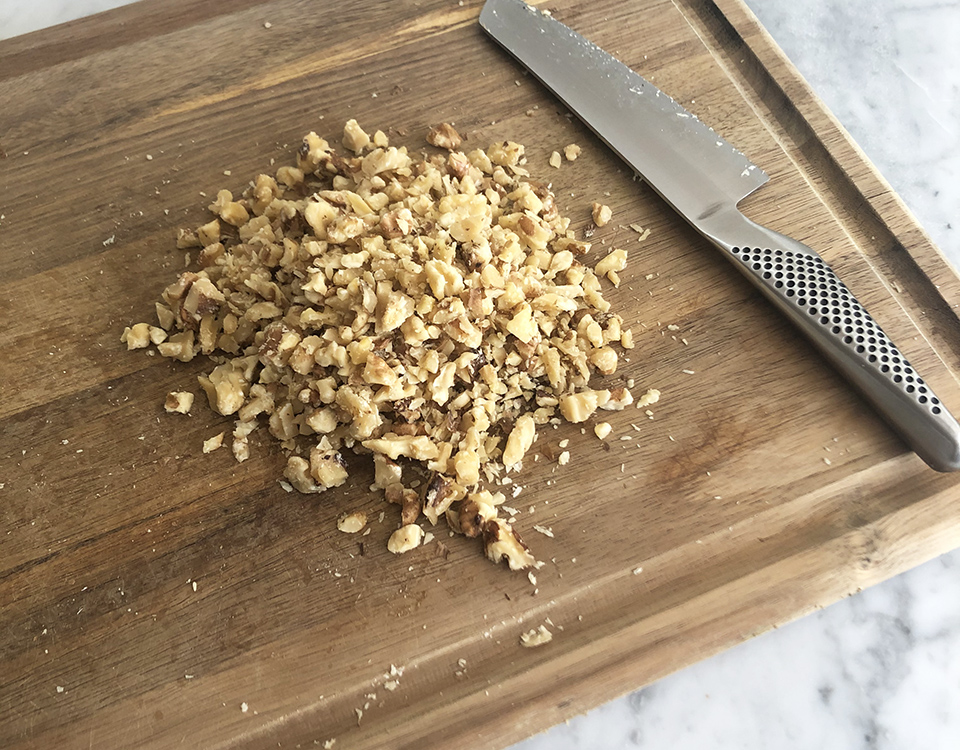
2. Chop your pecans/walnuts/peanuts etc. A rough chop will do just fine.
3. Dump flour, butter and nuts (reserve ¼ c. nuts for dessert topping) into a bowl.
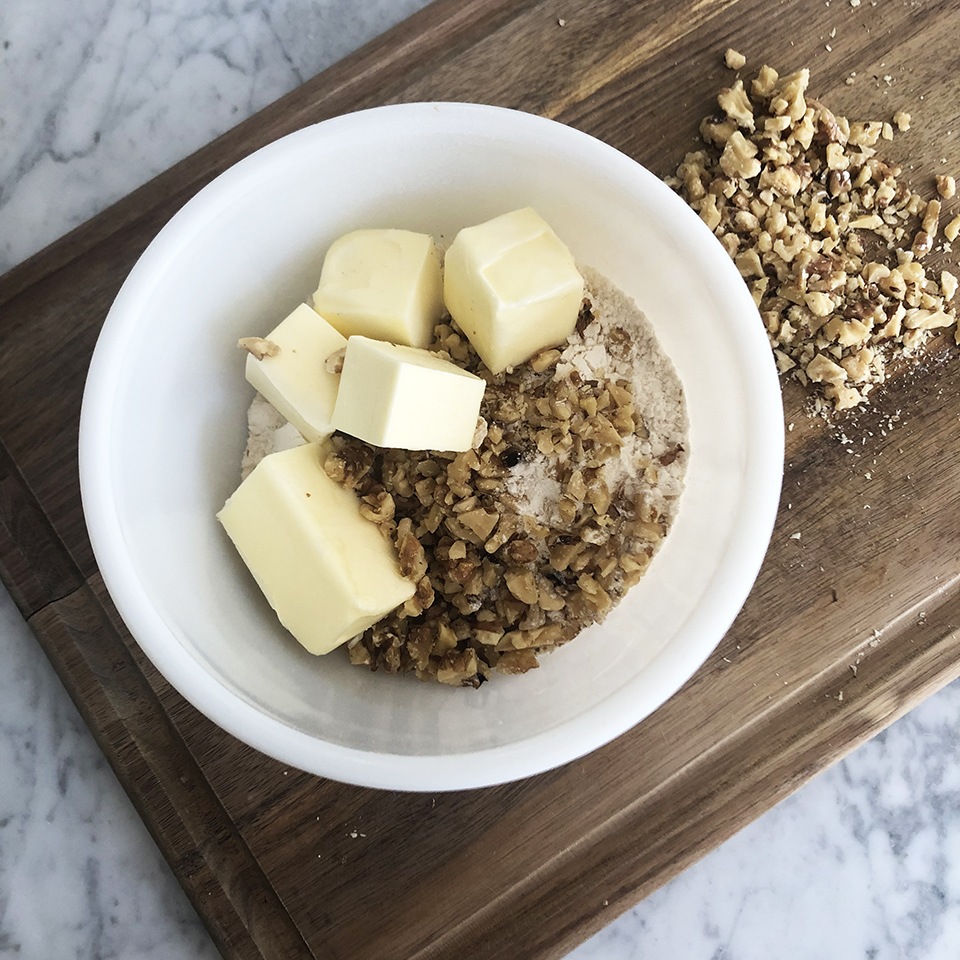
4. Combine using a hand mixer, or pastry blender (as I did), until each butter chunk is about the size of a pea. Using a fork, give the mixture a quick stir.
5. Prepare your glass baking dish by spraying the bottom and sides with nonstick cooking spray. Press flour/butter/nut mixture into the bottom of the pan.
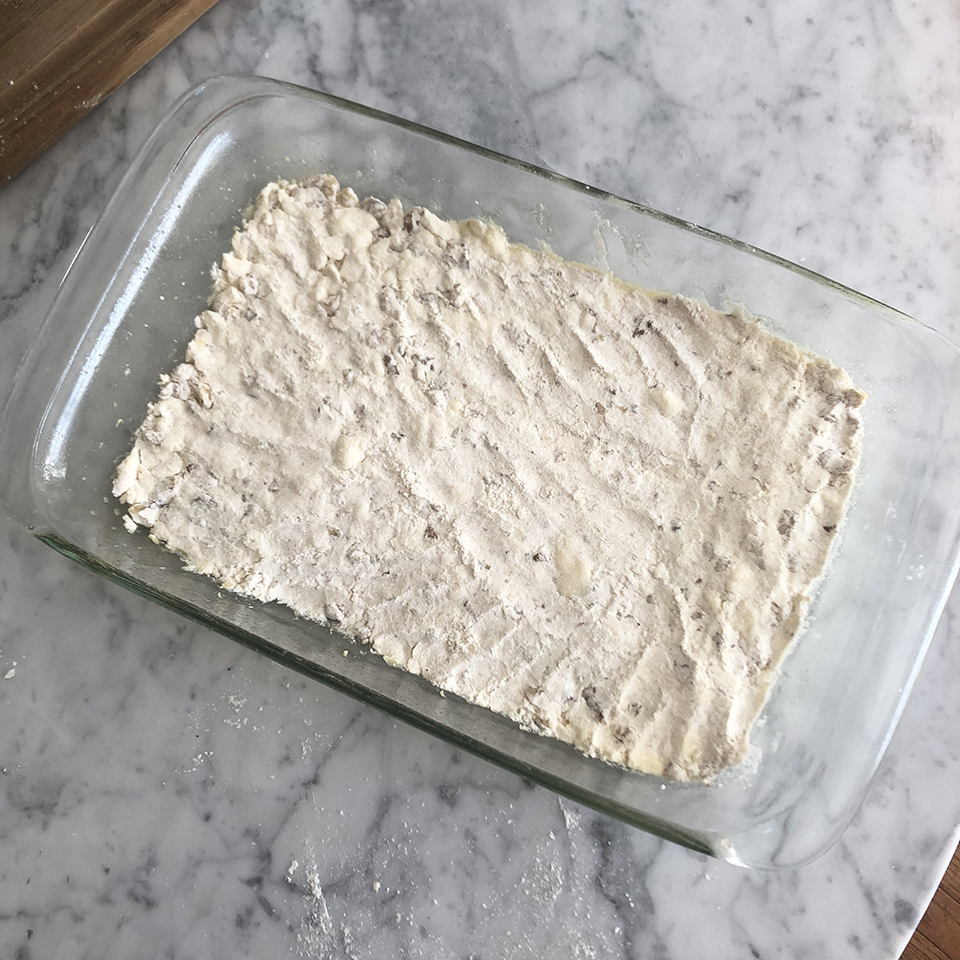
6. Bake for 15 min. (8×8 dish) or 20 min. (9×13 dish) in preheated oven.
7. Remove and allow to cool fully on a wire rack.
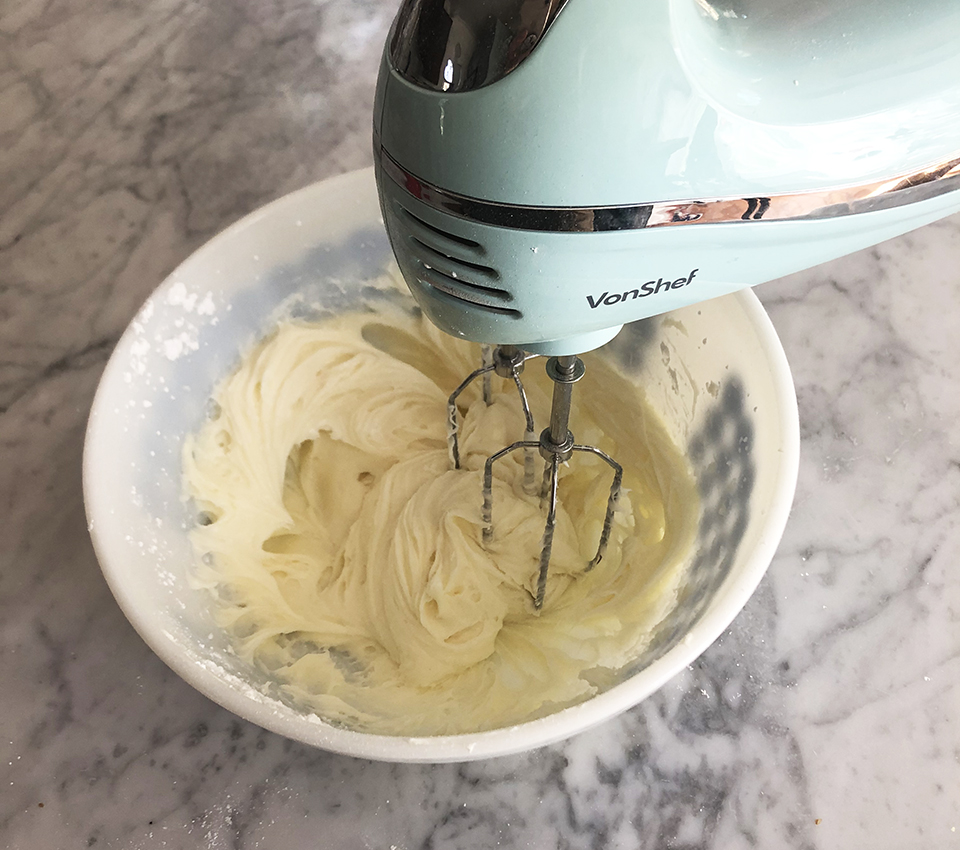
1 While Layer 1 cools, blend cream cheese and powdered sugar with hand or stand mixer.
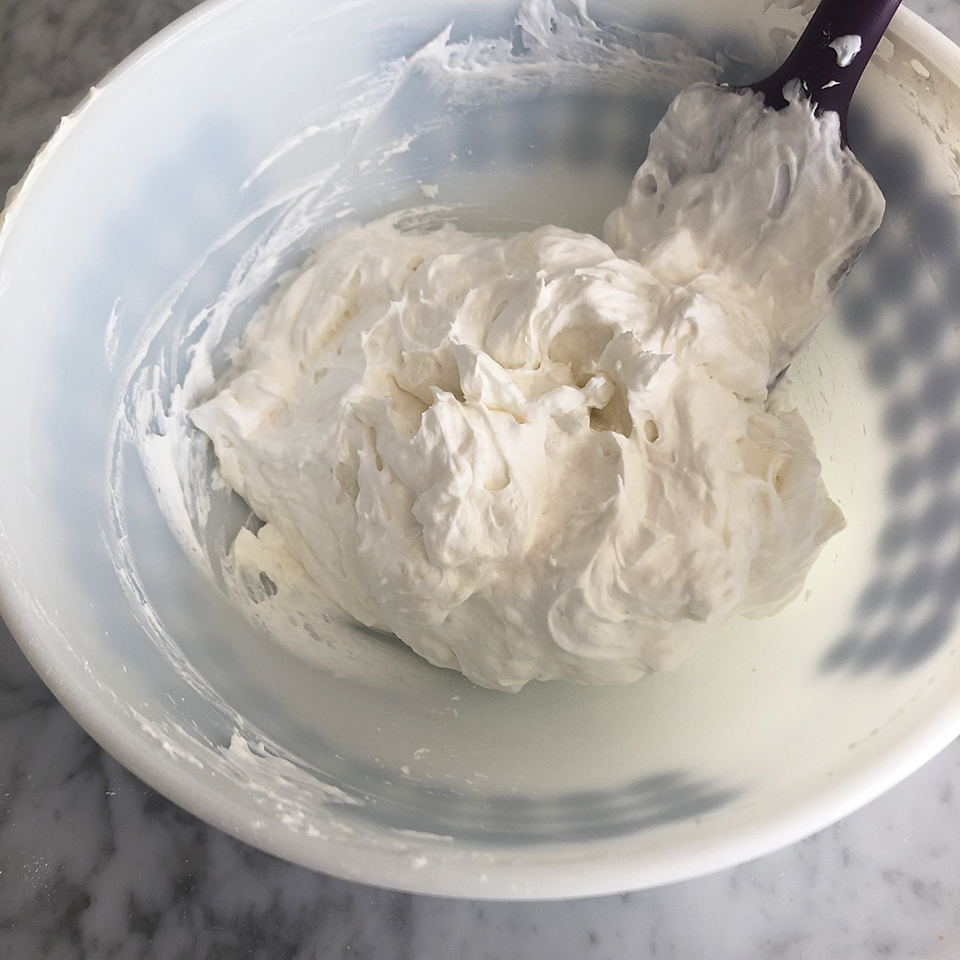
2. Using a spatula, fold in 1 c. of your whipped topping to the mixture.
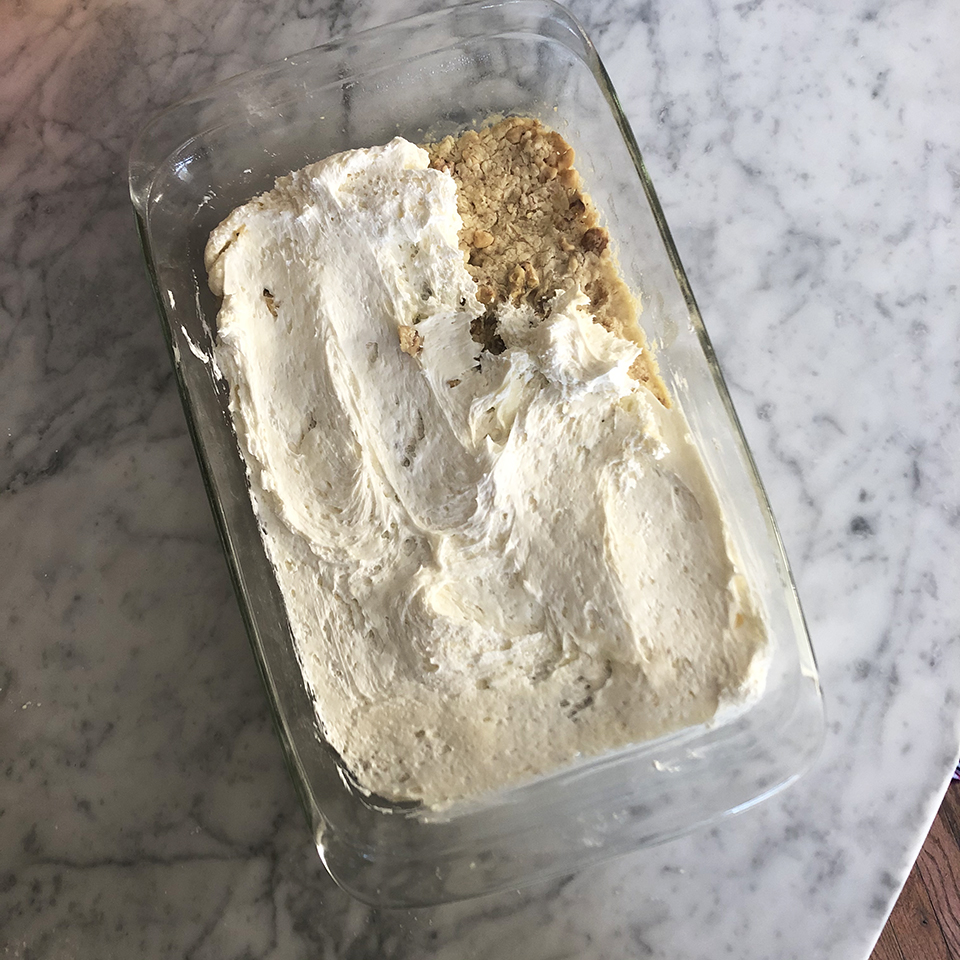
3. Spread over cooled crust. This image shows the mixture only partially applied, so that you can see the look of Layer 1 after its been baked.
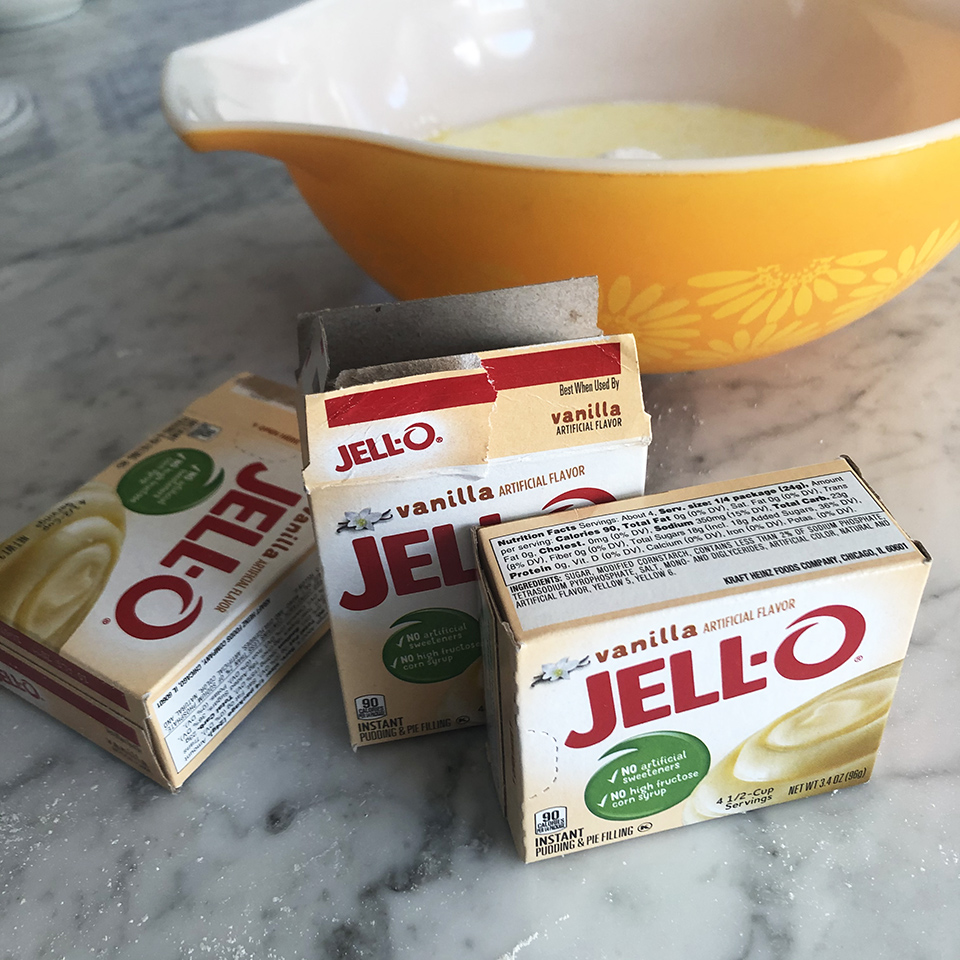
1 Add milk, pudding mix, canned pumpkin, pumpkin pie spice and 1 c. whipped topping in bowl.
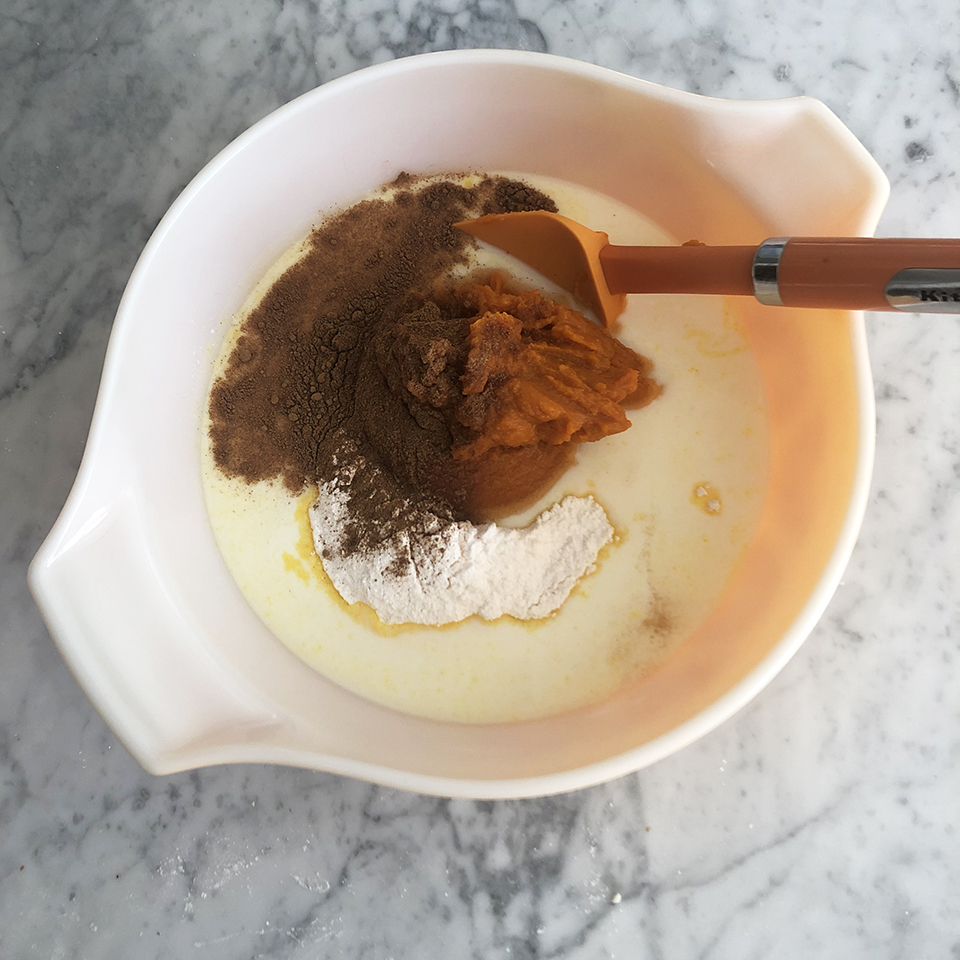
2. Stir ingredients with spatula until just combined. You may have a few lumps in the mix.
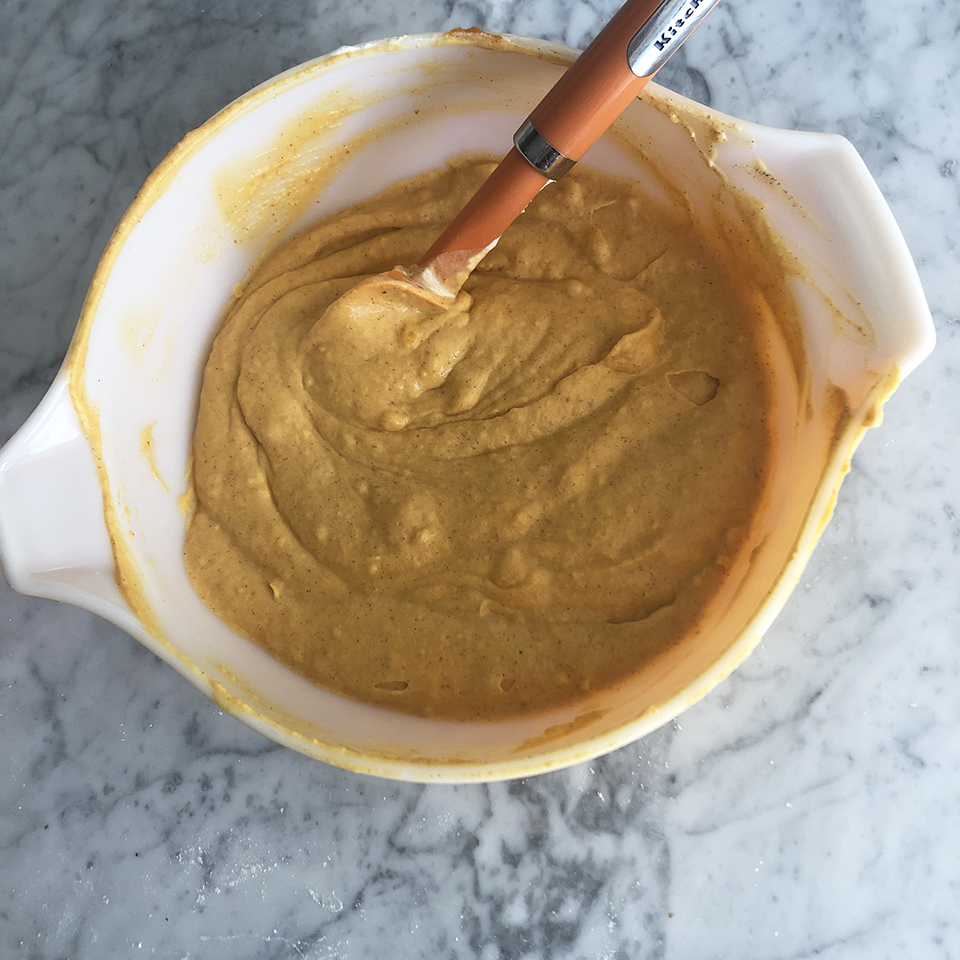
3. Spread evenly on top of cream cheese layer.
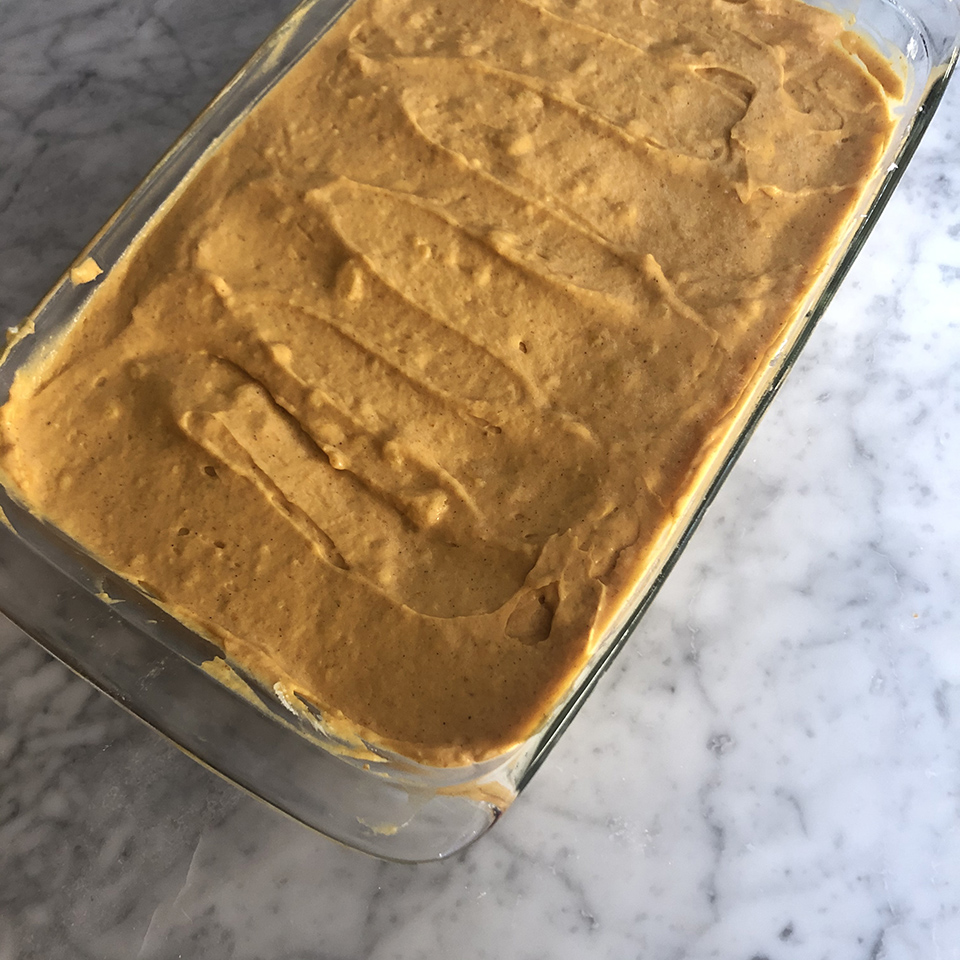
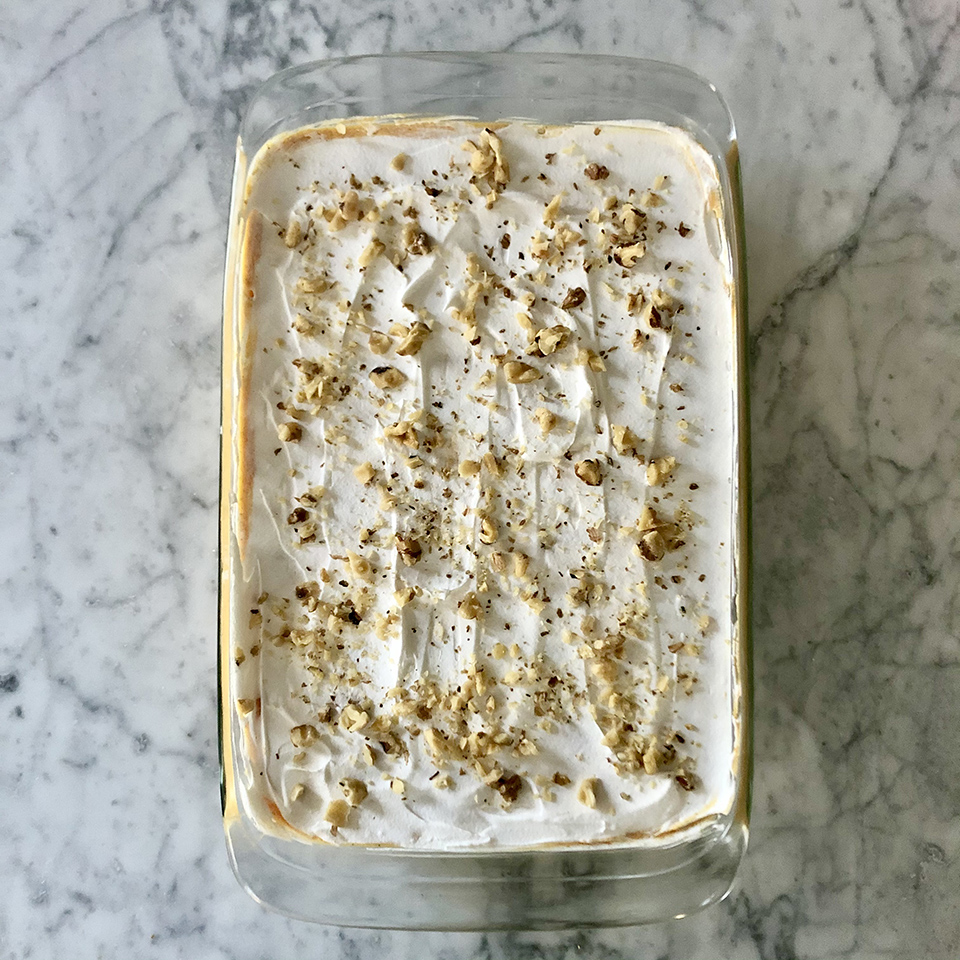
1 Finally, spread remaining 1 c. whipped topping over your pumpkin layer. Garnish with reserved ¼ c. chopped nuts.
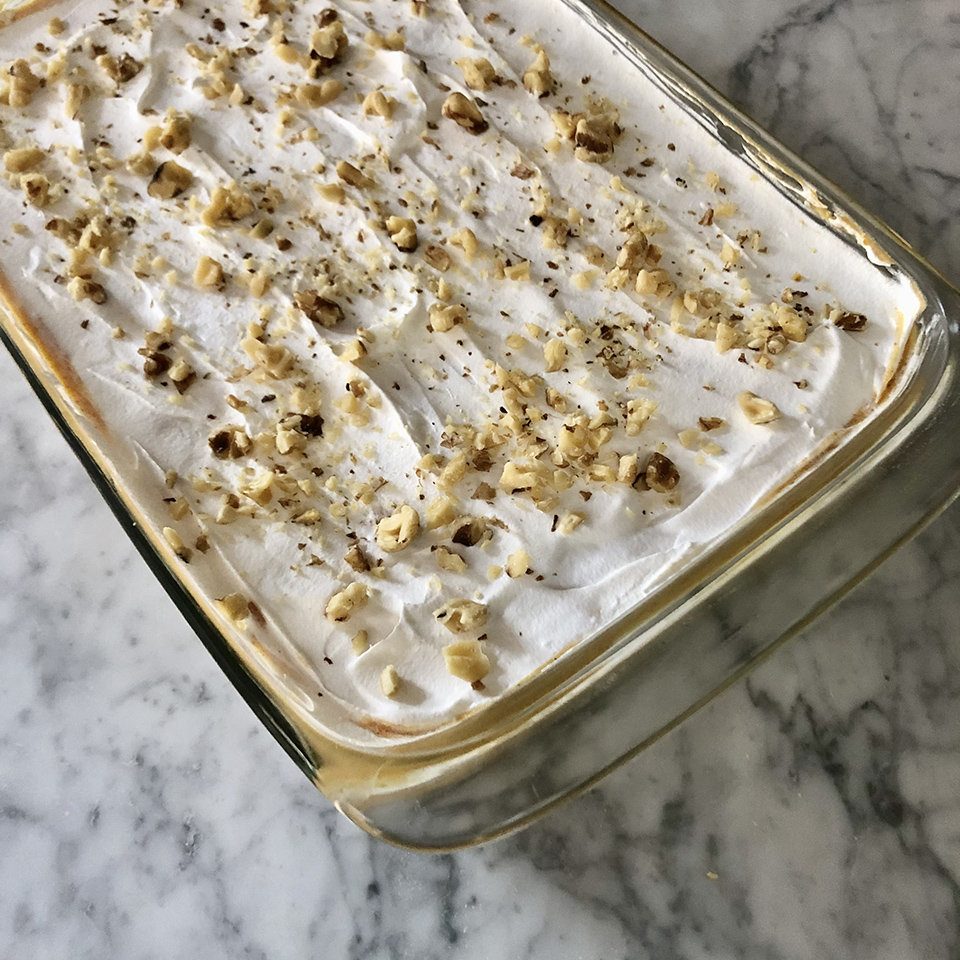
2. Chill at least 3 hours before serving. If you are making this dessert ahead of time, as in my case, immediately place it in the freezer. For frozen dessert, thaw in refrigerator overnight prior to serving.
Here is a pro-tip from our friend, Hannah Kelly, who is a mom, businesswoman, realtor, Missouri State Legislator and all-around busy lady. She recommends that if you don’t have 3 hours chill time, to pop your dessert into the freezer for about an hour!
Jackie Baird Richardson is an interior designer, editor at The WON and avid junker. Watch for her design tips and occasional crafting ideas, bringing the outdoors indoors. View all posts by Jackie Richardson
Wow, that look delicious! I’m going to have to give it a try.