Whether you’re fortunate enough to collect them on the shore or save them from seafood dinners, a bag of shells can provide hours of entertainment for kids. My two daughters love sorting through types of shells while they admire the assortment of colors. Part of the fun with this simple craft is letting them play with patterns and shapes to come up with their own designs. With some glue, a backer and embellishments, you can create whimsical shell art the family can enjoy long after the project is done.
~Julie Golob
One day, Mom had a surprise for us. Our friend, Barb, sent us seashells from her trip to the East Coast. We spent a long time playing with the shells, looking at the different shapes and sizes. There was a wide variety, from spindle shells to scallop shells, and even a few beach rocks.
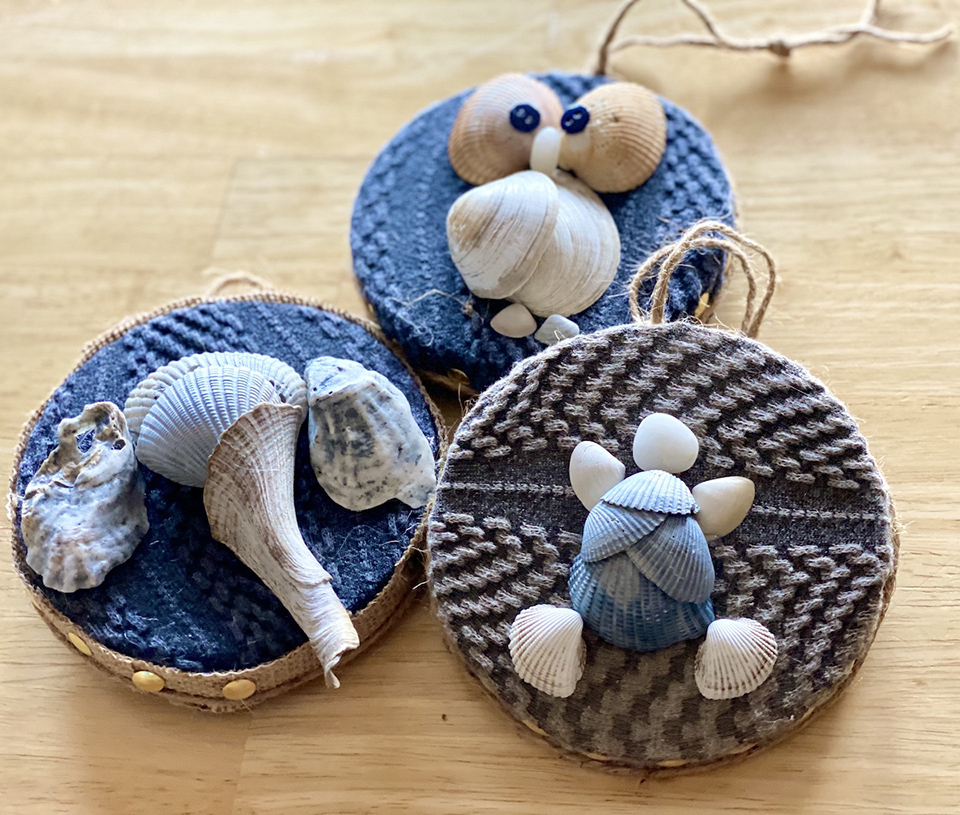
We brainstormed ideas for a craft. In addition to the craft supplies Mom keeps around, she took a trip to the dollar store for some extra supplies. We decided to make animal shell art by gluing them to floral round backers. To cover the white Styrofoam, we used some old tights. You could easily use a plank of wood or a frame as the backer, instead.
Choosing the Animal
With so many shells the options seemed endless. My sister, Rose, knew from the start that she wanted to make an owl.
“My favorite part was choosing the shells. I picked an owl because I liked the shells that formed the eyes. My owl was made with lots of shells and all of them were pretty.” ~Rose
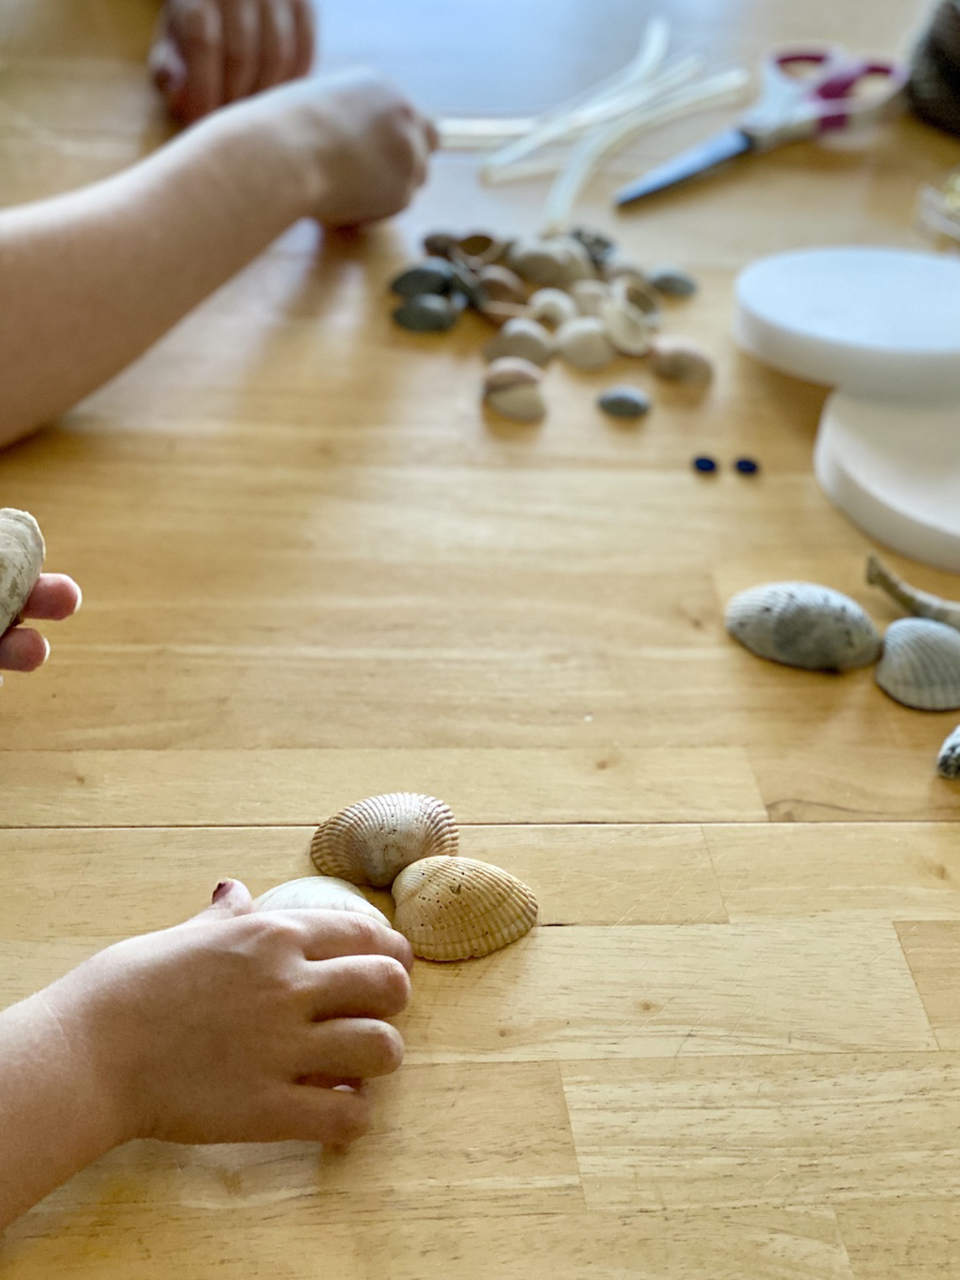
Mom was fixed on creating an elephant after she saw how a broken shell formed a long trunk. It took me much longer to decide what I wanted to make. I thought of an angel, but with Mom and Rose making animals, I thought it would be neat to do something more natural. Next, I thought of a flower, but the petals were too heavy due to the layering they required.
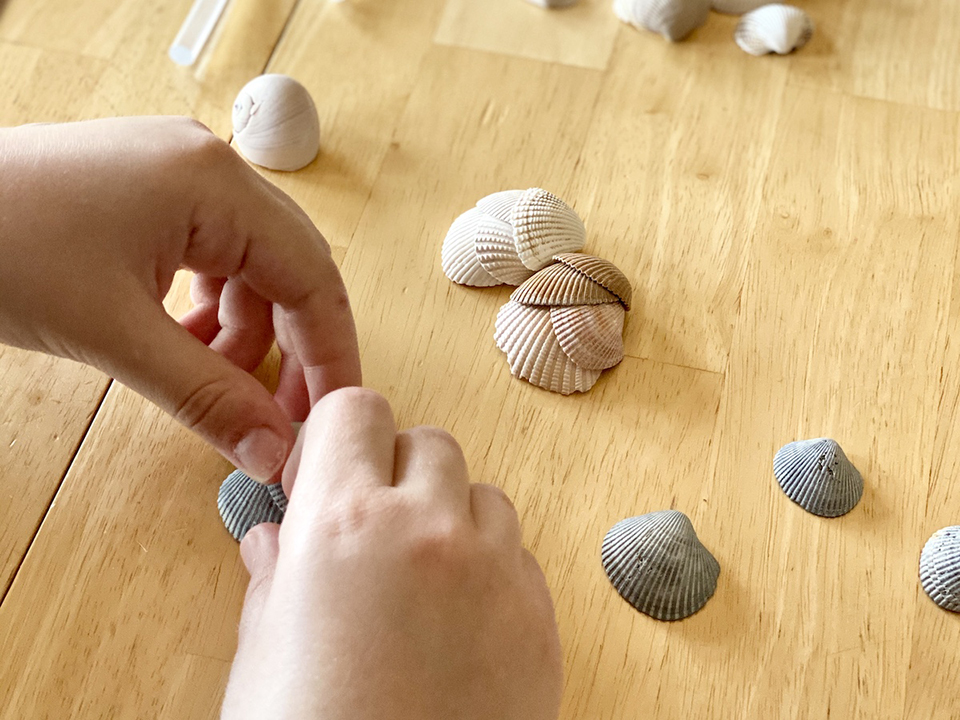
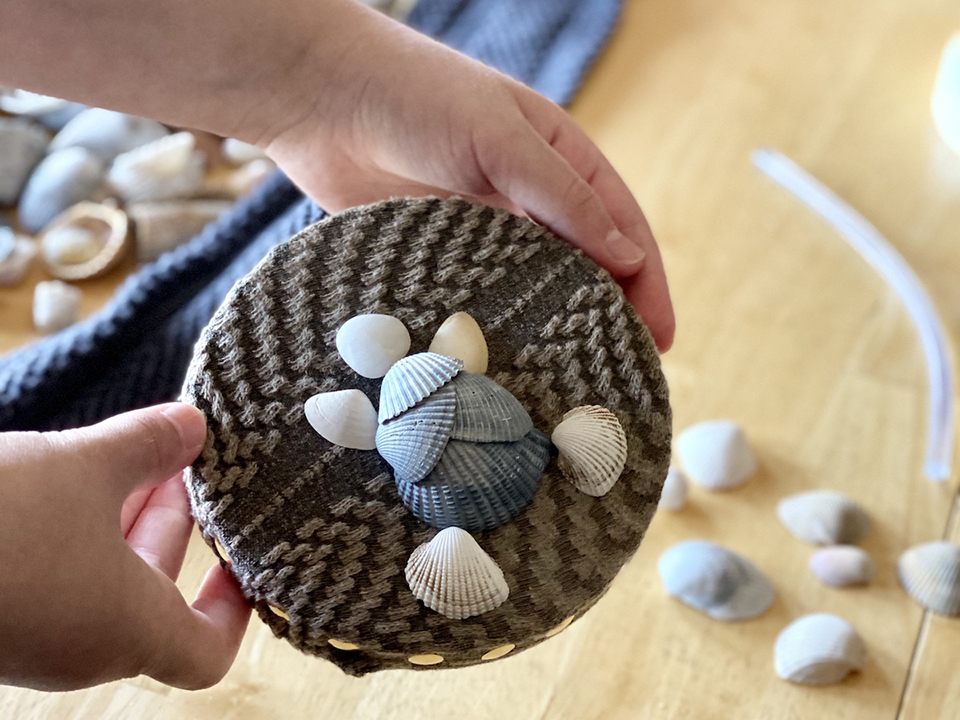
I finally chose a turtle, because turtles are some of my favorite animals, and the shell still used the layering that I had liked in the flower petals.
If you decide to give this craft a try, experiment with the different shapes of shells. Try layering, stacking, turning or flipping shells over. The possibilities are endless!
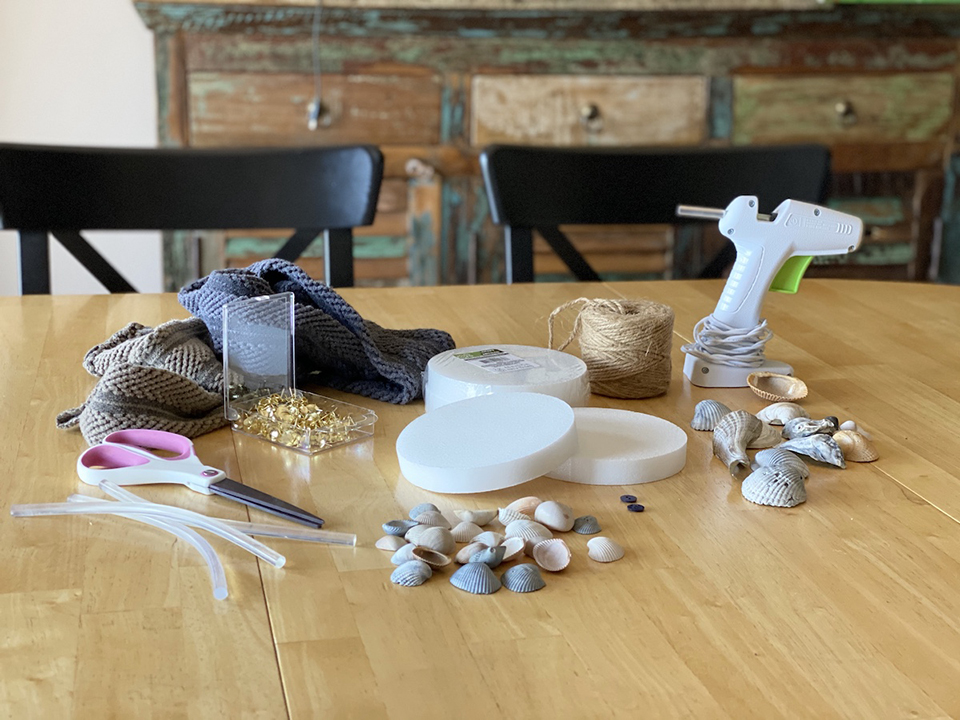
Decide on your shell design. Get creative!
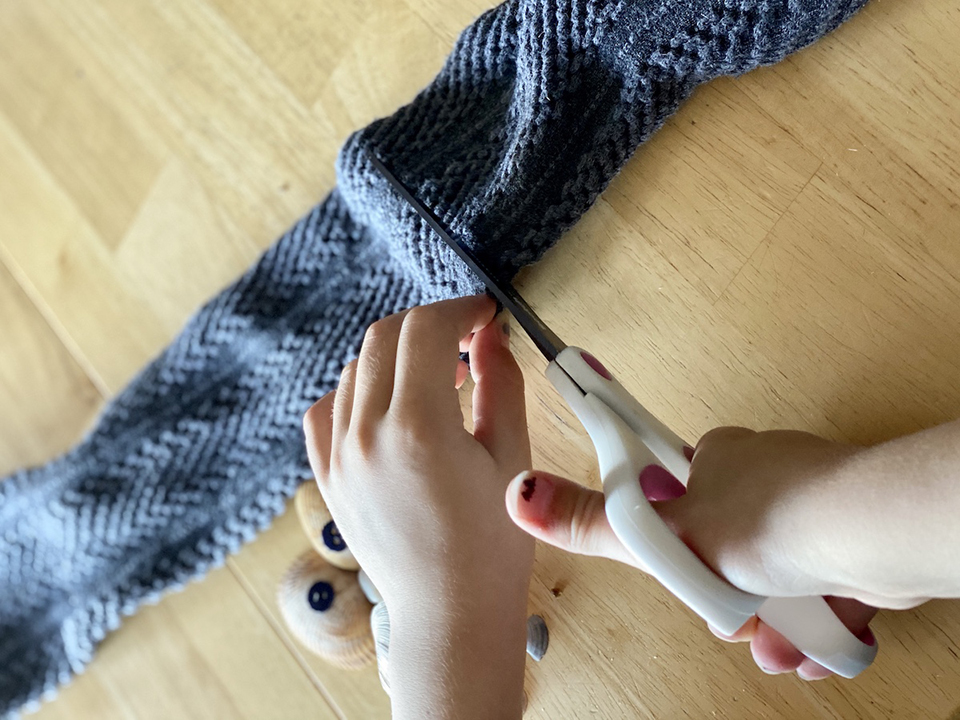
Hot glue fabric on to the foam round. Be careful with the hot glue; the heat soaks through the material easily. Let the round cool off before continuing.
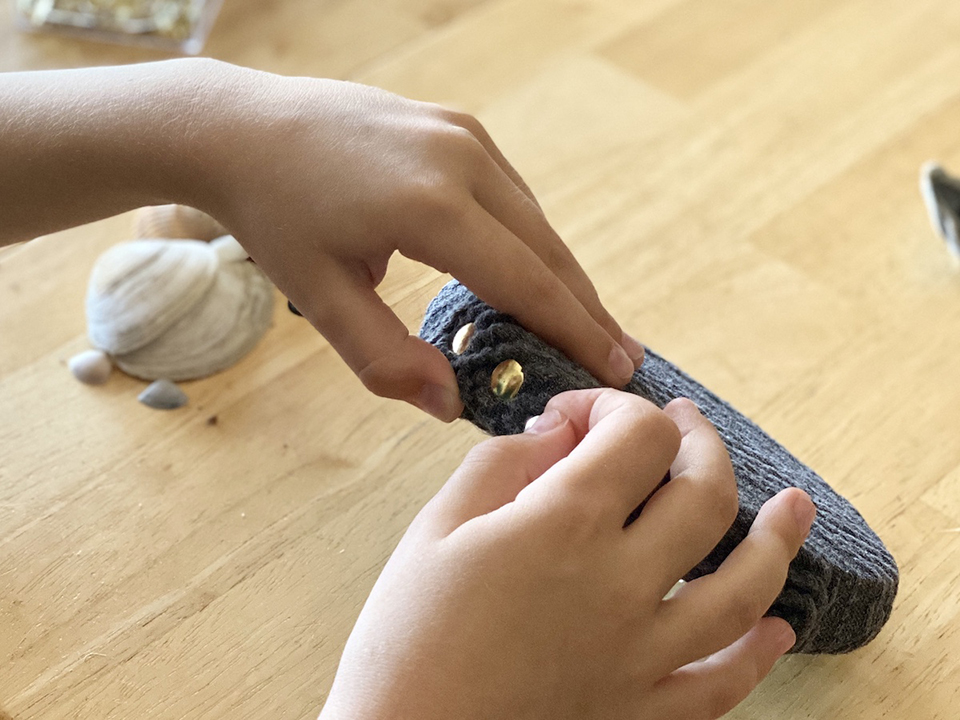
Push tacks and/or glue burlap around the edges of the round.
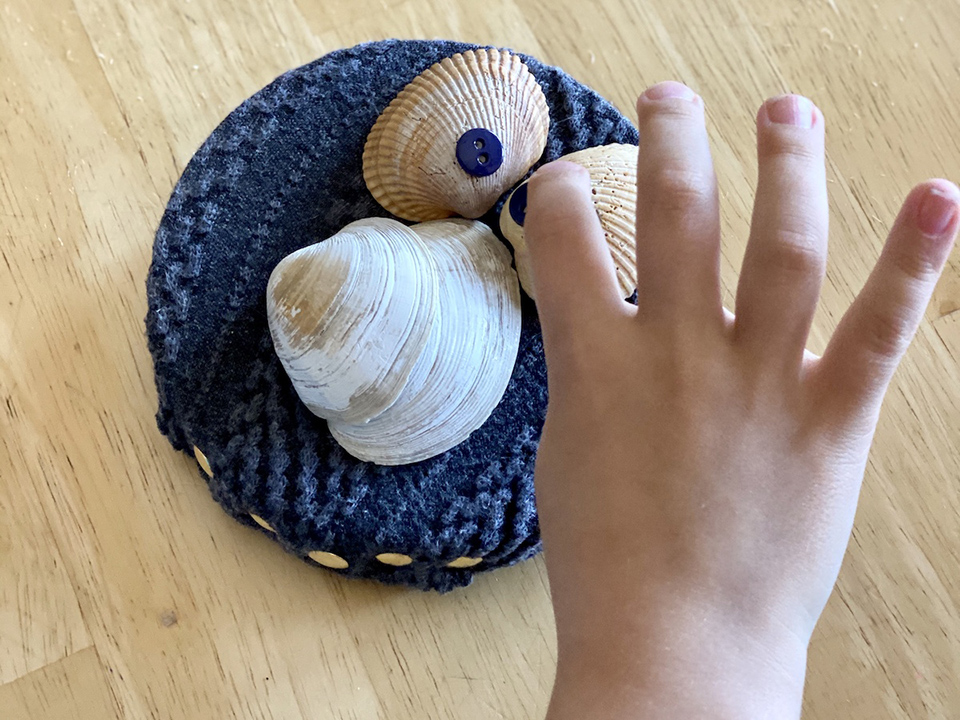
Glue your shell design to the front of the round.
Tie twine around the edges of the round to hang.
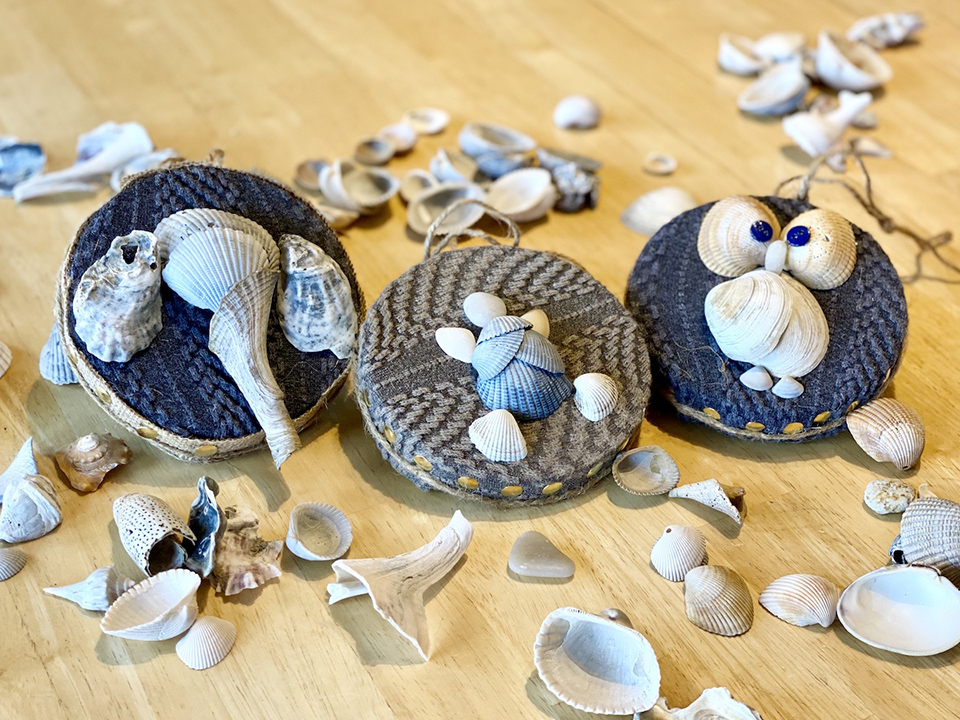
Tip: If you hang your craft with twine like we did, be aware that a heavy design might not hang as well.
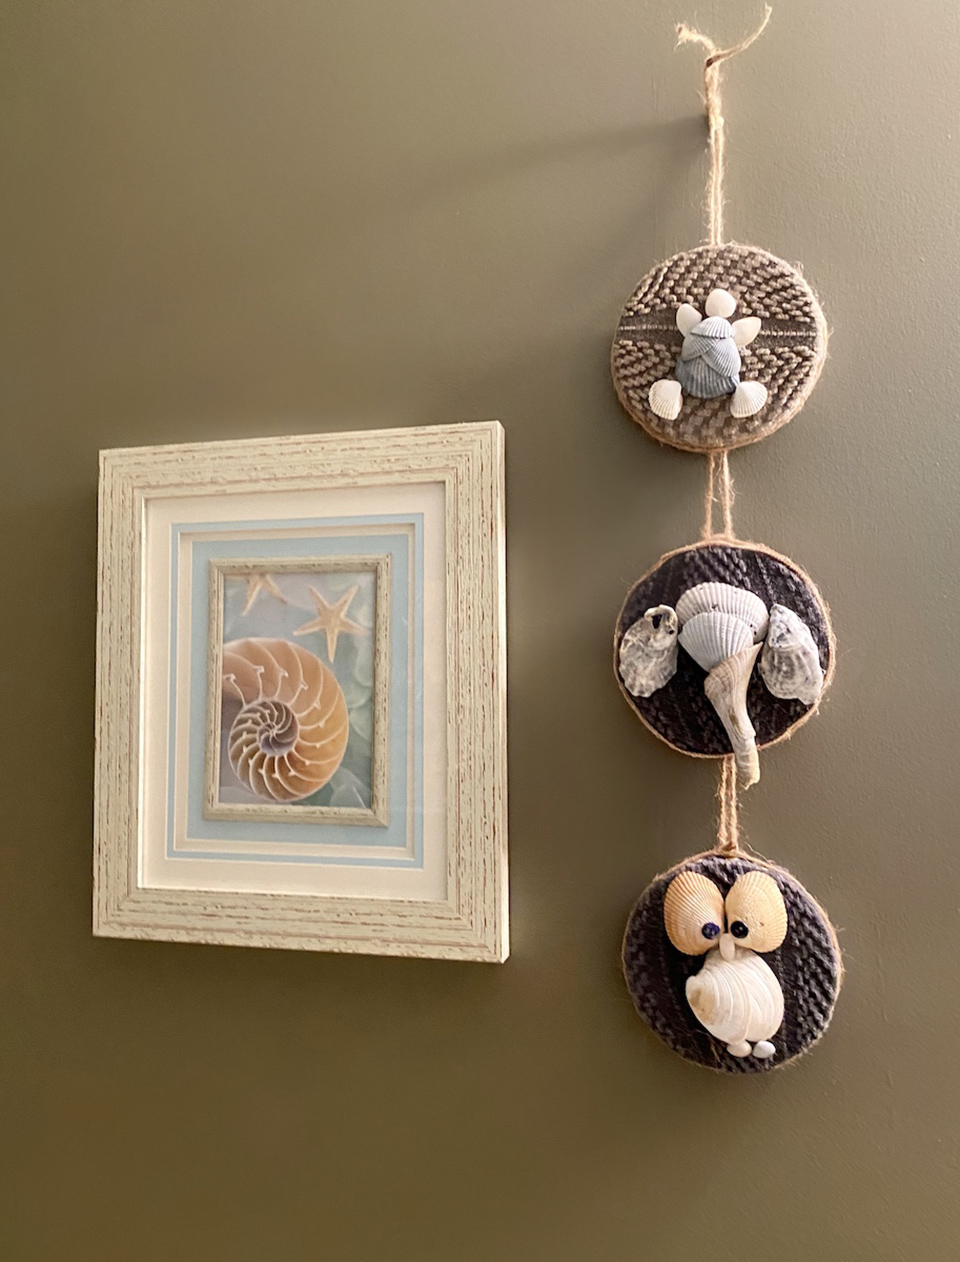
For more ideas on crafts you can do with shells, do a search on Pinterest. Here’s a direct link to search results for “shell crafts for kids.”
Click here to read about Barb’s very own art from the sea, using sea glass found on the Isle of Skye!
Madeleine Golob, formerly “Anna,” is our intern at the “Women’s Outdoor News,” and manages the “Gal Gab” column. She also pens features and takes care of our Pinterest activities. Madeleine is a high school student who loves to write, read, study her family’s genealogy and play any musical instrument she can get her hands on. She also enjoys working Action Pistol matches while her parents compete and dreams of becoming a historian and writer. View all posts by Madeleine Golob