In the previous installment of the series, “Concealed Carry Journey,” Elizabeth and I went to the range to practice shooting her Springfield XD-S for the first time. While she shot, I watched her grip and trigger press, then checked the targets. The only way to find out what a shooter is doing wrong and make adjustments for her is by diagnosing pistol targets. For the 5th part of the series, I’ll describe how I help shooters determine what they can do to make more accurate shots.
Sponsored by Springfield Armory
If you’ve been following along on this journey, you may recall Elizabeth was a nationally known bullseye competition shooter in college. These competitions involve slow-aimed, single-shot, 1-handed shooting while in a bullseye stance. It’s a completely different approach when compared to defensive shooting. I felt pleasantly surprised as I watched Elizabeth shooting on our first trip to the range.
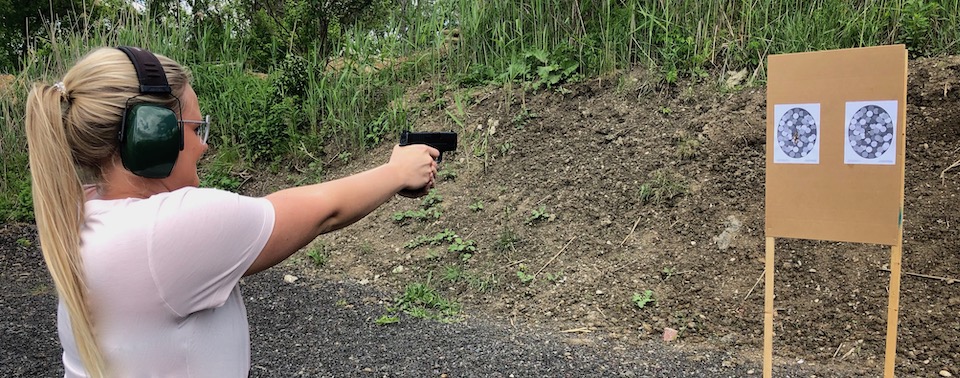
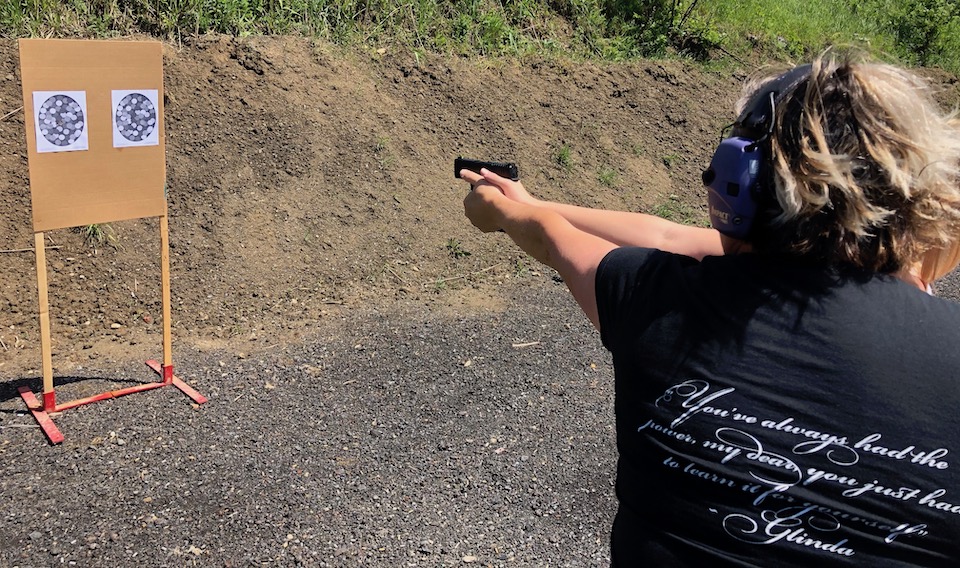
Most bullseye shooters set their sights for a 6 o’clock, or lollipop hold, on a target. That means they position them just below where they want the shots to hit. The target below shows Elizabeth’s first shots. Notice how the majority or group is below the horizontal center line.
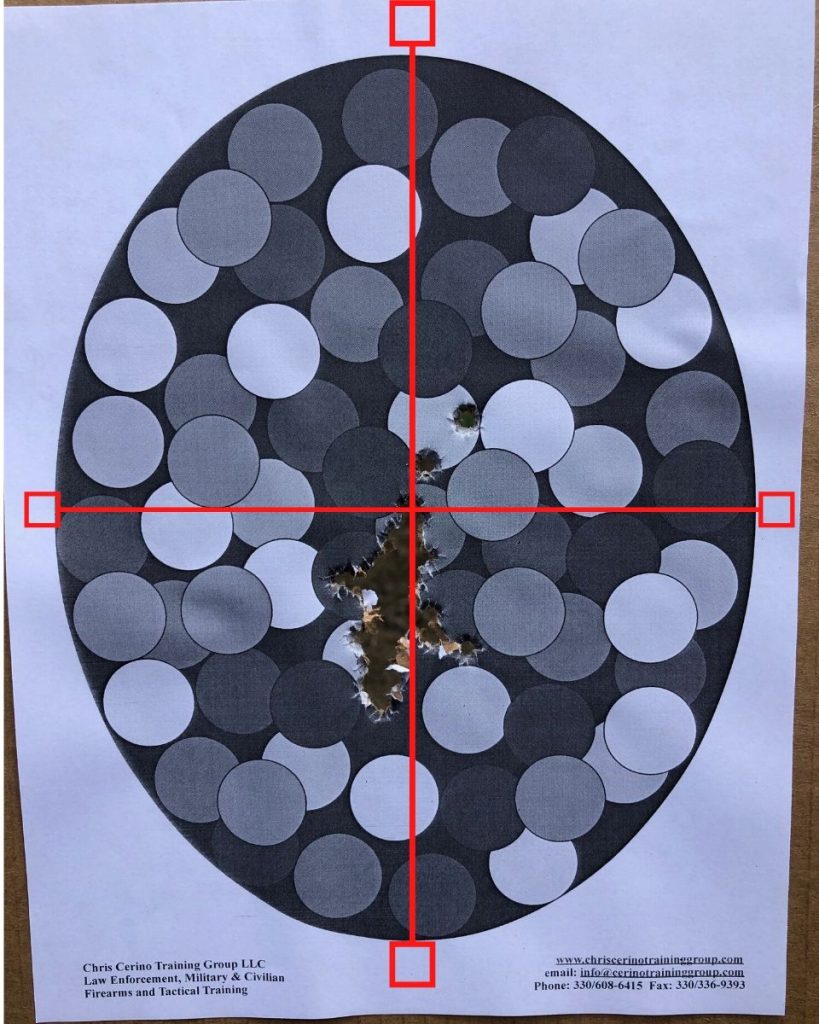
Self-defense pistols arrive from the factory with sights set at point-of-aim, point-of-impact. This means where you set your sight, the shot hits. So, you have to cover up the spot where you want your shots to go. When some shooters begin making holes in a target, they want their other shots to go in the same hole. To do so, they often focus so hard on looking at that hole that their ensuing shots fall below it.
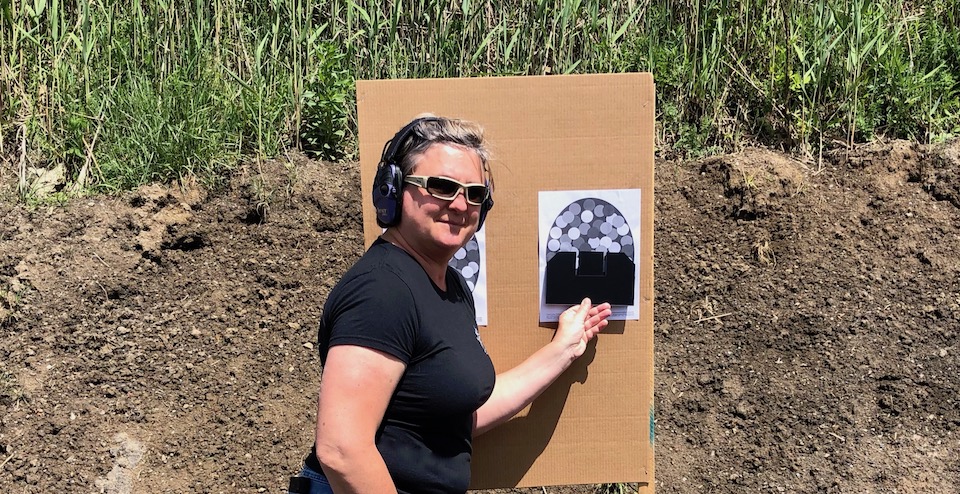
To better explain sight picture to Elizabeth, I used our training aids to show her where she needed to set her sights to bring up her shots.
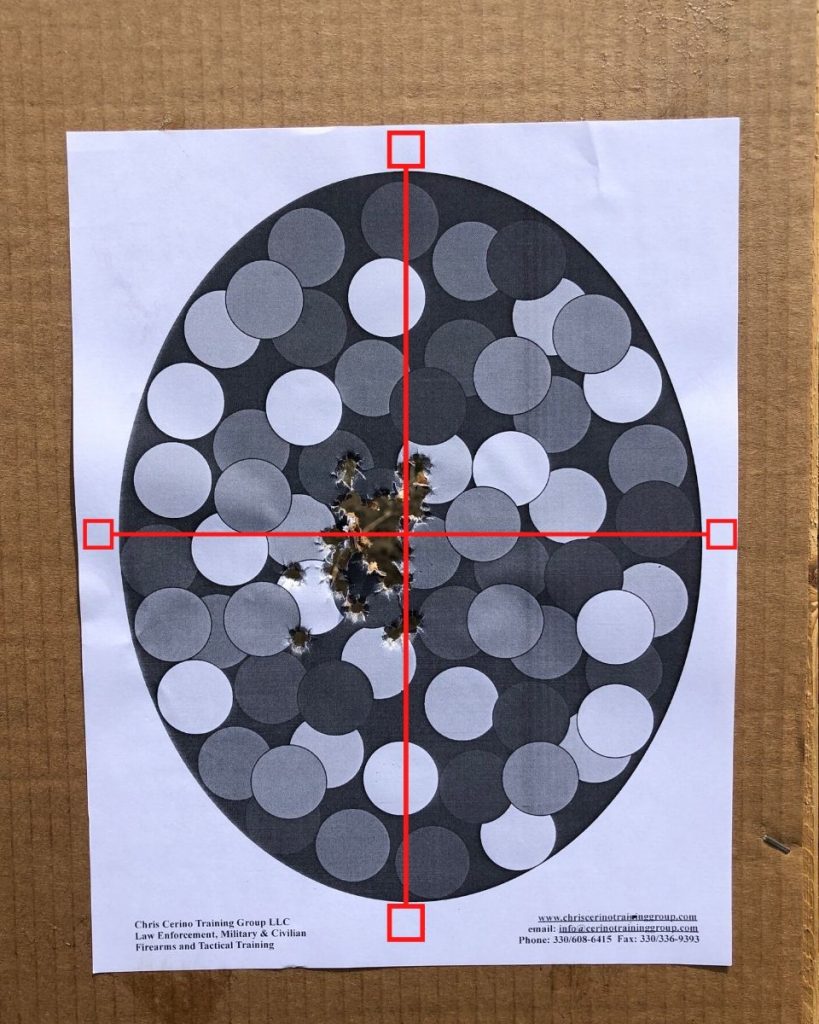
Since this was Elizabeth’s first time shooting with 2 hands, I expected to see her shots going slightly to the left. If you look at the target below, 2 of her shots went farther left of center than the others. However, her grouping of shots concerned me more than placement on the target. When you look at all the shots as a whole, they migrated left-of-center. I love, though, how she already corrected her low shots by covering up what she wanted to shoot. Those are centered top-to-bottom.
When my shots begin to go left, I always try increasing the grip of my support hand. To help Elizabeth understand what her support hand should do while shooting, I complimented her grip. While she held the gun with her dominant hand, I held the gun with my support hand. This way, as she shot, she felt how strong I clenched my support hand, where I placed it and what it looked like.
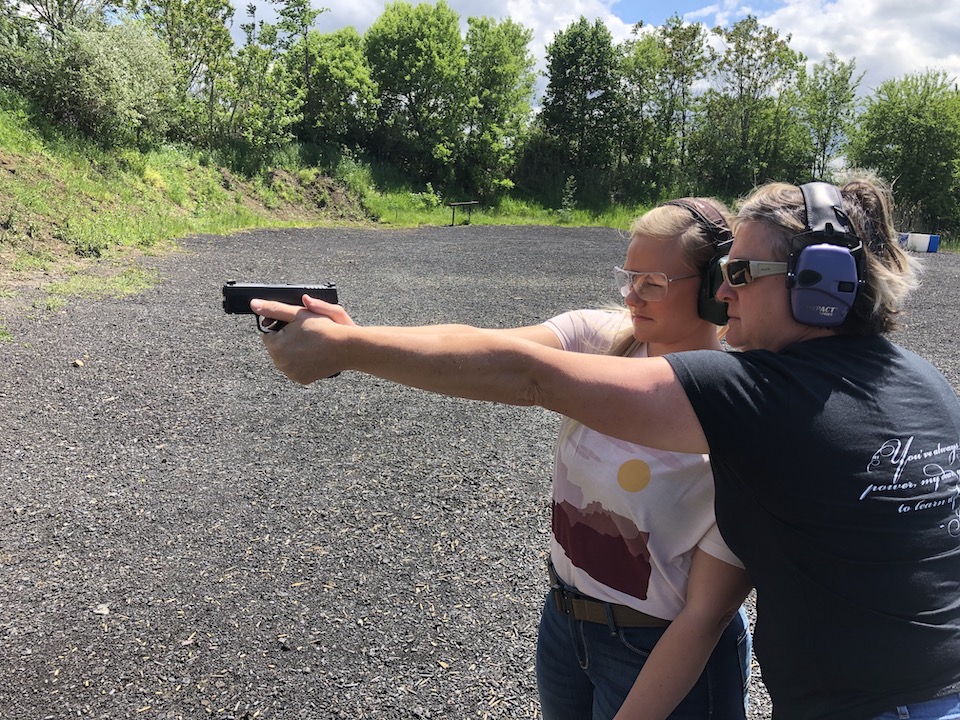
Elizabeth knows how to shoot a pistol and put her shots where she wants them. She understands safety and respects firearms. In the future, when training on the range, she’s going to work on getting her shots off faster. She also needs to decide how she wants to carry, on- or off-body.
In the state of Ohio, our attorney general, David Yost, has all the information a person needs to get a concealed carry license on this website. I suggest going to your attorney general’s website to find out how the process is handled in your state.
From Bullseye and International Pistol to Concealed Carry
Grip, Trigger Press and Sight Picture
Getting the Gear and Drawing from a Holster
Michelle Cerino, aka Princess Gunslinger, first entered the firearms industry in 2011 as co-owner, president and trainer at a national training company. She immediately began competing in both 3-Gun and NRA Action Pistol, becoming a sponsored shooter. Michelle is currently a columnist and Managing Editor of Women’s Outdoor News, as well as owner of Pervenio LLC. She also manages social media for Vera Koo and FASTER Saves Lives. Michelle encourages others to step out of the comforts of home and explore. View all posts by Michelle Cerino