Looking for a way to entice the hummingbirds into your yard or onto your porch? Check out these step-by-step directions to create your own recycled bottle hummingbird feeder!
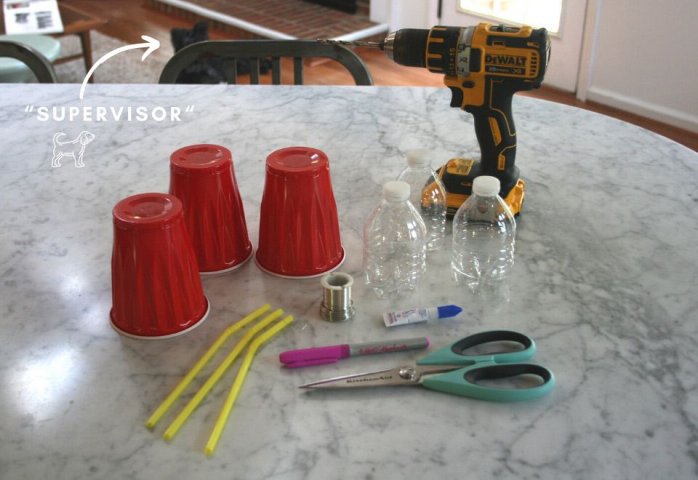
You will need:
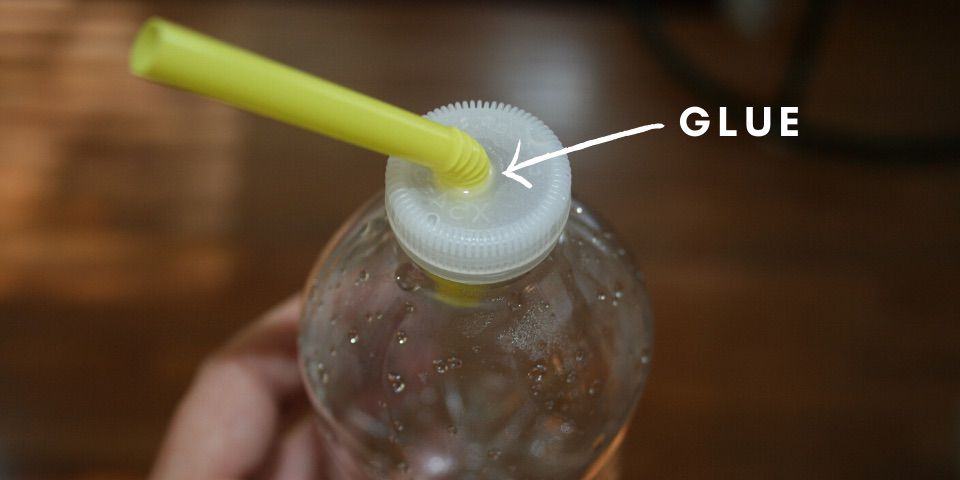
First, drill a hole in each bottle cap. I selected a drill bit the same diameter as the bendy straw. Although I was attempting to drill each cap’s center, I was a little off. This looks OK, too! Insert a straw into the hole in each cap. Trim so that about 1” of straw is left inside of the bottle.
Carefully glue the straw in place, using the superglue. If using Elmer’s glue, allow the straws & caps to set overnight before continuing on to the next step.
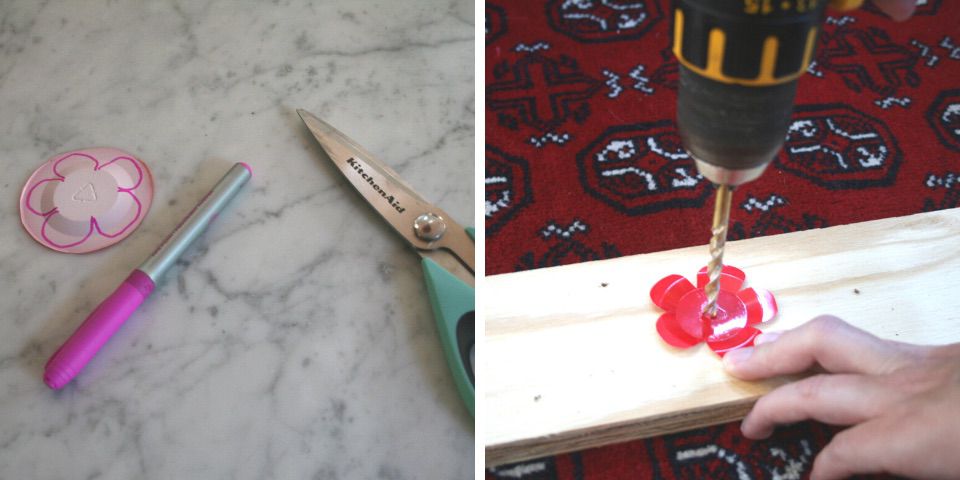
Cut out the “flowers” from the red cups. The cups I had on hand were white on the inside, so I cut two flowers from each cup and placed the white sides together. I used the drill to carefully create a hole in the center of each flower pair (a single hole punch would work, too). I placed a piece of scrap wood underneath to create a stable drilling surface.
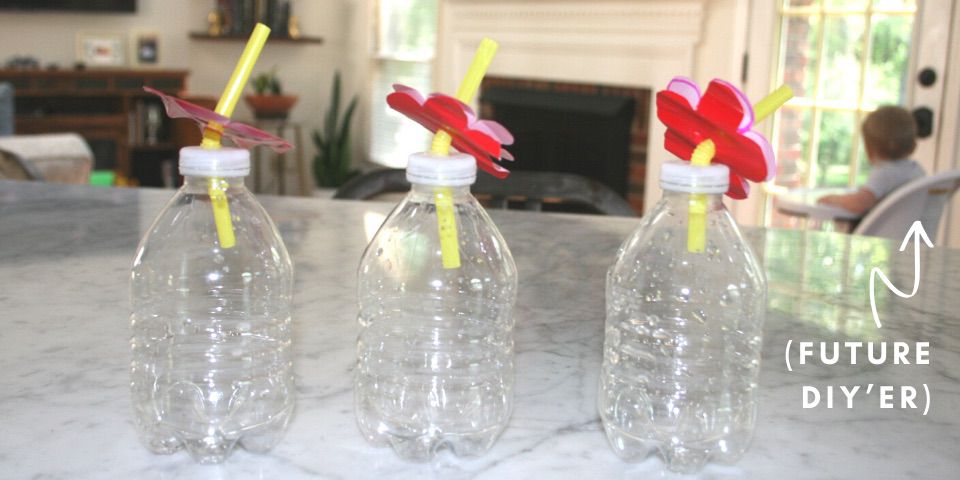
Thread a flower onto each straw.
Cut a length of craft wire that can be wrapped 4-5 times around the center of one bottle, and leave about 12 inches of a tail. This will be joined with the other bottles’ wires to create the hanging hook. Repeat for the other 2 bottles.
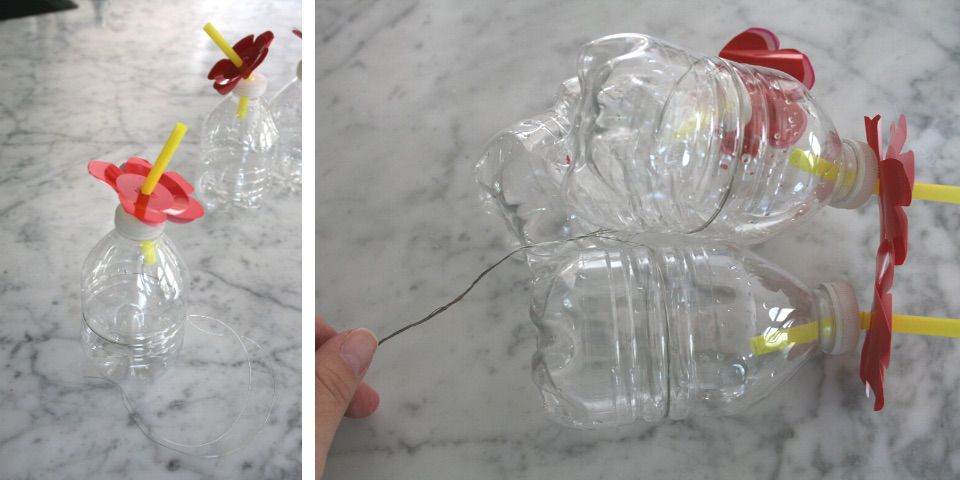
Wind together the “tails” to the desired hanging length, and create a loop. Use craft wire to bind the 3 bottles together. I found having an extra pair of hands helped with this step!
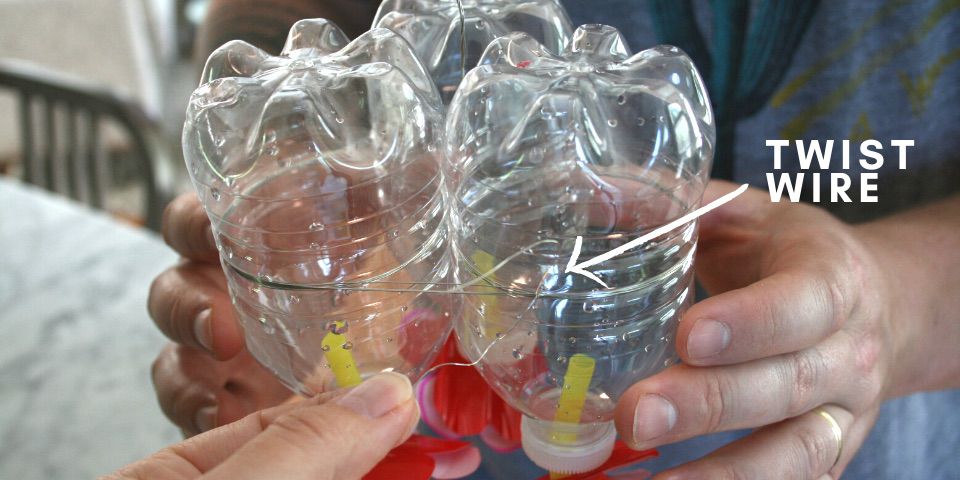
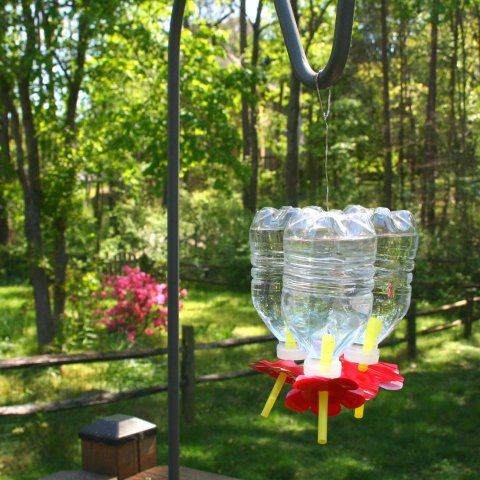
Last – fill the bottles with hummingbird juice, and hang! I followed the recipe from the National Audubon Society available here.
Want to know more about hummingbirds? Check out this recent post from Babbs: Hummingbird Resources Sure to Brighten Your Spring here.
Don’t want to DIY? Here are a few options of ready-made feeders from the following retailers:
Amazon
Jackie Baird Richardson is an interior designer, editor at The WON and avid junker. Watch for her design tips and occasional crafting ideas, bringing the outdoors indoors. View all posts by Jackie Richardson