You’ve probably heard a lot of people talk about scouting and finding the perfect hunting spot before hunting season. There are hunters who go all out by scouting from home and getting boots on the ground, and then you have others who consider going out and driving around looking for a buck to be scouting. I’ll be the first to confess that growing up, that’s what my dad and I did.
Sponsored by GWG Clothing
Now though, I am more of a, I guess you could say, hardcore scouter, thanks to my husband. We utilize e-scouting when hunting new areas and put boots on the ground packing in mineral and salt and putting up trail cameras. Before I get into the specifics of e-scouting and actually putting boots on the ground, I want to make note that before heading out to strap a trail camera to a tree or put mineral out, you need to check the wildlife regulations of your state or the state you are hunting. In some states, it’s illegal to put out any kind of “bait” ( salt, deer feed, attractant, apples, etc.) or to even put up a trail camera.
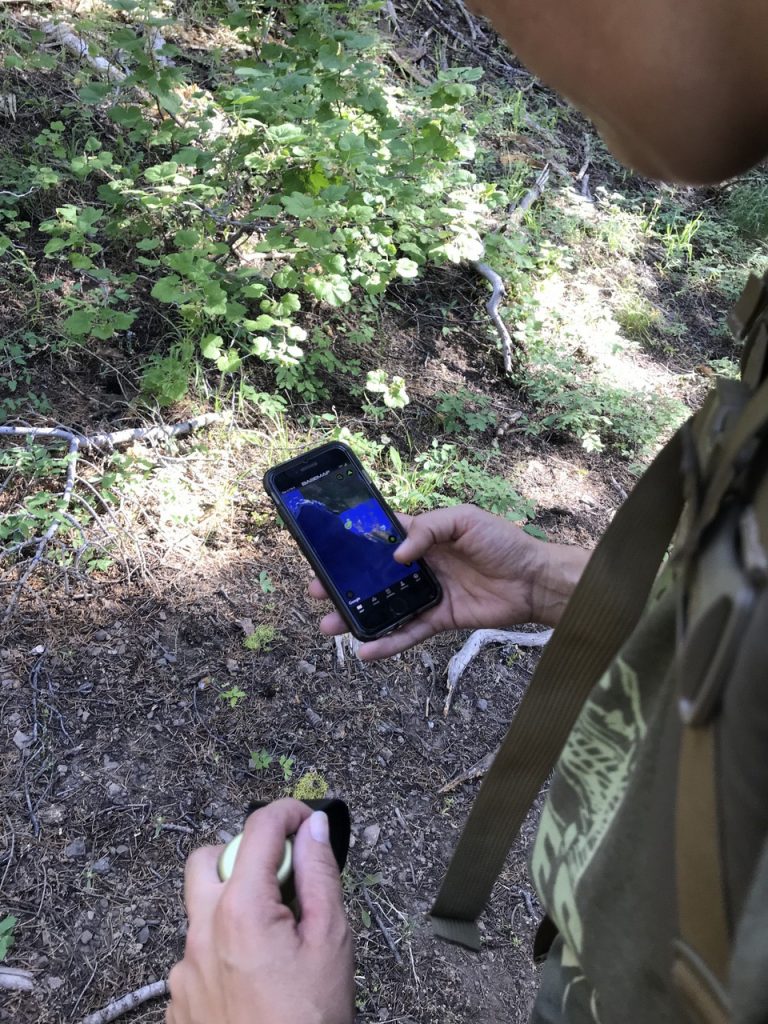
E-scouting is when you use online tools such as Google Earth and GPS apps. These are great for scouting, virtually from your own home. They can help you to identify potential places to hunt, such as water sources, feed, roads, unit boundaries, accessibility and cover.

When I’m going to be hunting a new area, I like to e-scout, looking for areas that have the potential to hold the animals I will be hunting. I mark all of these potential spots using waypoints on my hunting app, so that when I head out, I have great places to start looking for sign.
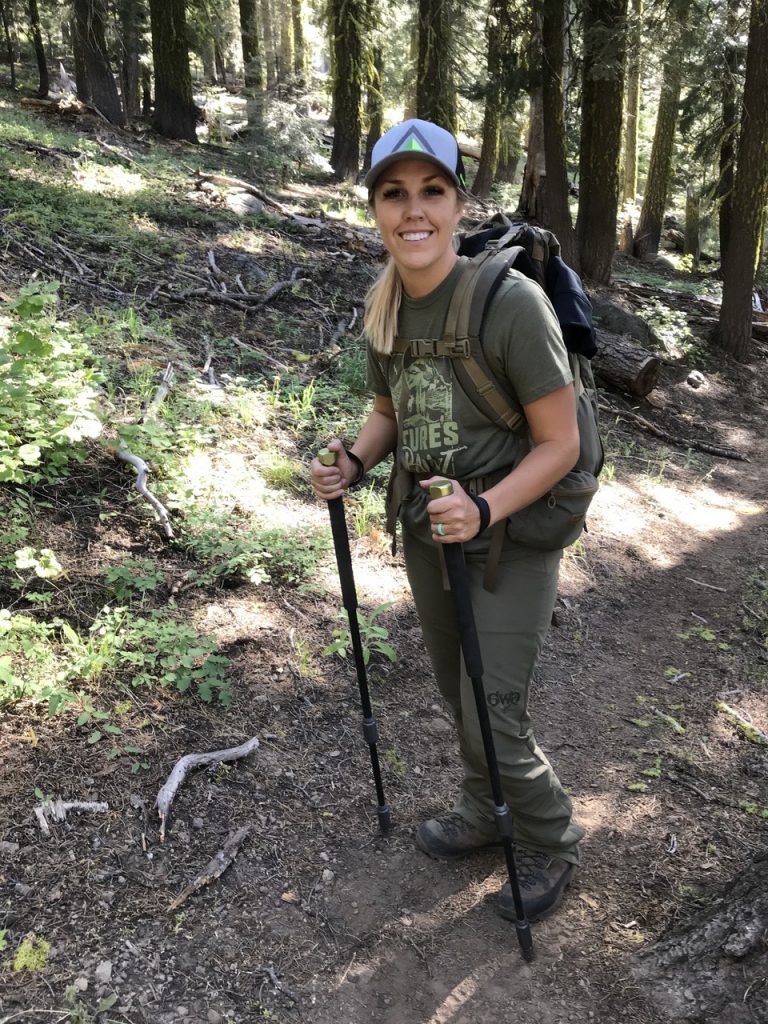
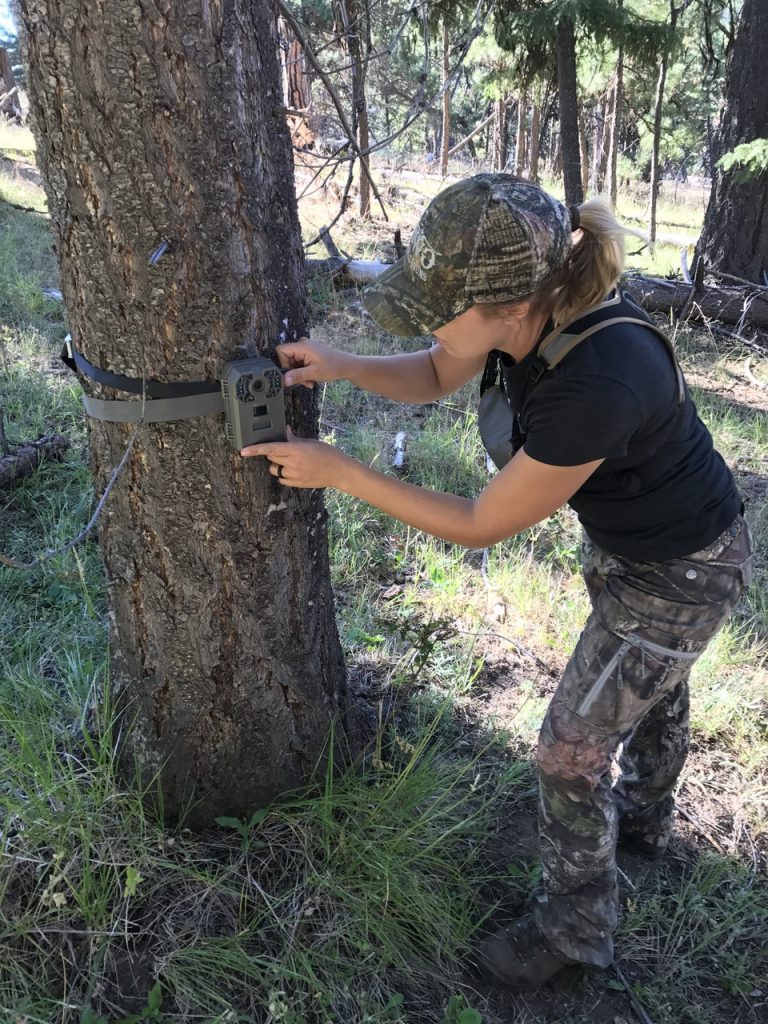
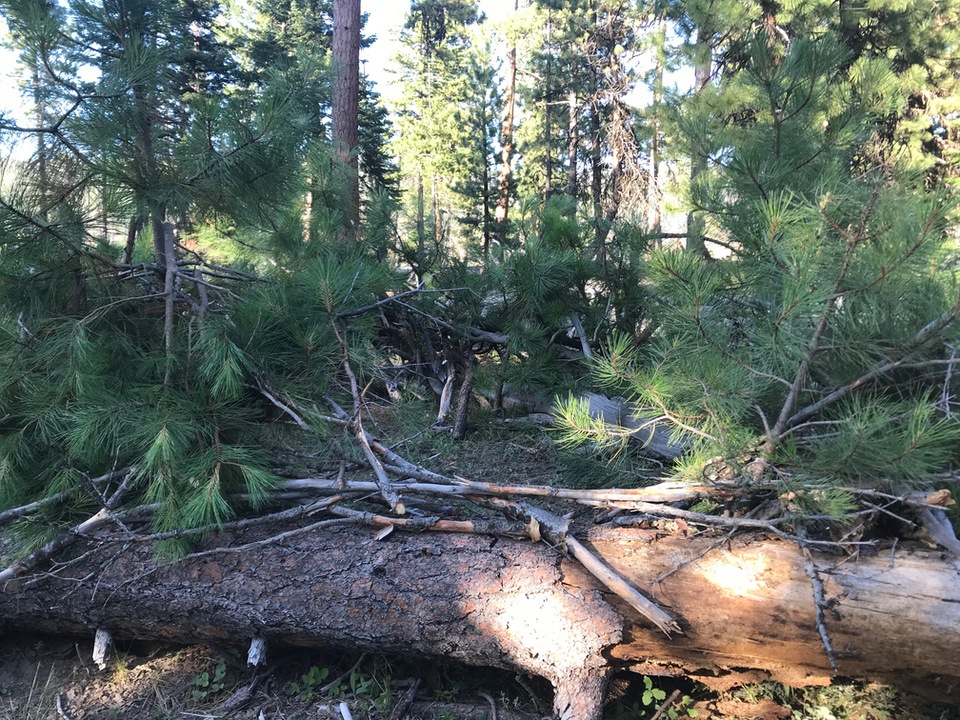
Once you have a good idea of the lay of the land and potential hunting areas, it’s time to get your boots on the ground. Whether you are looking for a nice tree to set your stand in, or to strap a trail camera to, you want to pay attention to areas you are seeing sign. Sign can be fresh tracks, heavily traveled game trails, antler rubs on trees, wallows or fresh poop. If you’re seeing any of these signs, there’s a real good chance if you put up a camera in that general vicinity, you will see game on camera.

Now you may be wondering, how will I know if I set it in the right spot? I know there are animals around because I see the sign, but how do I know that I will catch them on camera? The truth is – you won’t know 100%; it’s trial and error. What you can do is choose a place where the traffic is the heaviest, such as right off a game trail or pointing toward a wallow.

We start setting up our trail cams in the late spring, so that we can pattern throughout the summer. We typically let these cameras set and only check them once a month. If we are building ground blinds, or putting up tree stands, we make sure to do that a few weeks before the season opens so the animals can get used to them. Besides looking for game, setting up stands and cameras, scouting is a great way to get the lay of the land, especially if this is a new area you will be hunting.

There are a ton of different attractants and minerals on the market specifically made for big game. There is a little trial and error when it comes to picking the best attractant for a certain area. For example, we get thousands of photos and non-stop action with trace mineral blocks in high country timber, but rarely attract mule deer in desert locations with the same attractant. NOTE: You must be aware of the wildlife regulations in the particular area you will be hunting. With CWD prevalent, it’s imperative to follow all the rules.
Another good option is using water softener salt in place of the trace mineral. What I have found is that a $9, 50-pound cattle block works as well as any high dollar mineral block that is specifically made for big game. Also, sweet buck jams will work, but we tend to stay away from them because they will attract a lot of bears, which can be hard on your trail cameras. Timing is everything. If you use salt and/or minerals, make sure you establish them in the late spring to early summer months. That’s when the deer and elk need them the most. Once these animals get “hard horn,” they typically use less minerals in their diet so you typically don’t see them as often on your cams in the fall.
If I could give you only one piece of advice, it would be to not give up! There’s a learning curve to scouting and hunting, but you’ll never learn if you don’t get out and try. Don’t be disheartened if your first hunts don’t go the way you wanted. There is no shame in missing or messing up (even when you have been at it a long time). You can learn something from every hunt and scouting trip, whether you are the primary hunter or just a spectator. I still learn new things every time I go out. The best hunters will tell you that their hunts don’t always go as planned. There are always things you cannot account for, and after all, you are human, and you are going to make mistakes. In these times, it’s important to keep the tradition of hunting alive and well.
Sereena Thompson is a mom, wife, hunter, blogger and all-around outdoor enthusiast! She is the co-founder of Nature's Paint, an easy-on easy-off, all-natural camo face paint. "As a hunter I am dedicated to uplifting, empowering and helping other ladies and kids get into hunting and the outdoors." View all posts by Sereena Thompson