Remember the television show from a few years ago, Pimp My Ride, where the host would take an older car or truck and modify it, bringing it new life? Well, what would you do to your pistol if you could? There are plenty of ways to give a pistol a facelift and keep it shooting great. Here are 4 upgrades a lady can do all by herself to modify and her pistol. (And trust me—if I can do it, you can, too.)
COLOR FILL
Why not personalize your pistol with a little color fill—adding a color to the engravings on your pistol so they really “pop”? This technique is not only easy to do, but it’s also inexpensive and quick. In fact, you probably have everything you need already lying around your house. It only takes about 20 minutes to complete, plus drying time. Make sure you do it in a well-ventilated area to avoid inhaling nail polish fumes.
And should you second-guess your color choice, don’t worry—it’s not permanent. This fun, quick personalization can be removed with non-acetone nail polish remover.
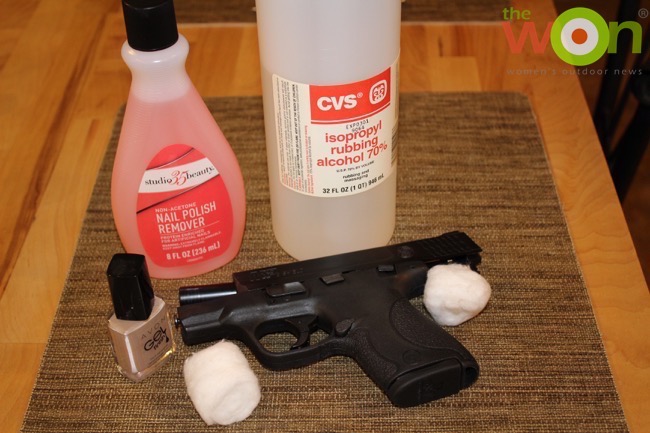
What you’ll need:
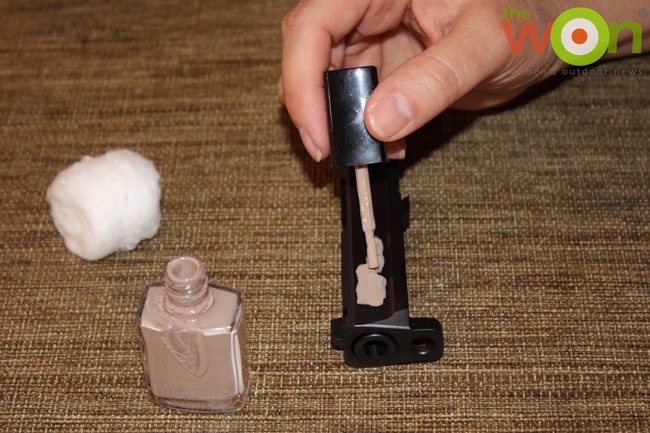
Instructions:
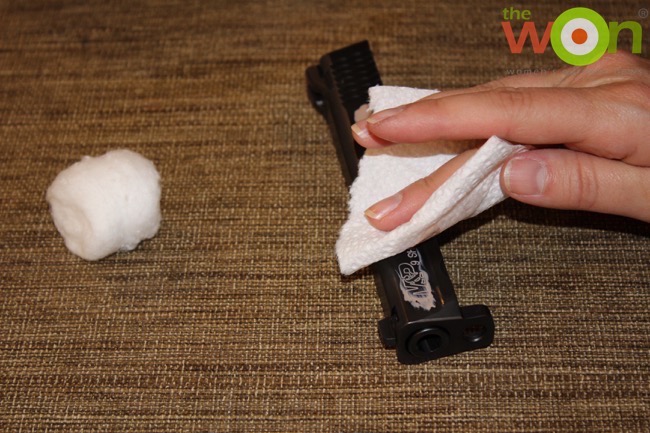
Some people prefer to use enamel paint to color-fill. I like the nail-polish method because it’s cheap, easy and super quick. There are plenty of YouTube videos on the subject if you’d like to check out other possibilities and supplies. If you do go with enamel paint, Hoppe’s No. 9 bore cleaner will take the excess paint off your slide. Bright, contrasting colors look great. Don’t be afraid to use a bright yellow or neon green; you’re only limited by your imagination with this one.
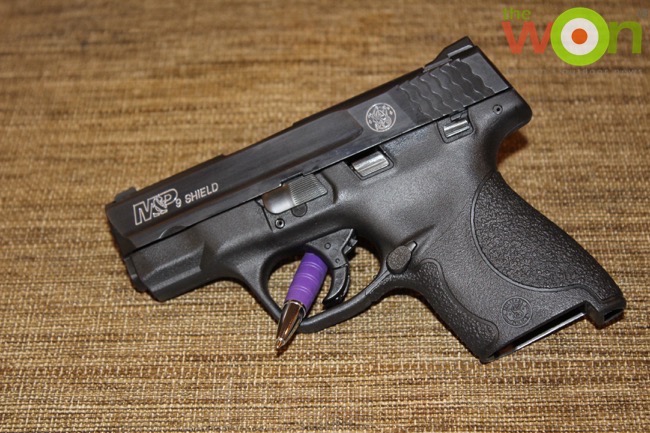
MSRP: Depending on your choice of nail polish, this will probably run under $10. I had everything at home already, so it cost nothing.
Looking for a little extra grip to your grip? Consider adding a set of Talons. Talon Grips are a decal-style grip enhancement, available for most popular pistol models. I chose to add a set of Talons to my Smith & Wesson MP Shield. I’ve tried the rubber slide-on grip enhancements, but I never got used to their bulky feel, and they never stayed in place. Talons are super thin and come in 2 different textures: rubber and granulate. Both surfaces maintain a positive grip on the pistol even if your hands are wet or slippery. The granulate option has a feel similar to sandpaper; the rubber option has a great feel and is more comfortable on your skin if you carry concealed (there’s no sandpaper rubbing on your skin). Because I often carry concealed, I chose the rubberized model.
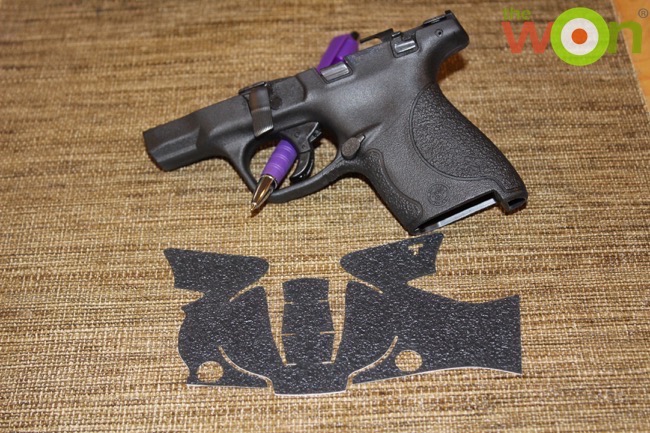
What you’ll need:
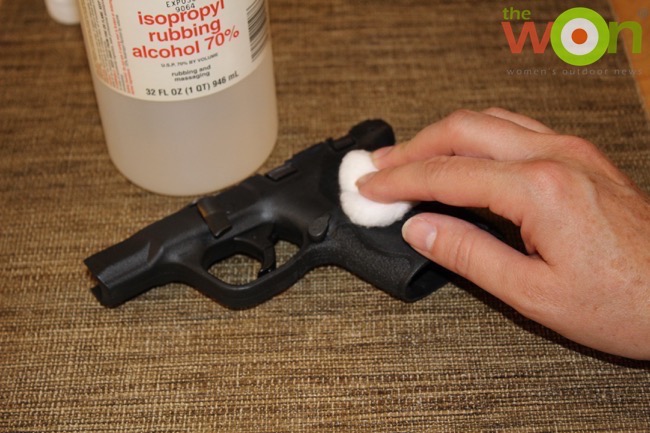
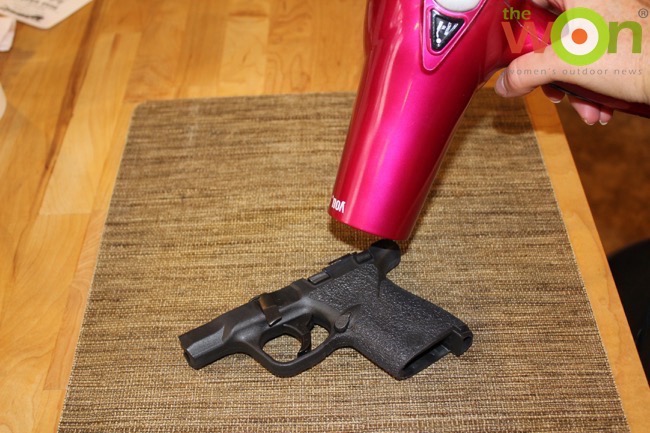
Instructions: I’ll admit to watching a few YouTube videos before trying this myself, as I didn’t want to cause any damage to my grip. But the instructions included with the grips are clear, concise and simple to follow.
Once installed, Talon Grips last for a few years. Should you need to take them off, they’re removable. I love how they feel; I won’t be removing them any time soon.
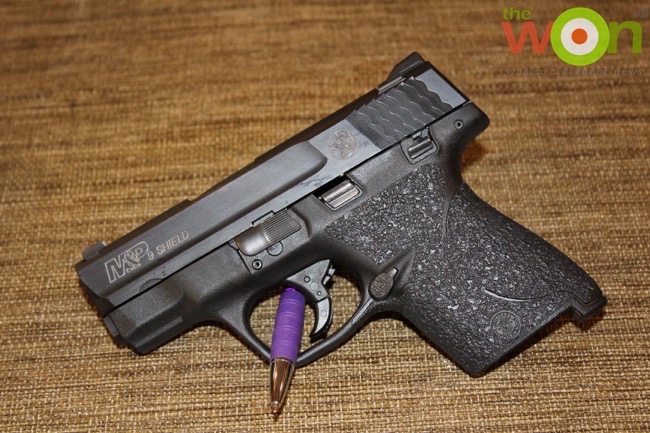
MSRP: +/- $18
Many guns now come with integrated lasers, but what if you’d like to add a laser to a pistol you already have? No worries—there’s the Spartan Laser, by LaserMax. I recently reviewed the Spartan Laser, and as I mentioned, the installation was simple. The Spartan is designed for a universal fit on your pistol’s lower rail.
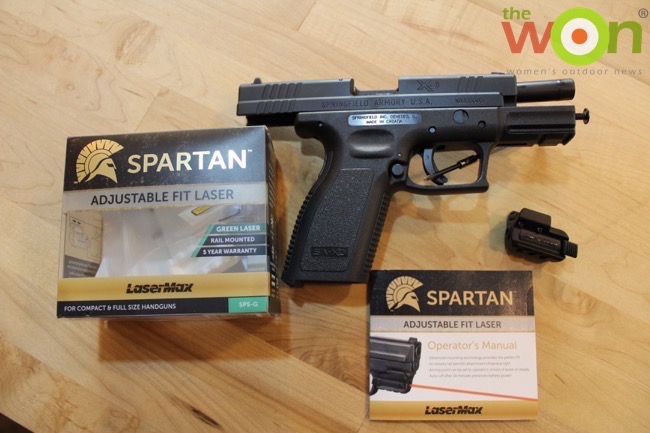
What you’ll need:
Instructions:
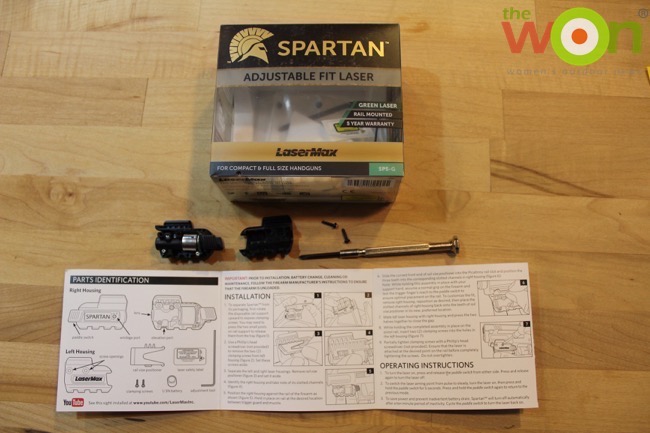
MSRP: $99 (red laser) / $149 (green laser)
Looking for an upgrade from those factory iron sights? Why not add a reflex sight? Reflex sights are a reflective, non-magnifying optical device a shooter can look through that will provide a red aim point (hence the nickname “red dot.”) Using this type of sight can assist you getting on target faster and easier.
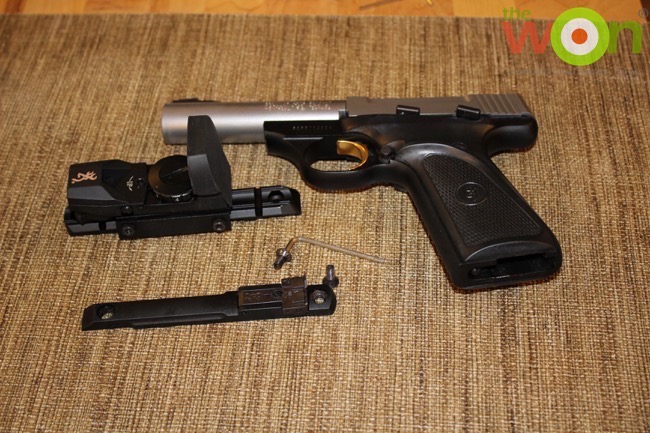
What you’ll need:

Instructions: Because my sportsmen’s club pistol league allows non-magnified reflex sights, I chose to install a Browning Mark Reflex Sight on my Browning Buck Mark Camper; the sight is also available for rifles and shotguns too. Obviously instructions will vary depending on your firearm and the optic you choose. While I could list my step-by-step instructions, no 2 installs will be the same; instead, let me warn you against a rookie mistake I made when I first did my install. Having never installed a red-dot before, I originally didn’t realize that I would need to buy a Weaver rail in order to attach the sight (duh!). A quick trip to the gun shop rectified my mistake, and I was ready to go. The Weaver rail installed quickly by removing the existing screws on my iron sights; using my original screws, I secured the rail to the top of my pistol. Once the rail was in place, I simply adjusted the reflex sight’s base using the included Allen wrench, tightening it once it was set. Then I was ready to hit the range to sight-in my new sight. Super-duper simple.
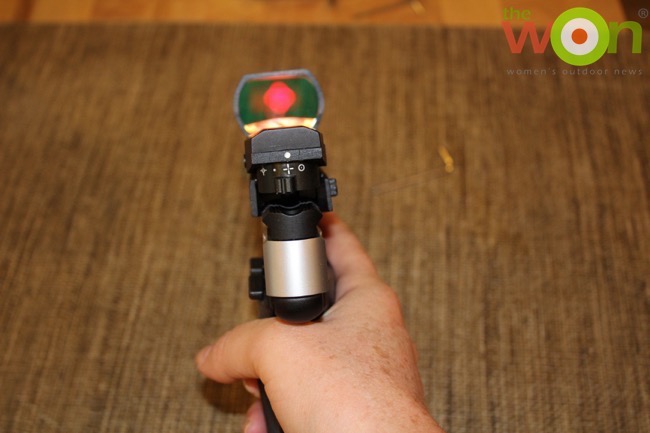
MSRP: Varies widely, depending on sight. Mine was $45, but they can run into the $100s.
These 4 upgrades were a blast to do. The color fill is an aesthetic upgrade, but the Spartan Laser, the reflex sight and the Talon Grips are upgrades that can help improve your shooting, as well. Don’t be afraid of getting some tools out and tackling a new project. The sense of accomplishment that comes from knowing you did it yourself is amazing. Now, go show off that pistol!
Annette Doerr is a freelance outdoor writer and business services consultant living in suburban New York. This married mother of two is an NRA Certified Pistol Instructor and Range Safety Officer. Annette is not only passionate about the sport of shooting, she also loves helping new shooters get involved, especially women and teens. An active equestrian, she enjoys riding her American Quarter horse, Cody. She volunteers in greyhound rescue and adoption, and shares her home with Casper, a rescued racing greyhound, along with her her cat, Tony, and her husband, Bob. Visit Annette at WeShoot2.com, her personal blog. View all posts by Annette Doerr
Dana, You should share photos on our social media so everyone can see them.
I also pimped out my Glock, and my M&P Compact by changing out the back slide plate. The Glock has Darth Vader’s helmet (because I crossed to the Dark Side by buying a Glock), and my M&P has the US Flag.