In this guest post Julie McQueen shows us how to create a beautiful tarpon scale necklace. ~MC
Many people who spend time outdoors will collect trophies to remind them of their adventures. You might find a rock from a favorite hike. Others will have animals mounted so they can look at them and re-live the adventure and appreciation for their time in the field. People who fish often practice a catch-and-release method that leaves them with only photographs of their greatest catch.
A couple years ago I found myself on a boat in Boca Grande, Florida, fishing for tarpon during the month of June. This is one of the most popular times and locations to fish for these beautiful giants because of the natural feeding frenzy that occurs during the Hill Tide moon phase. Millions of crabs are flushed into the Boca Grande Pass, where the tarpon then migrate in to feed on them. Often, you can see the tarpon “rolling” on the surface of the water to feed and gulp air into their collapsible lung. It’s a magical time.
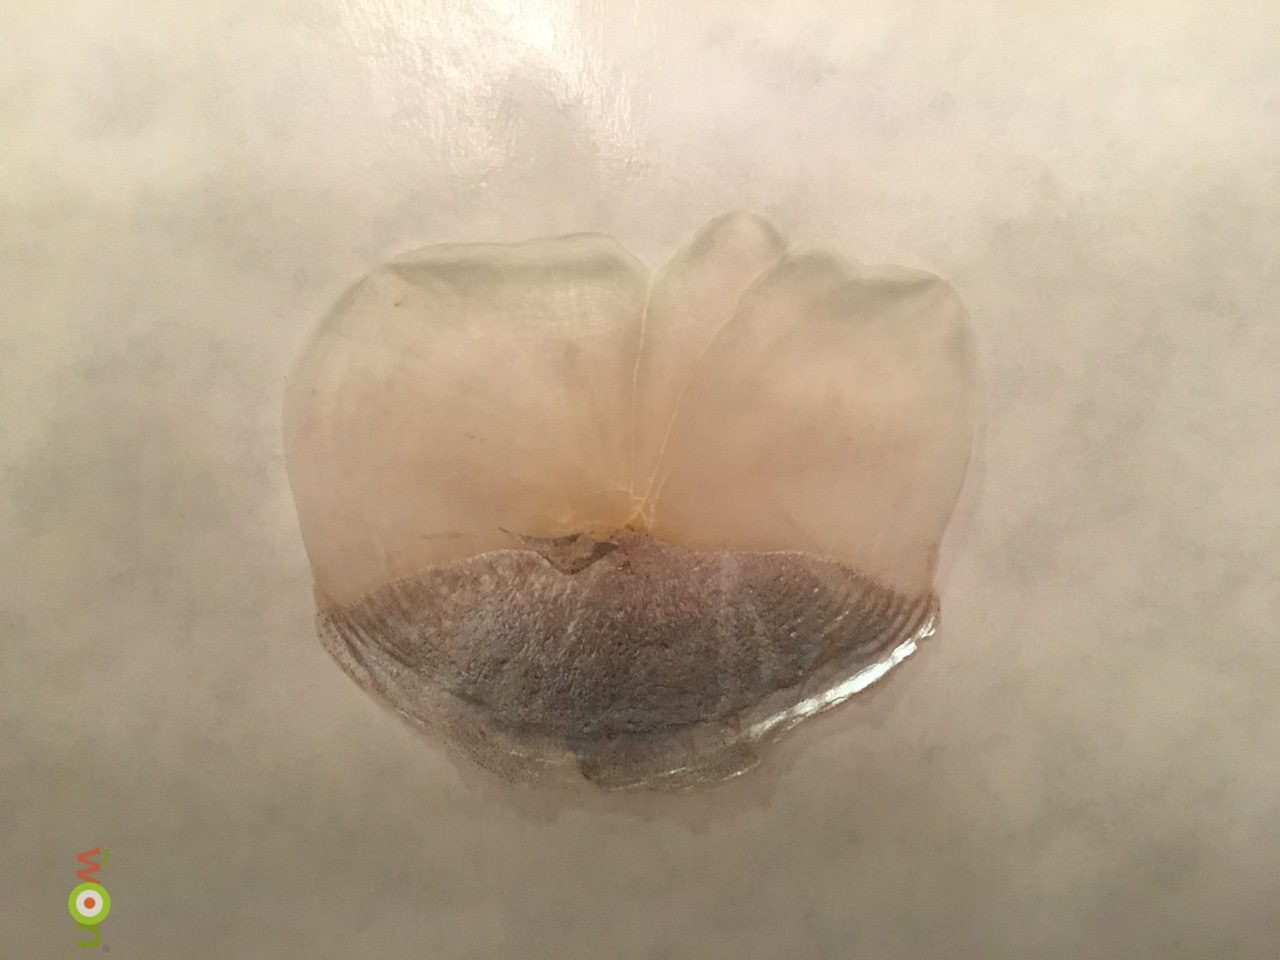
As luck would have it, I caught a tarpon on this particular trip. At nearly 7 feet long, and pushing 180 pounds, she was a beautiful fish. I could have stared at her all day. While we had her next to the boat to revive her I pulled a scale from her body as a trophy. She didn’t feel it. She just felt us gently reviving her and keeping her safe from sharks while she regained some of her energy. We tagged her so that a conservation organization can keep tabs on her, and then we let her go back into the school with the thousands of other fish.
That is the story of this scale. I took my time to figure out how to best preserve it, and this is what I came up with. I’ll take you step-by-step through the process. This is my first time working on a project like this one, so you can learn from my mistakes, and hopefully you’ll be inspired to create a memory of your own.
Step 1: Acquire the scale
I’ve already told you how I came into possession of this gorgeous tarpon scale. After you pull it, be sure to keep it pressed flat and in a safe place, especially if you will be spending more time out on the water. When I got home from that day on the water, I put this scale between pages of a book, and then pressed the book down with a heavy object for a few days. When you remove the scale from it’s place, it should dry flat, but some of the natural curve will occur as it dries more. If the scale becomes too curved, you can simply place it into a shallow bowl of water and it will soften, and then you will be able to flatten it again – using the same method.
Step 2: Decide Your Design
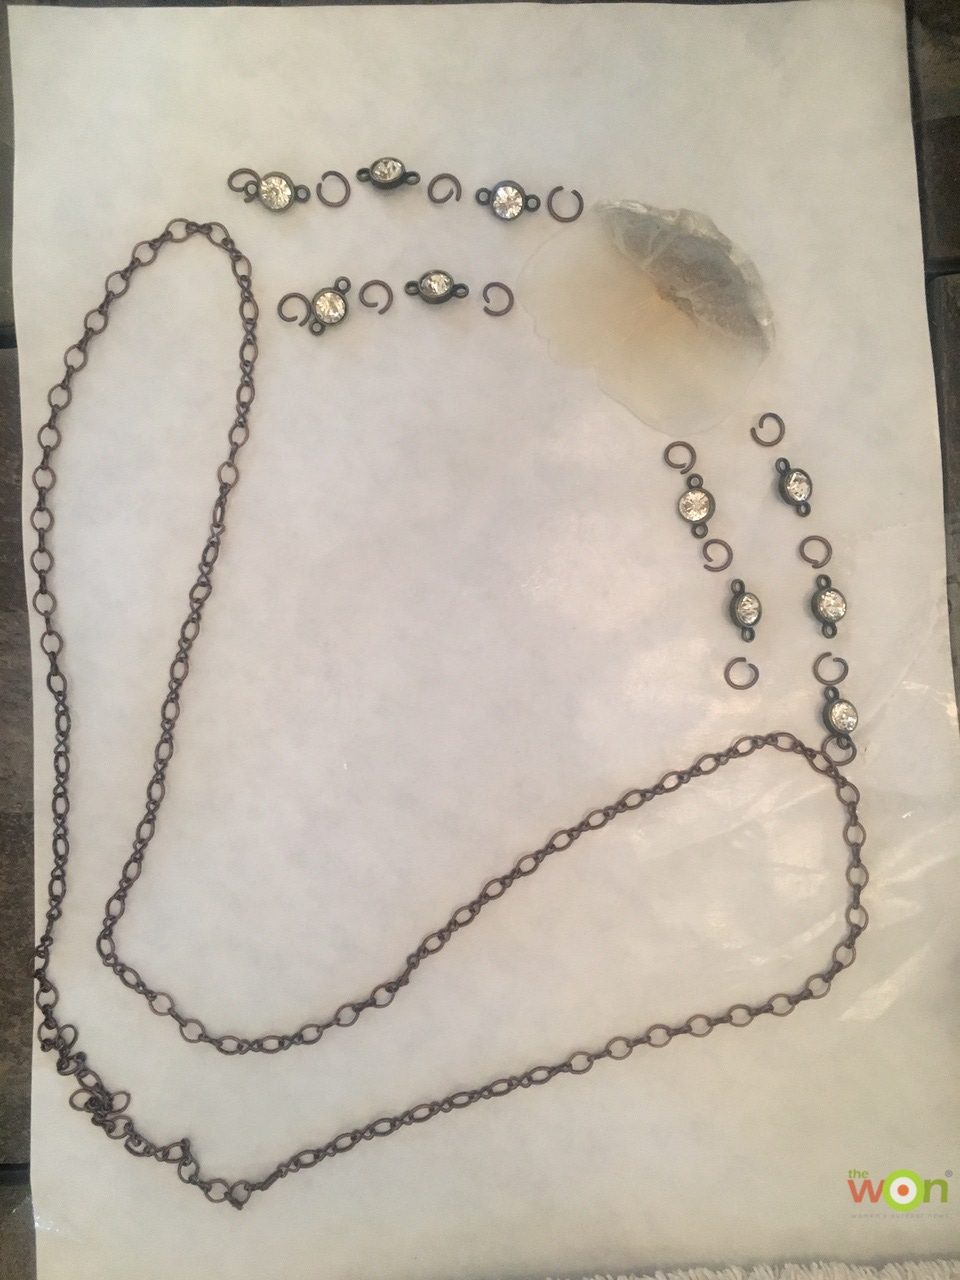
I went to my local art supply store and found some colors that I thought would look beautiful with the natural silver color of this scale. I took the scale to the store with me and held it up next to some different pieces of metal, and then decided on the final design. I was able to purchase all of the things I needed, including the jewelry pliers, for a very reasonable price. When I got home, I laid it all out … just as I wanted it to appear when it was finished.
Step 3: Coating
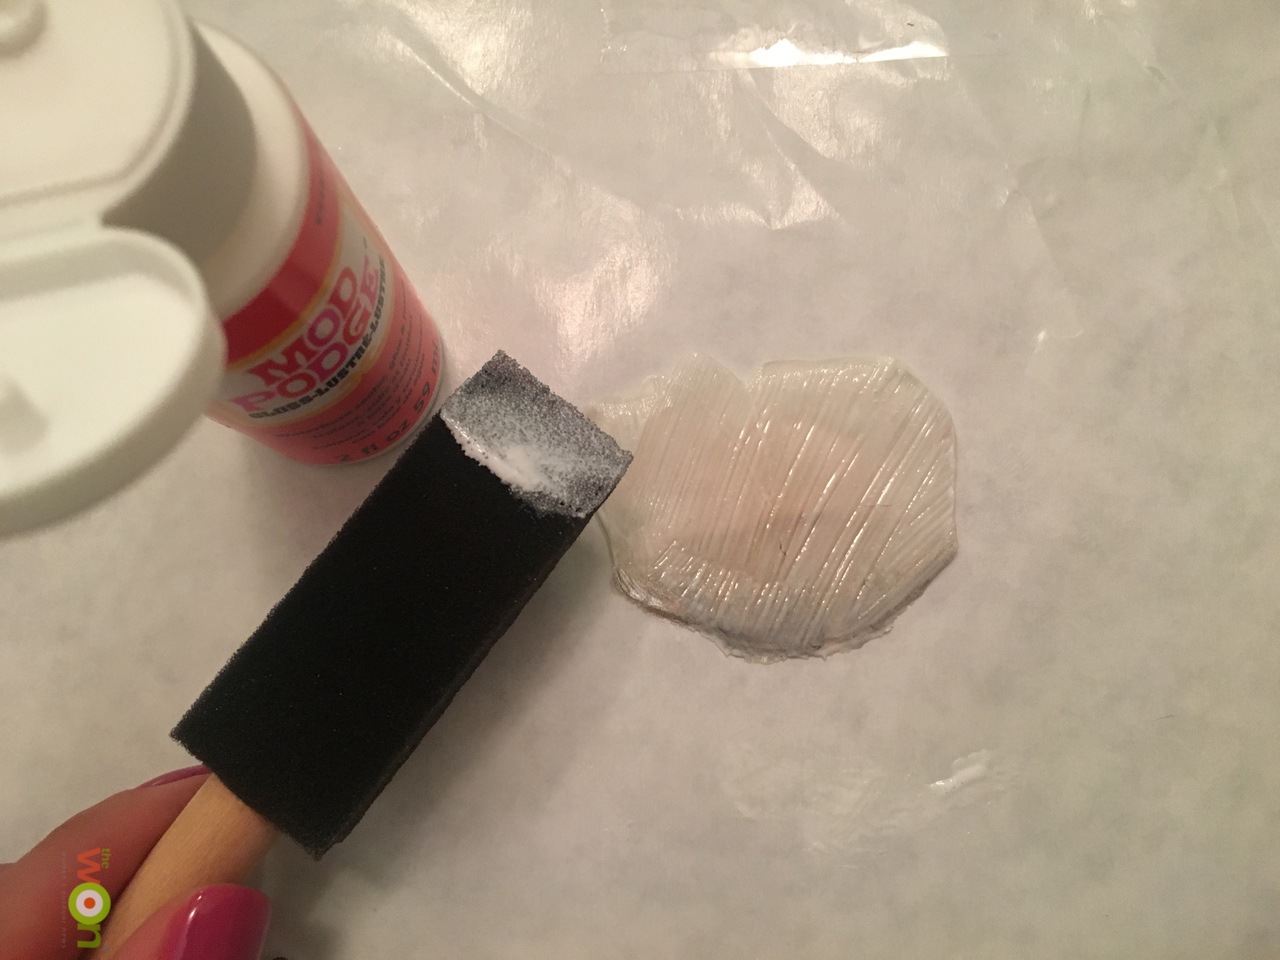
I experimented with a few different clear coats to see which one would best protect the scale from future years of wear and elements. I finally found that the best method was one layer of Mod Podge Clear Acrylic Sealer. After I painted a thin layer on, I pressed a heavy object onto the scale for a few hours to keep it from bending. You can also use a clear acrylic paint to preserve the scale. I found a clear coat spray paint, and it worked well. The trick is to keep the scale flat as you paint both sides.
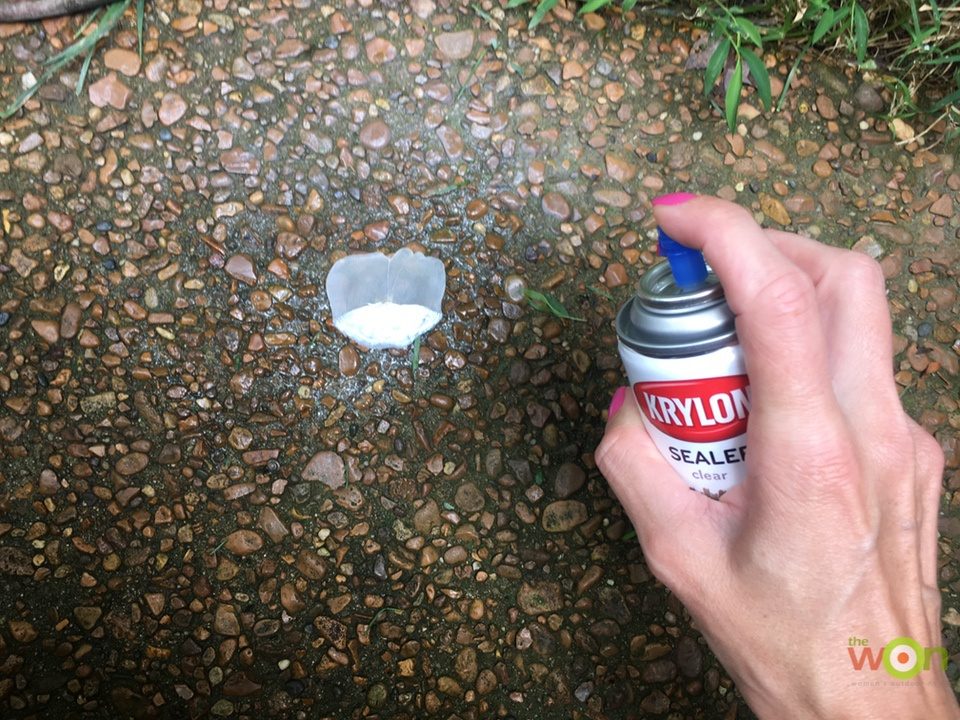
I took it outside and laid the scale flat on the ground to spray the coating. In between coats of spray I brought the scale inside to lay flat while it dried. This process only took about a day, letting each coat dry for a couple hours in between. After the final spray of clear coat, I allowed the scale to completely dry for a day.
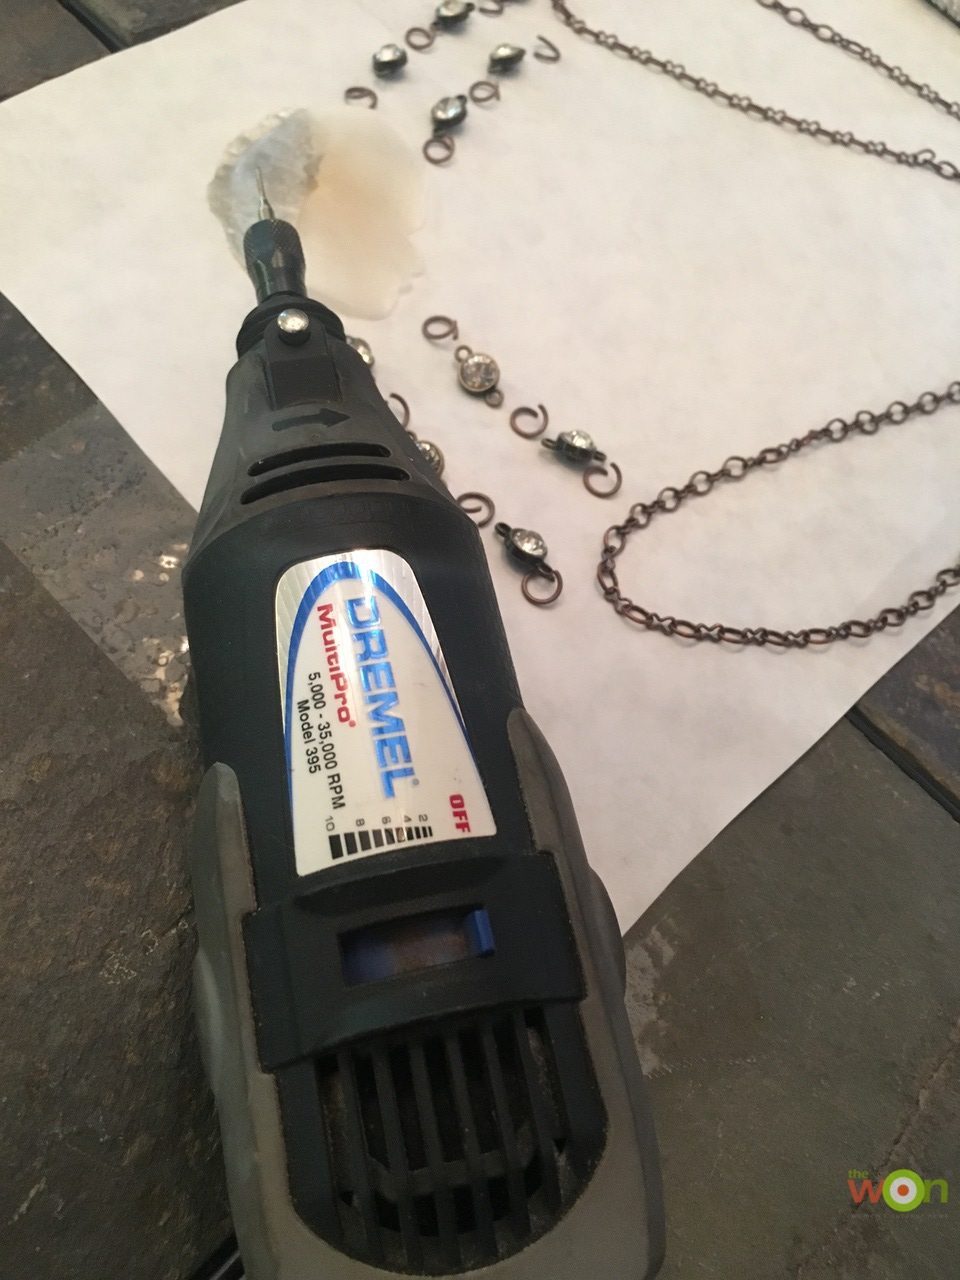
Step 4: Power Tools
If you have a Dremel tool, I suggest using it to create the tiny holes in the scale. I used a very small diameter drill bit on the end of mine, and put very little pressure on the surface. At the lowest speed, a small amount of pressure will go through the scale quickly. If you go too fast or push too hard on it, you risk causing it to crack.
I also suggest laying the hardware next to the scale as you drill so you place the holes in the right spot.
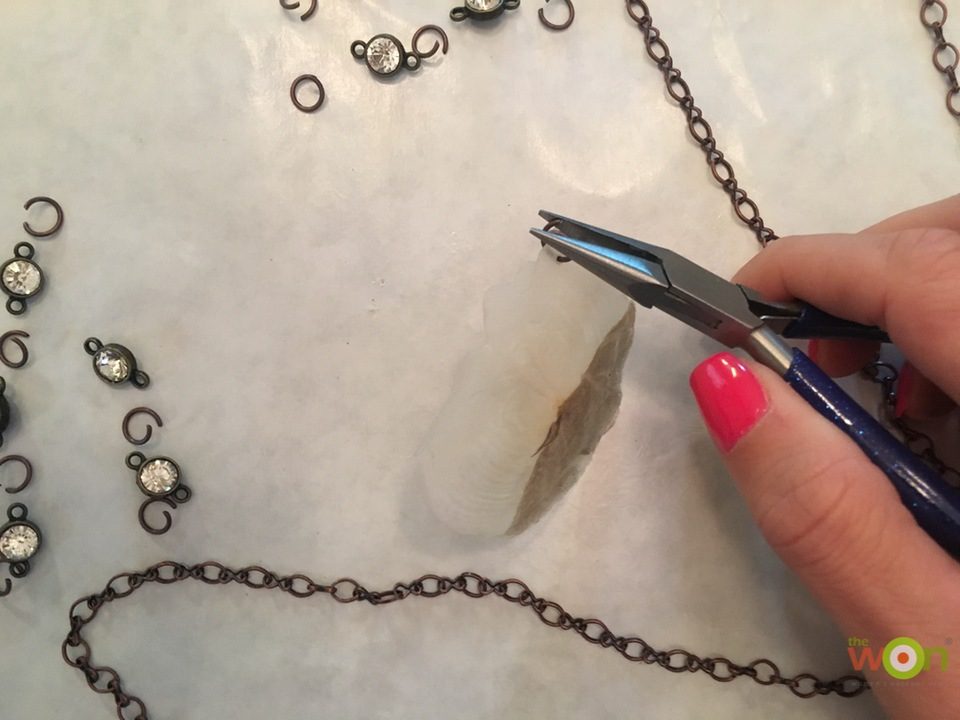
Step 5: Have The Right Supplies
This is the part where you learn from my mistakes. Be sure you have tools to bend the metal into place properly. And also be sure that you have a clasp to secure the jewelry properly. Because I’m not a jeweler and I’ve never done a project like this, sometimes I take for granted that jewelry will have a clasp built in. It doesn’t. You have to add that if you are making the jewelry (This is a hint of sarcasm.)
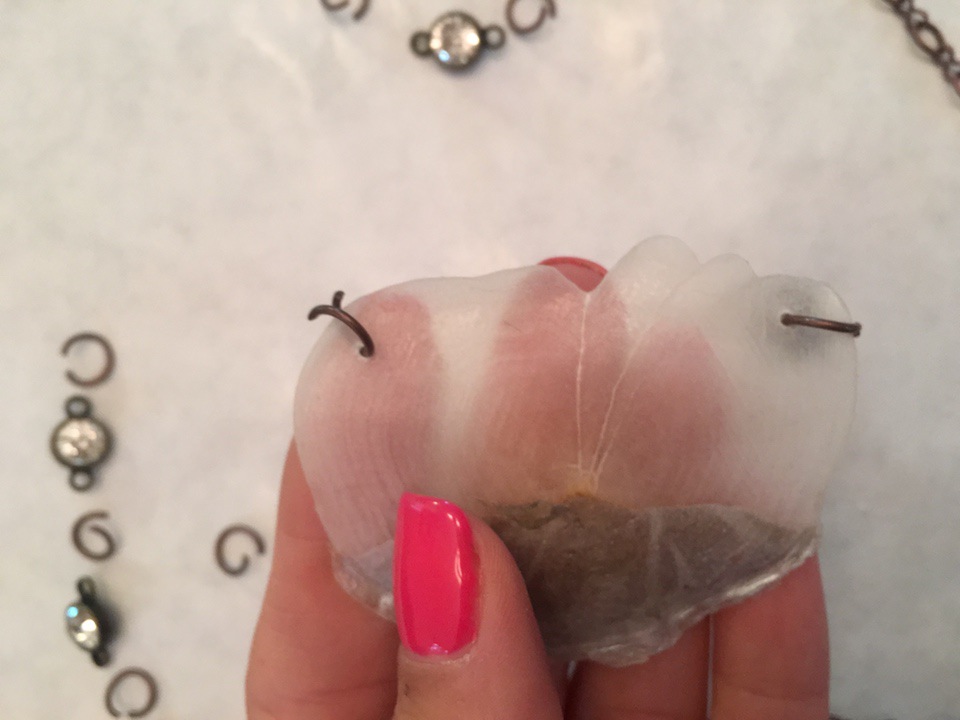
Also, if you begin working on the scale and find that it has curved too much, the Mod Podge and clear coat are water-based, so you can easily soak the scale and start over from the beginning. I had to re-do the entire thing at one point. It’s OK to start over, because the end result will be worth it.
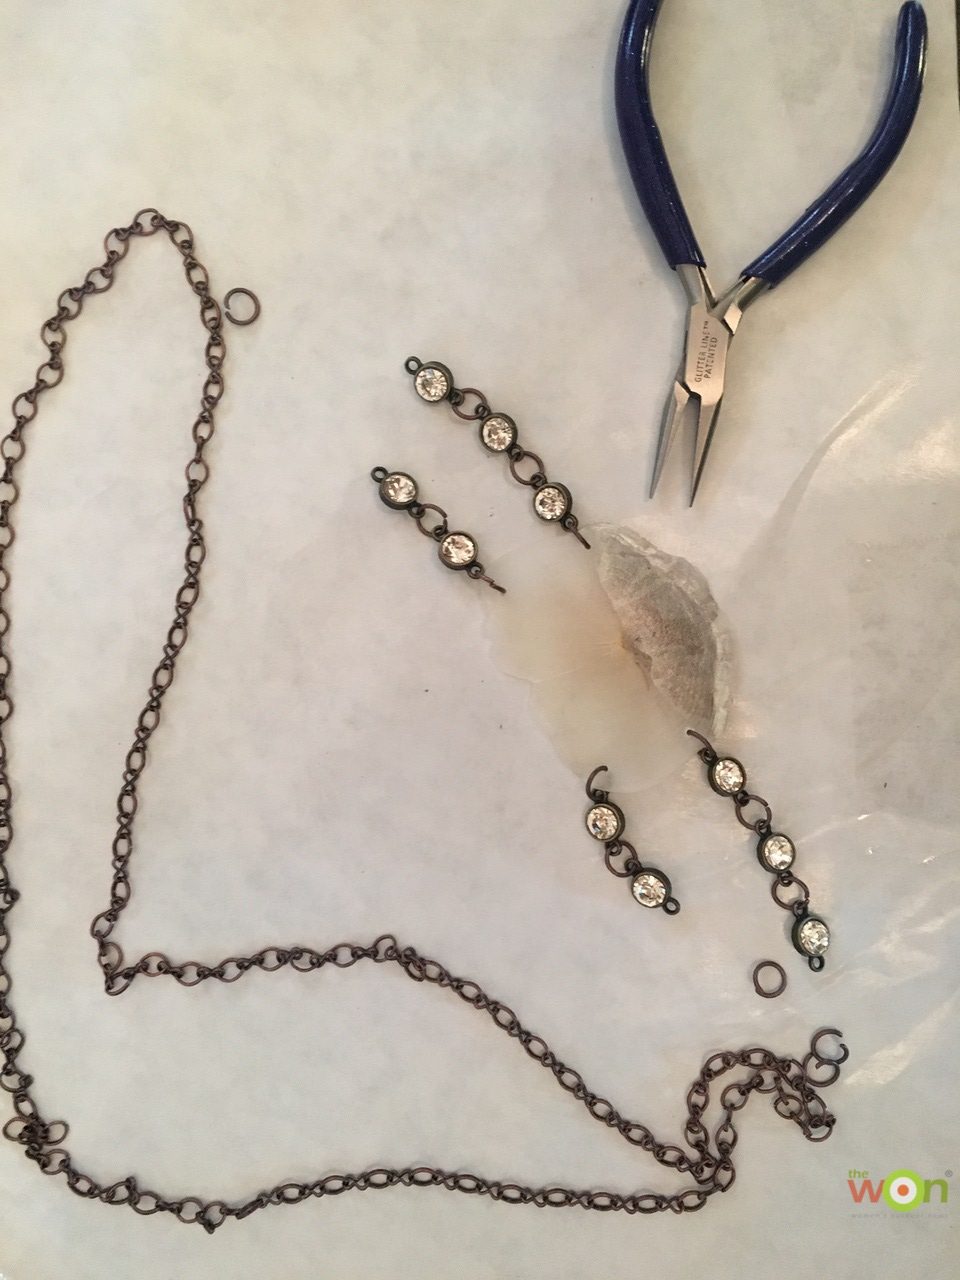
Step 6: Put It All Together
The most fun part of this project for me was putting all of the pieces together. Pinching the metal into place, securing the clasp and laying the finished project onto a form so I could see how it might lay on the décolleté of a real person … All of the time and effort was worth it just to see the natural beauty of this piece after I put the finishing touch on. I’m proud of this. Not just because of how beautiful it is, but also because I made it. It feels good every time I look at it.
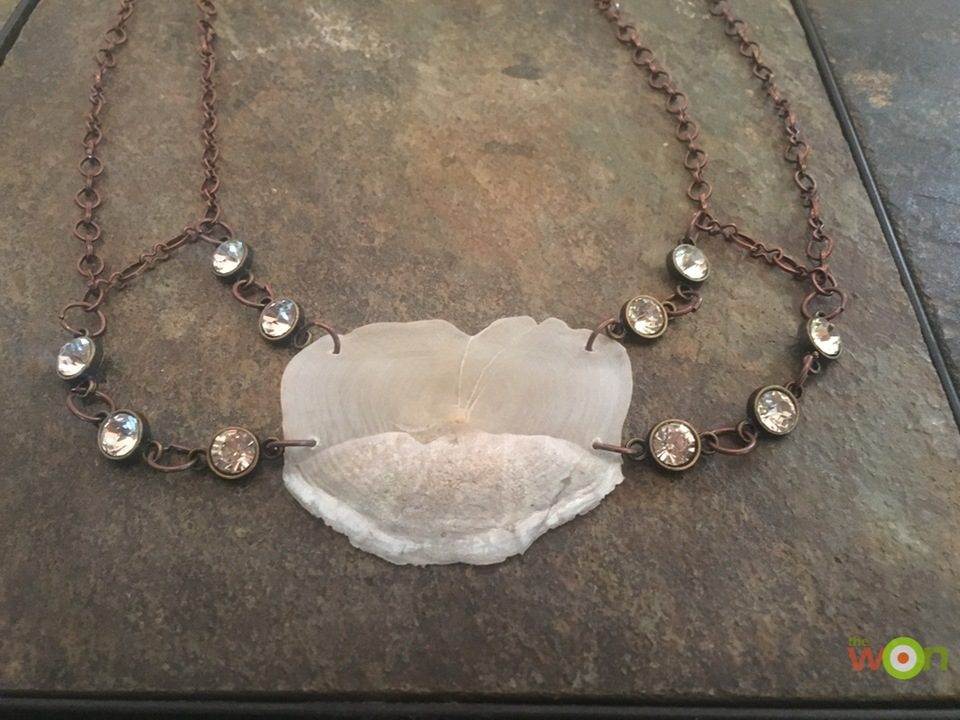
I know that somewhere out there, a female tarpon is swimming around missing one small scale from her body. And that scale is now going to grace the neck of a human who loves the outdoors and everything in nature. What an incredible testament to our connection to all things wild.
The Women's Outdoor News, aka The WON, features news, reviews and stories about women who are shooting, hunting, fishing and actively engaging in outdoor adventure. This publication is for women, by women. View all posts by The WON